Another progress update...
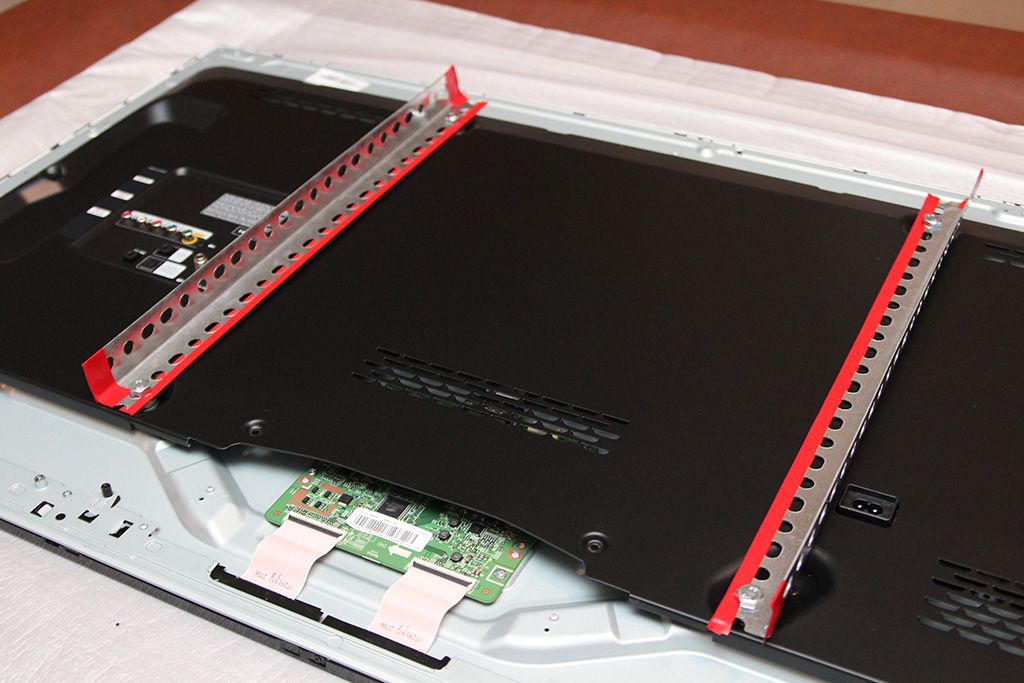
Since the TV is so thin, I was concerned about the long-term rigidity of it mounted horizontally, plus it's my nature to over-engineer stuff.

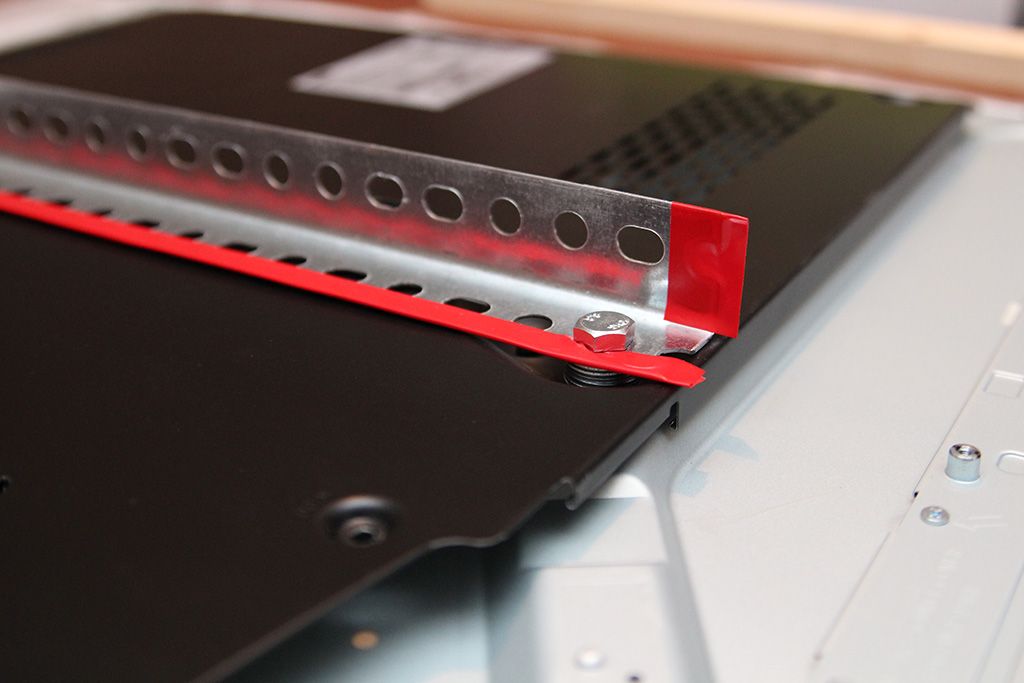
So I decided to re-install the inner metal back cover, and reinforce it even further by installing brackets using the TV's wall mount holes (M8 size bolts btw). I used some washers on each bolt to elevate the brackets a bit so they're not squishing the cover. I think it's plenty rigid now.

And on to more woodworking...
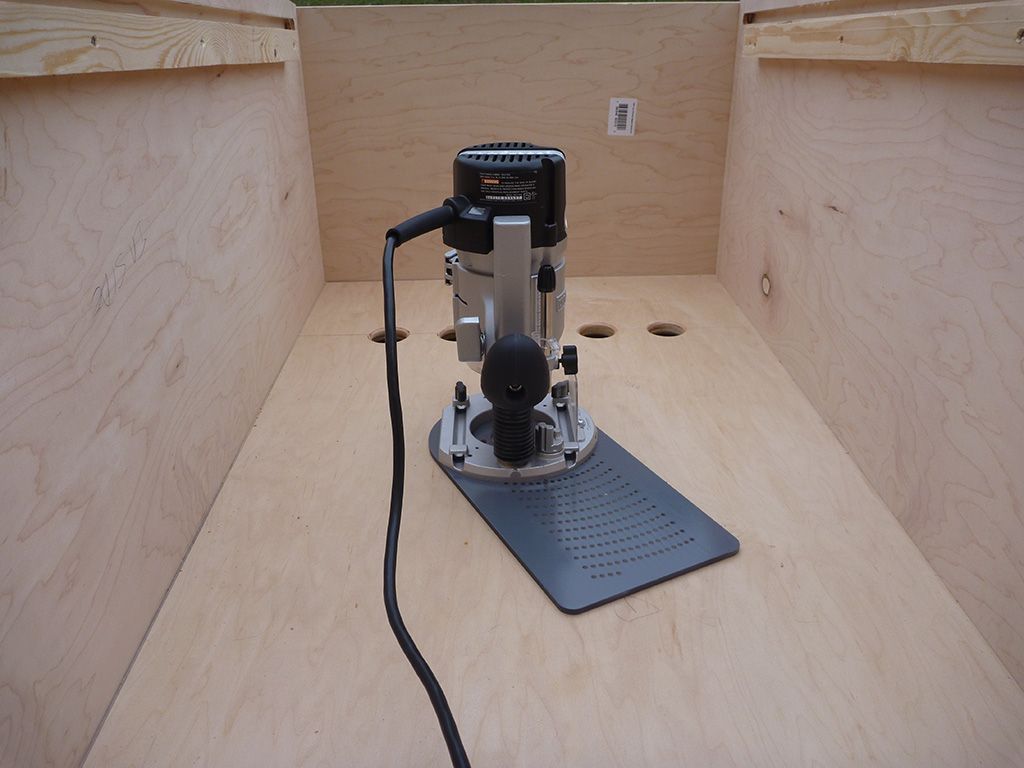
So this circle jig is the bomb! Was a little intimidating at first trying to figure out how to use it, but it's actually quite simple, and it cuts PERFECT holes.

For those of you who may have never used one, here's how it works:
1. Attach the jig to your plunge router, install a 1/4" straight cut bit and insert the metal dowel pin in the jig bore that corresponds to the size of hole you want. There is a grid printed on the jig that makes it really simple to choose the size.
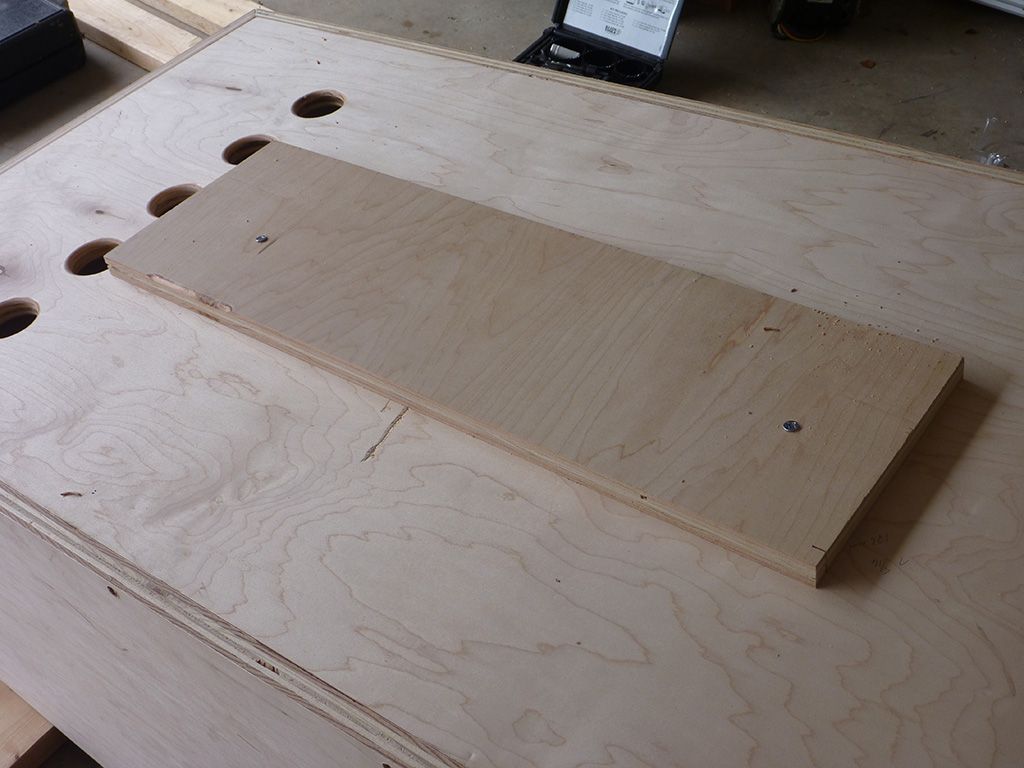
2. Attach a backing piece of wood to the work. Since the backing piece will not be cut, it allows the router to maintain a solid pivot point throughout the cut.
3. Identify the centerpoint for the hole you want to route and drill a 1/8" hole in the center. This hole is what the dowel pin will be inserted into when cutting.
4. Insert the dowel pin into the centerpoint hole and gently set the router down so that the jig is flat. Be sure the dowel pin is inserted far enough into the wood so that it goes all the way into the second piece.
5. Turn on the router, plunge the bit part way in, lock it down and rotate to make the cut. You'll want to make 2-3 progressively deeper cuts, depending on how thick your work piece is. If you take your time, you'll end up with a perfect cut, exactly the size you wanted.
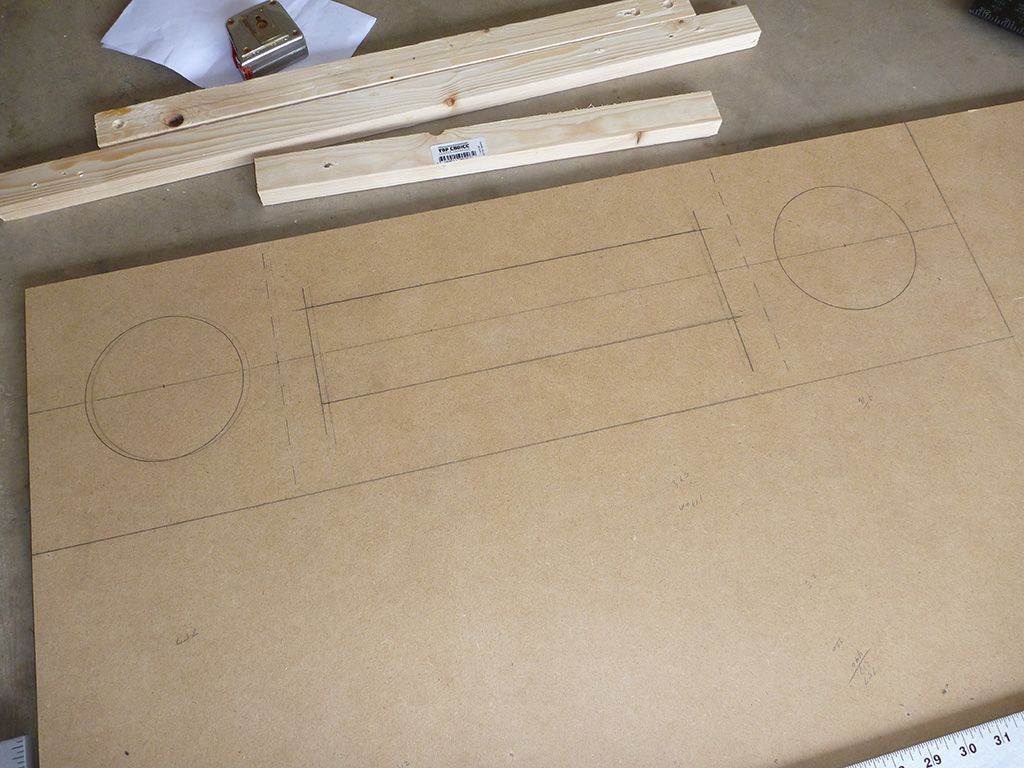
So time to put it to work on the subwoofer hole. Attaching the backing piece...
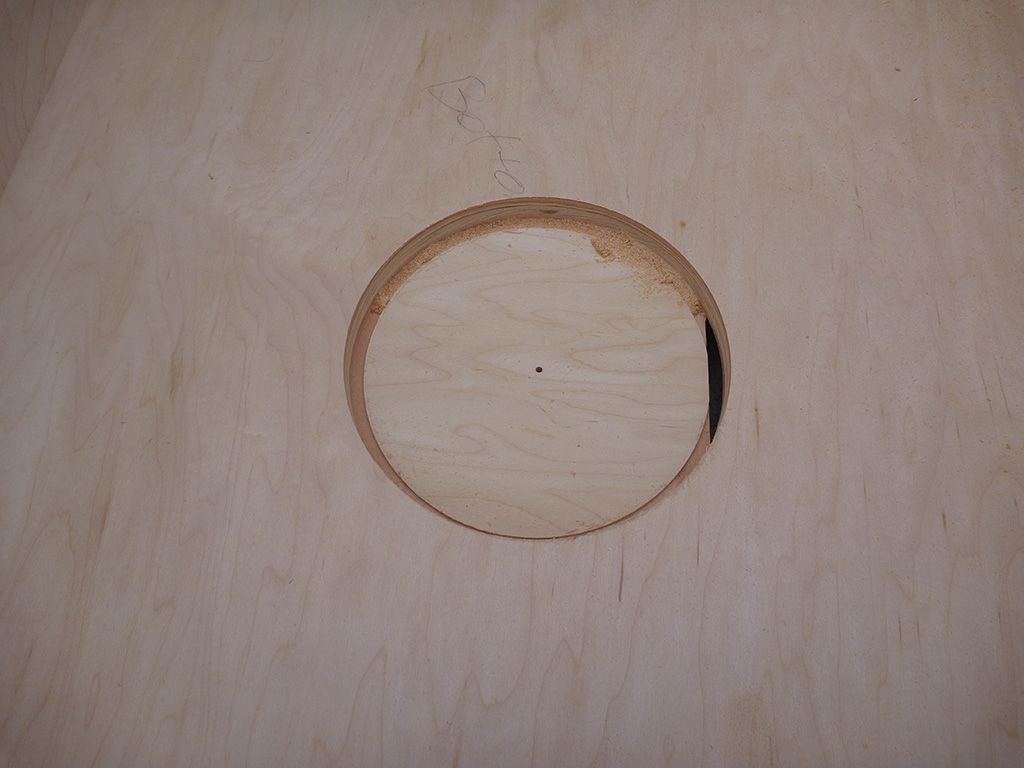
Marked off the center point, drilled the 1/8" hole and inserted the router/dowel...
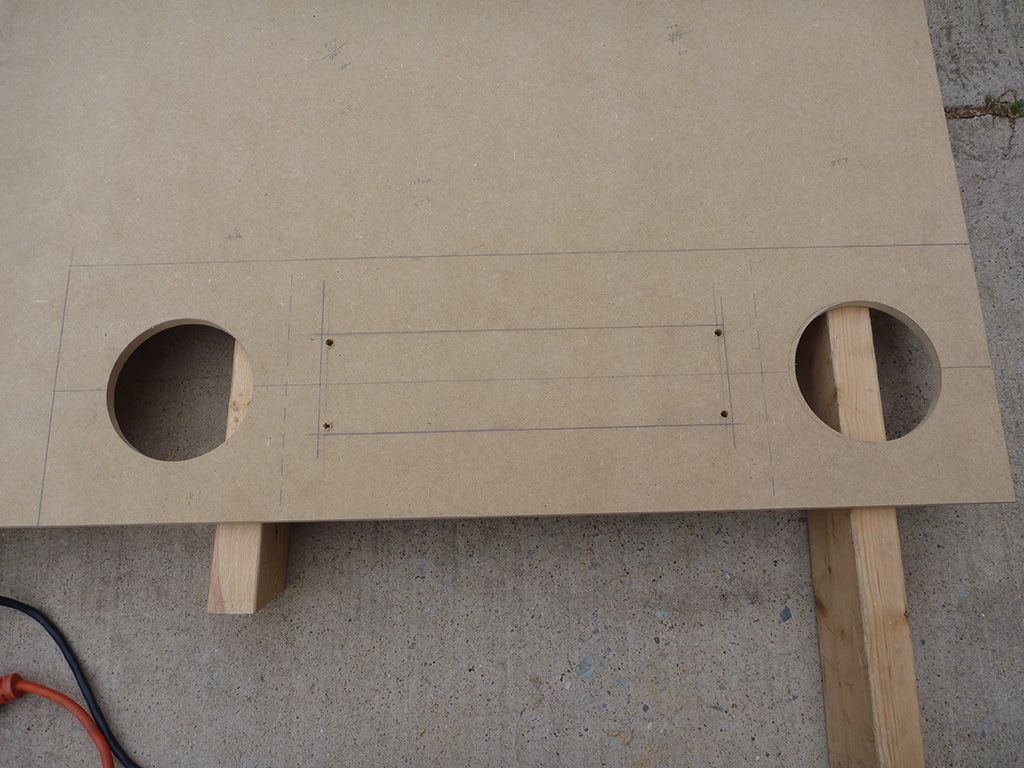
Three progressively deeper passes, and voila, a perfect hole. It's best to let the bit cut into the backing piece just a bit; makes for a cleaner hole...
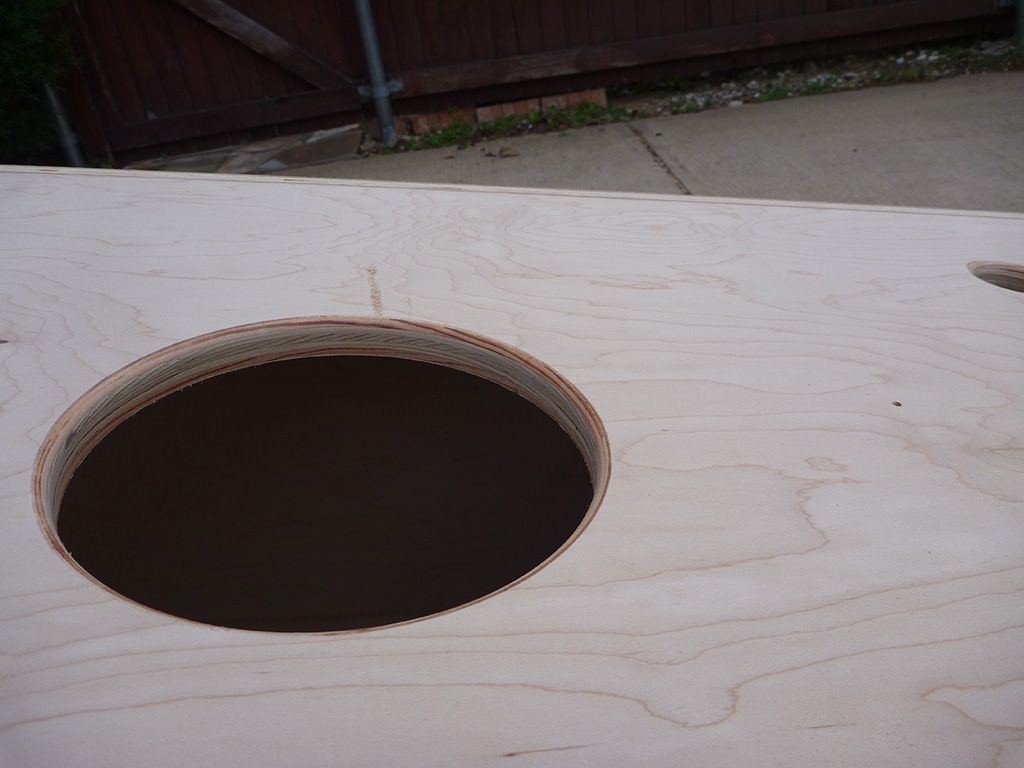
Ran the round over bit on the edge to give a nice clean rounded off look (only one side done here)...
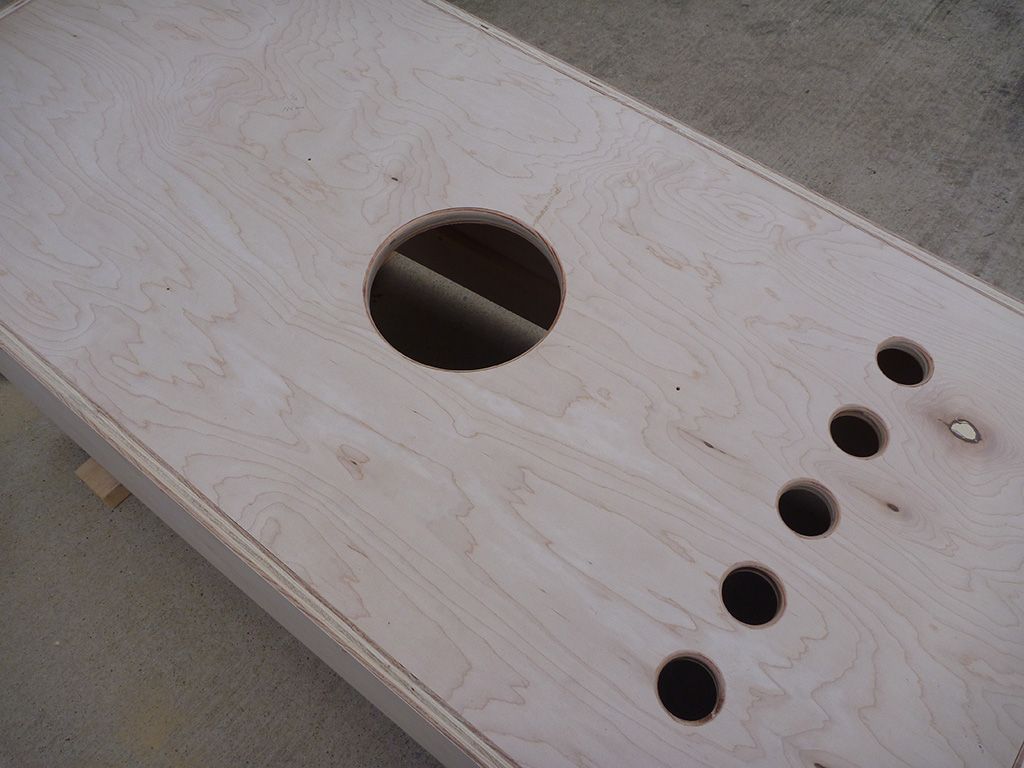
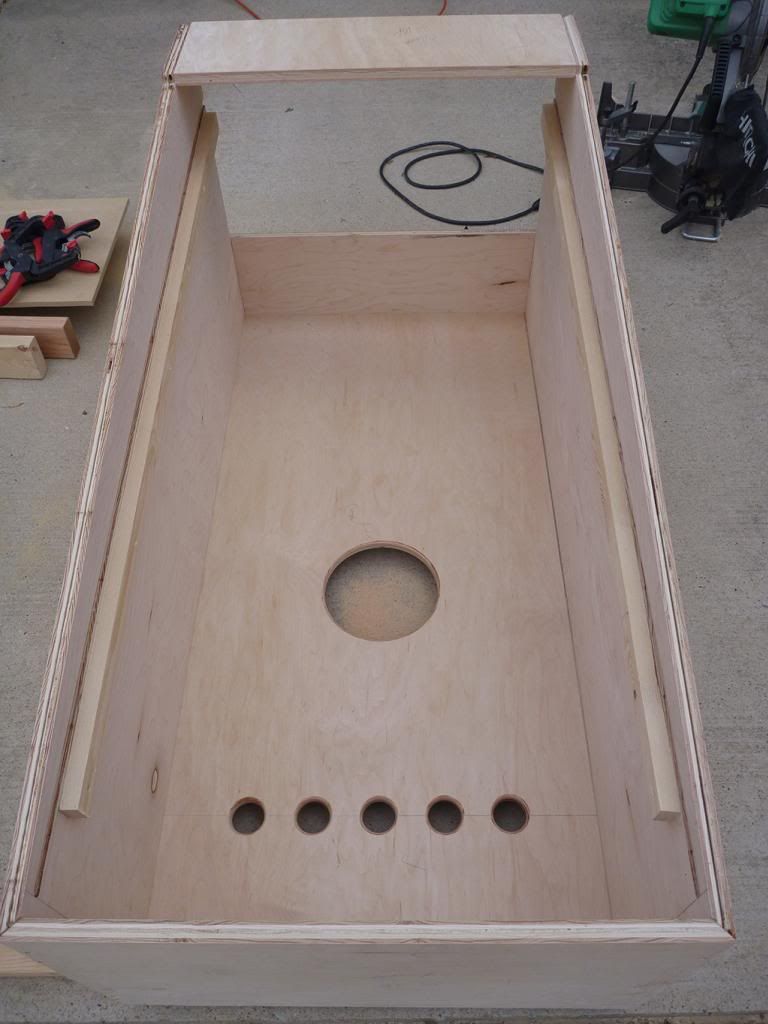
Also cut the intake ventilation holes using a drill hole saw and rounded those off too...
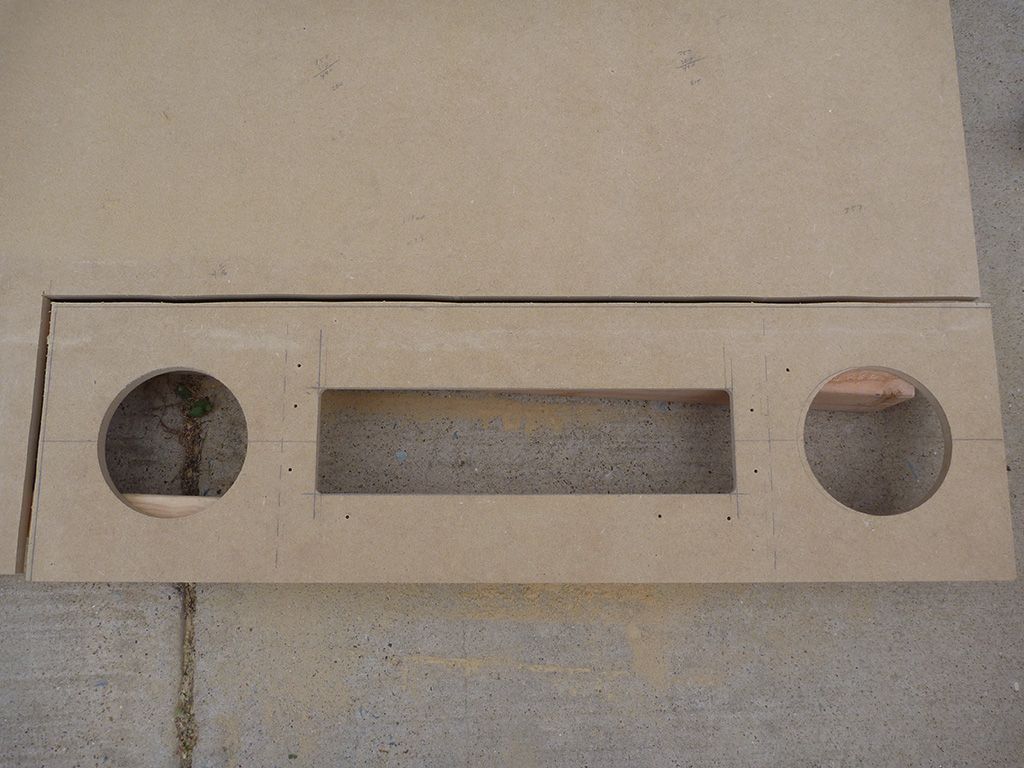
DMD panel anyone? Yes, I think so...
Used the circle jig again to cut out the speaker holes...
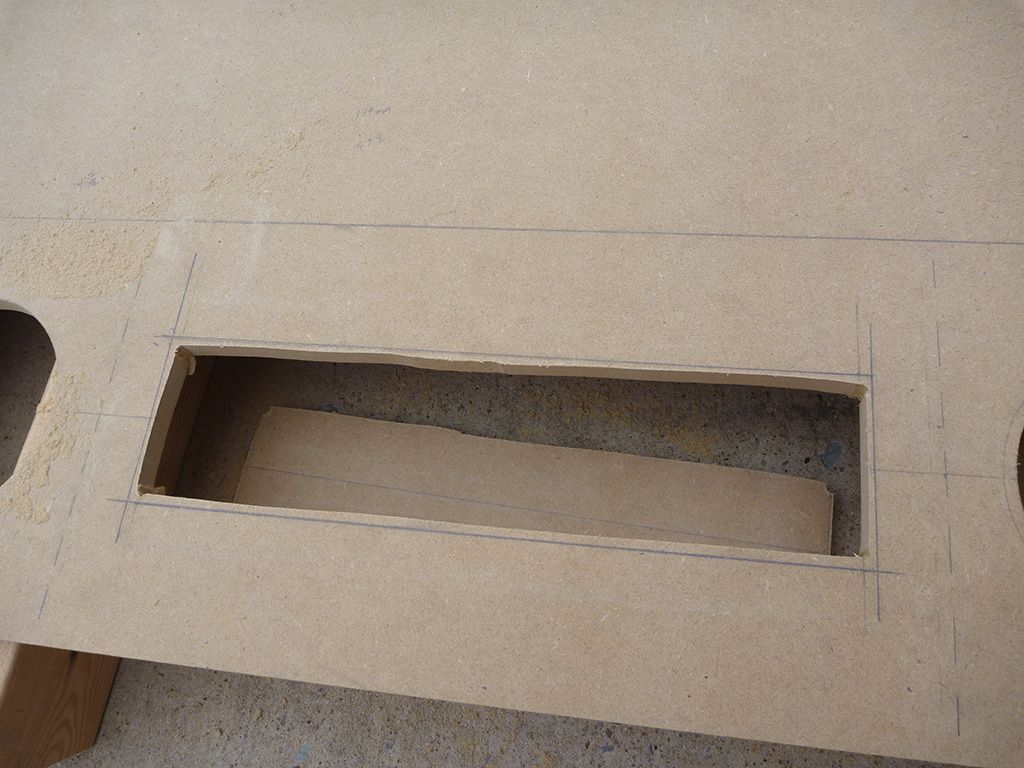
Did a rough cutout of the DMD window with the jig saw, staying 1/8" or so inside the line...
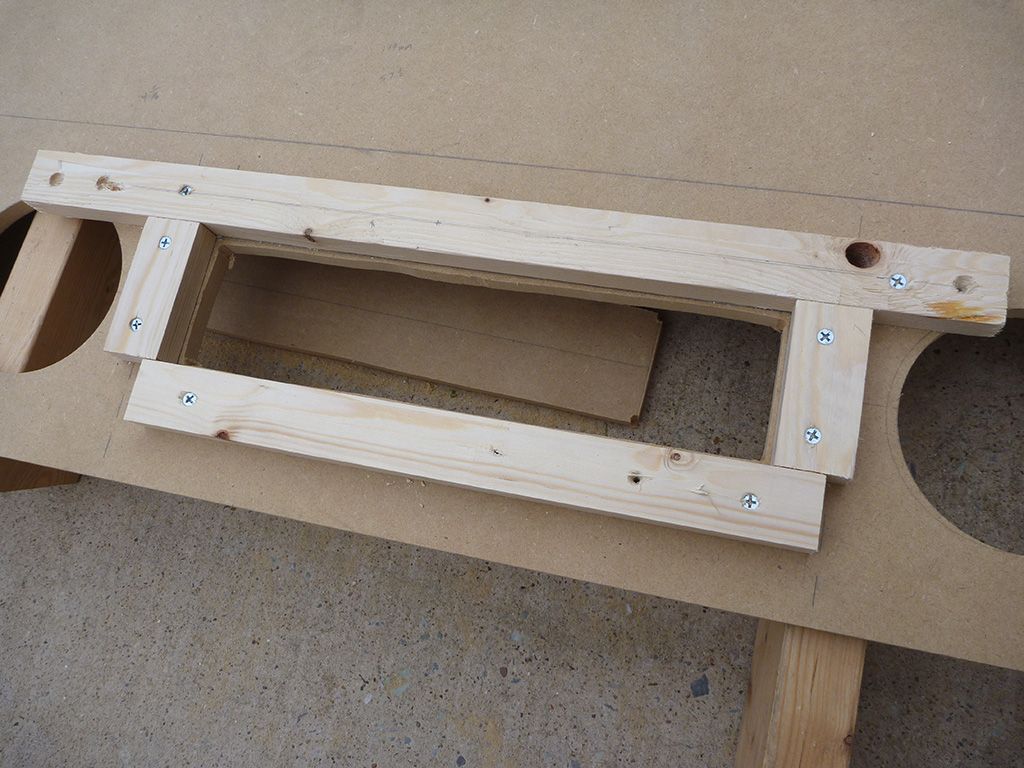
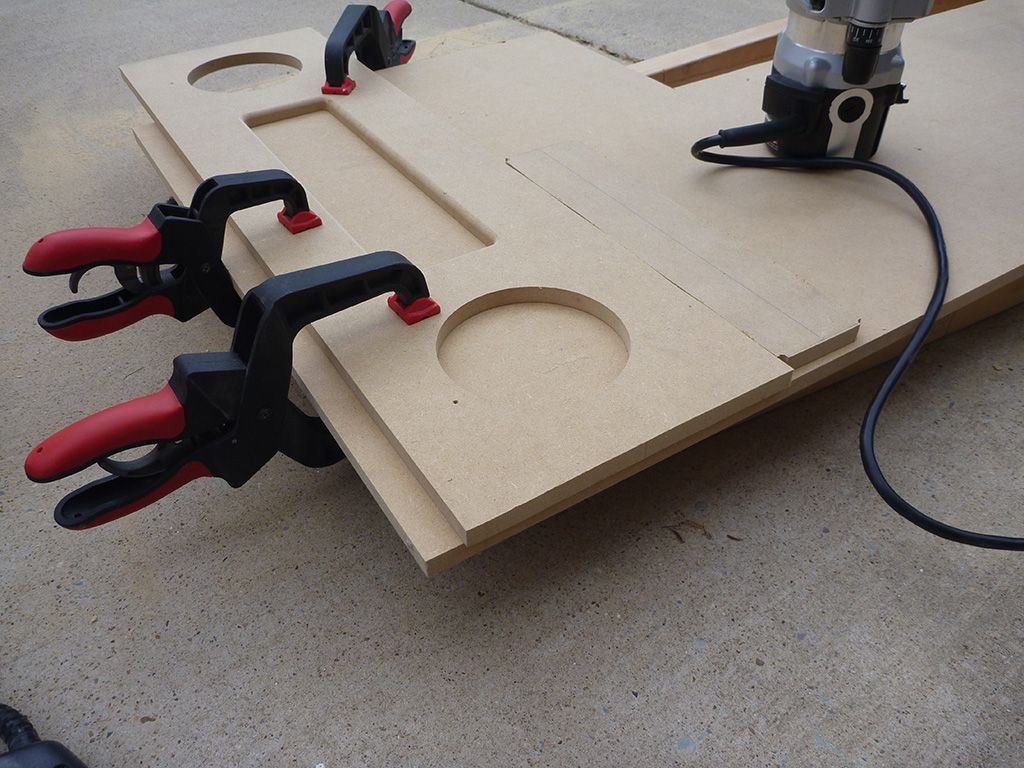
Built a guide on the back side with inside dimensions to match the exact size that I wanted the DMD window. Basically just lined the wood up with the pencil lines and screwed them down (being careful not to go all the way through the wood). I then used a 1/2" flush cut router bit to make the finish cut. The roller on the bottom of the bit follows the guide and makes makes a perfect and smooth cut...

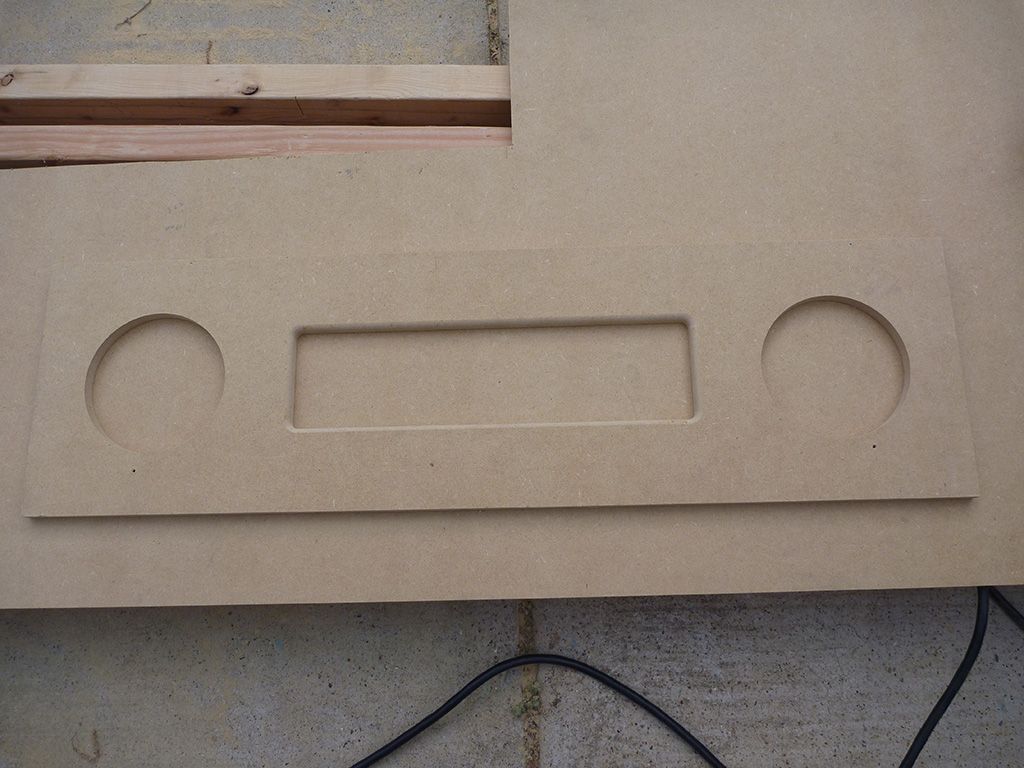
Rough cut the edge of the panel with a jig saw...
Then used the edge of the remaining MDF as a guide, once again making the finishing cut with the router and flush cut bit..
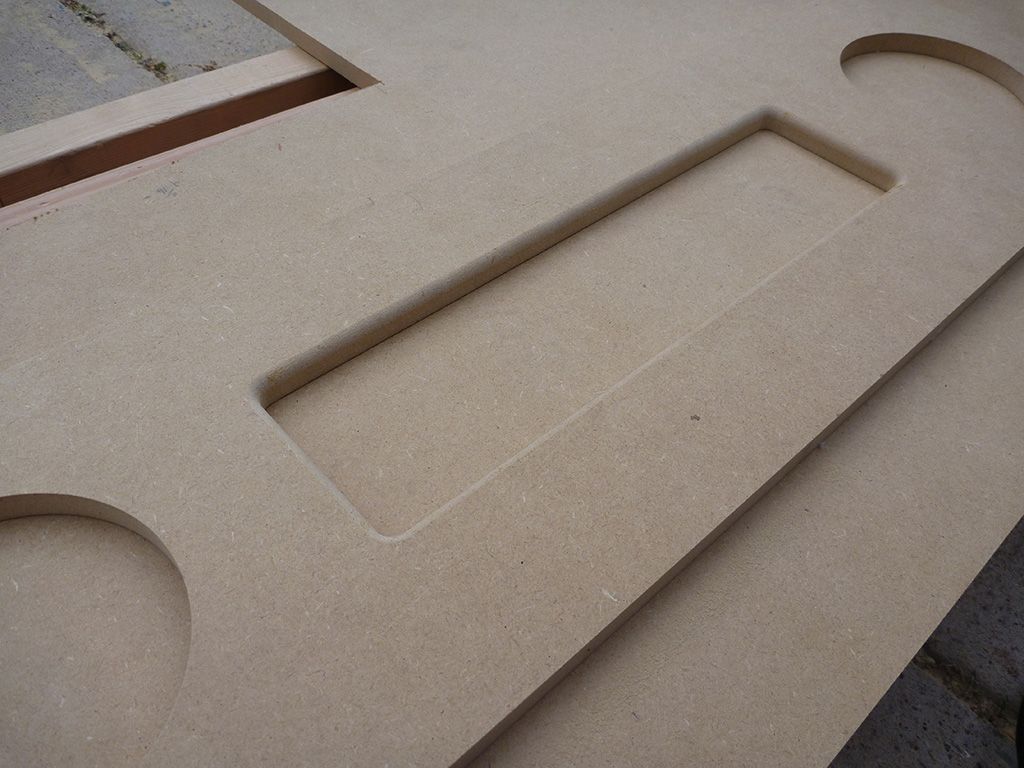
Went over the DMD window with a round over bit and we have a perfect DMD panel. I didn't round the speaker holes because I'm going to be installing the grill on top...
In the home stretch as far as the woodworking goes. Only things left are building the mounting framework for the DMD panel in the backbox, building a light bar for the space above the playfield, cutting the coin door hole and drilling the button holes.


 Home
Home Help
Help Search
 Login
Login Register

 Send this topic
 Print
Print Topic: STAR WARS: Pinball Unleashed - 46"/32"/DMD Widebody Virtual Pinball Build (Read 85369 times)


