With the remaining filler sanded down ad a few extra spots re-done, it was time to apply the vinyl. Two hands are better than one for larger, more complex surfaces. Before starting, it goes without saying that the area should be inspected very carefully for debris. Typically, I will is a duster and then brush with my hands.
Line the vinyl up and push it firmly around the first edge. It's a very important step to ensure there are no bubbles. All the places where I've applied previously haven't developed any. Note: 90 decree angles are very difficult and typicaly I will try and avoid that or use a light chamfer to help it along.
Step 1: line the vinyl up and negotiate the first edge:
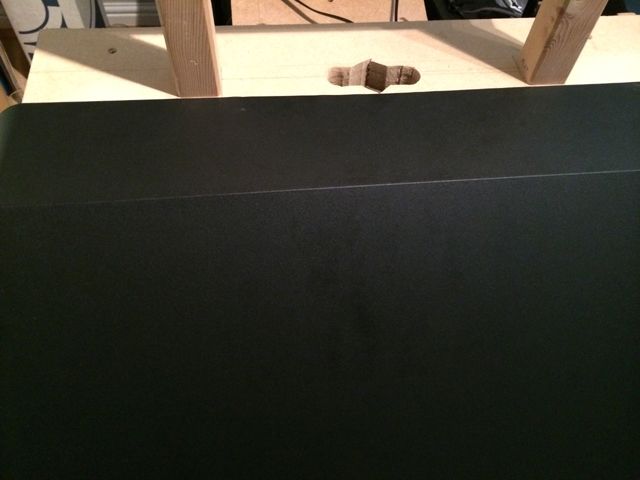
Step 2: carefully draw back the backing paper and smooth the vinyl on:
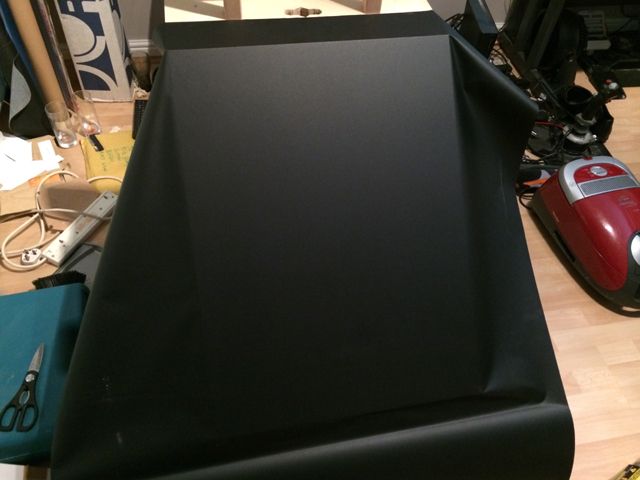
Step 3: continue to cover the piece, ensuring to press firmly around any remaining edges:
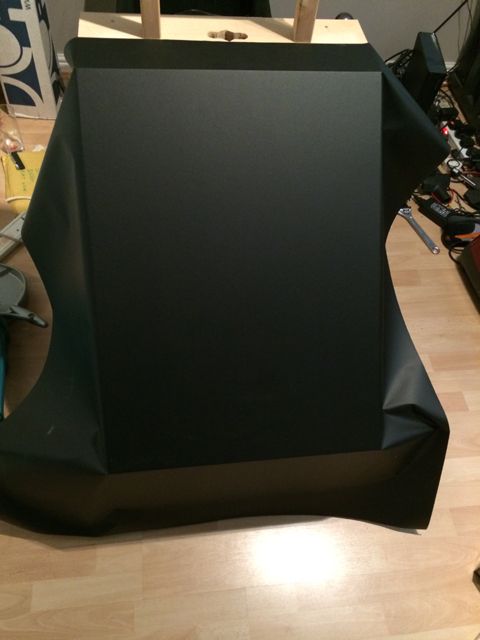
Step 4: rough trim excess to allow the final trim to be easier:
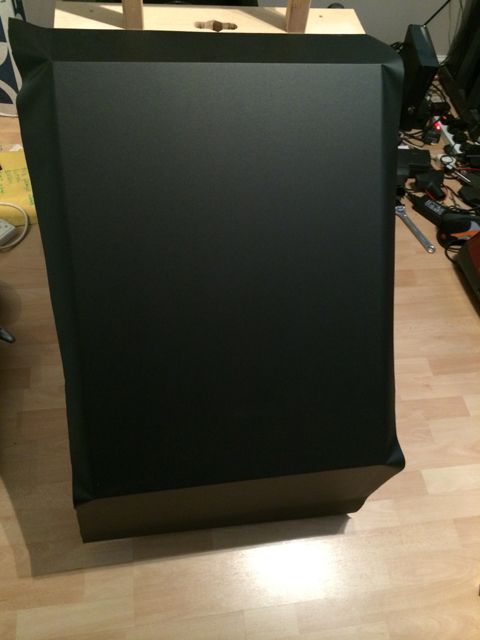
Step 5: get the tools ready, a decent flat length of wood strip and a sharp knife:
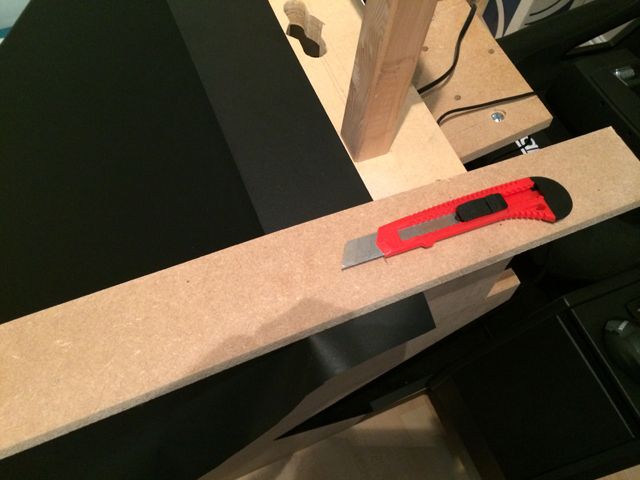
Step 6: work in sections to make the process easier:
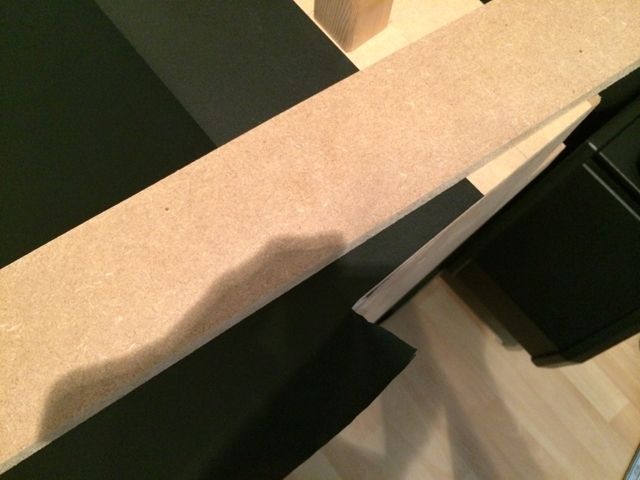
Step 7: complete all the sides:
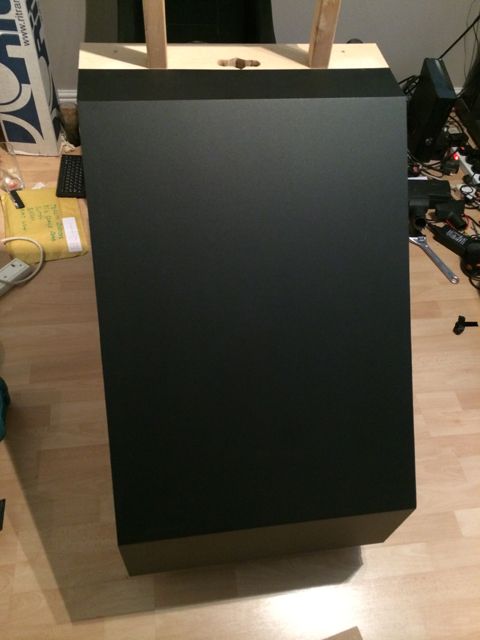
On close inspection, it looks to have gone on very well with no bumps or air bubbles.


 Home
Home Help
Help Search
 Login
Login Register
 Send this topic
 Print
Print


