Hey, thanks for your comments. I'm glad you like it.
Well, about the monitor going horizontal, I know the original was vertical, but it's just that I play more horizontal games than vertical ones, that's why I decided to go horizontal. And it's very compact, and in the angle the monitor goes, it won't fit if it's vertical, I made the design to a horizontal one.
Bender, your mini looks awesome too, I like it.
At first I was going to put a NOAC (Nes on a chip) I have with 120 games built in it, but I purchased a mini ITX board so that I can play mame and other emulators. It's a challenge to put all the electronics inside, but it's possible!
And the plexi blending, well, you only see the good one

I made almost half a dozen attempts until I got the good one. I used a hot air gun, and much patience...
Well, I have some updates:
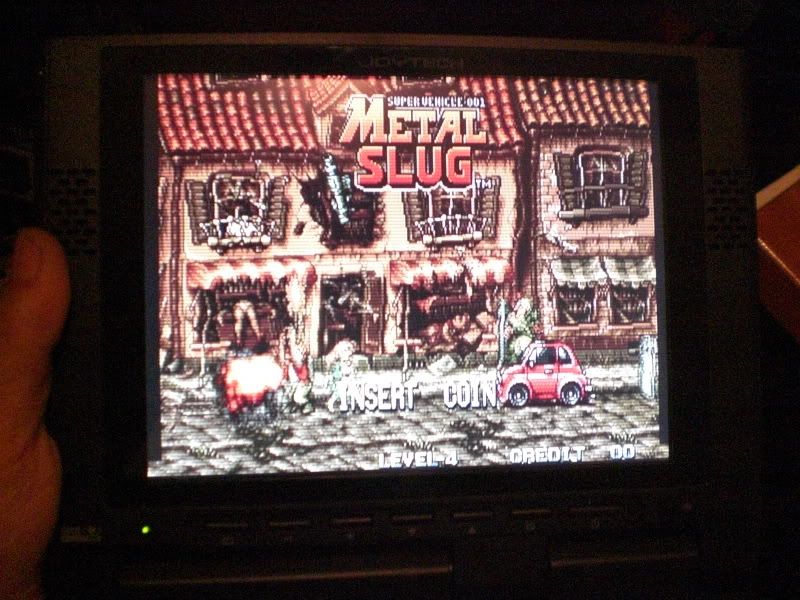
The monitorI'm using a 8"tft monitor, it's a monitor from joytech for the Play Station 2:
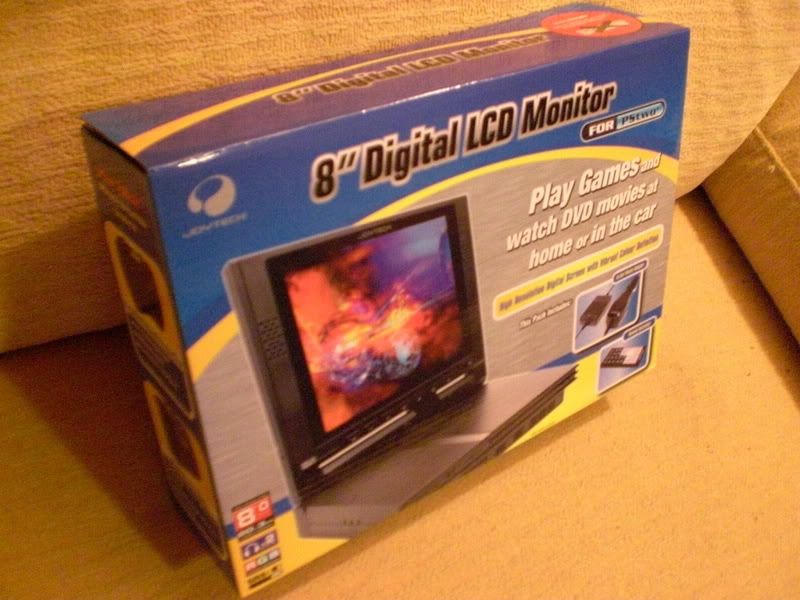
I purchased it on eBay, only 30€... I got it VERY cheap!
Here testing it... the image is great:
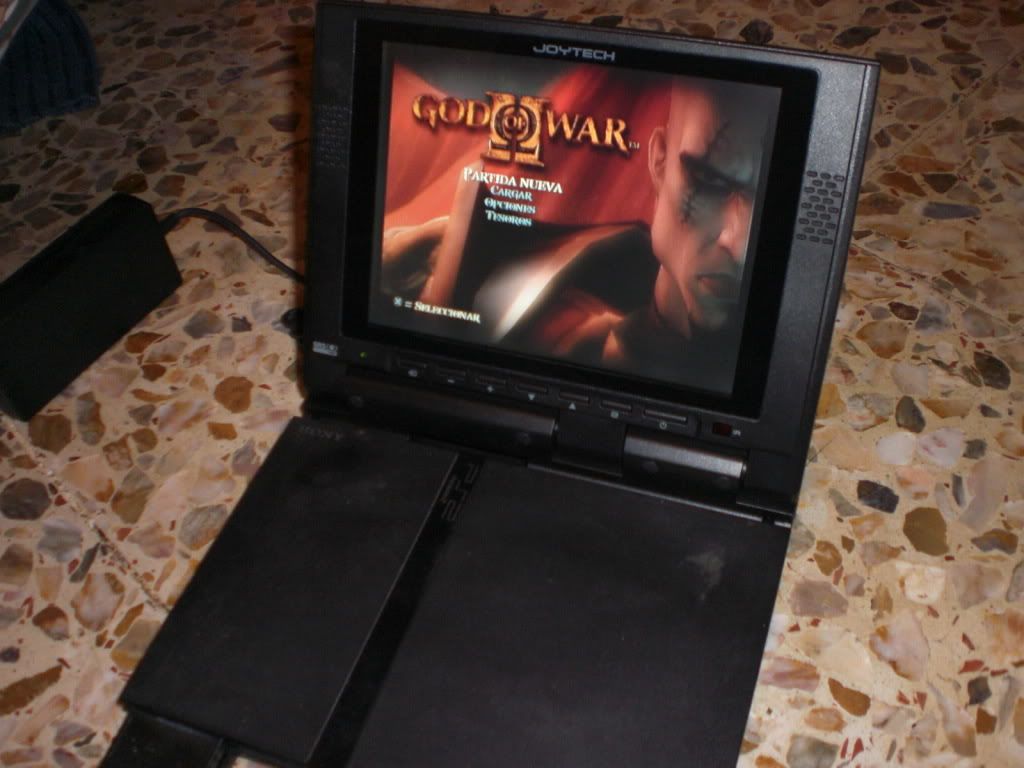
Well, it has an AV port, the one that the PS2 has, so it can get composite, component or RGB signal. As I'm using a mini ITX board at first I could only use the composite signal, because the integrated graphic card that it has doesn't let me change the sync frecuency to 15KHz needed to convert the VGA signal to RGB. But taking a look at it, it has a DB25 port. If I open the case I see that its something like a multi video port, with some signals silkscreened in the board, like VGARED, VGABLUE, etc.
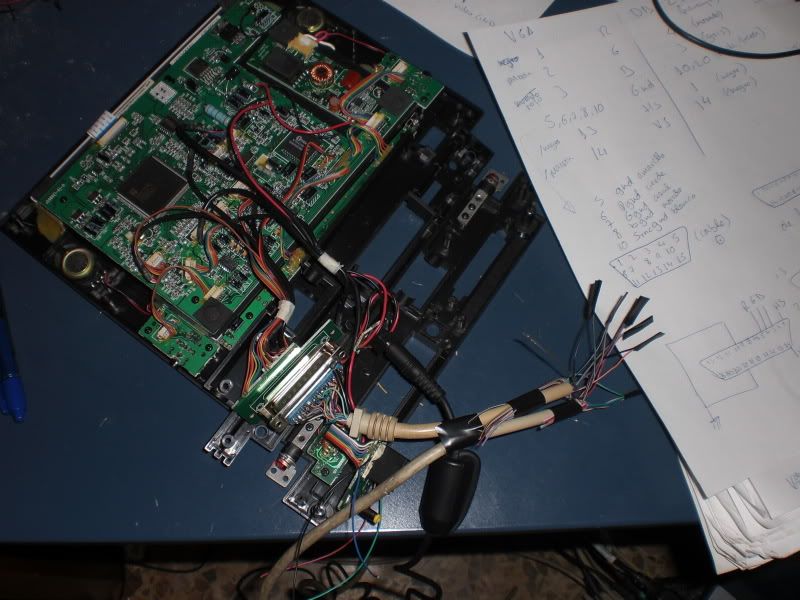
After testing it, and with the help of a friend, using 640x480x60Hz, I got it

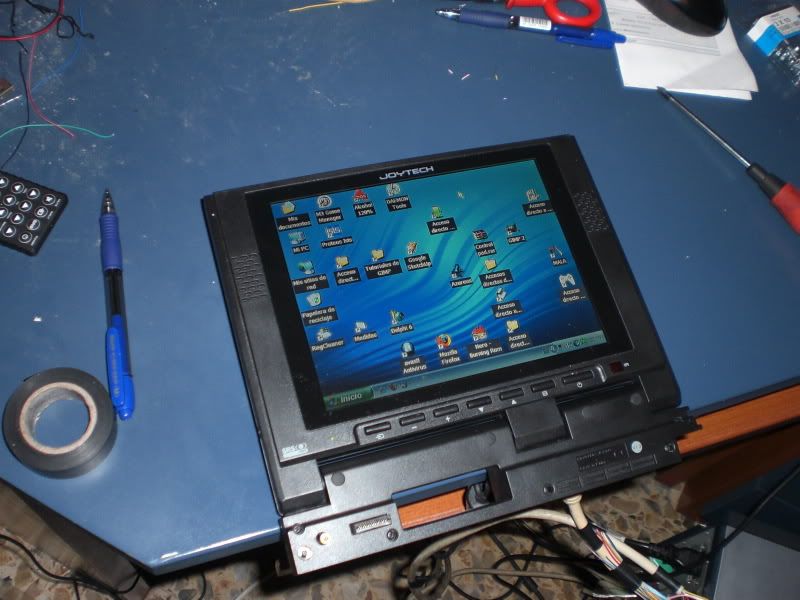
That's still my PC, not the board I'll use. Of course I couldn't resist...
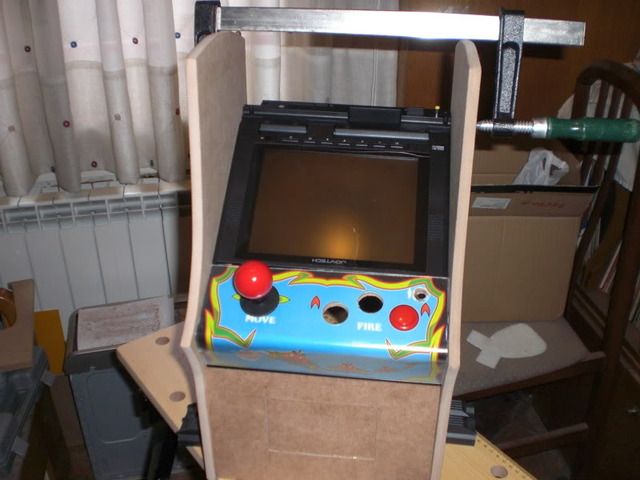
The viewing angle is good only from upside, and this isn't my case, as it will go more horizontal, so I decided to put it upside down, and rotating the image with the video drivers so that I have a good image (here is the cabinet at the beggining, still unpainted and with the first CP I did, but you can see it better):
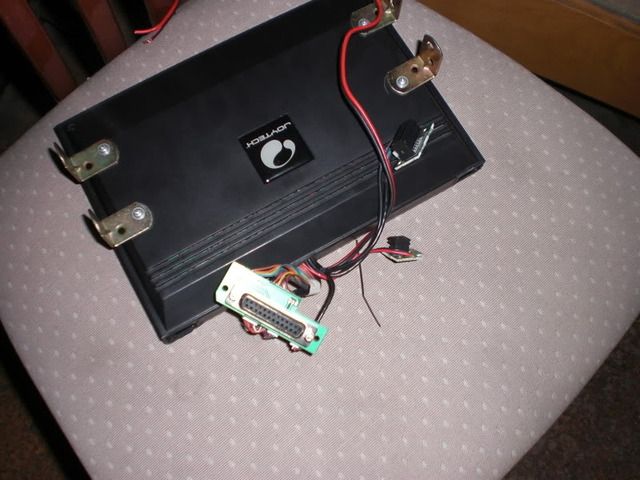
To fasten it to the cab, I dismounted it and screwed some brackets, so it can be screwed to the laterals of the cabinet:
I also had to cut the plastic (it almost doesn't fit into the cab!)
Well, tomorrow more pics, stay tuned.


 Home
Home Help
Help Search
 Login
Login Register
 Send this topic
 Print
Print


