Hello, my name is Jake and this is my first time building an arcade cabinet. I've loved video games since I was a kid and I always felt like I missed out on that golden era of arcades. I always used to play zombies ate my neighbors growing up and since I'm building a mame anyway I figured why not?
I started this project some time ago, but between school and work it's been going slowly. Now that I'm done with school I've decided to finish this up. I started back in 2010, and I didn't feel like posting up stuff in such large increments of time. So now that I'm graduated and getting close, I figured I'd just dump some pictures. Any comments or suggestions are welcome, but like I said it's my first build so don't expect anything crazy.
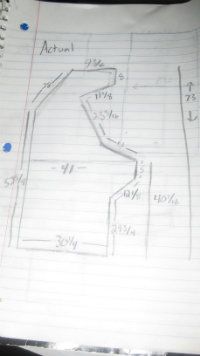
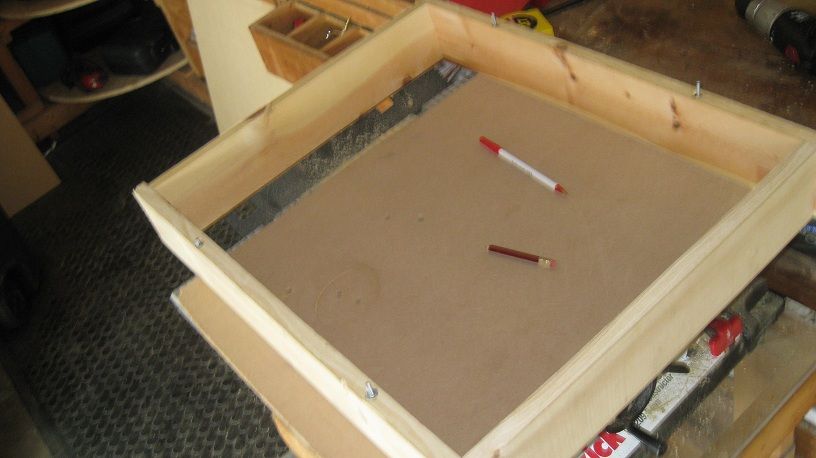
Some very basic measurements, just wanted to make sure my crt fit and my wrists sat at a good level when I played.
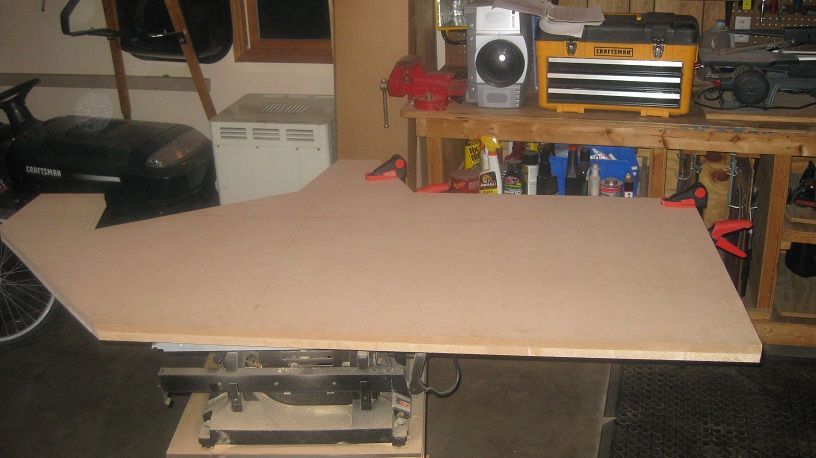
Cut out side panels, a little uneven at parts. I had to sand a decent bit to get it close. I had never cut wood before this so it went better than expected.
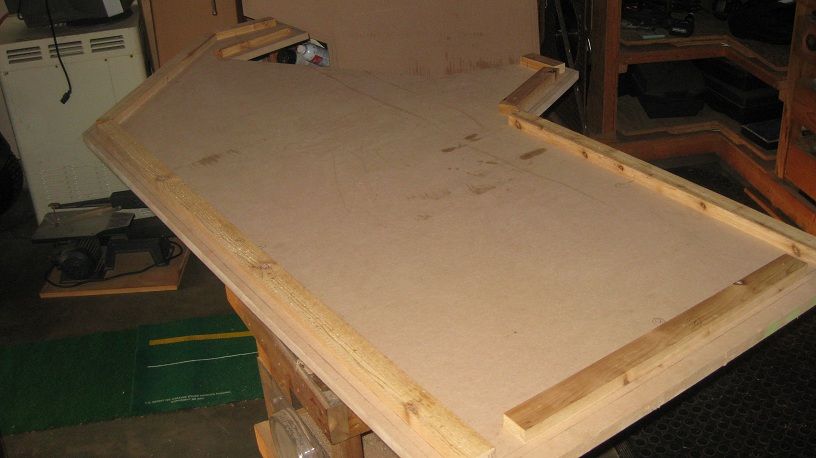
Added on the framework.
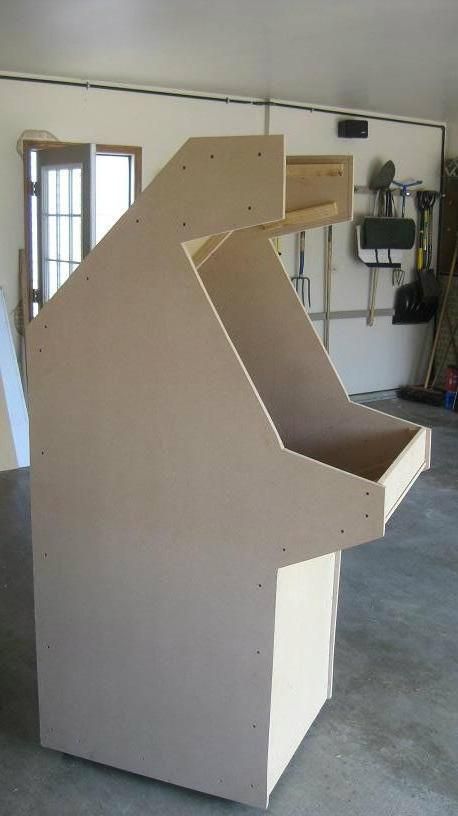
Standing up, looking pretty.
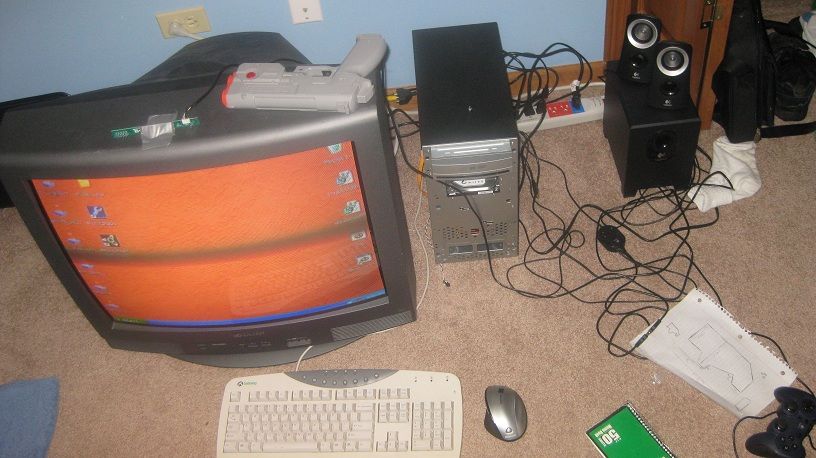
Here's my basic setup going into it. Computer, speakers, smart strip. The light gun I got working but it's gonna be a bit before I get that going. I want to rig up a gun that looks like the squirtguns from zombies ate my neighbors but I'm still toying around with ideas. When I was testing roms, the guncon proved pretty fun anyway.
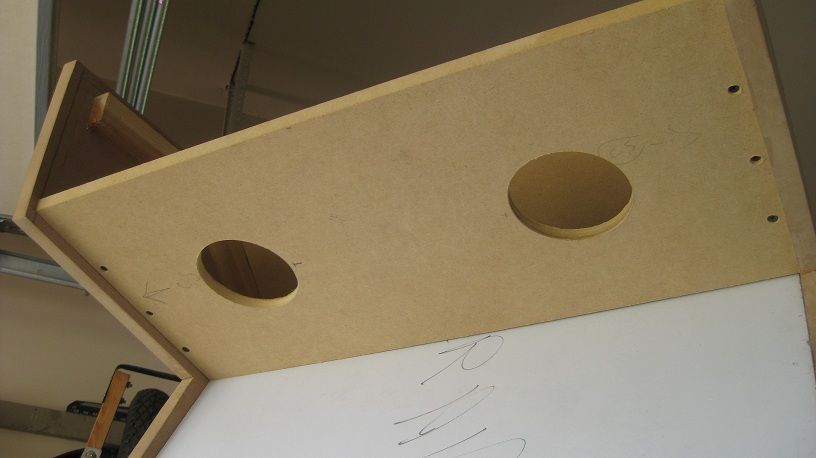
I bought some smaller speaker grates and got the holes going for that.
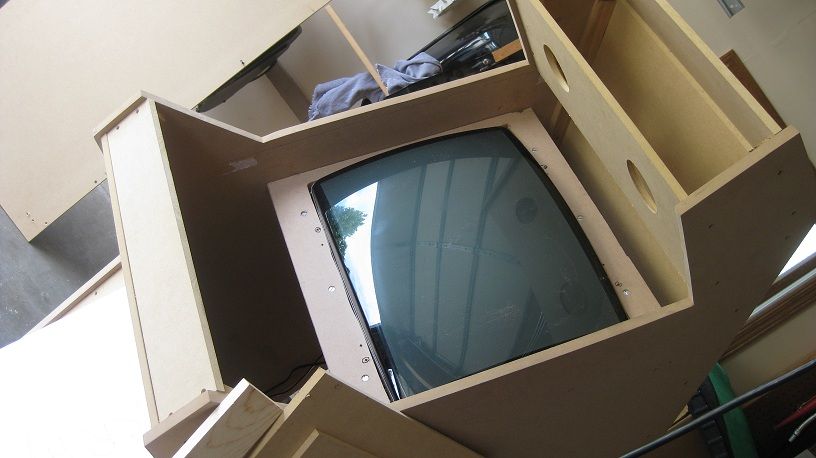
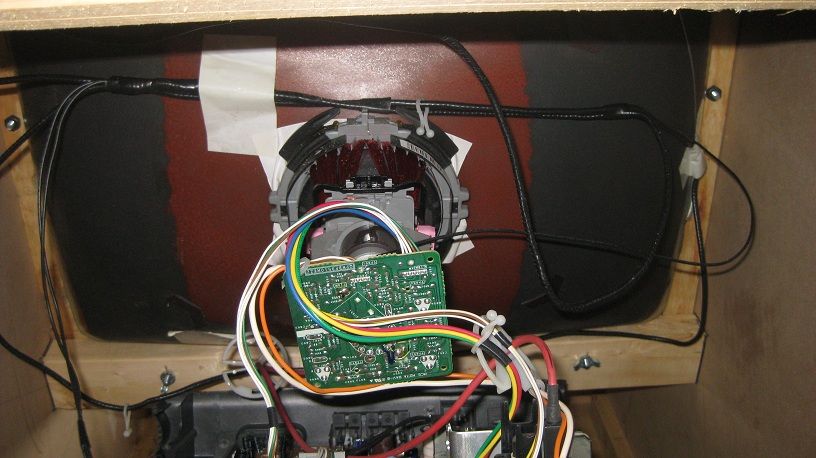
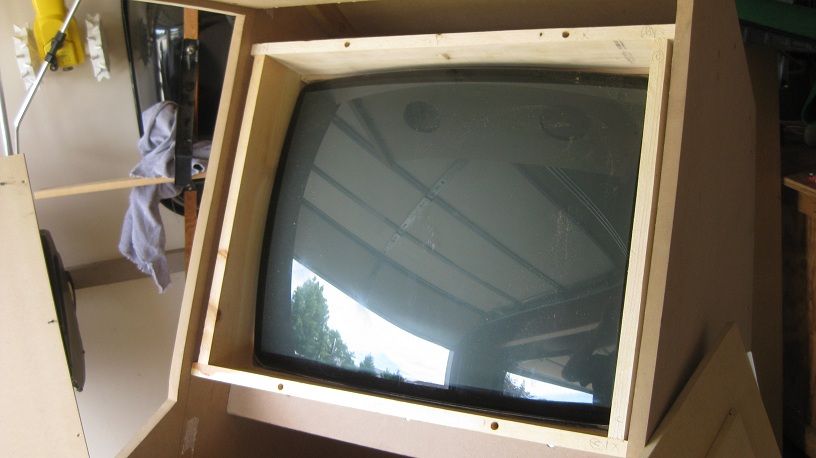
The cabinet was too small for the crt I had picked out, I didn't consider how bulky the case was. So I popped that out and voila. Fits pretty well now.
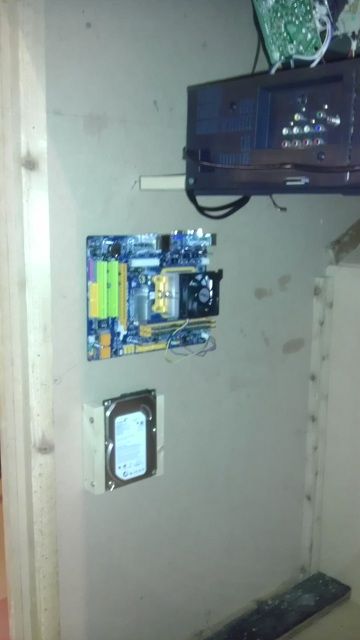
I added a shelf for the motherboard in the back.

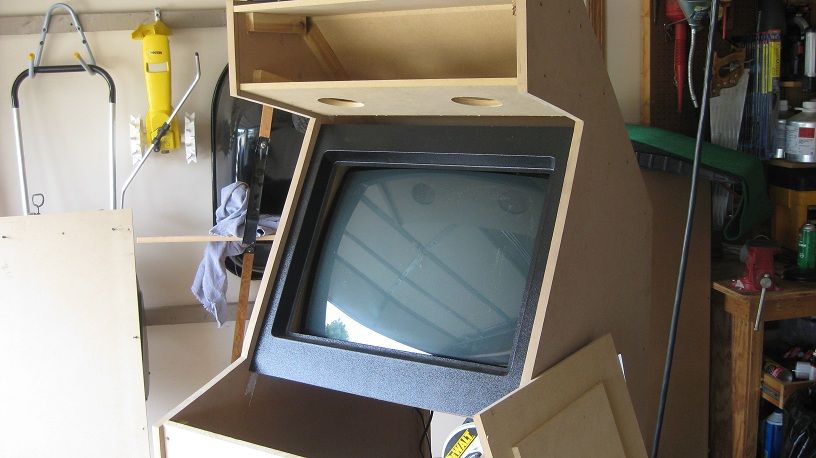
Made a fixture for around the tv so the bezel would sit properly.
Bezel sitting in

Drilled in a board to hold the plexiglass in
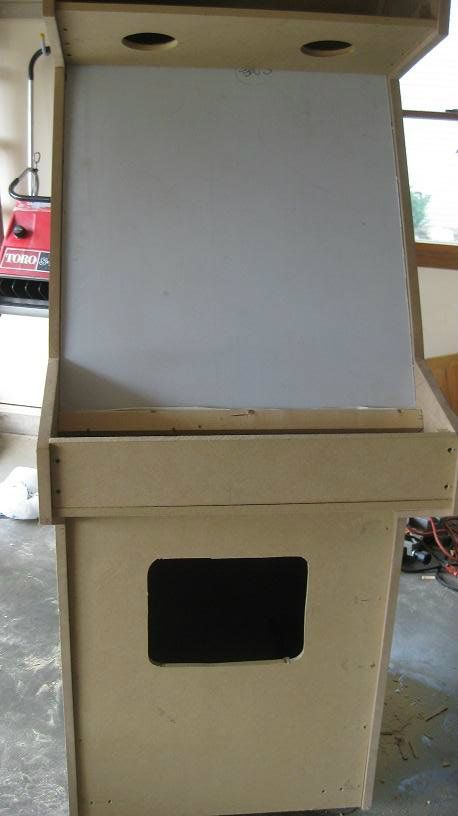
Cut out the spot for my coin door.
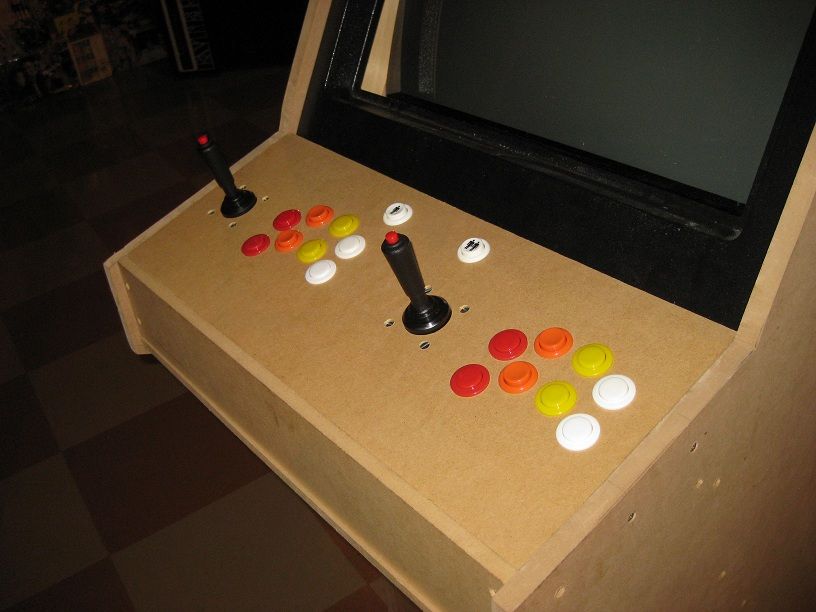
Control panel cut out and buttons/joysticks mounted in. When I first started this project, many moons ago, I was thinking marvel vs. Capcom 2 machine so I went with different colors. Waiting on a few new button colors to make it more zombie themed.
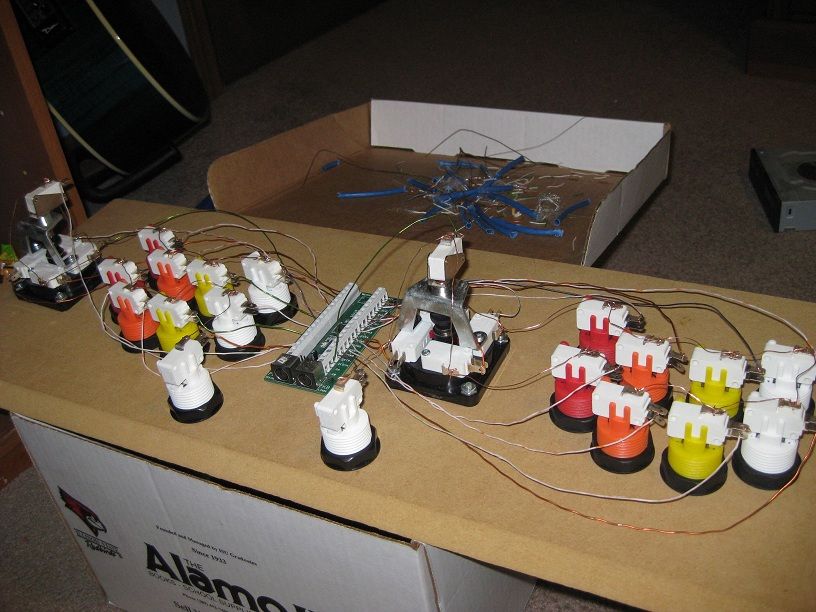
Wired up everything to test it, mounted in the ipac controller to the board too.
*This was a quick setup to test software, the final wiring will be crimped and unexposed.
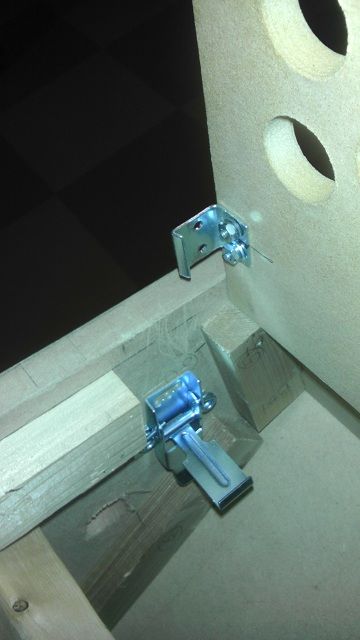
Added control panel clamps, so I can get to the panel if I need to. Had to cut out some of the frame for the clamp. Everything is such a tight fit, it was kind of a pain getting everything in such a small area.
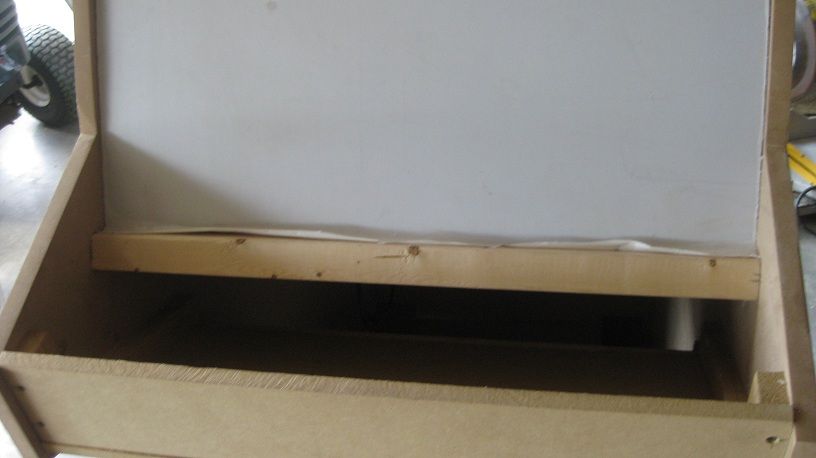
Had to cut out some of the wood to fit the joysticks in properly. Added some support for the middle of the control panel, just in case things get rowdy.
Next step is mounting the computer onto the cabinet.
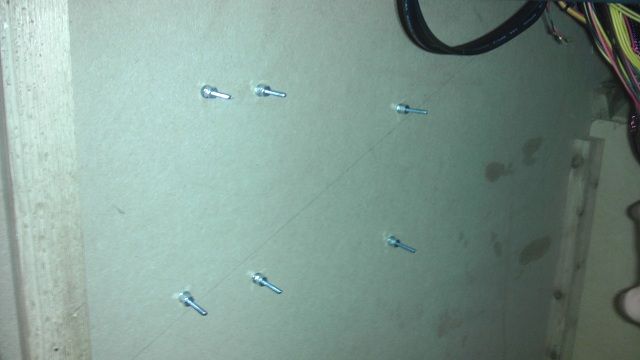
Measured out the motherboard holes and added screws in. I used a few washers to give it some space from the side.
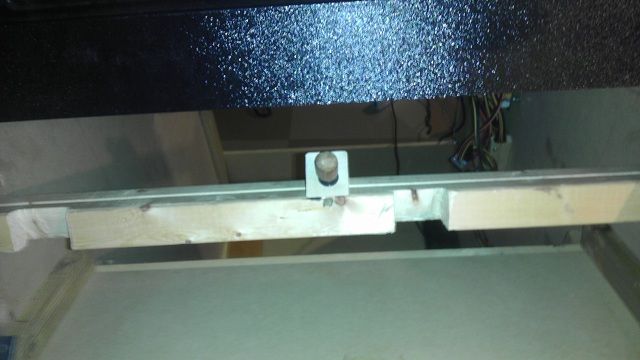
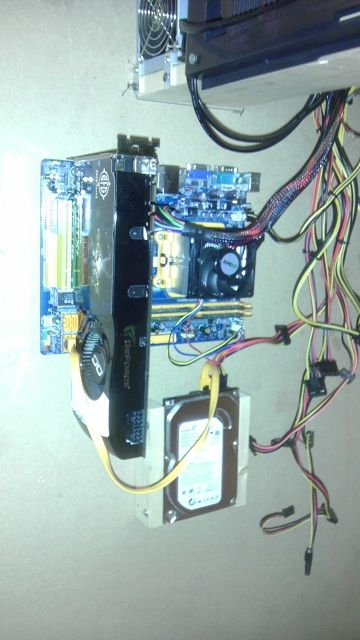
Added two pieces of wood on the side of the hard drive and mounted those on the side.
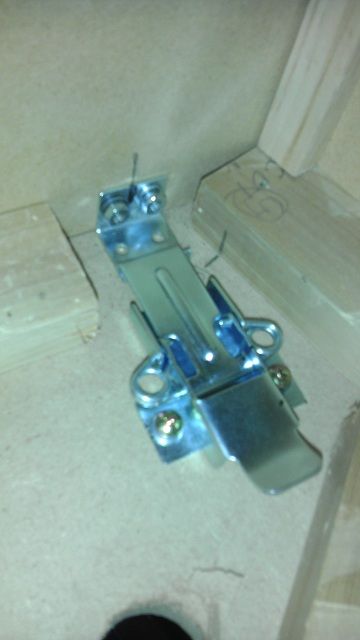
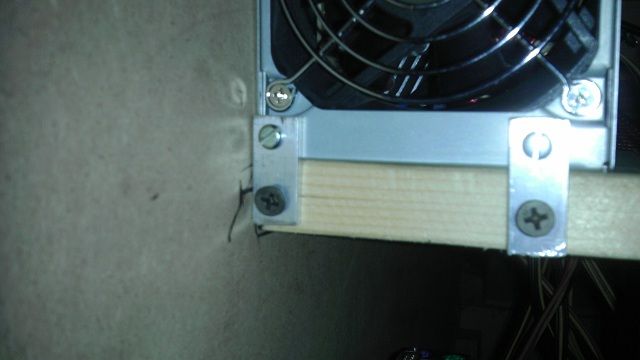
I decided to mount the power supply onto the shelf. It's pretty sturdy sitting there so I only added a small piece of metal screwed into that and the shelf.
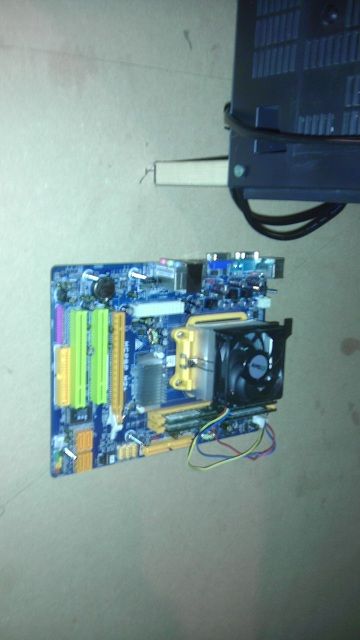
Everything sitting in and wired. I completely forgot about the graphics card when I was planning things out. I went with 2 washers for the motherboard at first and then had to go to 5 to get it to sit in right. Then I had to move the hard drive over to make room for it. And then I found out the power supply didn't reach it, so I had to get some 6 pin extenders for it. A momentary lapse of reason set me back a little.
And art came in!
Control Panel:
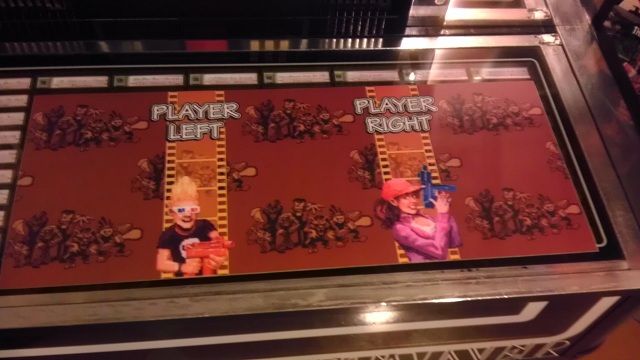
Marquee Panel:


 Home
Home Help
Help Search
 Login
Login Register

 Send this topic
 Print
Print Topic: Scratch build (Zombies ate my neighbors theme) (Read 11006 times)


