Interesting way to extend the volume knob... for what it's worth, this is how I did mine...
First, a shot of what I was working with, before I did anything with it:
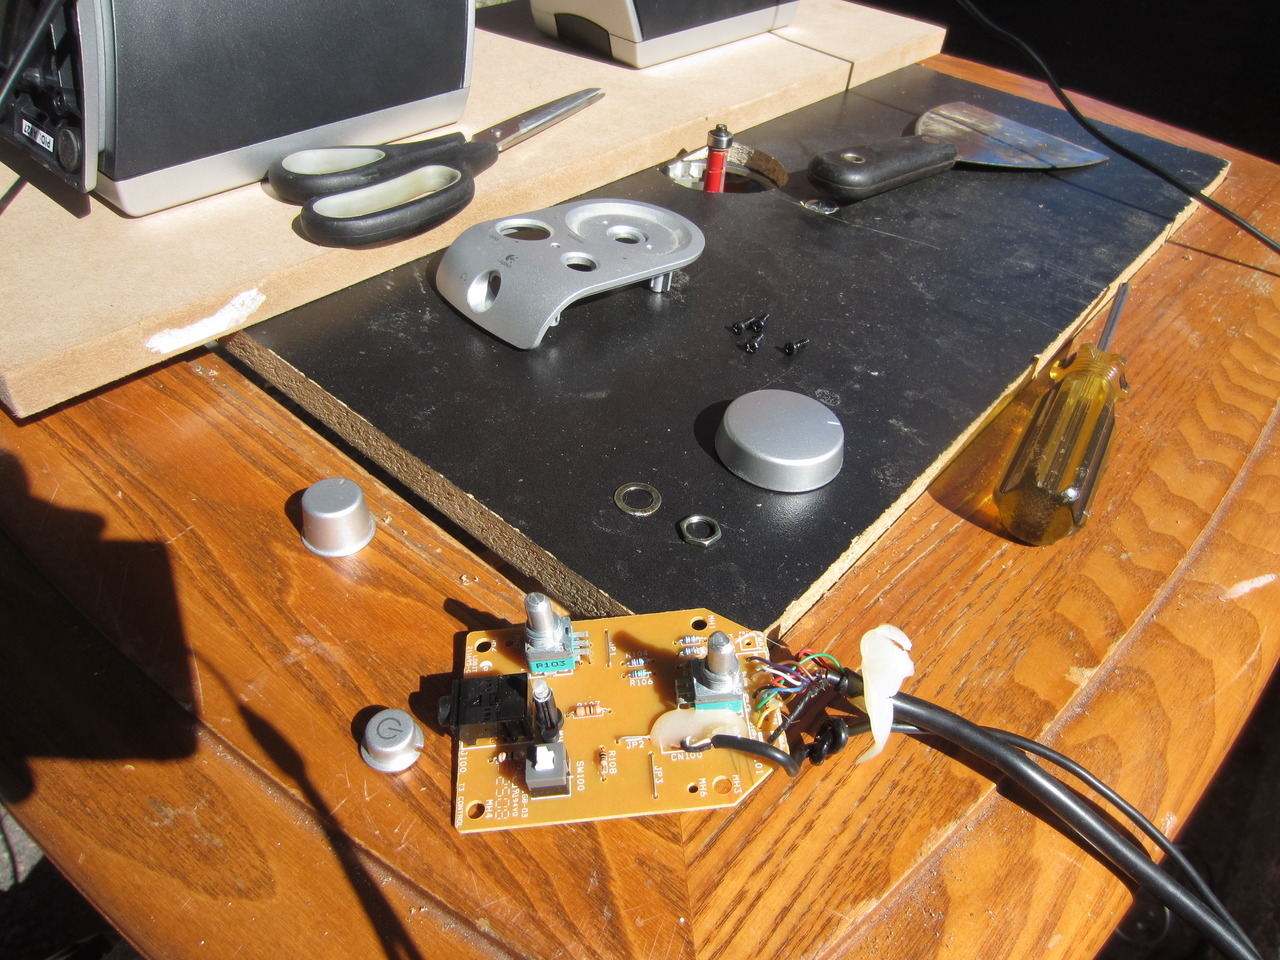
Step 1: Take a soldering iron to the side of the PCB where the volume pot is soldered, and *carefully* heat the solder points while pulling slightly on the pot, removing each leg of the pot until it comes off of the board, like so:
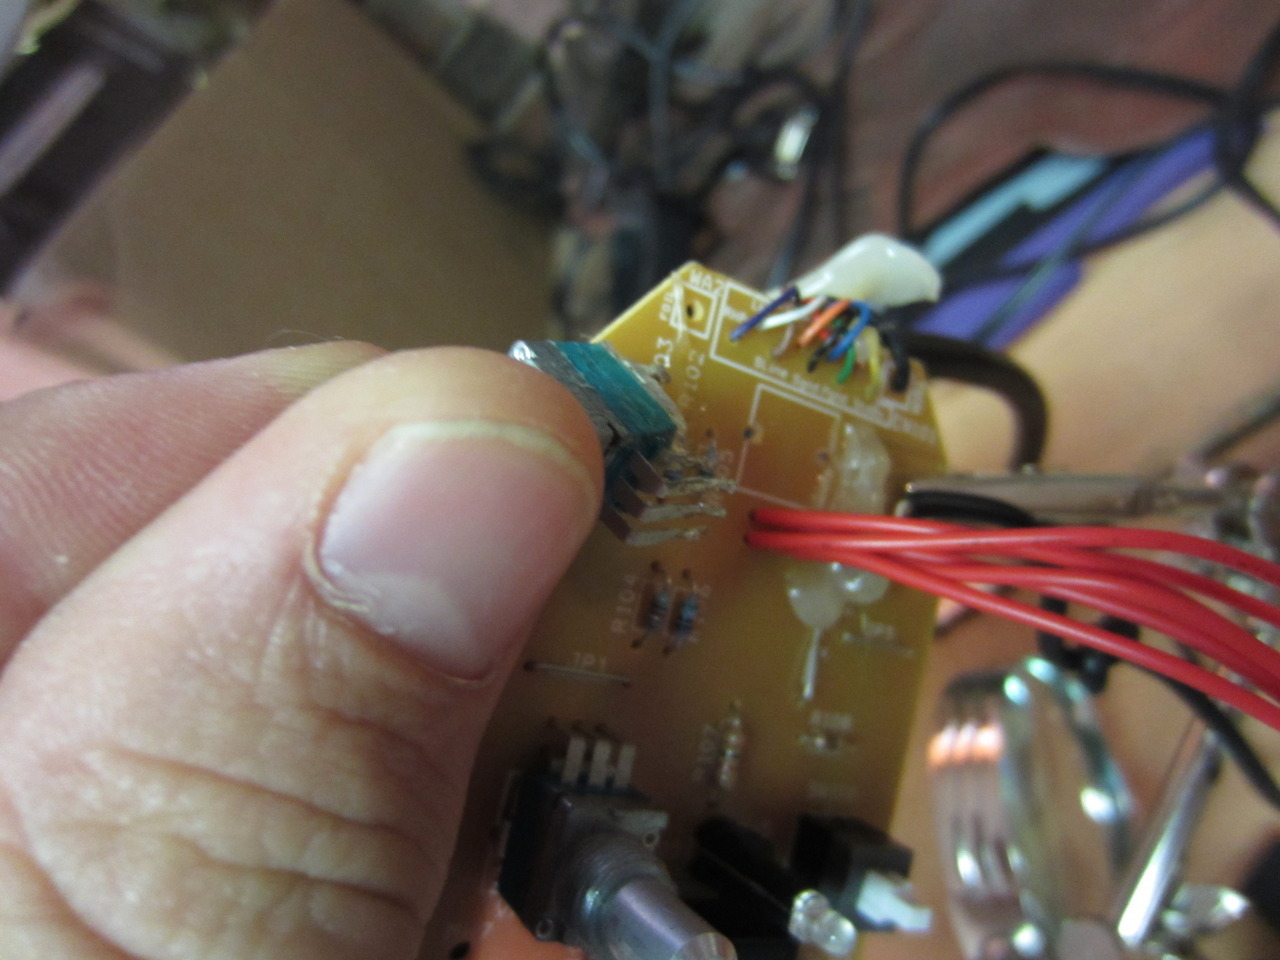
Step 2: Cut equal lengths of wire (one for each lead) and strip the ends.
Step 3: Solder one end of each wire to the holes left in the PCB where the pot once was, and the other end of each wire to the corresponding leg of the pot. Your pot will look like this when done:
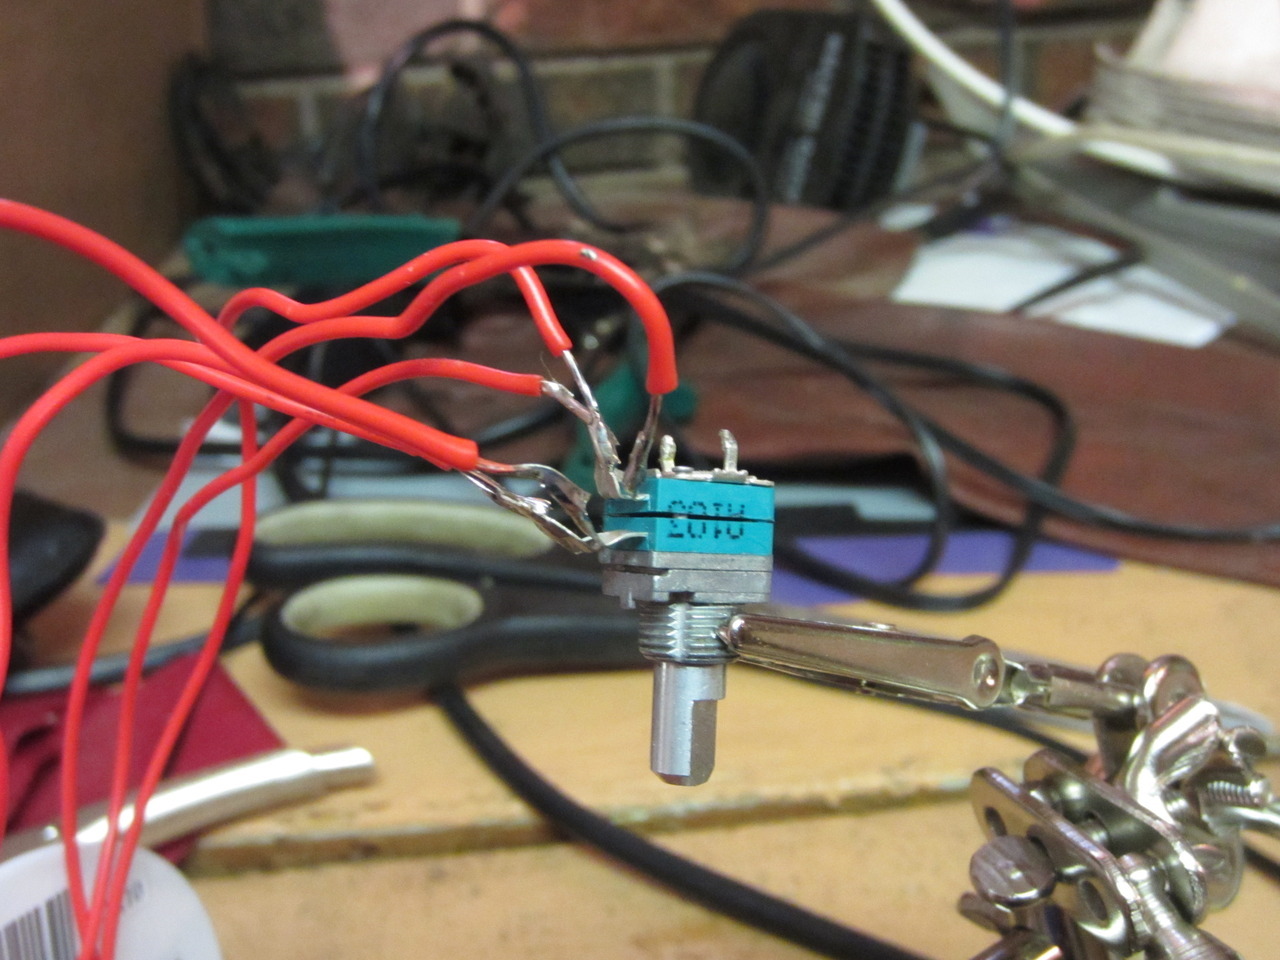
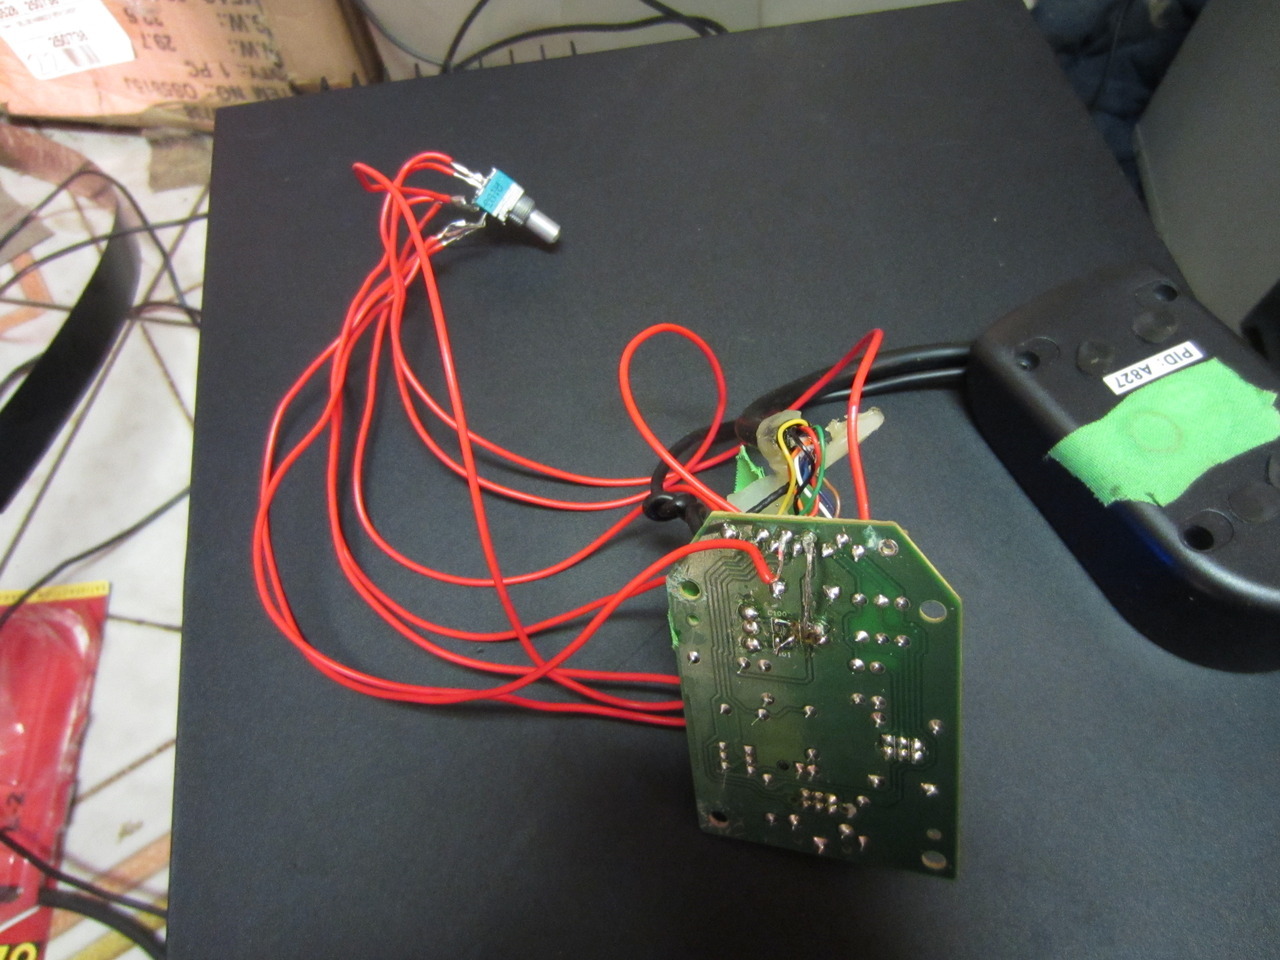
Step 4: Test that the solder job works by powering on the sound system and running an audio source to it:
Step 5: Drill a hole that will snugly fit the pot with its legs bent to point out the backside:
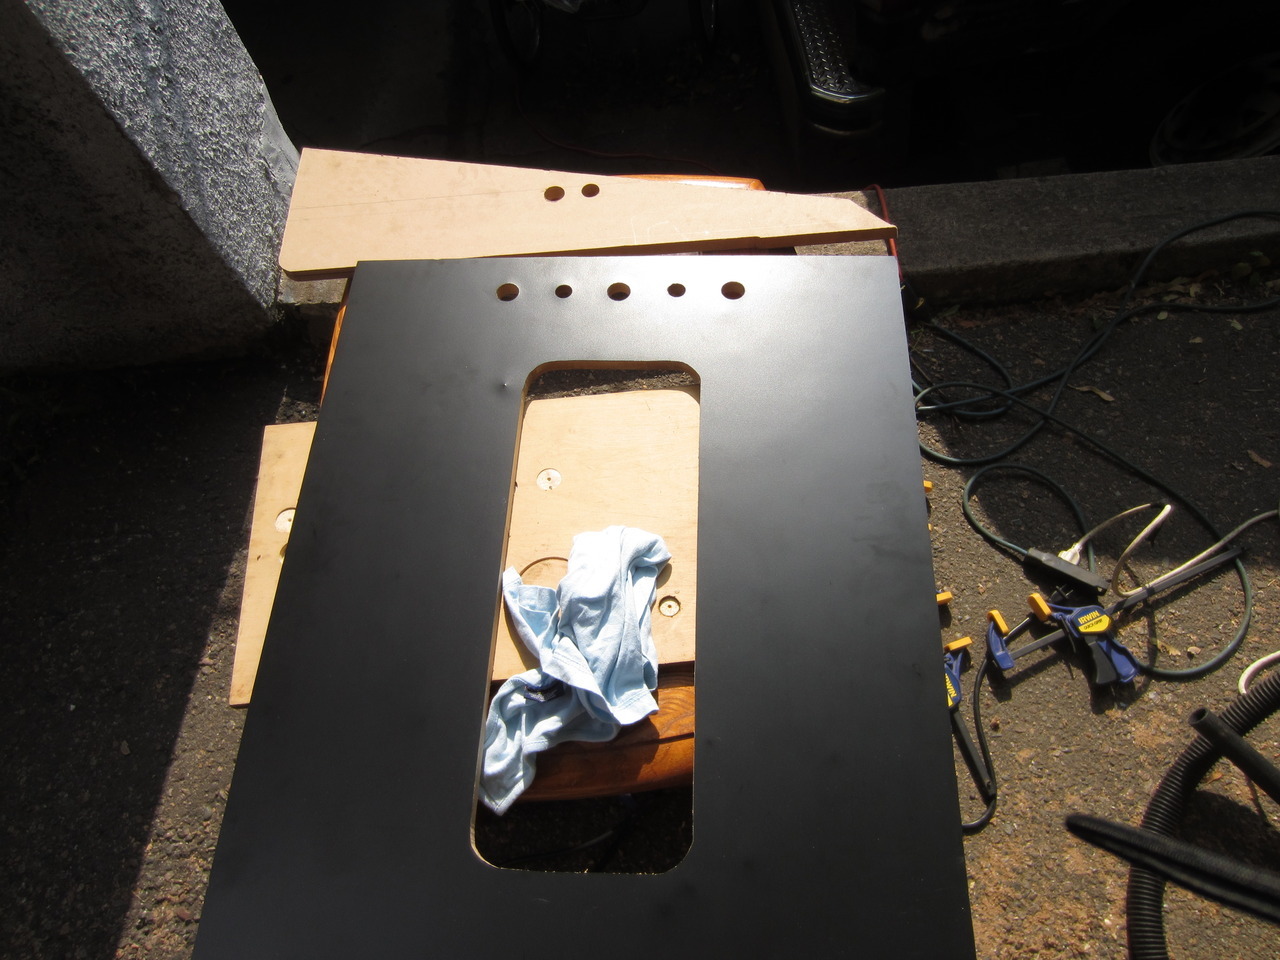
Step 6: Put the pots into the hole, adjust to where you want them to be. The best way to do this with a volume pot is to put the knob back on the end of it and turn it down to 0, then rotate the pot (which moves freely in the hole) until the notch on your knob is where you want 0 to be.
Step 7: Take two pieces of stiff flat cardboard (cereal box tops work best) and notch them with scissors as close to the width of the metal nub at the end of the pot as you can get, then position them on the surface, and tape them down. In my example, I put the knob on to ensure my pots didn't shift in the hole:
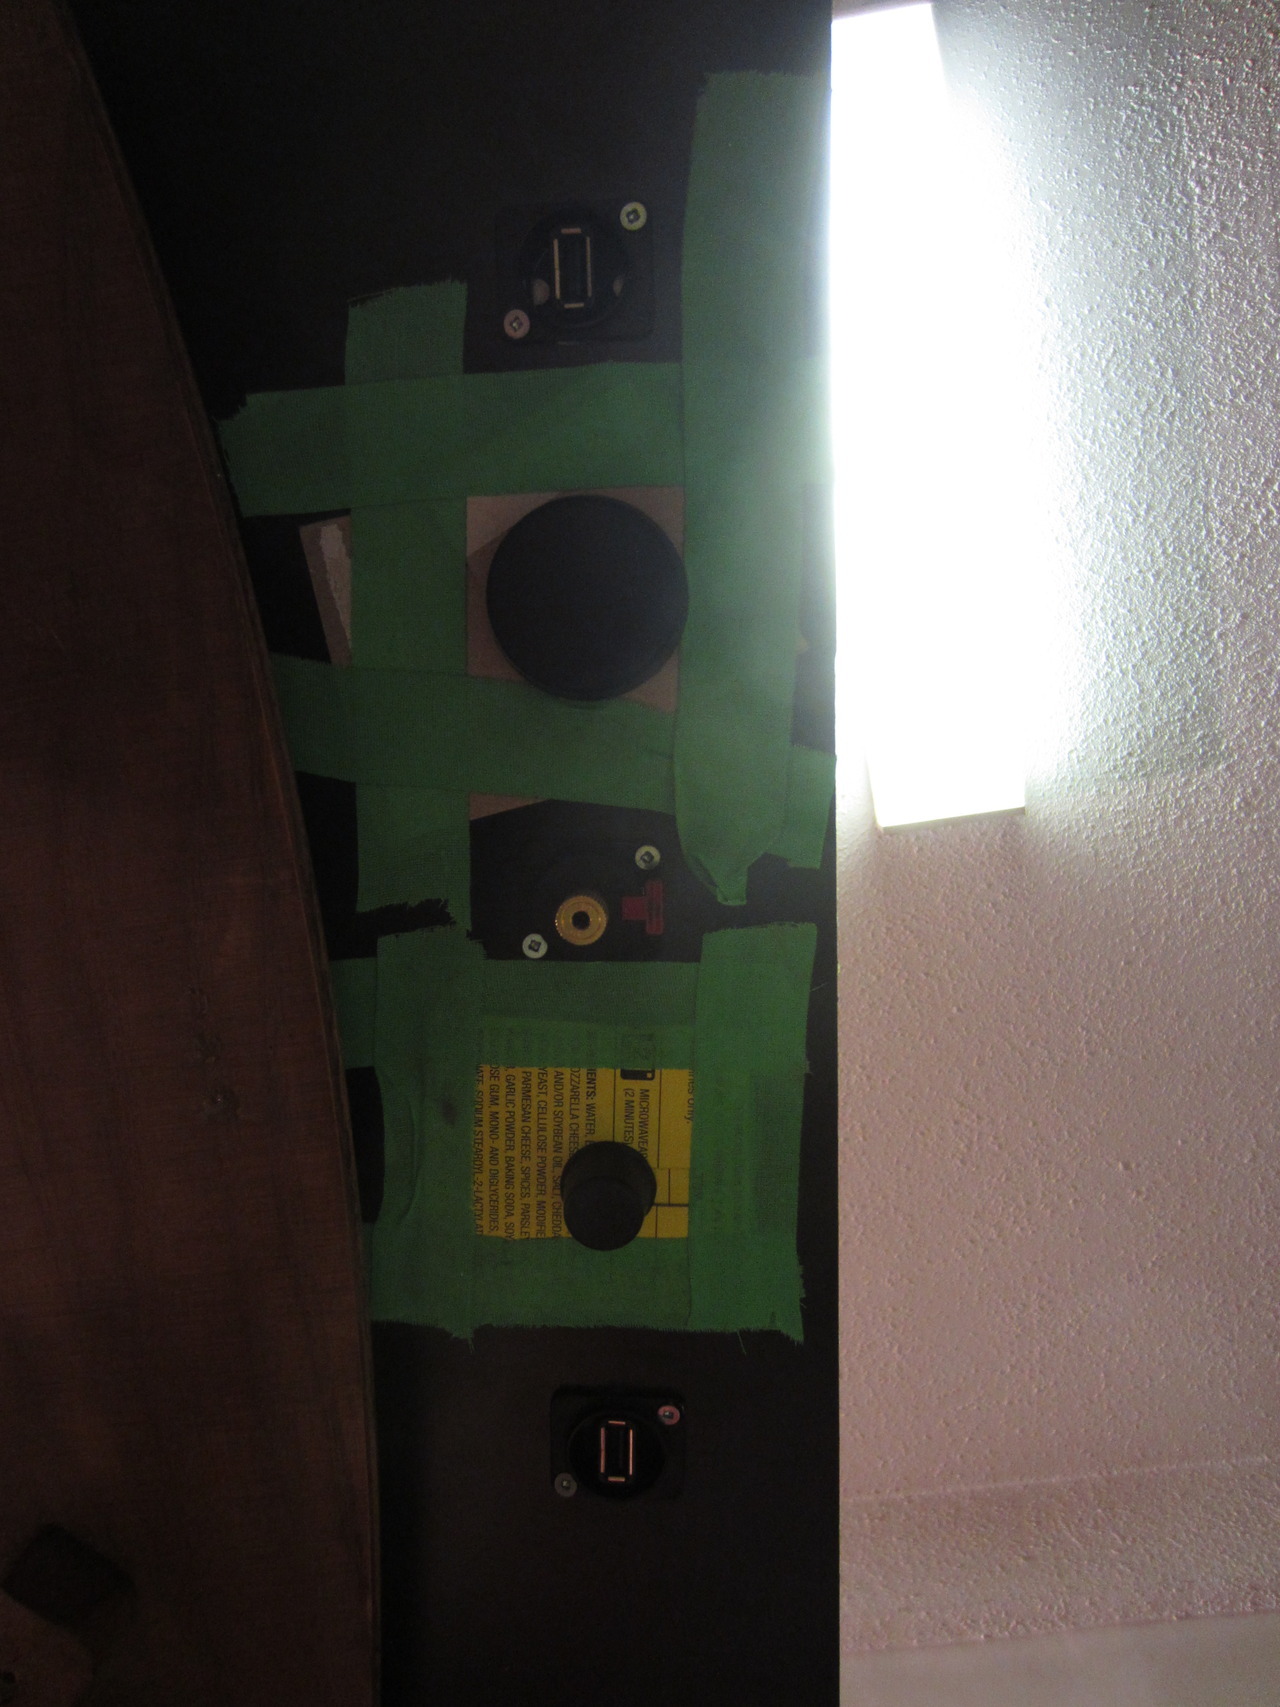
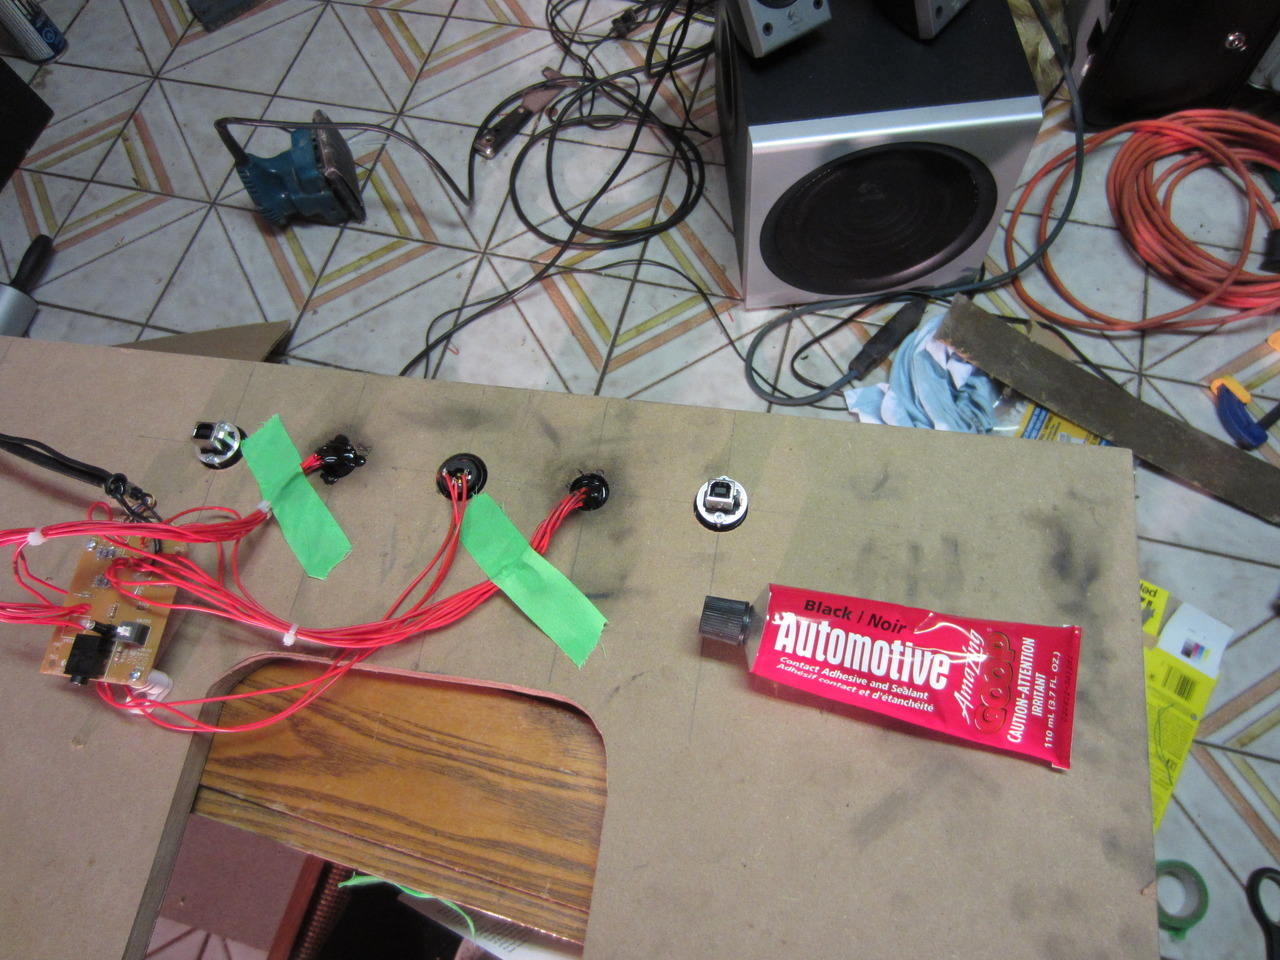
Step 8: Fill hole with Automotive Goop. This can be found at any auto body shop. I would recommend removing your volume knob if it is still on the pot. This stuff is very viscous and dries to a hard, black glossy rubber overnight, however, if it comes in contact with plastic it has a tendency to break down the polymers, making your knob less rigid and more flimsy. Once the goop is in your volume pot hole, it isn't going
nowhere:
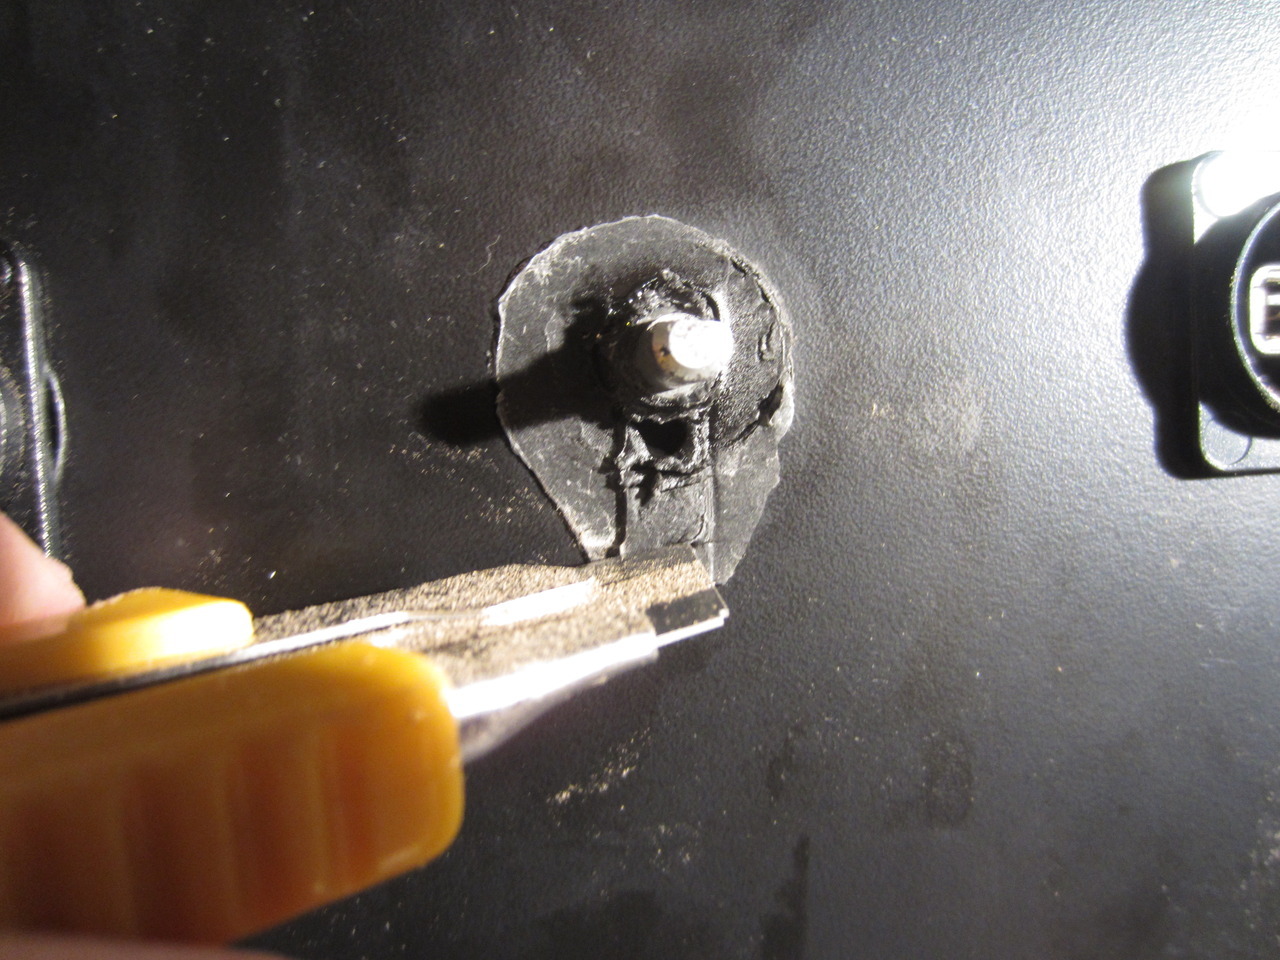
Step 9: Remove your cardboard masks, and clean up any residue on the front of the panel with an exacto:

The finished product:
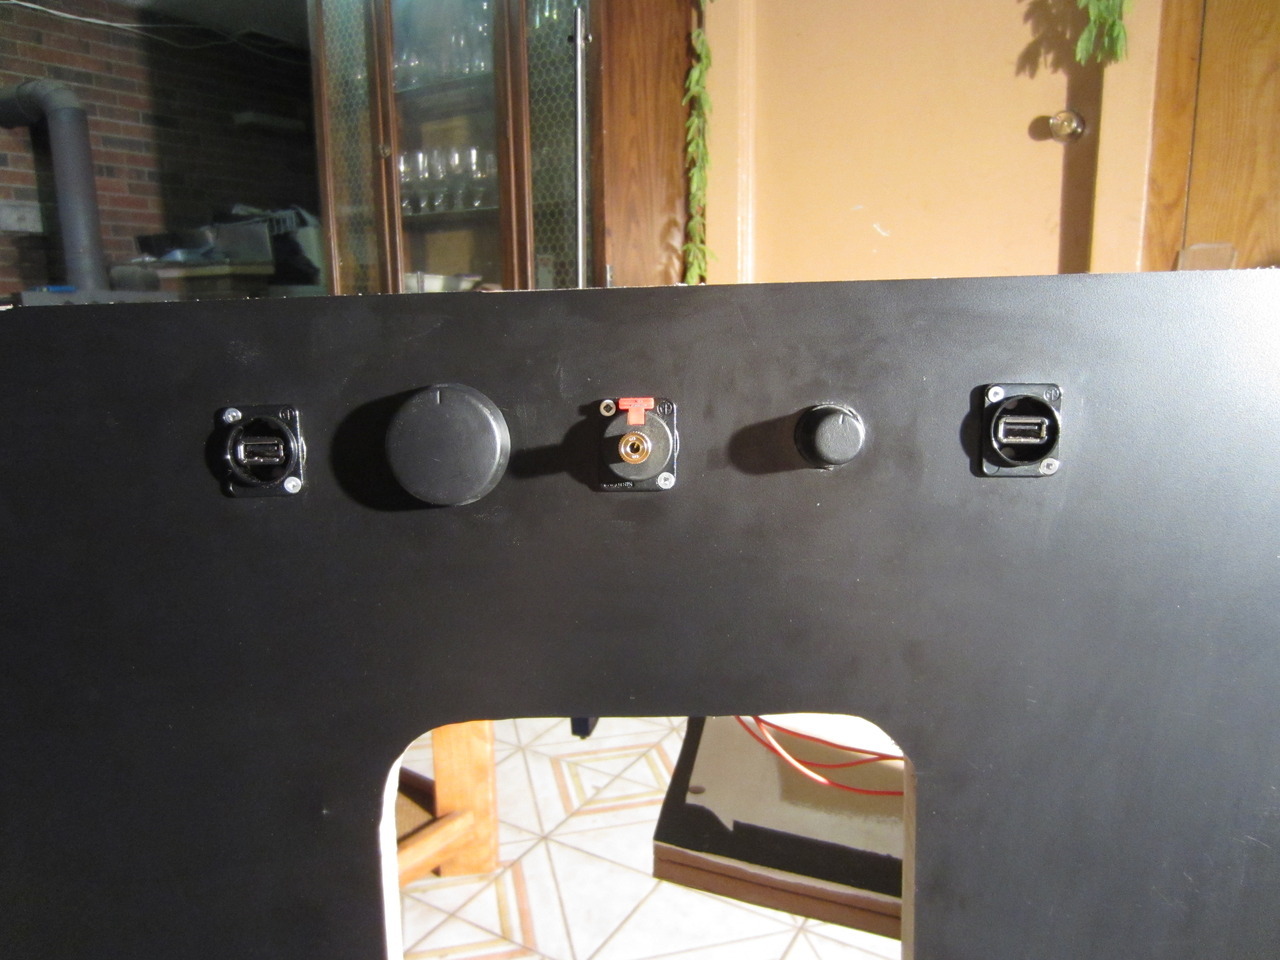
This way, I can mount the PCB using feet to the backside of the board, instead of creating a mini shelf for it to be mounted onto (as it looks like you would have to do with your current solution)


 Home
Home Help
Help Search
 Login
Login Register
 Send this topic
 Print
Print


