When it comes to building things I'm not exactly a patient or conventional person. My goal was to build a cabinet that could play the majority of the games I like as well as fit into my apartment but most importantly, there was the "Wife Factor".
The cabinet is made from 3/4" MDF. Background artwork for my CP/Marquee courtesy of
Digital Blasphemy's Free Gallery.
Here is the PC/monitor set-up I purchased for this project:
Acer AL2216Wbd Black 22" 5ms Widescreen LCD Monitor with HDCP
ASUS M2N-MX SE Plus AM2+/AM2 NVIDIA GeForce 6100 Micro ATX AMD Motherboard
G.SKILL 1GB 240-Pin DDR2 SDRAM DDR2 1066 (PC2 8500)
Rosewill RV430-2-FRB-S 430W ATX 12V Ver.2.01 Power Supply
AMD Sempron LE-1100 Sparta 1.9GHz Socket AM2 45W Single-Core Processor (Not my first choice but it was $12 with the combo deal and runs everything great so far)After much deliberation with a 4:3 monitor I went with the widescreen because I thought it would be more fun to figure out how to make it rotate in some fairly original, cool way.
Now, like I said, I'm kind of a single minded person and don't take time to think things through well enough. When I work I kinda zone into what I'm doing so I don't have pictures of most of the build unfortunately but in a nutshell:
Cut the sides.
Cut the framework.
Brad/glued everything together
Held brad gun to head for doing something noobish I SWORE "I" wouldn't do.
Cut slot for T-molding
Complained vigorously about my noobishness as two of my three slot cutter carbide teeth "tinked" and shattered as they hit a brad that wasn't far enough from the edge.
Slowly plowed through the rest of the slot cutting as my bit smoked along with only one tooth left.
Drilled holes for wiring and "Rotation Device".
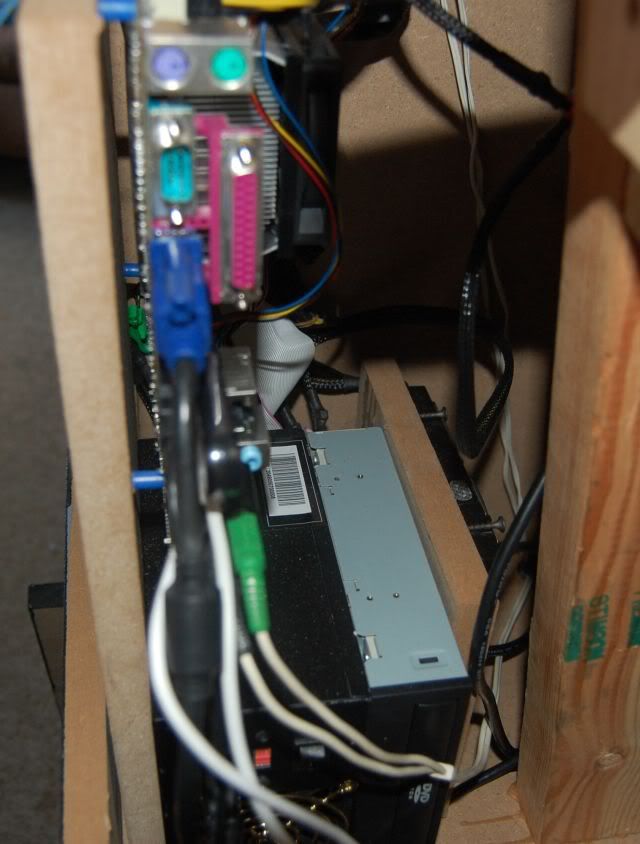
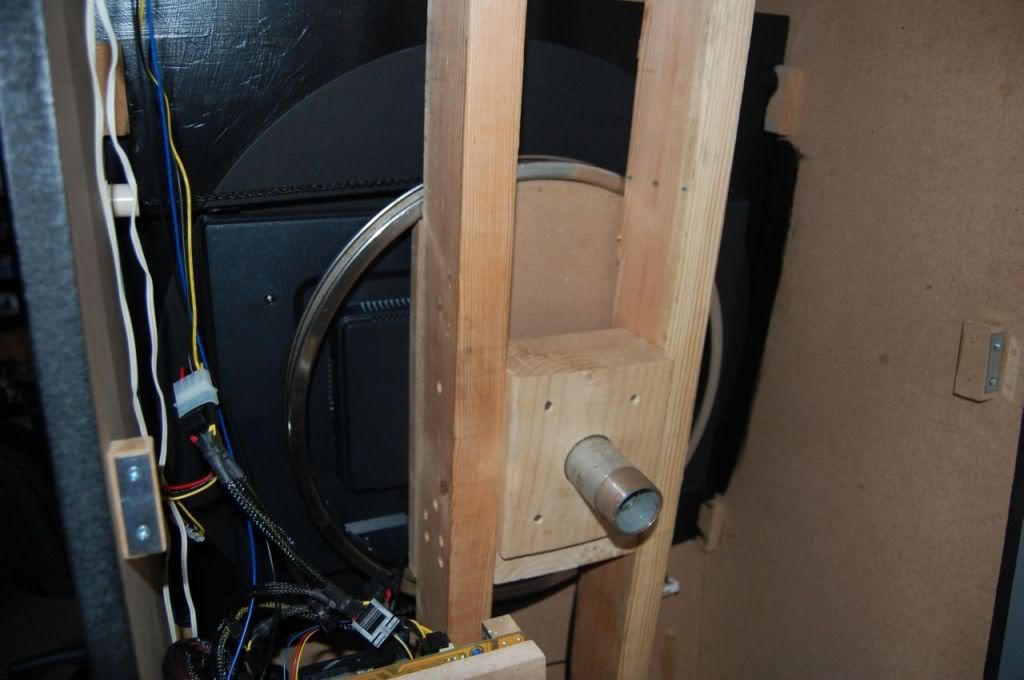
Here is the "PC". I attached it to it's own framework so if I need to remove it I can simply unplug it and pull it out in one piece.
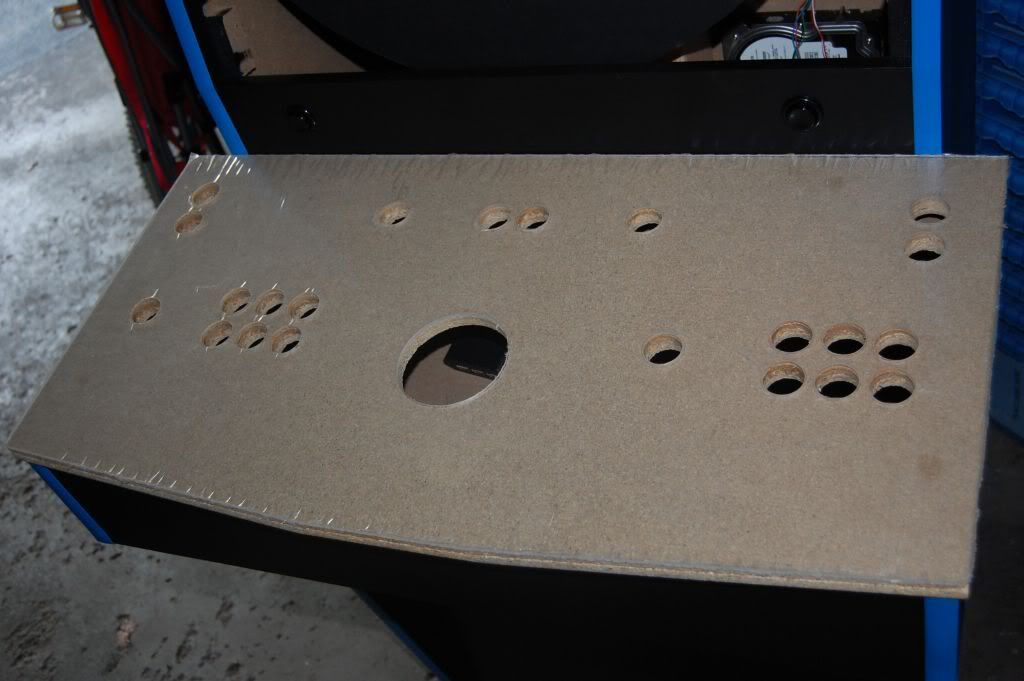
Here is the drilled bare CP/Acrylic. I had to use Partical Board because HD and Lowes here doesn't sell 5/8" MDF in ANY size.
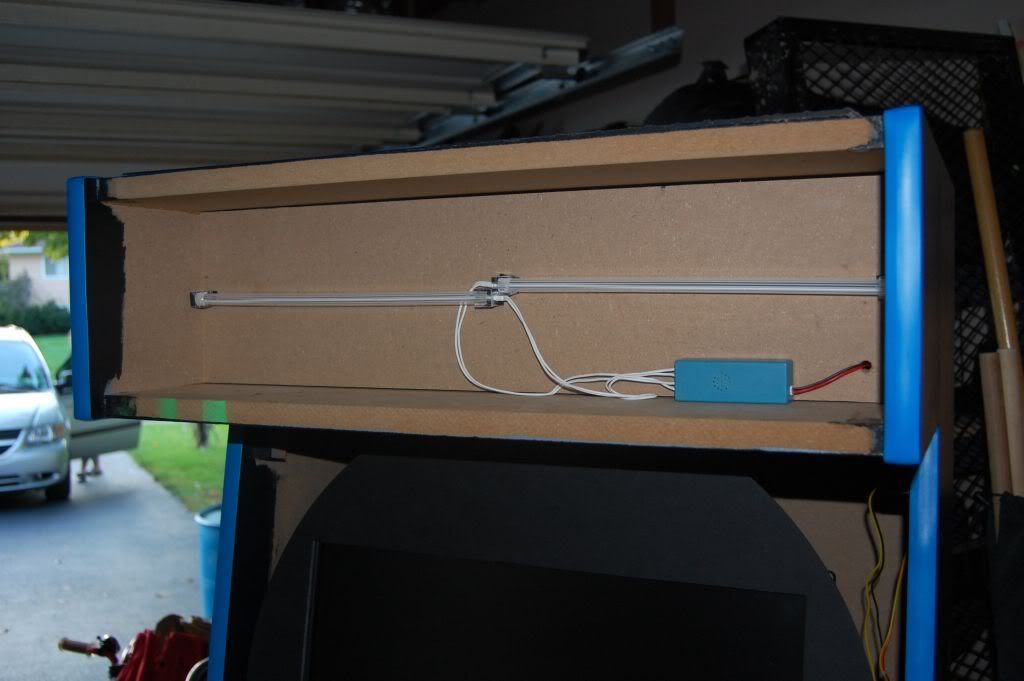
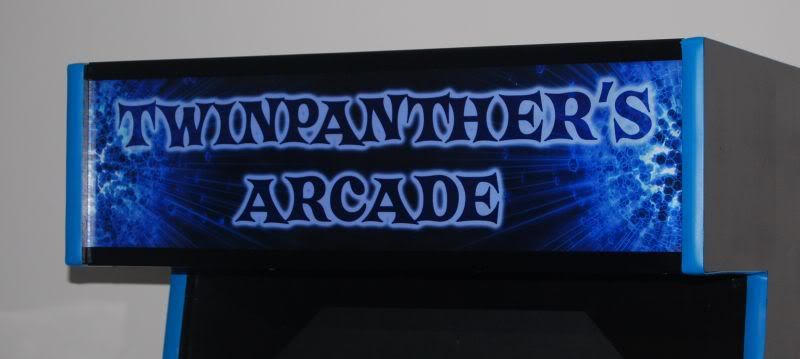
This is my Marquee box. I used Cold Cathode kit for a few reasons. Inexpensive ($5/set with $5 shipping), connect directly to PC, easy color change, with the added sensor can flash to the beat of the sound. I started out with white but have since went to blue as it didn't wash out my image as much.
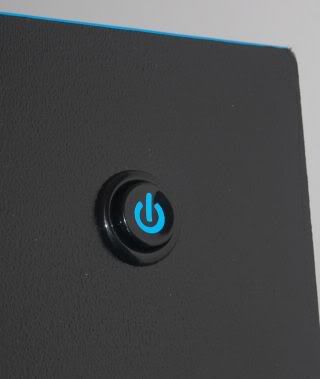
Yes, the obligatory power button in the upper rear of the right cabinet side.
Now for the fun part. Monitor installation with rotation. Keep in mind since this was my first cabinet I went with overkill for stability and well, basically cause even though I knew what I wanted to do I was figuring it out as I went. The concept is this. I mounted a piece of MDF to the inside of a 20" bicycle rim, attached the monitor to one side of the MDF with the VESA holes and a 1.75" pipe to the other side. This had to be perfectly centered as the monitor is 24" corner to corner and the area it was rotating in was 24.5".
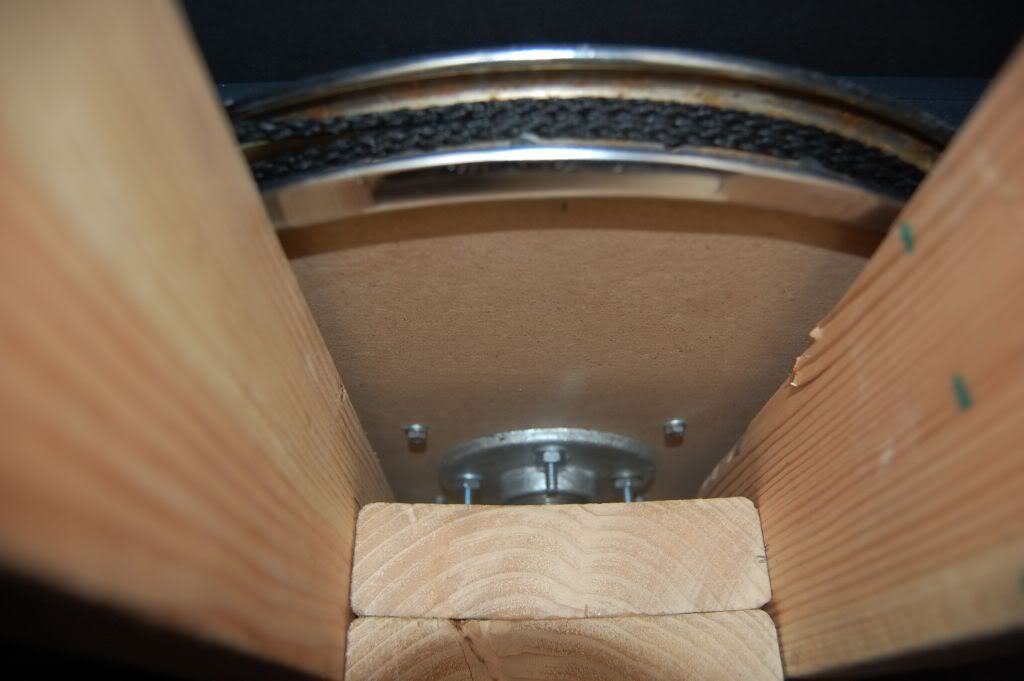
After the monitor assembly was finished I needed a framework to mount it to in the cabinet. You can see in the pictures below I drilled a hole in a pair of 2x6's and threaded a 2" pipe through it. The 1.75" pipe fits perfectly inside the 2" pipe and rotates smoothly.
I put together a 2x4 frame and spent a LOT of time getting it to match the angle of the cabinet while maintaining the correct distance from where the glass would be so the monitor was as close to the glass as possible when done. Once that was done I installed the 2x6 "swivel" between the 2x4's to the correct height and screwed it in place.
I cut a piece of foam core mat for the front to hide any interior of the cabinet the bezel couldn't.
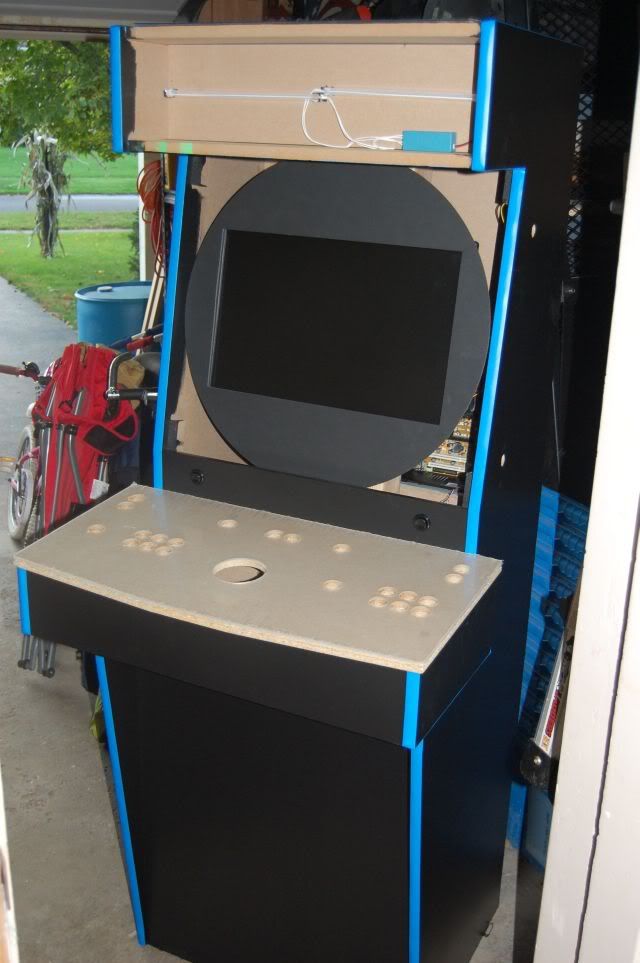
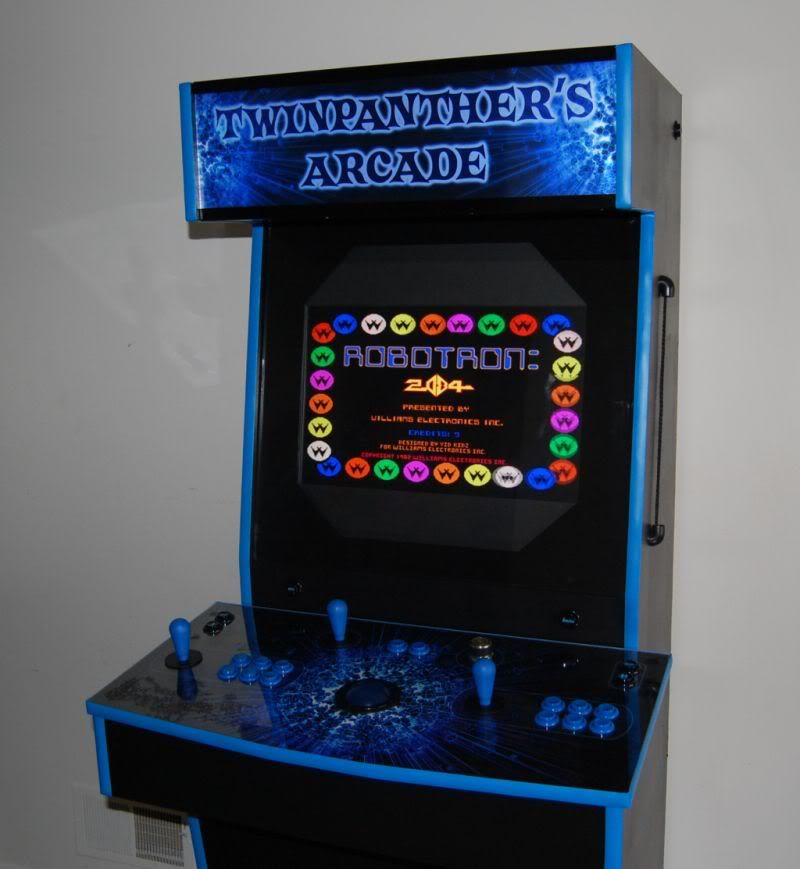
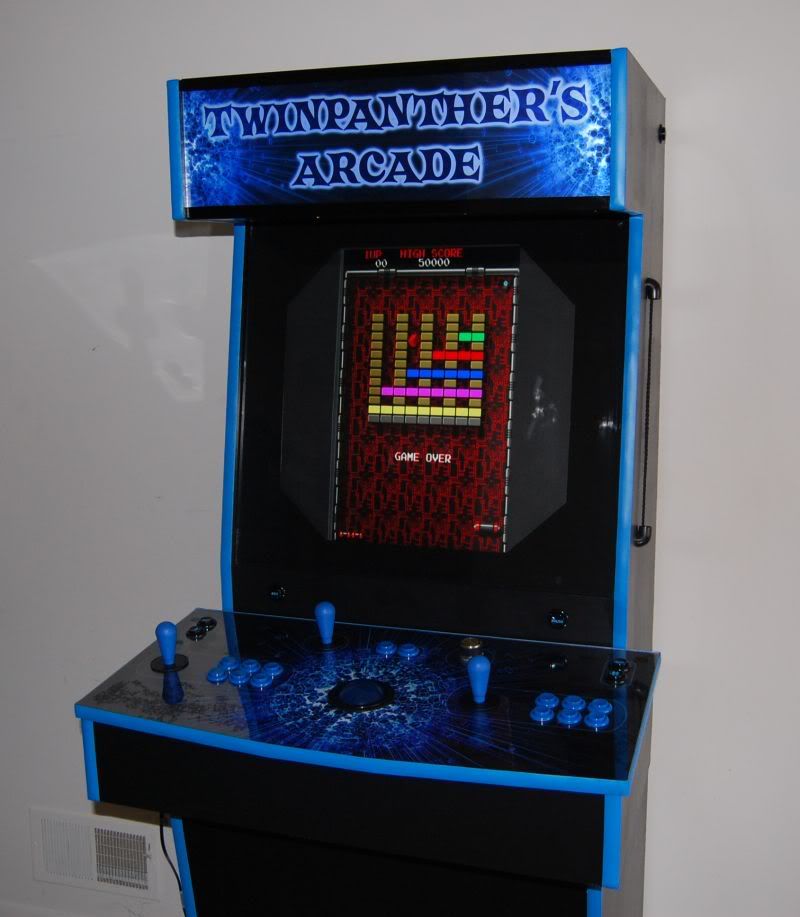
Finished Marquee and CP:
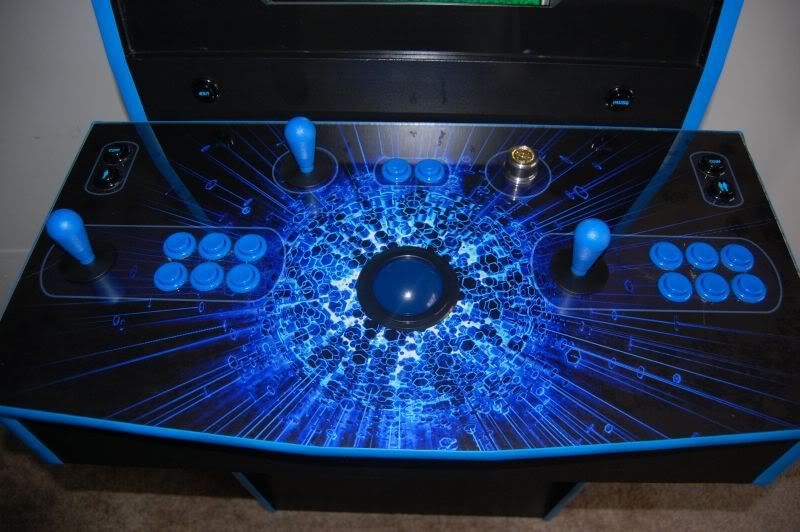
Lastly, I installed 1/2" PVC elbows into the sides of the cabinet and attached 1/4" cord to the bicycle rim wrapped around the rim once, out the PVC, down to the next PVC and back in to wrap around the rim once more and attach so it couldn't slip. Unfortunately I don't have a video camera atm but here are some pics of the stages of rotation.
Horizontal game:
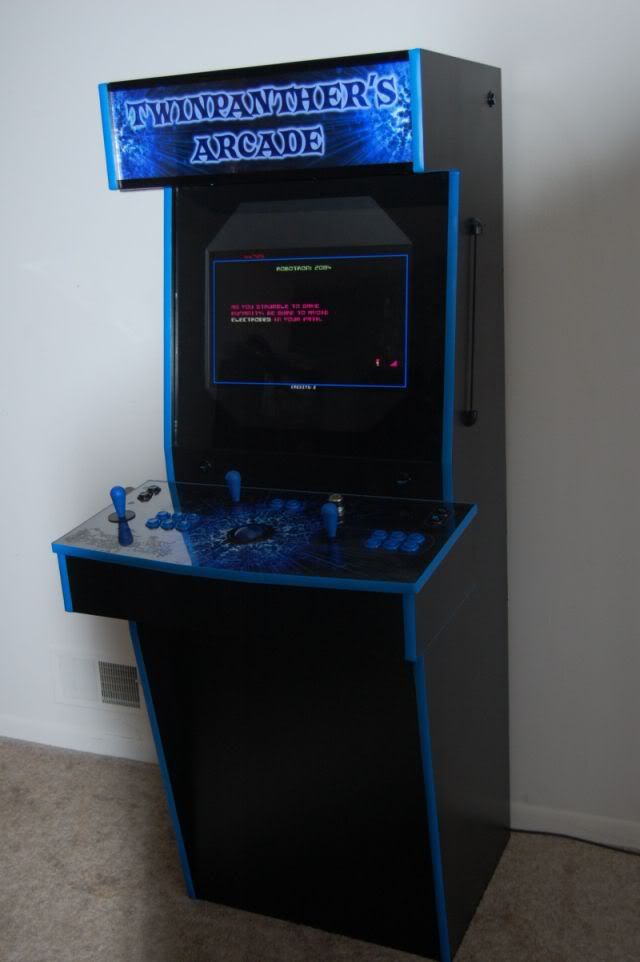
Rotation from Robotron to Arkanoid:
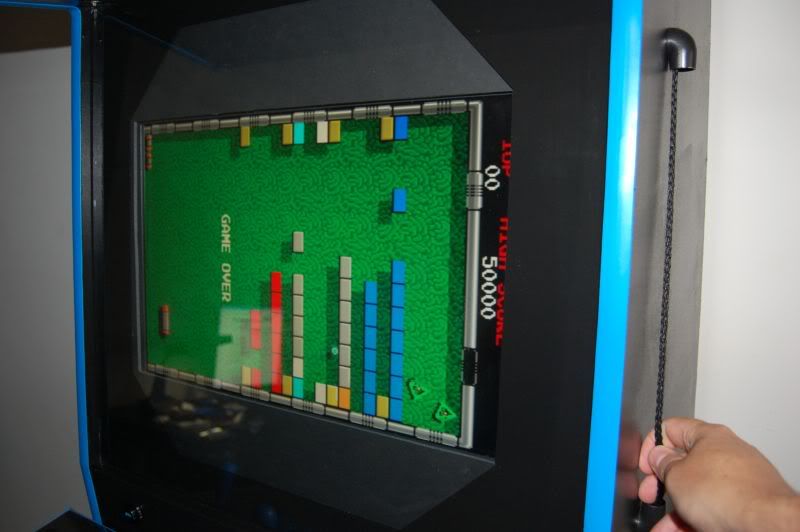
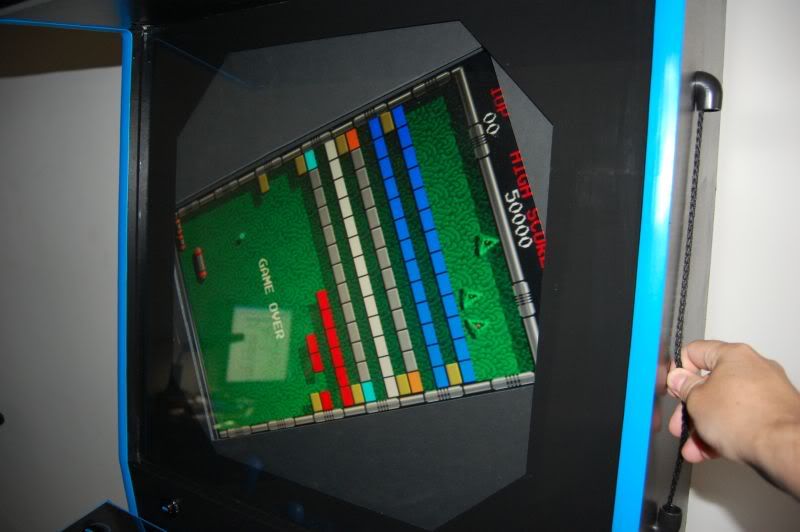
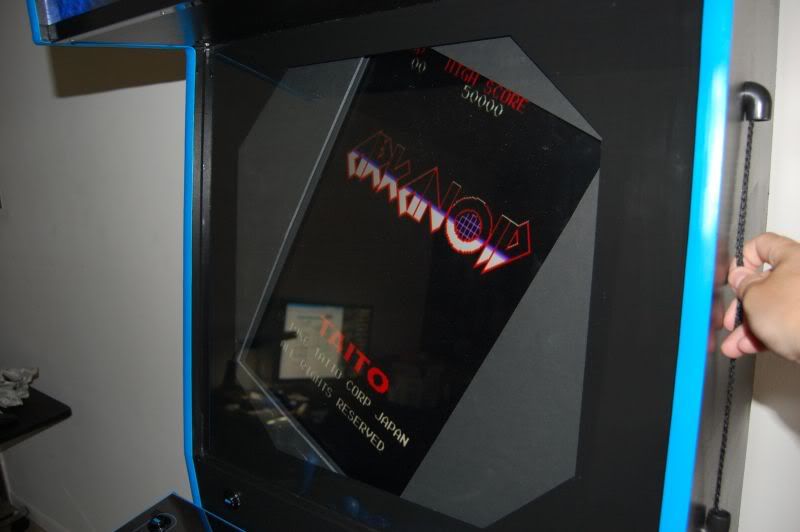
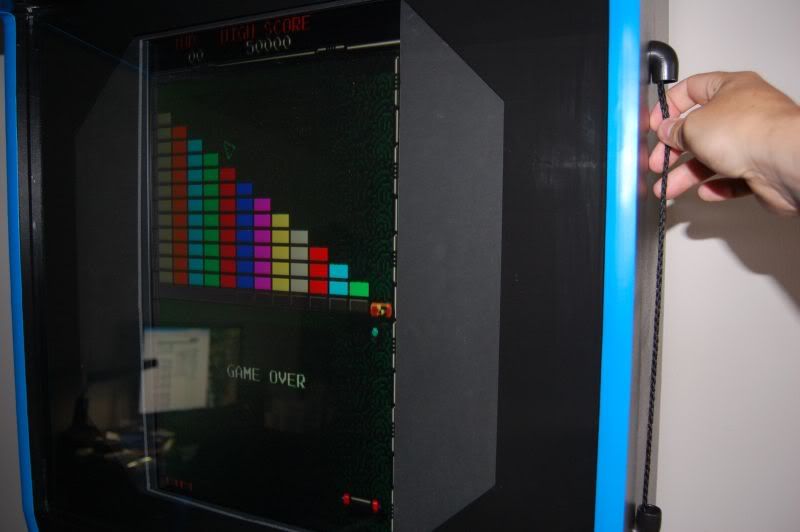
Vertical game:
I have to say, this works amazingly well. Very smooth with just enough friction so no matter what I'm playing the monitor doesn't "wander". I don't have any stops atm but if I need them down the road they would be easy enough to put in. A simple pull on the cord of about 14" changes vertical to horizontal or vice versa.
Well, that's pretty much it. I couldn't have done it without you guys. Thanks for answering my questions and having such an informative site.
BTW, Pongo rocks for anything vinyl!
Oh, and Knievel, THANK YOU for doing what you do. Probably my biggest inspiration for this project as well as my wifes choice for the overall cabinet style.
Ultimarc and GGG. You guys are both class acts. From communication to shipping I couldn't have asked for better.
Now to go kick my wife and daughter off "MY" machine so I can play it too!


 Home
Home Help
Help Search
 Login
Login Register

 Send this topic
 Print
Print Topic: Finished my first cabinet (Read 9458 times)


