Next, on to the piece that holds the bottom of the bezel and contacts the control panel. Needed some material that is thicker than 3/4" stock for this piece. Thought about laminating two pieces of MDF, but the edge surface would not be very smooth for painting. Could have used a 2x4 or 2x6 but might be susceptible to twisting or warping. Had some extra 1x6 poplar laying around so I decided to use that.
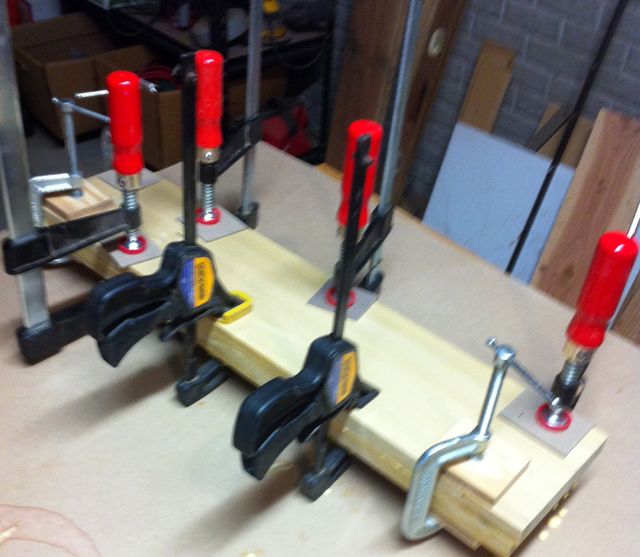
Cut two pieces to rough length and laminate with lots of yellow glue and clamps.
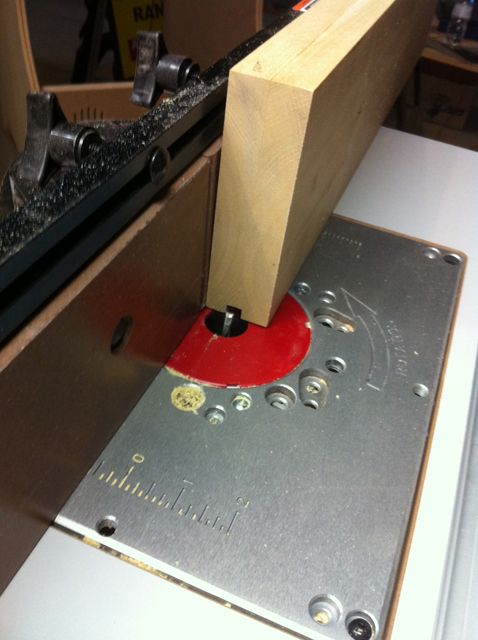
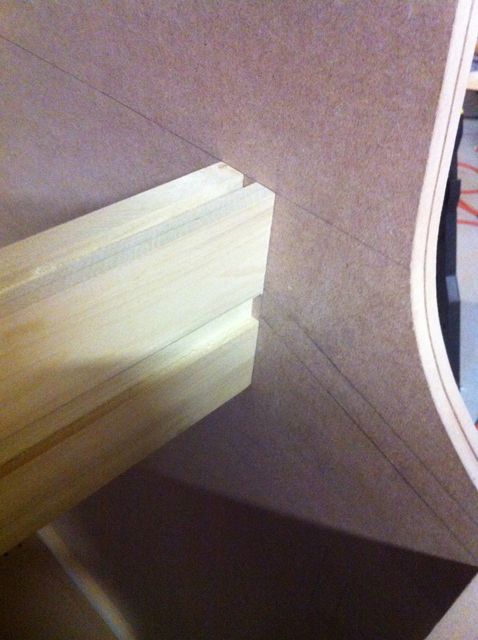
Allowed 24 hours for glue to dry, then ripped both sides on the table saw for a nice smooth edge and crosscut to length. Now on to the router table to cut the dado for the bezel. Used a 1/4" spiral router bit, made multiple passes until it reached a depth of 1/4". The groove needs to be 5/16", so had to offset the fence a bit and take an extra pass to get the required width.
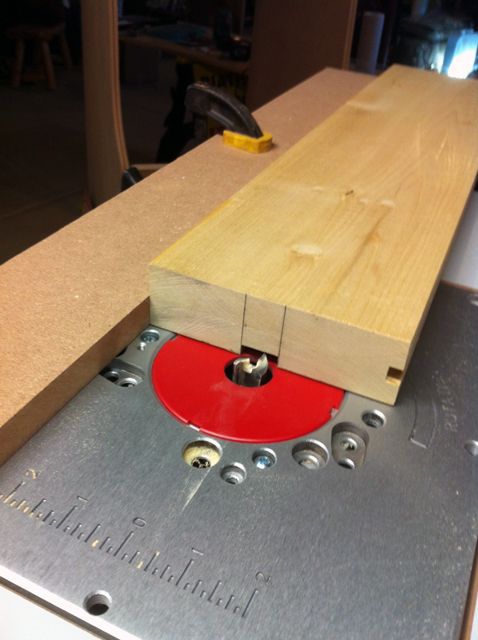
Decided to cut a slot for the control panel, which contacts this piece. This is not really necessary, but I thought that it would look better if the CP slides into a recess for a nice clean fit. Back to the router table, this time using a 3/4" mortising bit. The fence on my router table would not slide back far enough to accommodate the position I needed, so I just clamped a straight-edged board to use as a fence.
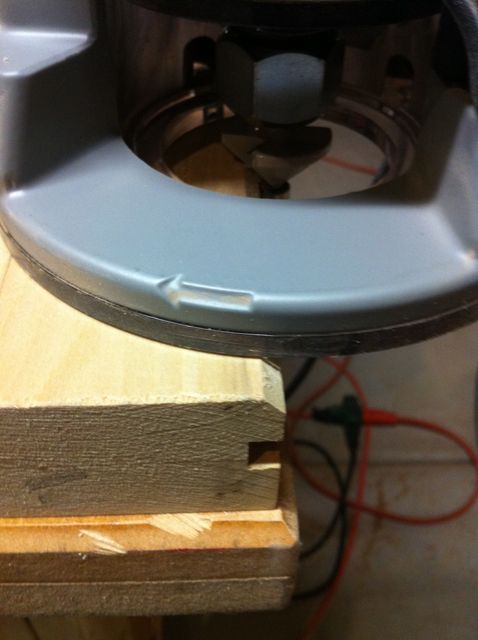
Decided to knock off a bit of the front edge, so used the router with a 45 degree chamfer bit. An original DK cabinet does not have this, but thought it would look better.
Position the piece in the cabinet, and attach with some dry wall screws through the side panels.


 Home
Home Help
Help Search
 Login
Login Register

 Send this topic
 Print
Print Topic: Donkey Kong scratch build, my first cabinet! (Read 41260 times)


