Thanks for the kind words.
Today has been a kind of letdown, but I'm oddly buoyed by a side project.
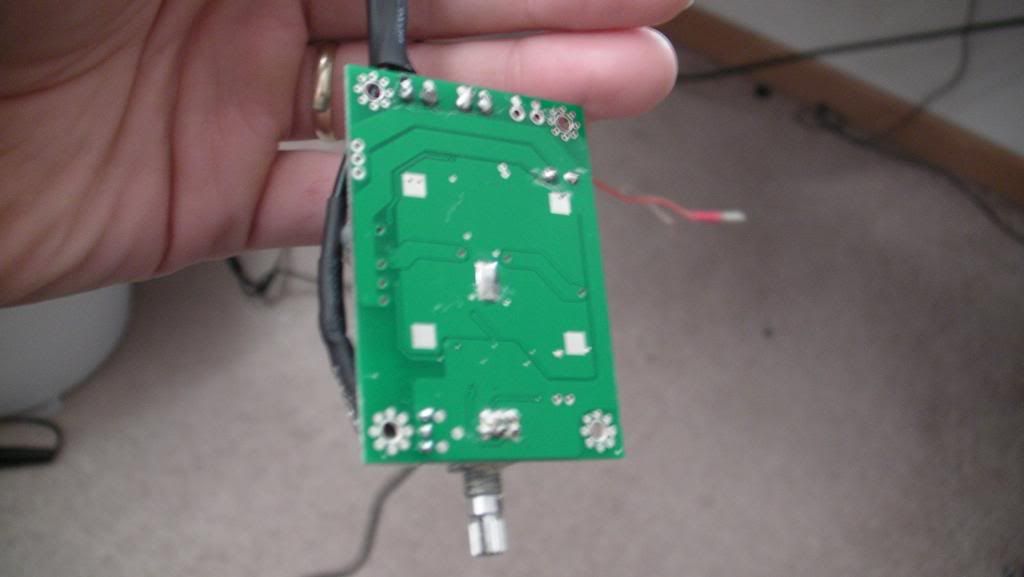
This.

This is an audio amp I picked up for 8 bucks on dealextreme.
Today I spent about 2 hours futzing with the damn thing, but I got everything working perfectly!
Although it may not look pretty, I took the following steps to get my volume control working.
1. Snip stereo cable with 3.5mm cable on one end.
2. Painstakingly solder each connection to the input on this board. (This might not sound impressive to some of you guys, but for me, it's a major accomplishment, particularly because I actually did a pretty decent job with the soldering!
3. Apply hot glue to the top of where the wire enters the solder point, ensuring it's doubly secured.
4. Heat Shrink tube the

out of all the wires.
5. Solder on the leads to the speakers, and crimp on connectors on the other ends.
6. More hot glue on top of solder points
7. More heat shrink tube.
8. Wire up entire thing to hacked 12v adapter (will use PC power supply when I actually hook up later)
9. Blare some George Straight loud enough to elicit a response from my pregnant wife two rooms over..
10. Pat myself on the back for a job well done and wish I had a beer in the fridge.
11. Glance up at the clock and realize I have 1 hour before I have to be at school for a math final I haven't studied for.....
The back.
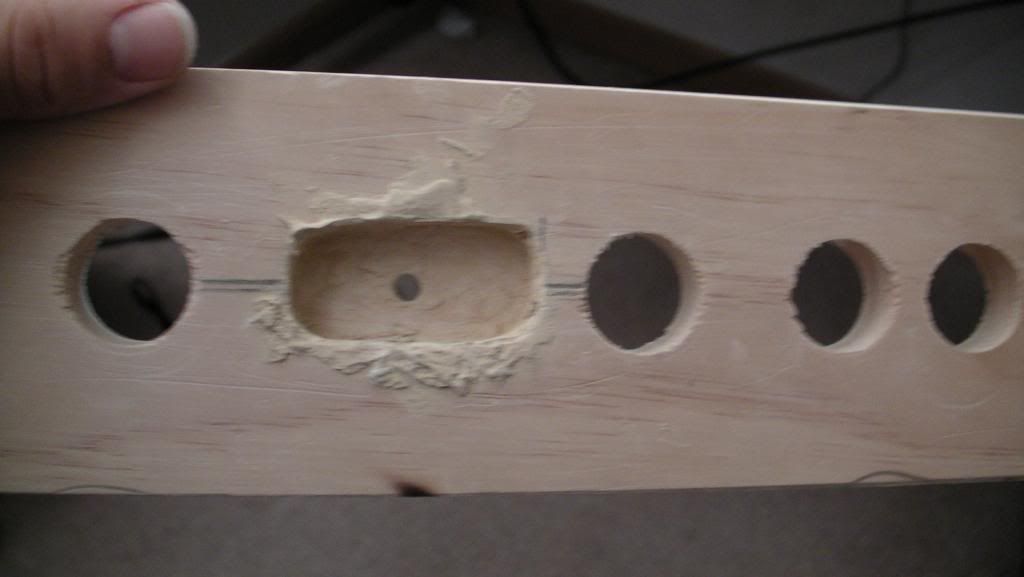
Disregard all th at ugly wood filler around the hole. The other day when I was working on the admin panel, I routed out that area for the amp/module and was going to simply use the little nut that comes with the amp to secure it to the panel. Unfortunately, after routing out as deeply as I'm comfortable routing, I found the nut still wouldn't reach the threading on the other end. This meant I had to come up with a new way to mount the amp.
Again, brilliant me decided that I could slap the amp in there with the volume knob pressed through to the front, and secure it from the back with gobs of wood filler.
about thirty minutes after I came up with this idea, I realized I hadn't soldered on the audio inputs yet, and that using tons of wood filler there wasn't a great Idea........
I have a pretty decent idea now to get it all secured though, so I'm not too worried. All in all, I'm really happy with this project. Not exciting, but it's just nice to invest a little bit of time into something that comes out great!


 Home
Home Help
Help Search
 Login
Login Register

 Send this topic
 Print
Print Topic: The Redline (scaled up Vigolix) Done. (Read 31712 times)


