Hey guys! I have been lurking for a few months and finally decided to share what I have been up to.
A few months back, I decided that I wanted to make a MAME cabinet from scratch. I don't have a whole lot of room in my townhouse, so I decided I would build a bartop. Seemed logical at the time, even if I didn't have a bar in my house. I soon realized that these bartops take up just as much space as a regular machine because you need a table or something to put it on. I had dabbled in the emulator game for awhile now. I had put Maximus Arcade on my HTPC and played using a logitech wireless gamepad. Just wasn't the same as a joystick, so I set out to build this bartop.
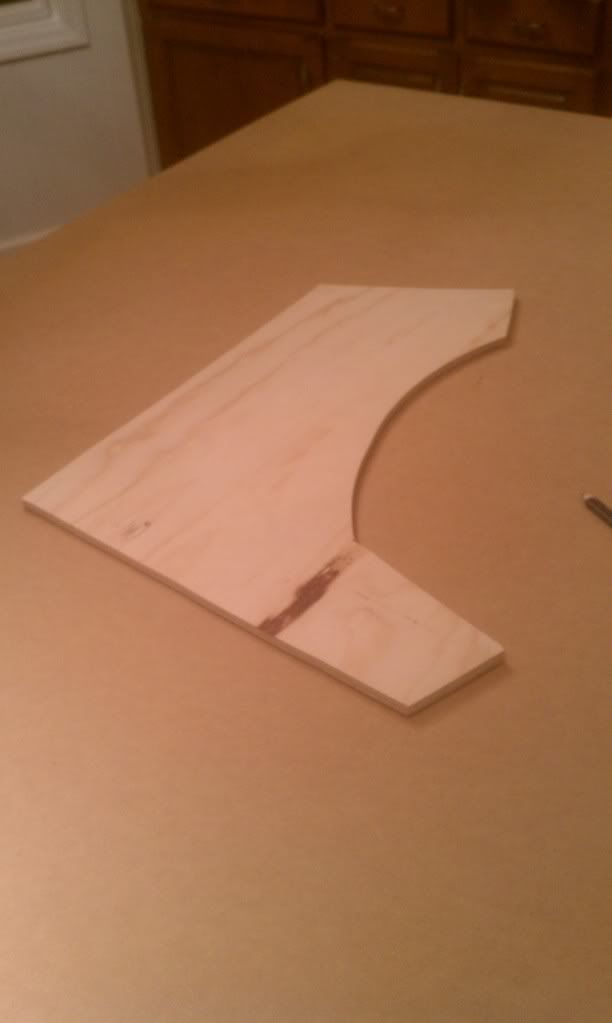
I built it based on the plans for the Weecade. I had to adjust some measurements to fit a 19" LCD monitor, but everything is pretty close. First, I made a template for the sides out of plywood:

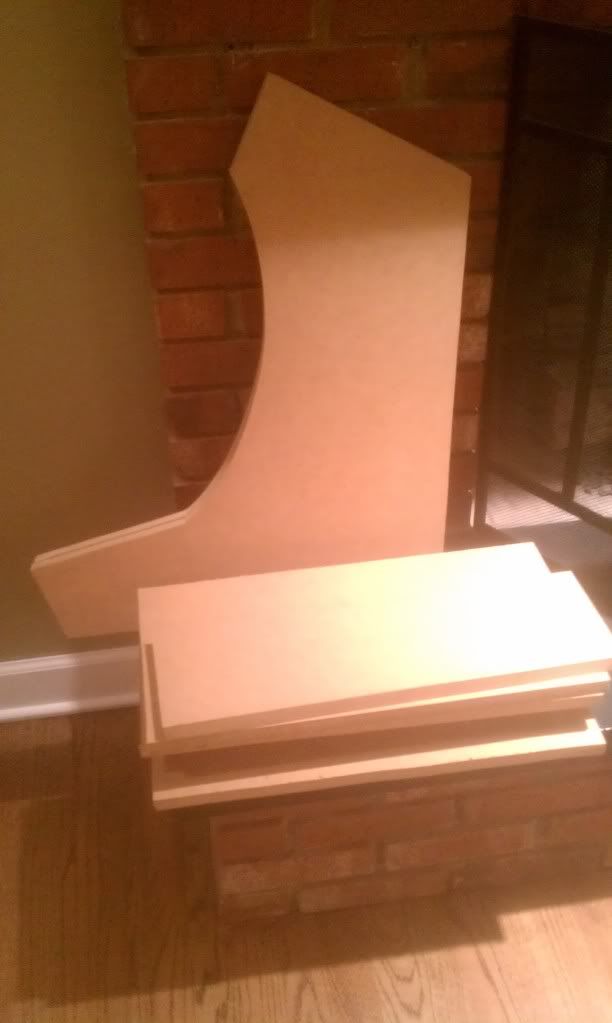
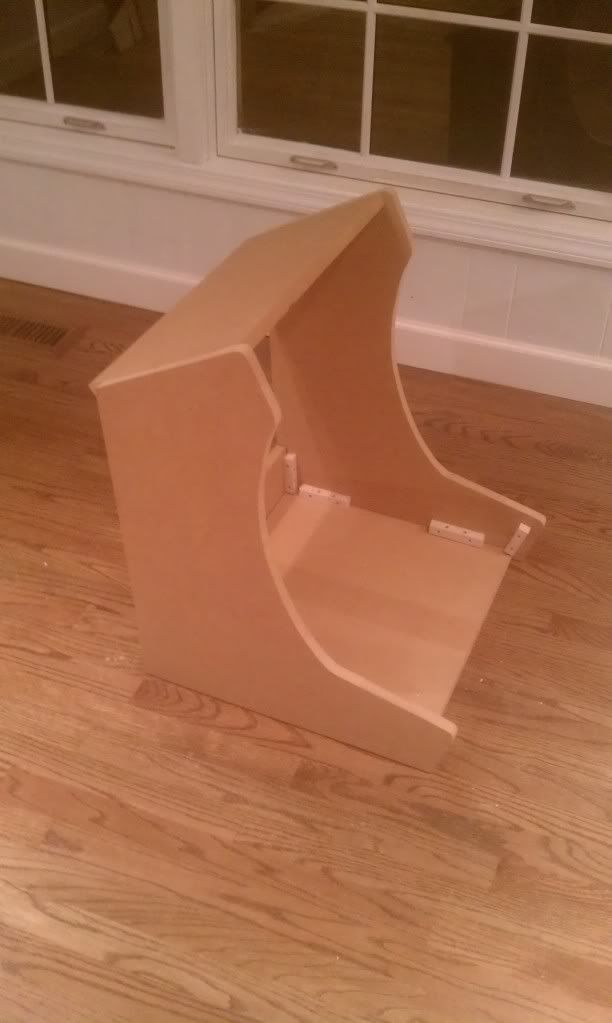
I used 3/4" MDF for the sides:
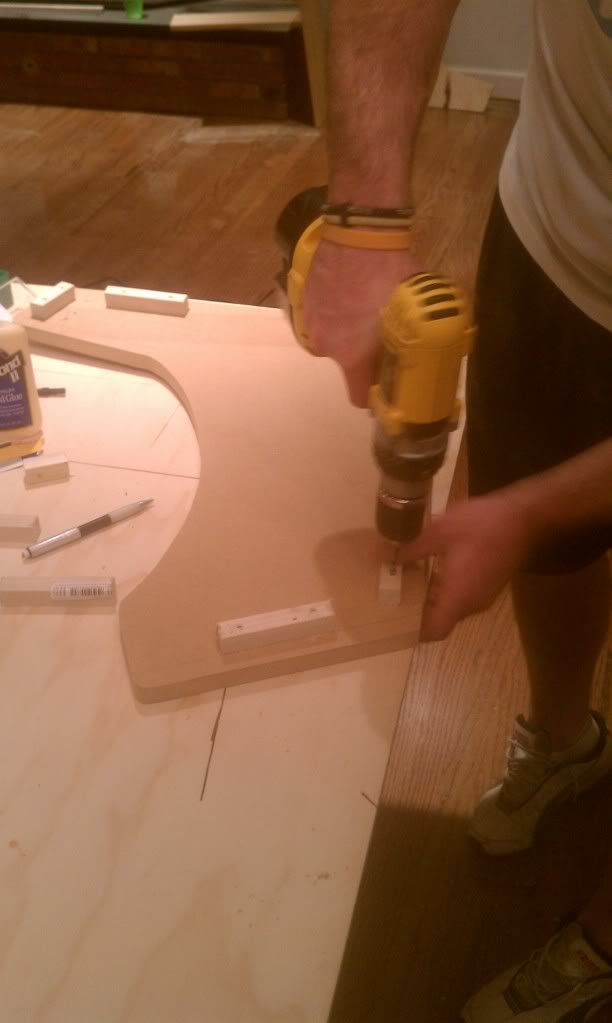
Used 1"X1" pieces to attach everything together (wanted to avoid screw holes on the outside):
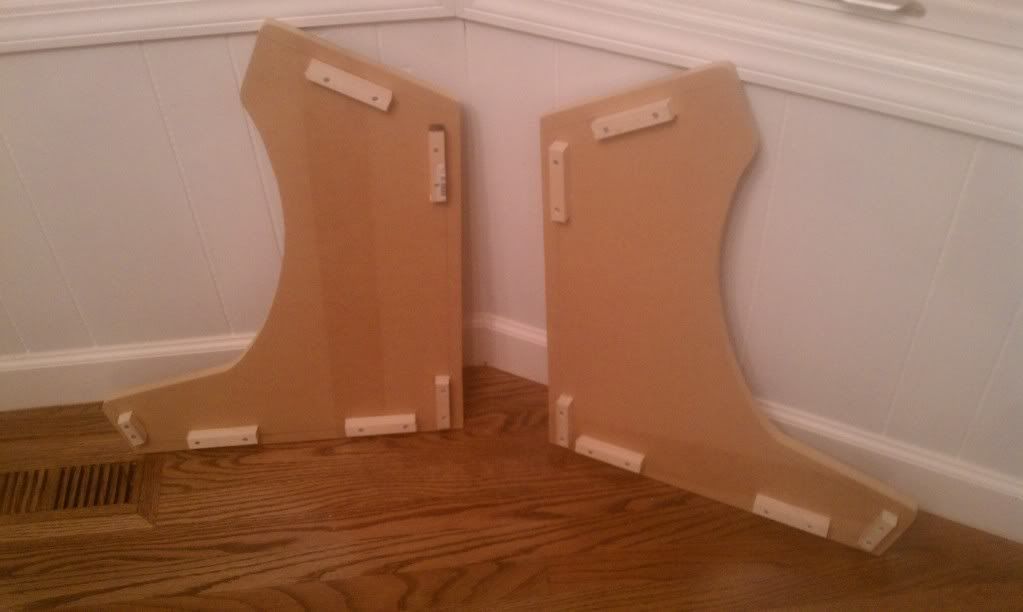
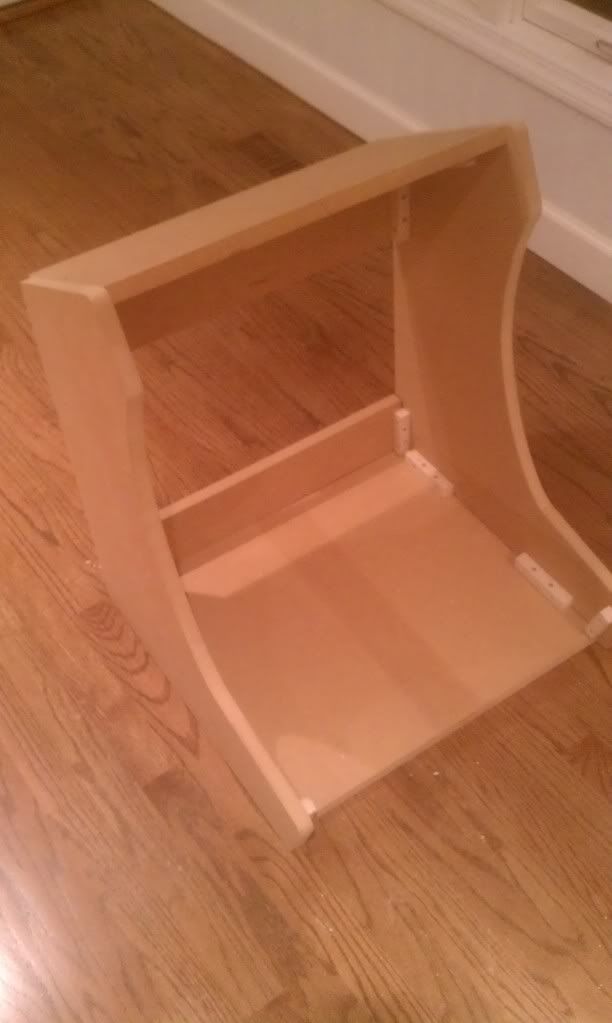
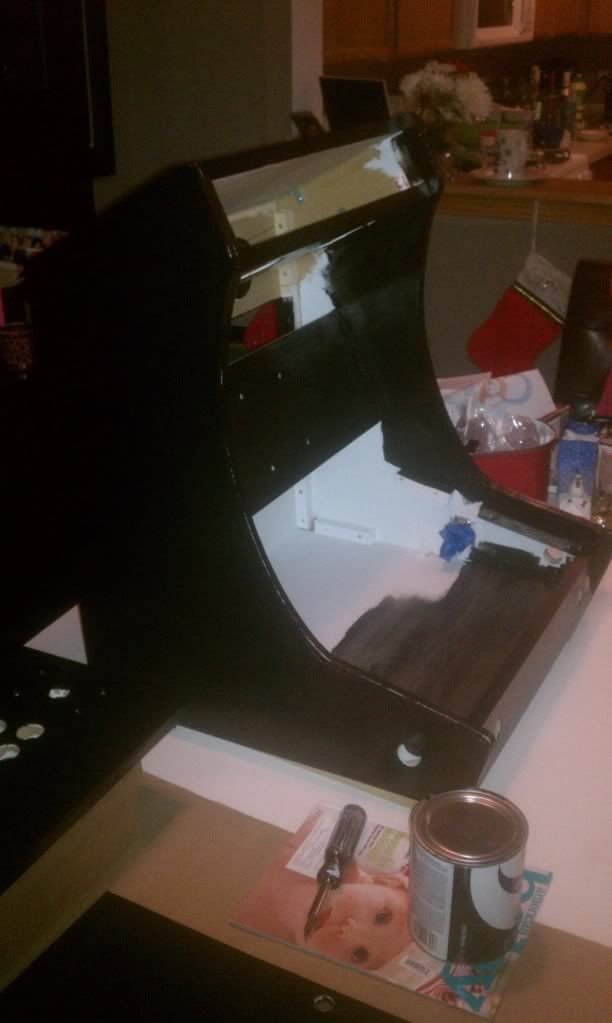
End of day 1. Made some progress. I had a shell to work with:
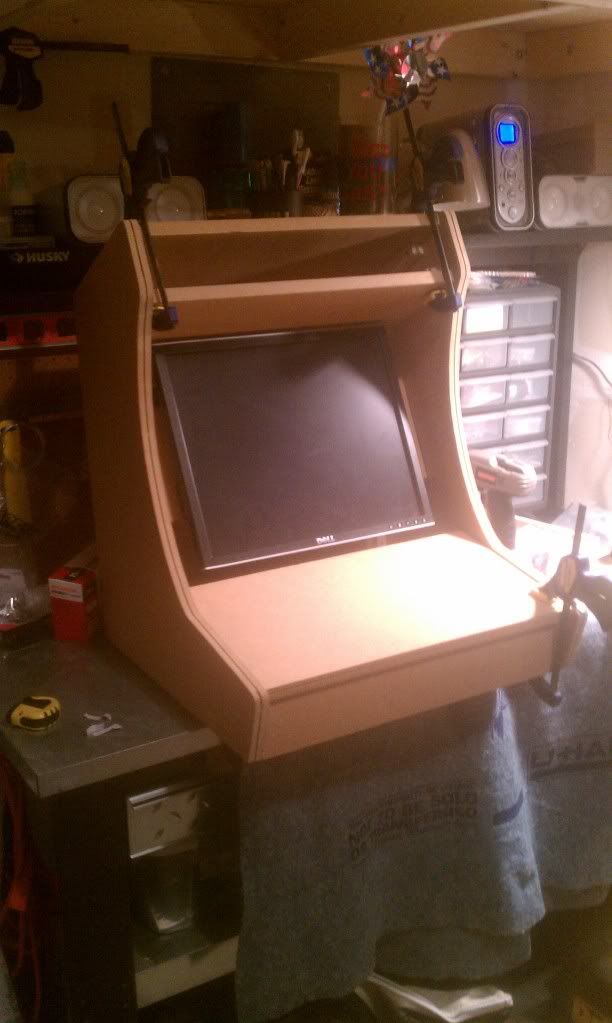
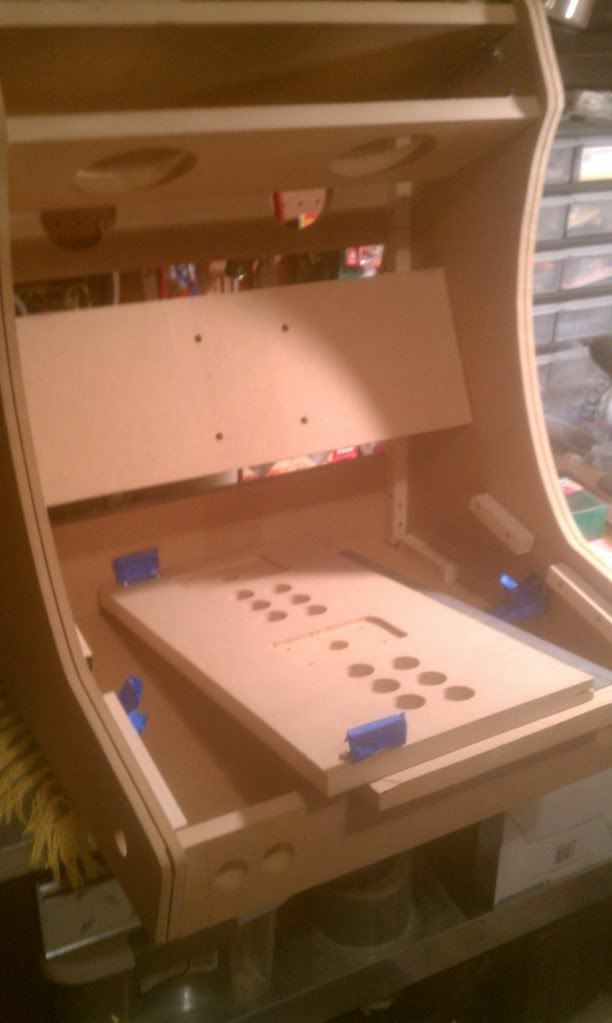
Next I added the monitor to make sure it would fit:
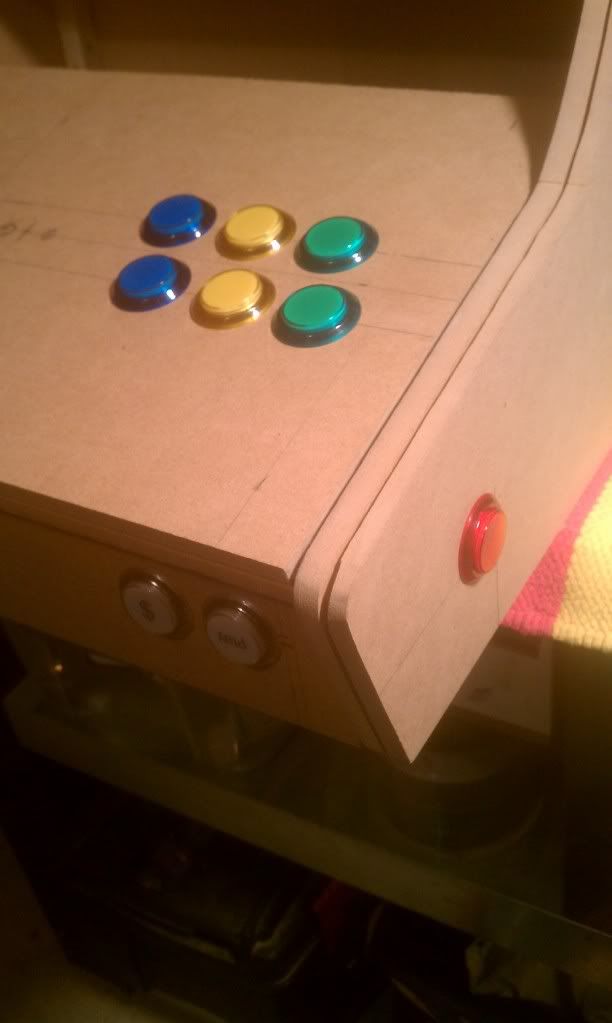
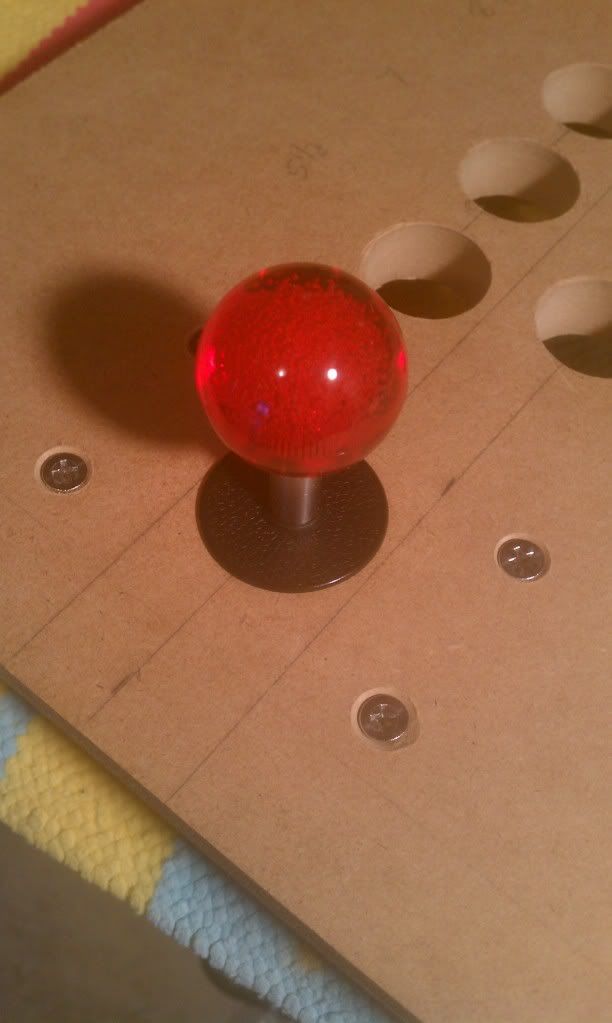
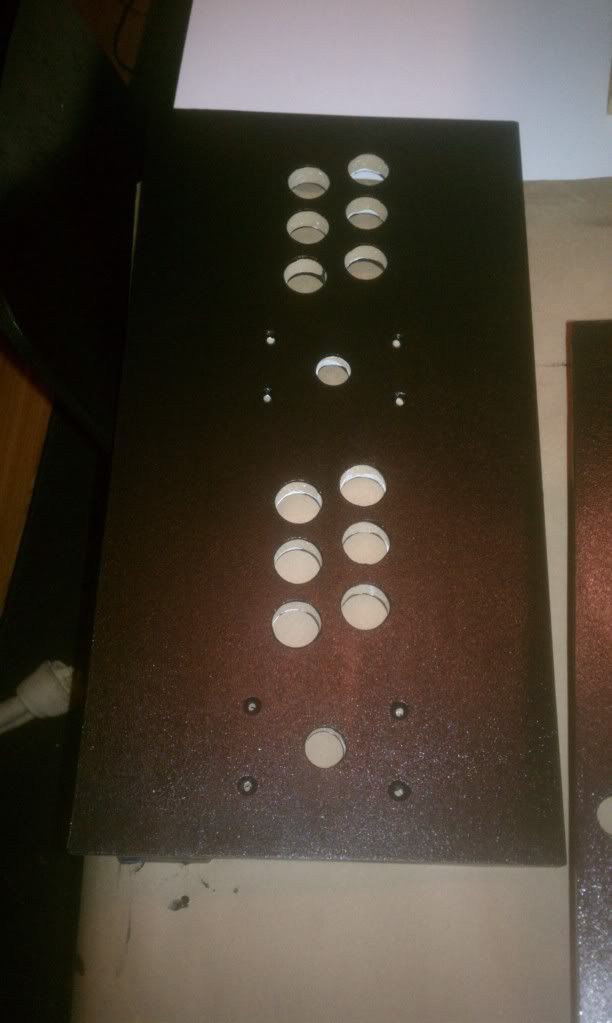
I decided to use LED buttons and LED joysticks from Paradise Arcade. The main reason was so LEDBlinky would speak the controls at the start of each game and keep them lit so I knew what was what. In hindsight, it may have been a bit excessive. But, whatever...
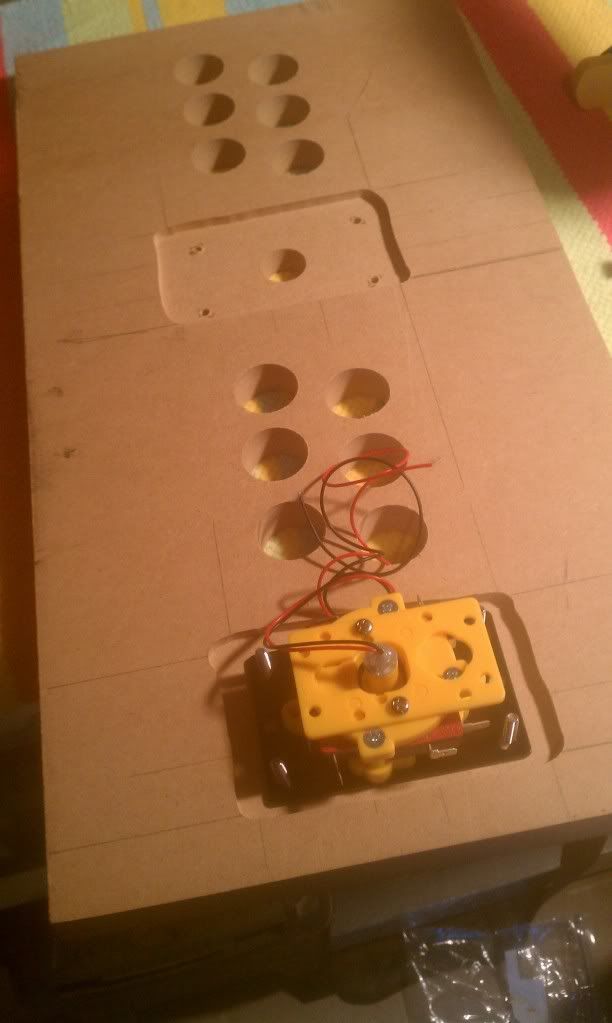
Had to router the bottom of the control panel because the joystick shafts were too short:
Cut out some holes for the speakers and fan. Then sanded and prepped the cab for primer:
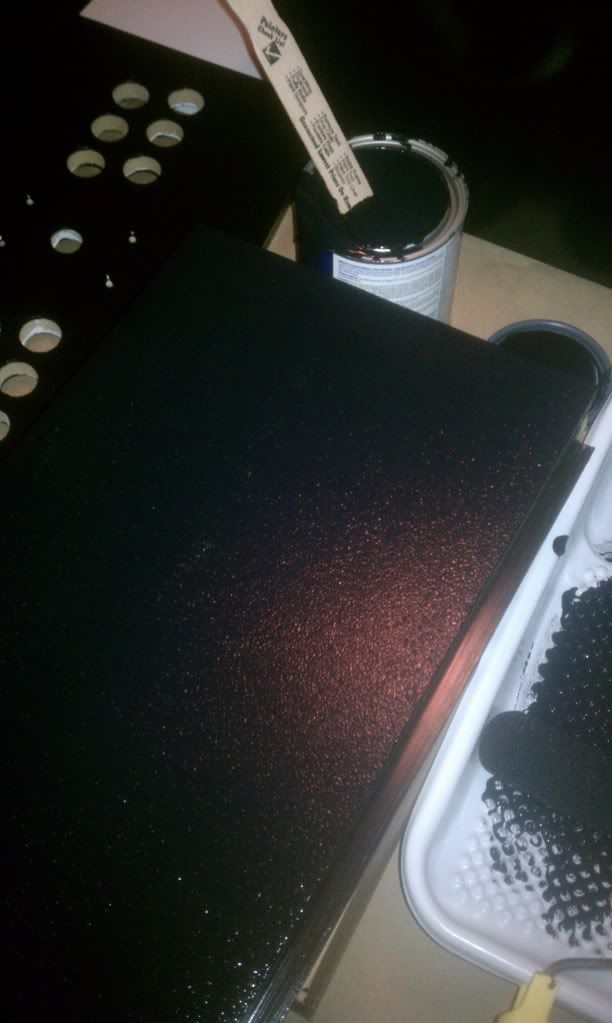
My wife let me take over the kitchen table for priming and painting. Chicago winters are a bit too cold for painting in an unheated garage. After 3 coats of primer, the painting began. I got the glossiest black paint that I could find. BTW, I still have no idea what I am going to do for a theme.
I put the initial coats down with a brush and sanded after each coat. The final coat was done with a sponge roller. It is hard to describe the final texture of the paint. Definitely not super smooth. But, I actually love the way it came out:
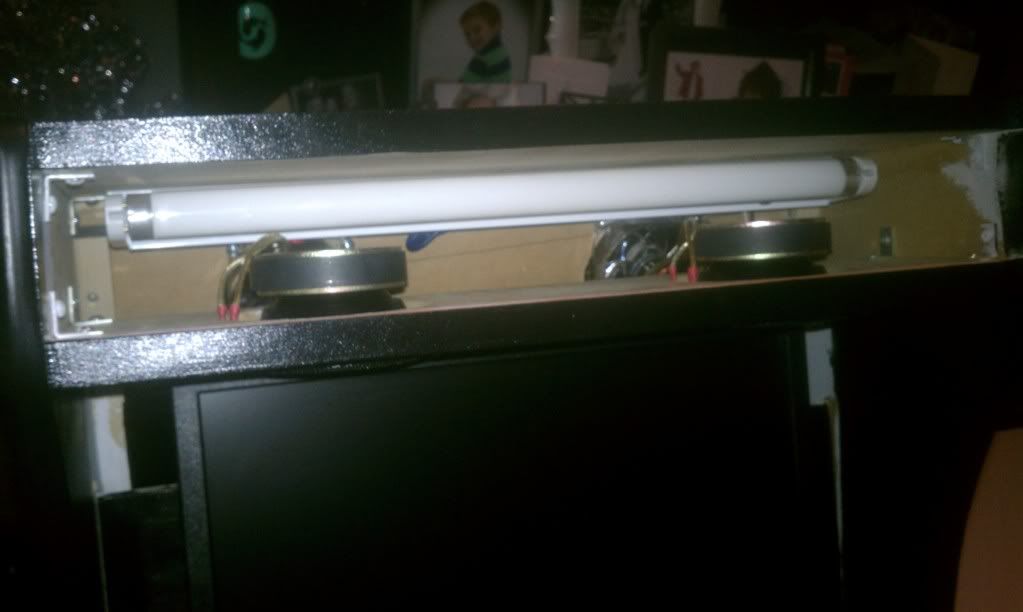
Time to put all the pieces together. Speakers and marquee light installed:
Exhaust fans in the back as well as an access panel:
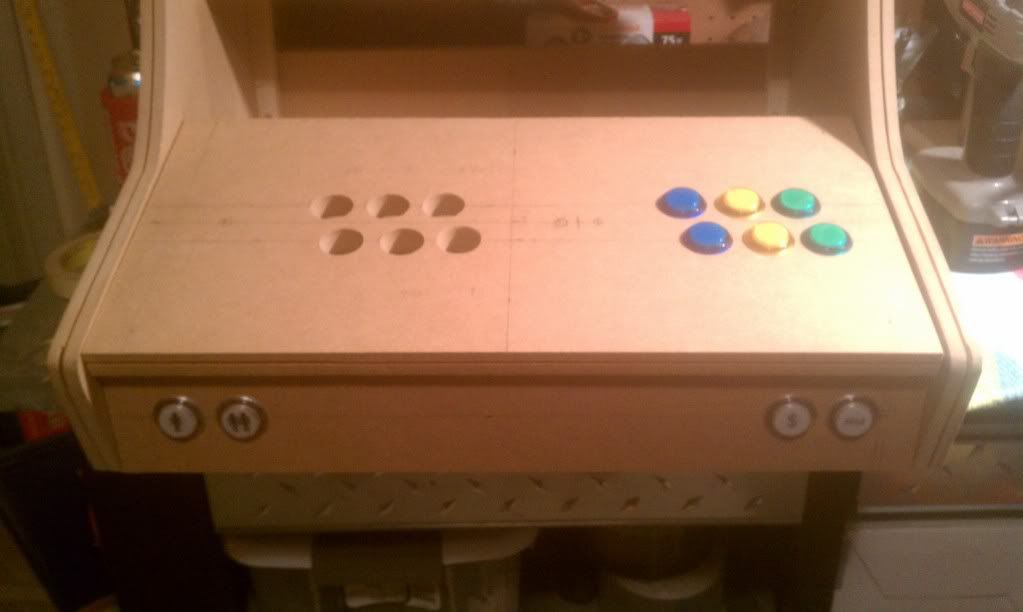
Buttons and joysticks installed:

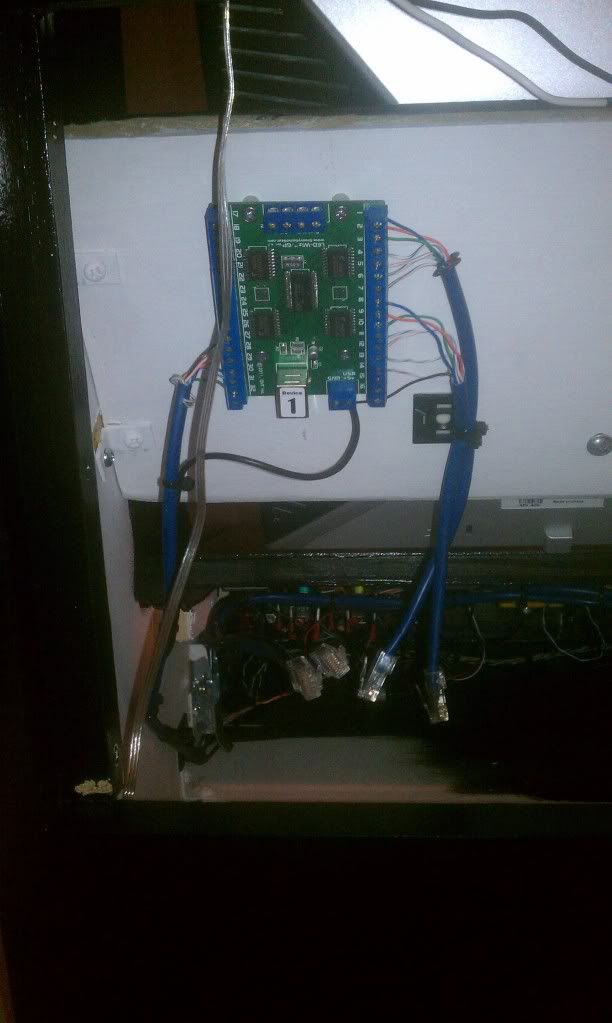
LEDWiz and iPac installed on the back of the LCD mount:
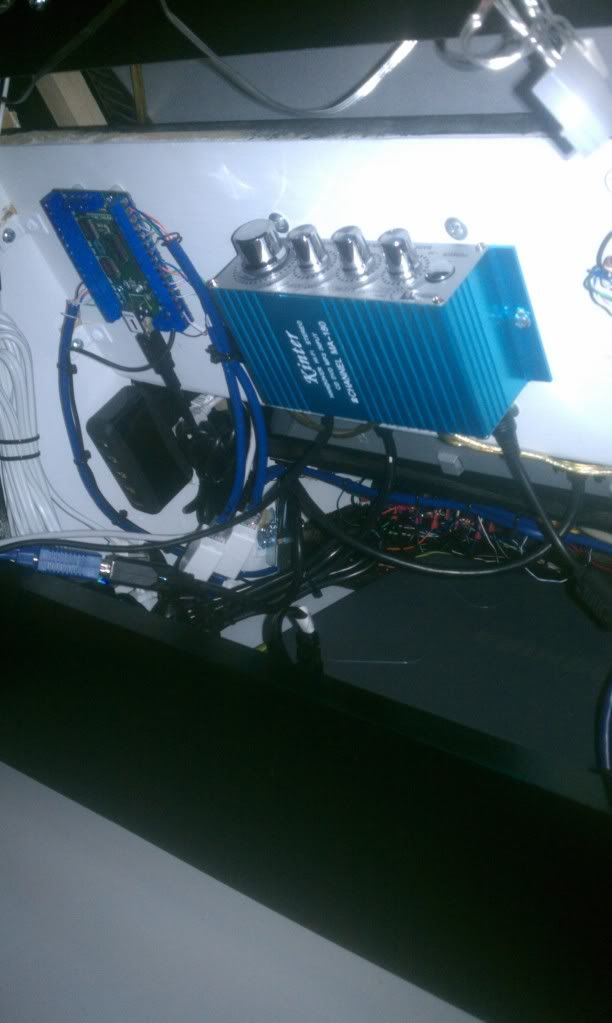
Audio amplifier also installed on the back of the LCD mount:
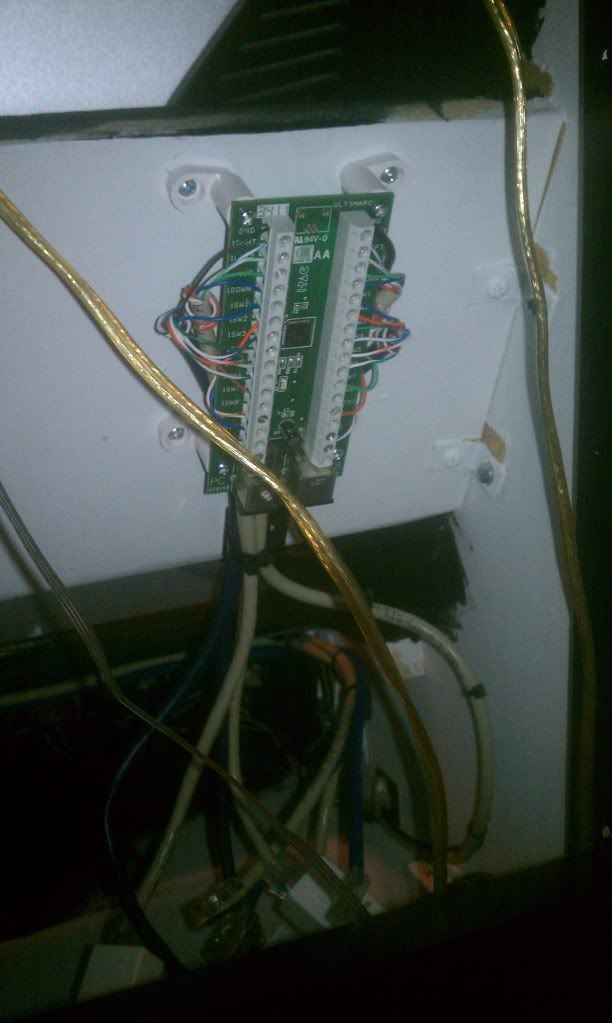
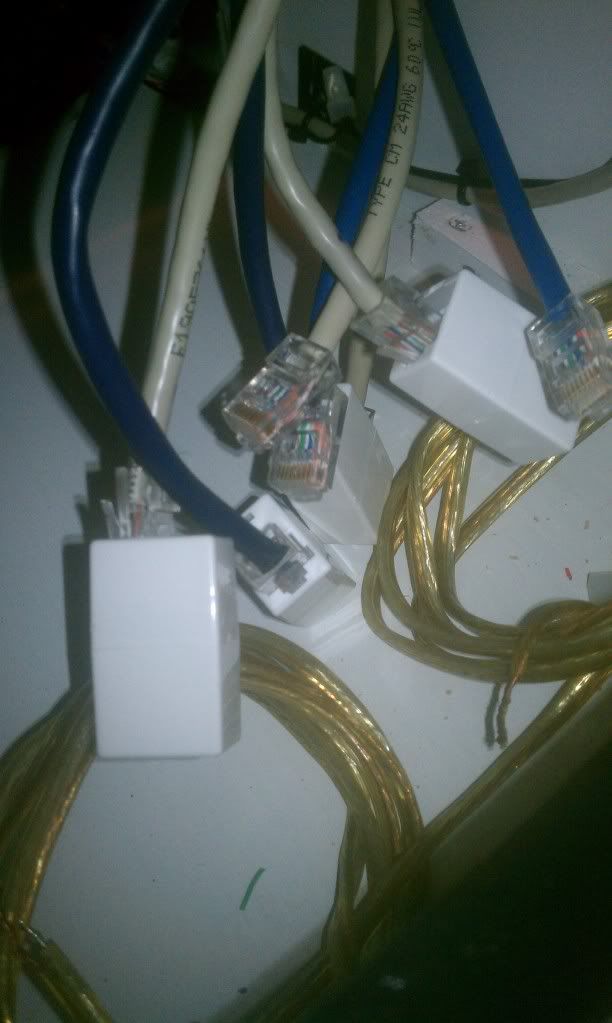
Control panel all wired up:
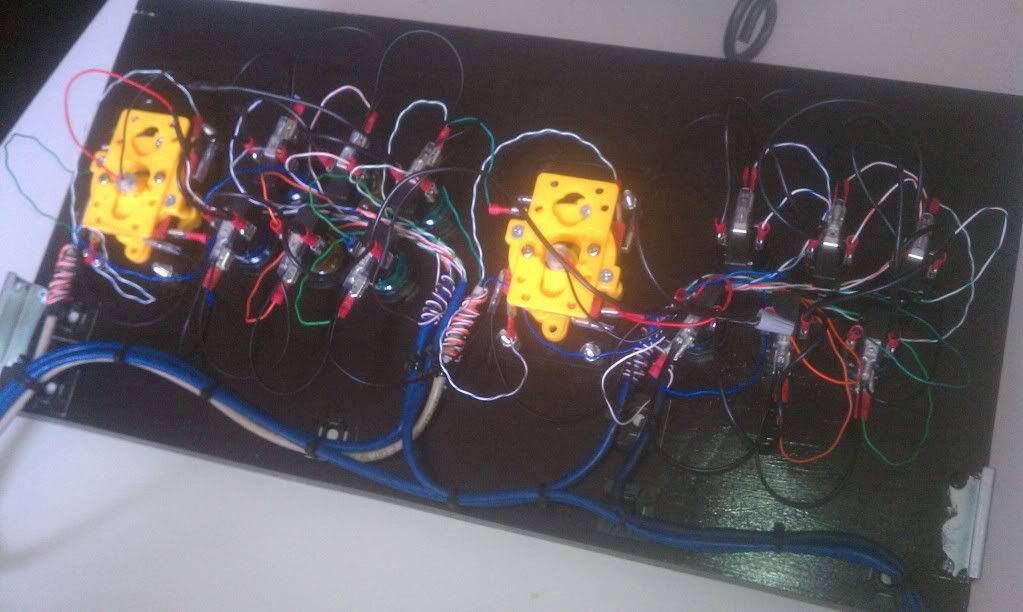
As you can see by the last picture, I used RJ45 (ethernet) connectors so I could easily remove the control panel. My thinking was that I could eventually build other control panels (trackball, spinner, etc) and easily swap the out. The control panel is secured with panel clamps.
I originally bought a P4 computer off of eBay for the guts of the machine. However, while I was waiting for the machine to be delivered, my nephew stepped on the LCD screen of his laptop. The cost to fix the LCD was almost as much as the machine itself. It is a dual core with 2 gigs of Ram. I made a deal with him. He gives me the laptop and I'll take him to Gamestop to buy an Xbox game. Seems like a win-win to me. Here is a few pics of the laptop outside of the machine (still have to figure out a way to get it inside the cab (alot less room than I had anticipated).
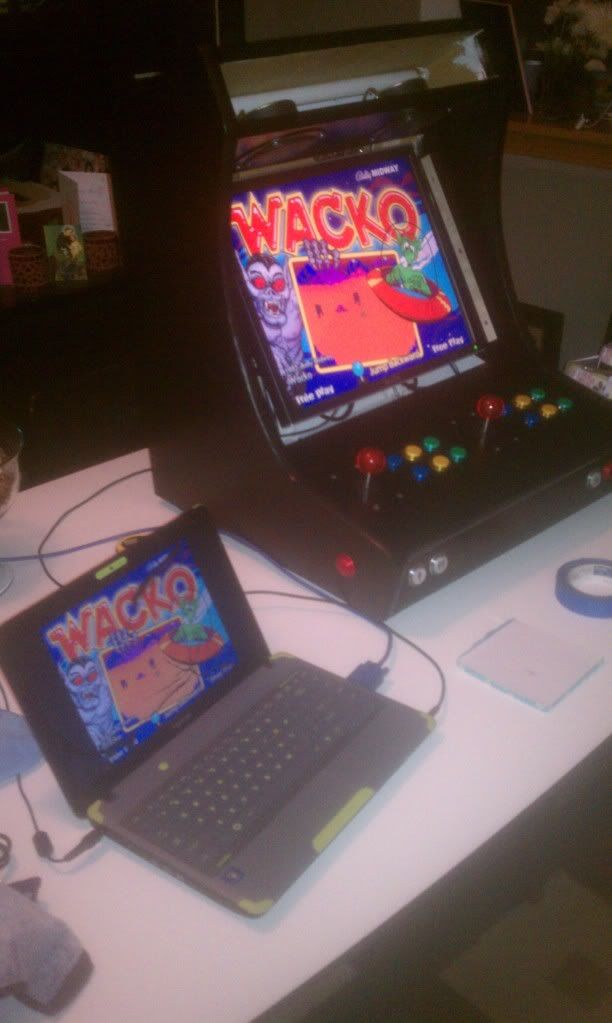
(The Wacko game on the screen is fitting since that is what my wife says I am for building one of these)
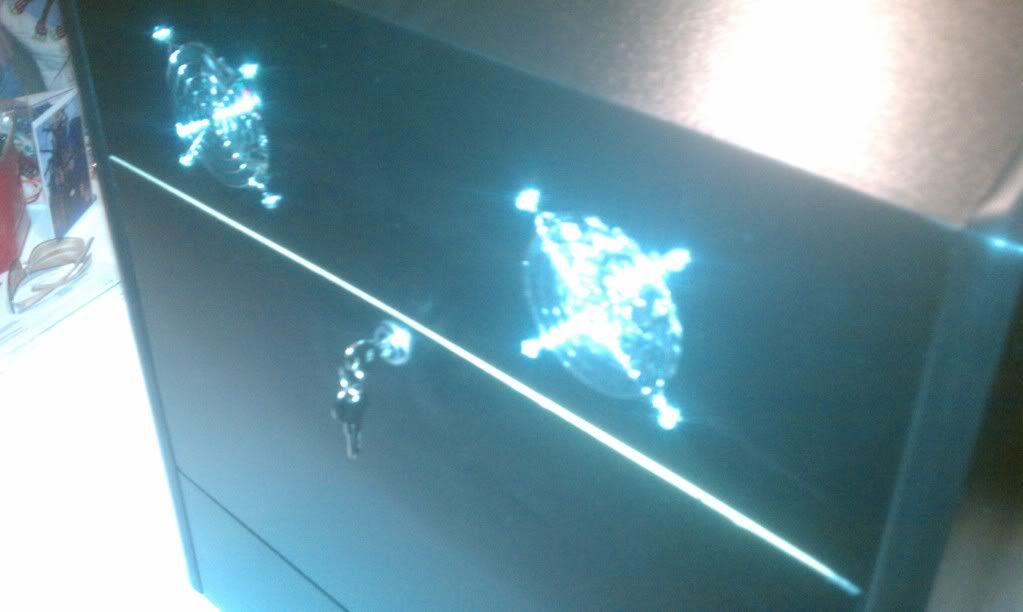
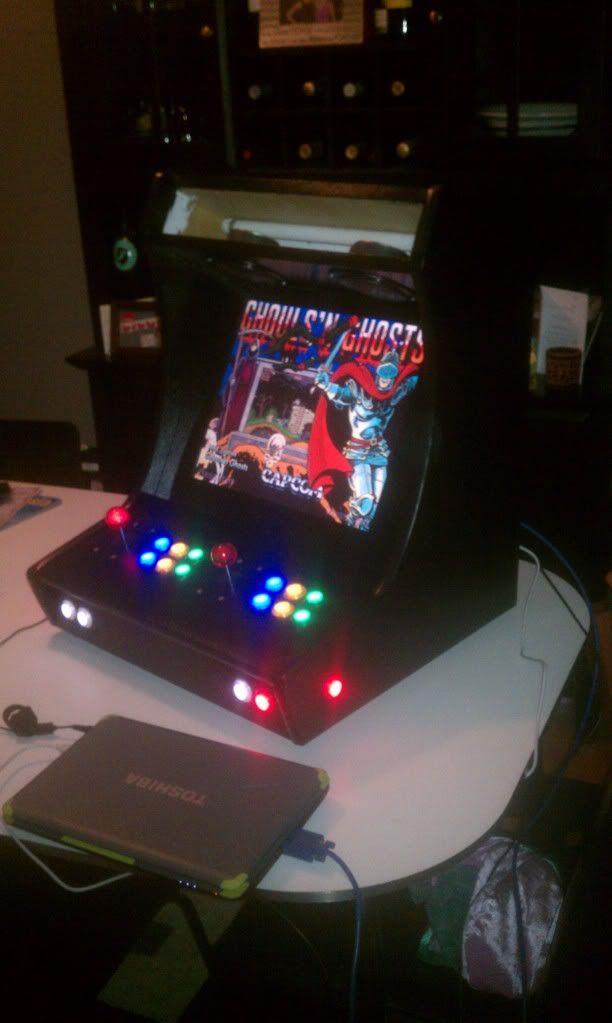
Here is a pic of the buttons lit up:
It has definitely been a learning process. It has been rewarding, frustrating...well, mostly frustrating. But, I am not out of the woods yet. Here is a list of some of the things I still need to do:
1. install marquee
2. install plexi bezel over the monitor
3. tidy up the inside of the cab
4. install volume control
5. figure out if I want to put artwork on the sides and control panel (call me crazy, but it looks pretty slick being all black)
Let me know what you guys think! I'll post up some more pics when I finish her up (maybe a video so you can see the LEDs in action). Comments? Suggestions? Criticism?


 Home
Home Help
Help Search
 Login
Login Register

 Send this topic
 Print
Print Topic: First Build. Starting off with a Bartop. (Read 4264 times)


