Kind of a long update ahead.
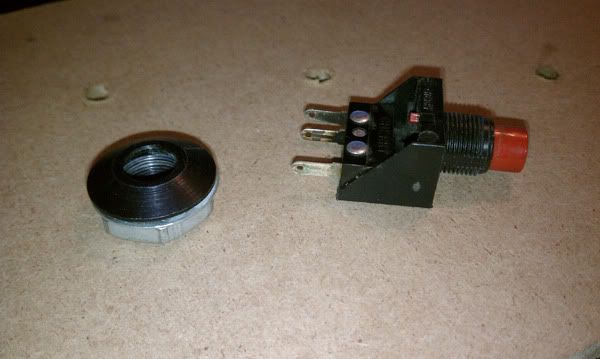
Work continues on the Control Panel. Finally got back to work on it after last week's heat wave, which left me completely drained of energy. Ordered a few buttons on ebay while I was doing planning, though originally I had thought they were lighted buttons... turns out they are just red capped push buttons, with extremely shallow cones. Nice condition for being used stock, I'll save them for something, or maybe sell them off. I have since ordered a set of lighted Atari buttons from a dude on ebay, double checking to make sure they were legit. They were NOS and 1/4 of the price of ordering lighted buttons from RAM.
Red-Capped Non-Lit buttons w/ Shallow cones.
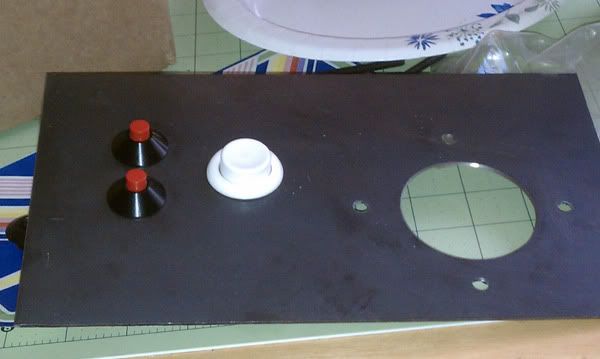
Anyway, today was a metal work day, and I spent it cutting and drilling the (3rd) piece of scrap metal for the panel. I printed off the CPO and used it as the drill guide. I was able to use all the tools at work to get it all drilled and cut out, except I was missing an 1 1/8" hole saw for the Fire button. Luckily, I was sent on an errand later and was able to pick one up while I waited for a parts order to get filled.
All holes, Except the Fire button are drilled.
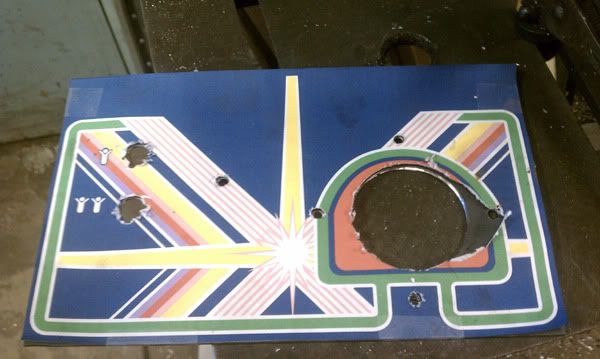
Fire Button cut out.
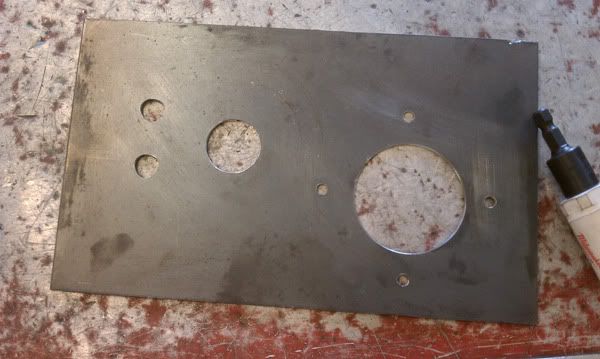
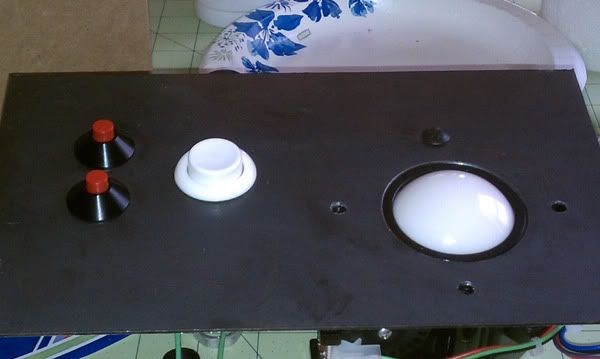
Everything was looking great seemed to be 100% in my favor, until I got home that is. Sadly, I was a work when I did all the drilling and did not have my parts with me to double check everything. As soon as I got home, I set everything on the table and started test fitting parts.
Player Buttons, With the Red Capped push buttons in place of my original black ones.
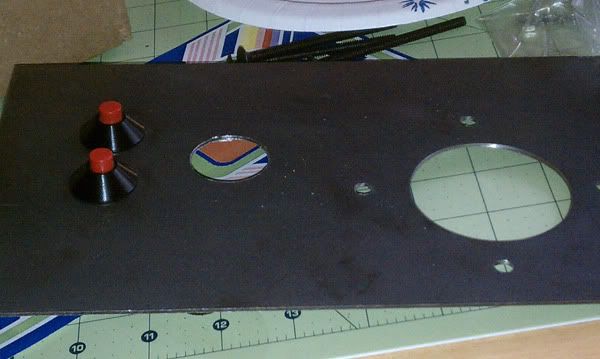
Fire Button test fit.
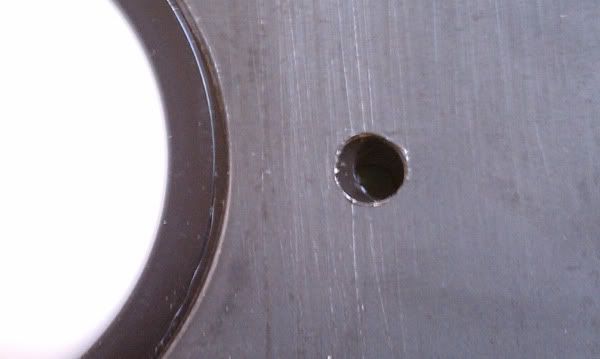
Trackball Test fit, notice the single carriage bolt holding it in place.
When it came to this point I realized something was very wrong. The holes for the carriage bolts didn't line up. At first I wasn't sure how this happened and I knew my measurements on the Control Panel Art were correct, they had to be. Originally I was thinking of drilling them out to make them "work", but I'm not half-assing this project. So another (4th) CP will need to be made. Yay for scrap metal in abundance!

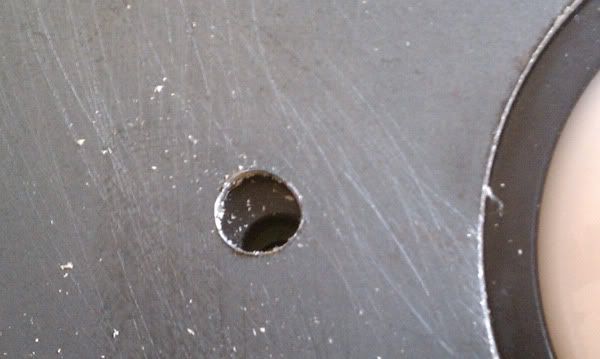
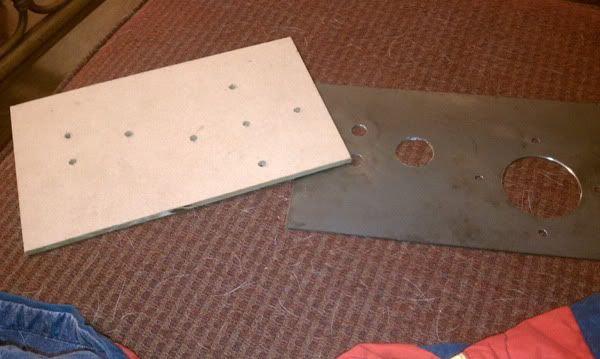
I left things set and went out to dinner with some friends and forgot about it for a few hours. After returning, I remembered I had taken the printed CPO and laid it out on top of my MDF test piece, marking the hole locations with a Sharpie. Went to the basement and found it, drilled all the holes in it. These holes in the MDF all line up with the trackball perfectly, unlike the crappy metal CP. So the only thing I can guess, is, the paper warped or moved enough to throw things off while I was drilling, thus giving me issues with my hole locations. Even though it was secured in place.
This MDF Template is right.... the metal one... not-so-much.
So, there we go, tomorrow I will take this piece of MDF to work and make and new-new CP. hopefully from there I can get it test fit into the cab and I can move on to the light box and speaker panel. There are quite a few more things I need to do before I can start painting yet. But, like I said, I'm not going to cut corners just to rush things.


 Home
Home Help
Help Search
 Login
Login Register

 Send this topic
 Print
Print Topic: Centipede Bartop: Slow and Steady (5/3/14) (Read 69065 times)


