Another productive evening.
J and I managed to complete all the major cutting we need to do for the cabinet. There will be some minor frame support pieces tomorrow night, but they shouldn't be more than a few minutes.
The top, back, front door with coin door cutout, speaker shelf with cutout and all the fan cutouts are complete.
The coin door was the most difficult piece, it required some careful routing to ensure that the coin door fit properly. J touched it up a few times and now the coin door fits nicely.
Tomorrow we bring all the pieces to my place for assembly.
From there, my focus will be the control panel.
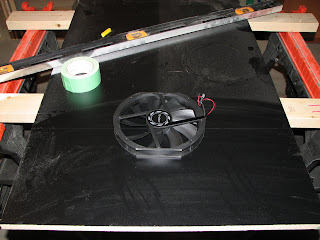
Using the 200mm DC fans to get a sense of size for the cutout.
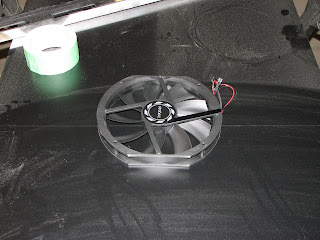
Close up picture of the Antec 200mm fan.
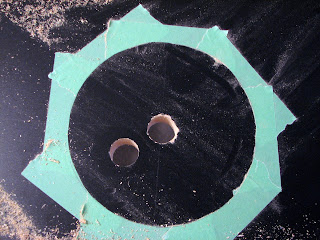
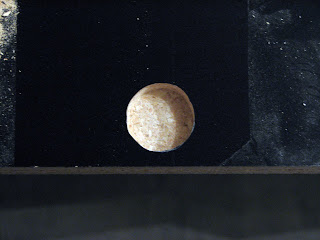
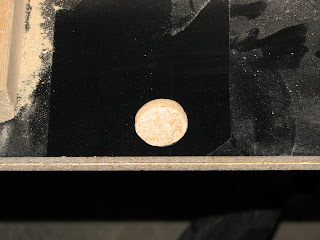
Used a 1 1/2" spade bit to cut a hole for the router to fit into. The spade bit made short work of the melamine.
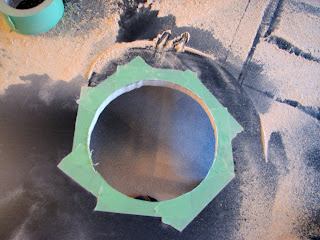
A few odd edges on the fan cutout, but it will be completely masked once the fan is mounted and the fan grills installed.
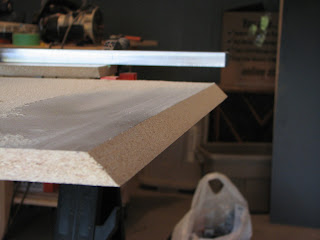
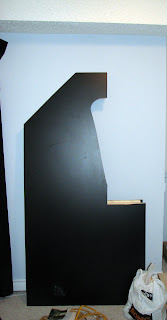
45 degree cut for the top back piece that sits at angle. Done with a circular saw, not a bad job.

Same technique as above used for the back panel. Another Antec 200mm fan will be installed to provide air intake from the back.
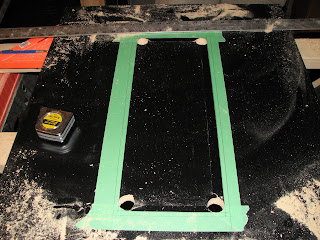
The layout for the coin door cutout. We were a little sloppy when we used the spade bit to cut the corners. We should have used the router to cut the corners, or more carefully measured. In the end it worked out fine because we had a 1/2" of play on either side of the coin door.
Cutout completed. As you can see, it's not exactly precise. Luckily the coin door hides any ugliness on the cut job.
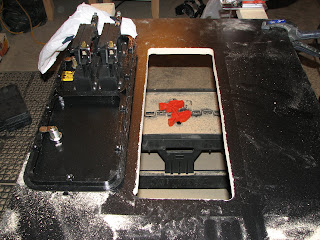
With the coin door installed, nice and snug. As you can see the router kicks up tons of MDF dust. Breathing protection is a must.
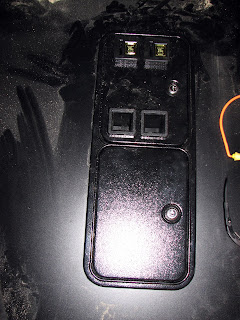
No traces of gaps around the outside edge. It really looks great.
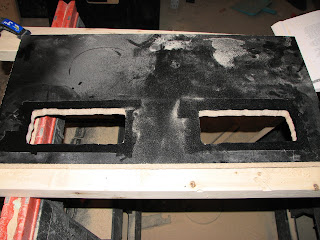
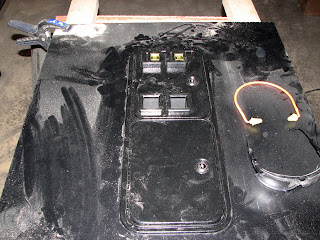
Speaker cutout. The book wasn't exactly clear on the inside dimensions of the cutout. In the end we used the dimensions of the Klipsch 2.1 speakers and simply subtracted 1/2" from either side to cut the inside dimensions.

Not exactly a thing of beauty, any imperfections here will be covered by the speaker grills.
The cabinet cutting, routing and fabricating is complete. All the pieces were moved over to my house for assembly. We'll likely be putting this beast together on Sunday.
That will pave the way for me to start focusing on the control panel. With any luck the control panel will be a fraction of the work of the cabinet.
I completely underestimated the amount of hours and work that was involved in the cabinet construction.
I didn't realize it at the time, but the European door hinges required a section to be routed out. The space had to be 1/2", keeping in mind we only had 3/4" of material to work with in the first place. To make matters more complicated, it was only 5mm from the edge, which we had already used a 3/32 bit on. To say I was concerned about punching through the side of the cabinet would be a big understatement.
J did a great job.
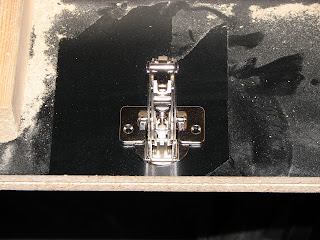
No wiggle room on the hinge at all, nice and snug.
My house, now filled with pieces of arcade cabinet.

The back piece of the cabinet upside down, with the angled back piece and speaker shelf resting against it. You can see the amount of MDF dust all over it.
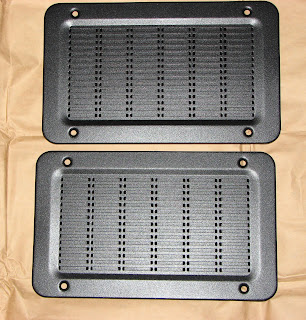
I had assumed the Midway speaker grills were plastic. They are, in fact, some sort of aluminum. The pictures don't do them justice, they look great.


 Home
Home Help
Help Search
 Login
Login Register

 Send this topic
 Print
Print Topic: The Avrus Arcade Project "Conquest" [4 player, 3 TB, 2 spinner] (WiP) (Read 22416 times)


