you can still read the whole saga at the
Metacab blog, but here's a quick summary in pictures of what's happened the past 3 months... (major gaps in progress aside

Note: click any pic below to enlarge!
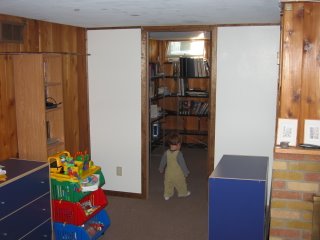
I built a wall in my basement -- the plan is to put a mame cab on either side of the door. Metacab Jr. is going to be the first to reach completion...
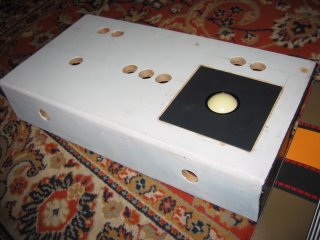
The CP finally got some holes drilled. In retrospect, this could/should have happened *after* applying the CP overlay? I decided to change the plan at the last minute to use a trackball instead of a spinner.
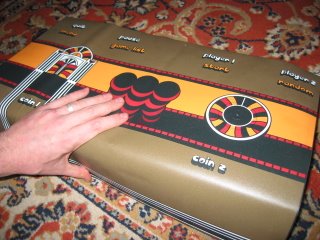
My order from mamemarquees arrived! I now have a CP overlay & a marquee! They're all retro-like and give me a nice warm elevator action vibe... Here's the CP overlay
Here's the Marquee (all lit up with the tube fluorescent)

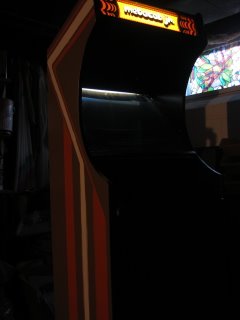
I finished painting the stripes on the side (I was too cheap to buy sideart

I got what I paid for but it turned out well enough for a first cab!)
I applied the CP overlay and installed/wired up all the controls. Nice simple CP design which I think helps me recreate the old-skool simple CP idea. Same reason I chose the vert cab orientation - most of my favorite games are some of the classic verts.

I then wedged the CP into the cab -- it's a VERY tight fit and will require a bit of touchup paint but certainly won't require any screws (this is ueber solid just by the fit!). I also scraped the paint out of my old side wall routing and hammered in the T-molding.

Just one last look for everyone to see the "before" state of this crappy Big Electronic Games cab before I totally overhauled it...

And here's the "after"! It's all done! Sort of. Mostly... Is any cab ever really "done"?? I still need to put in a monitor bezel, do a bit of touchup paint, possibly trim down the monitor plexi (it's a touch wide & bowing) and finish customizing MameWah to match the cab.

Looking forward to hear what anyone thinks of my first (mostly) finished cab....


 Home
Home Help
Help Search
 Login
Login Register

 Send this topic
 Print
Print Topic: MetaCab(s) - Preparing for Takeoff (Read 9055 times)


