Now that the raw box is done it's time to install some stuff inside. I started with something that we thought would be really kickass: an automatic sliding keyboard that would slide in and out of the box with the press of a button.
A fullsize keyboard would take up too much space inside so we ordered 2 mini keyboards. I wanted a mac-style thin metal keyboard but the "normal" ones were way cheaper and ready for shipment @ our China supply store so we just got 2 of those.

First I needed some kind of motor for the sliding mechanism. CD roms have lots of experience in sliding so we harvested some from old pc's. I opened up the first one and literally cut and hacked away everything I didn't need. I ended up with a pcb board and the open/close gearwork+"geartoothed" bar from the tray. I got rid of too much: the "open" action is stopped by a switch, and idem for "close", which I hacked away, so I made new switches for that and connected them to the right component legs on the pcb. A lot of time went into searching for the pcb connections and testing but it's done now and it works, so I'm not complaining.
Now I know that I'll do things differently for the sliding mechanism for Kevin's Arcade box...
extended the connectors of the open/close button to another button outside the box

The sliding rail is a small but robust metal rail, used for making sliding chest drawers. When you buy them, they have too much resistance so a little customizing is necessary to loosen them up in order to make them slide smoothly. And they need to slide -really- smoothly if you want a cd rom motor to be able to handle the movement. As in: hold the rail slightly slanted and it should slide in/out all by itself. Add a generous amount of chain lube and the rail should be ready to install. Or first install, then add lots of greasy stuff - but of course, you learn those things by doing it in the wrong order and making a big mess.
Oh well...
I'm not always taking pictures of the whole building process, so sometimes there's a small jump in the reporting of it. I didn't take any pictures while making the sliding mechanism for my arcade box, but here's a video I made right after -finally- making Kevin's sliding mechanism work:
KevArcade: to turn the button illumination on/off, the KevArcade uses a set of chrome switches
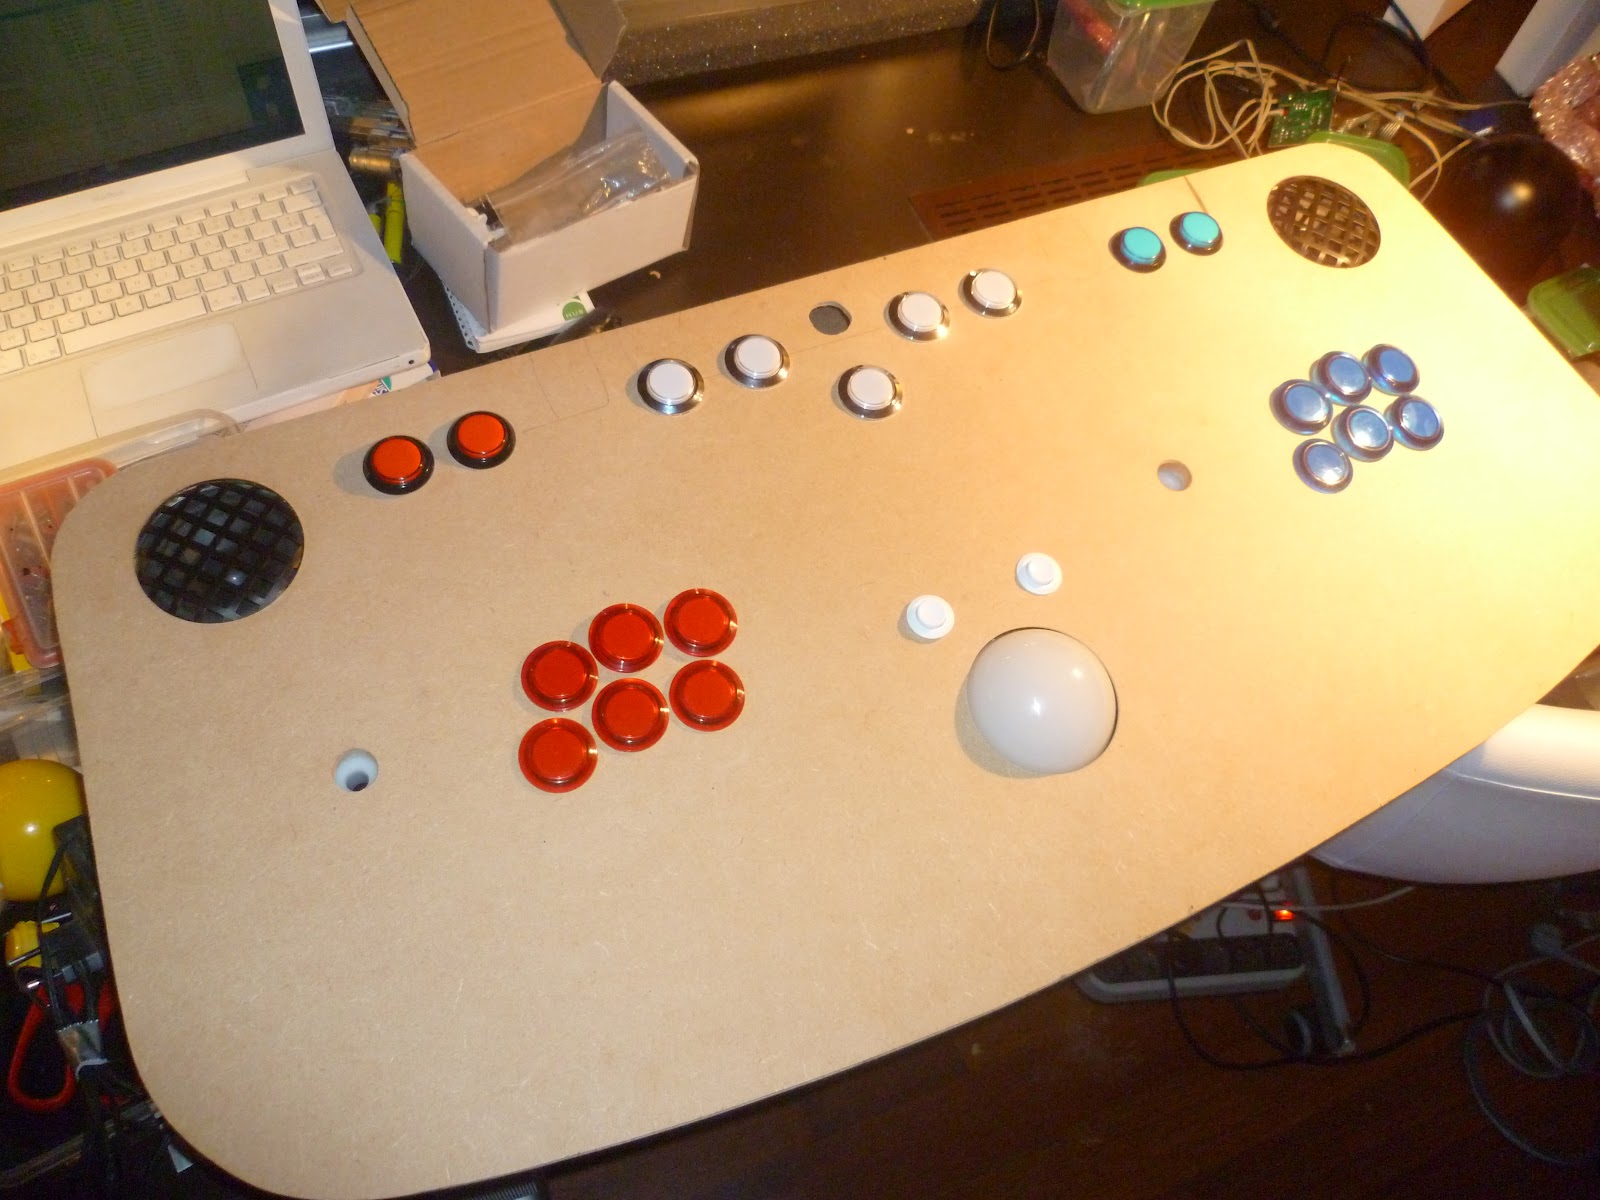
SigArcade: test fit of controls. I like it so far!

underside of the control panel. I hacked an old jumbo sized trackball mouse, replaced the yellow ball with a transparent ball and drilled a hole in the bottom of the housing, so i can add a led lamp to light it up

led light to light up the trackball - when the top panel is closed, it's positioned exactly under the trackball hole. But it committed suicide. Damn drama queen.

unfortunately my led lamp "blew up" with a sharp bang and a bright spark for an unknown reason. I'll be replacing it with another type soon. I'm not sure what happened because it had the right voltage and there was no shorted circuit or anything.
It just committed suicide. Maybe the pressure of playing the role of an element that brings such an amount of kickass into a project that oozes kickassness (retro arcade games are the summum of kickass) was too much for it?
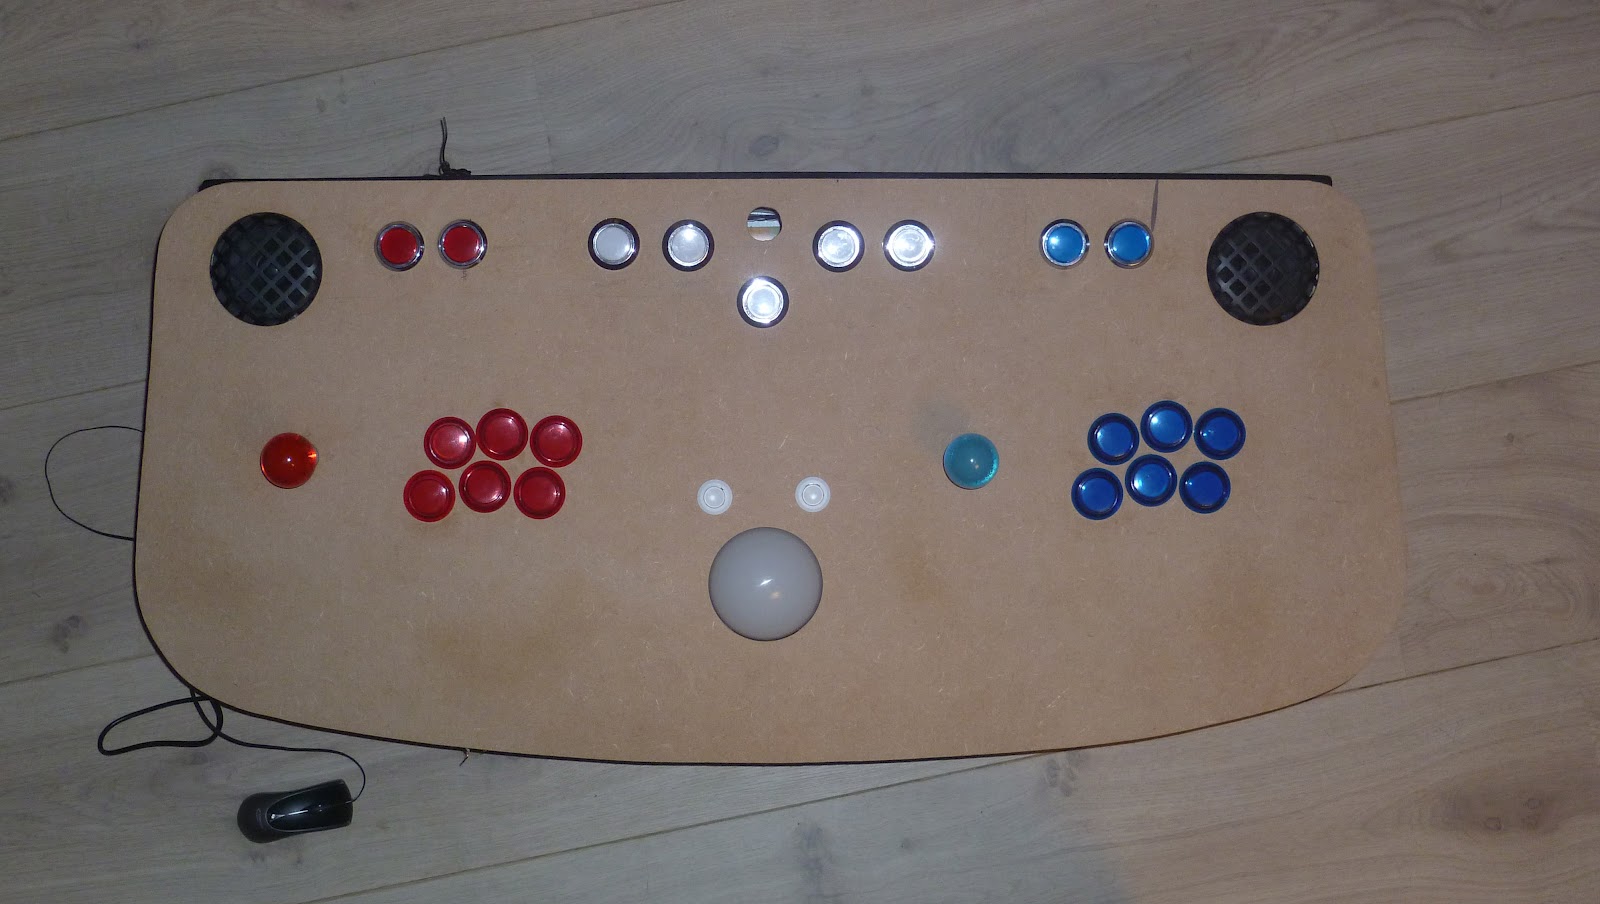
Panel LayoutsWe're using slightly different layouts for the Sig- and KevArcade. The 2 boxes will have different finishings here and there (panel edges: plastic border vs "light rim") and a different graphic overlay on top.
Kevin's Arcade will get a Megaman theme and mine will get a blue/red brushed metal overlay, based on the design idea I had for my old arcade project. But It will be more colorful this time
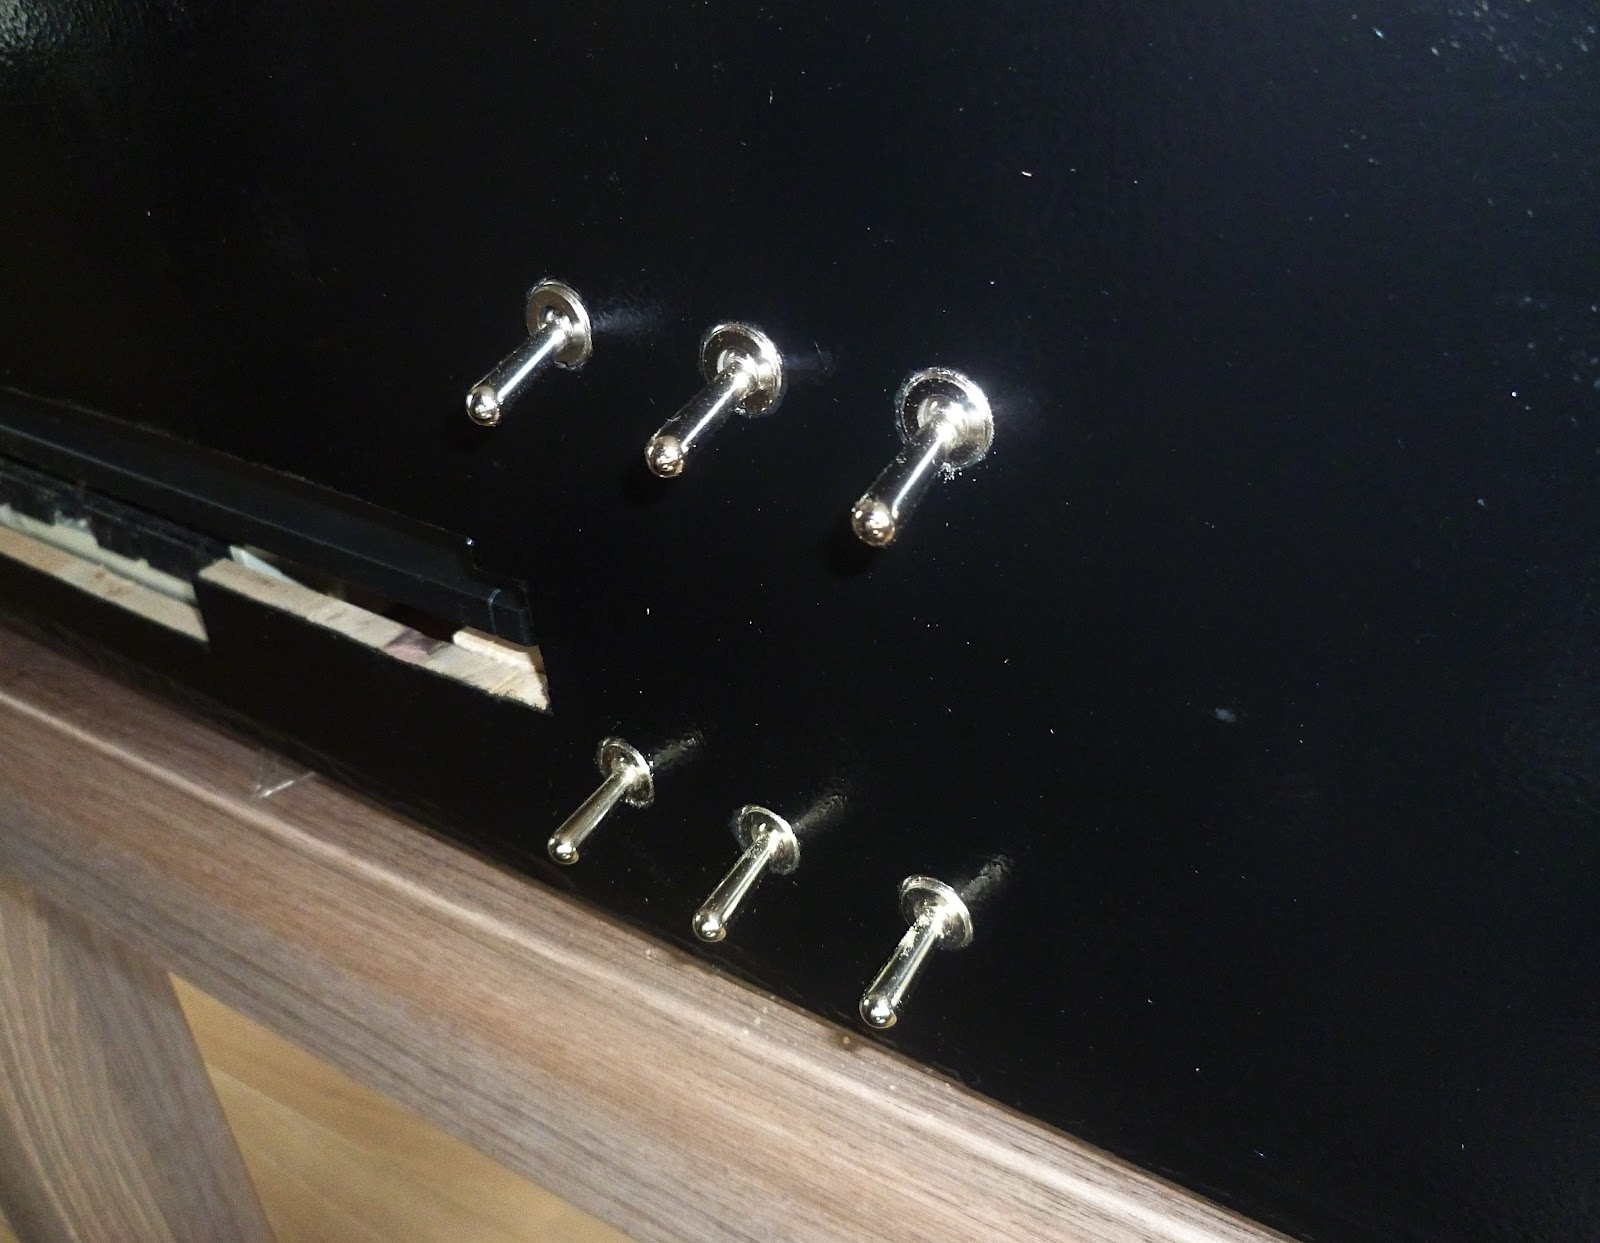
KevArcade panel cutout

SigArcade panel cutout with test fitted buttons
Fitting the computer and parts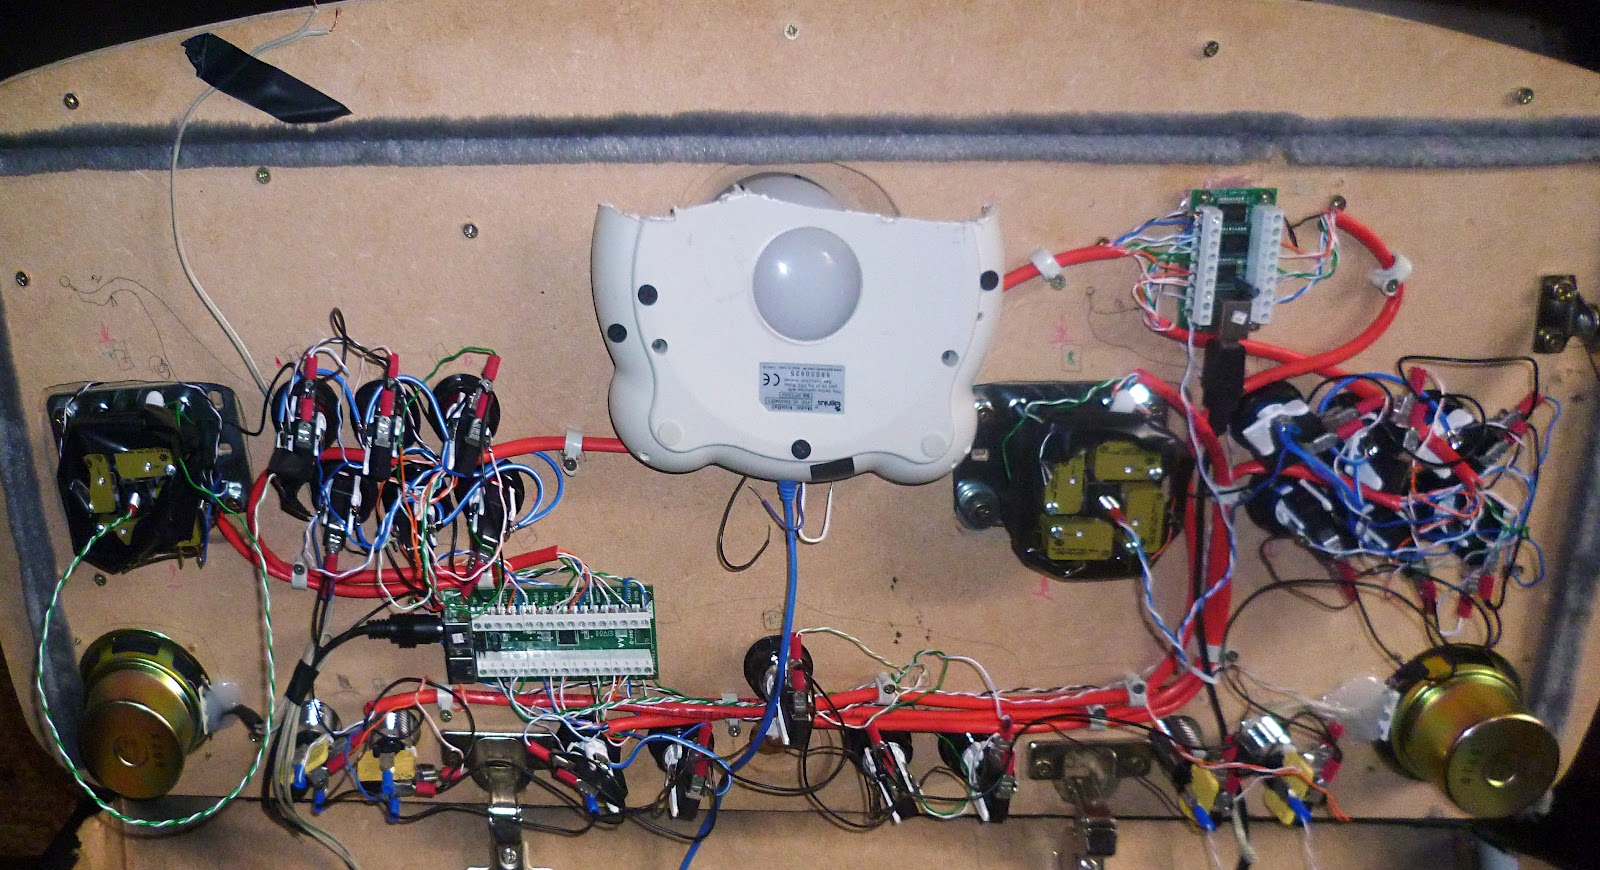
Inside the box (cable management is ok, but not final yet)

I did a first test run with the arcade controller. Looking good so far. The moving keyboard was the trickiest part but it works like a charm now.
Here's a small video of booting up and testing the menu:


 Home
Home Help
Help Search
 Login
Login Register

 Send this topic
 Print
Print Topic: Arcade controller with built-in pc (Read 13262 times)


