Quite a bit done today (for me!)...hopefully more tomorrow.
I got really lucky at a plastic shop yesterday. They had a 1/4" 30"x30" smoked plexi offcut in excellent condition for $5. I figured I would finish the bezel and mount the speaker shelf for the goal of mounting the plexi.
I started with the speaker shelf which up to now has been hanging with clamps and mounted it. As mentioned before the marquee is removed via the top retainer which is connected via 3 bolts.
After mounting the speaker shelf I measured up the distance from where the speaker shelf touches the bezel down to the bottom of the bezel...this ended up being 26.5" inner cab width by 22 1/4" in length.
I clamped the 30" x 30" plexi between to pieces of MDF...one piece was a template I cut as I did not want to use my actual bezel and risk scratching it... the template matched the measurements above. I then flush trimmed the plexi. If you want my 2 cents...don't waste your time scoring plexi...it is too prone to you running off the line and you risk scratching your investment...use a flush trim bit and you are good to go. I have zero melting as I maintained a decent clip and ensured I let my bit cool down each pass (each side).
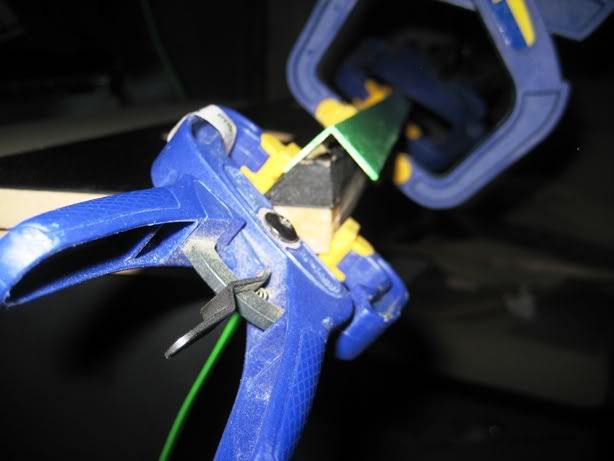
A quick shot for those who are curious how I handled the bottom retainer. You can see the angled piece of wood glued to the speaker shelf on which the bottom retainer is in turn glued:
To keep the bezel in place I use an L shaped piece of pine from Home dept that sits atop two L braces mounted to the side of the cab. The bezel and the retainer will rest on it. A bolt is put in place behind the pine to keep it in place...pictures below:
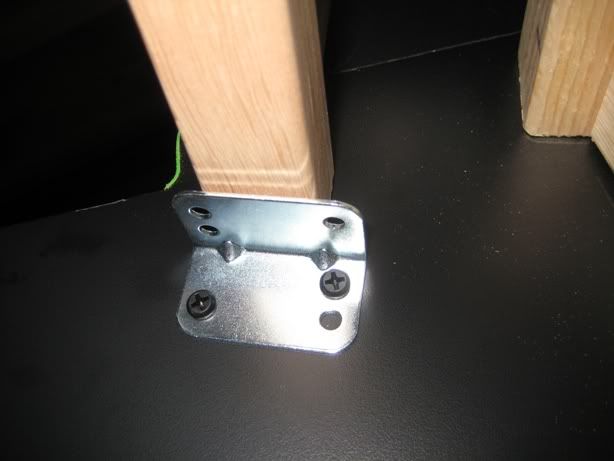
Here you can see there is exactly 1/4" of the L Shape sticking out beyond the bezel...perfect fit for the 1/4" plexi! (EDIT: Now using 1/4" glass).
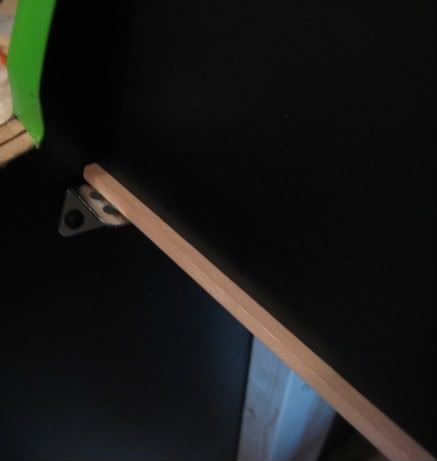
I then added the smokey plexi and voila a perfect fit. Speakers will be covered as I am still working on them:
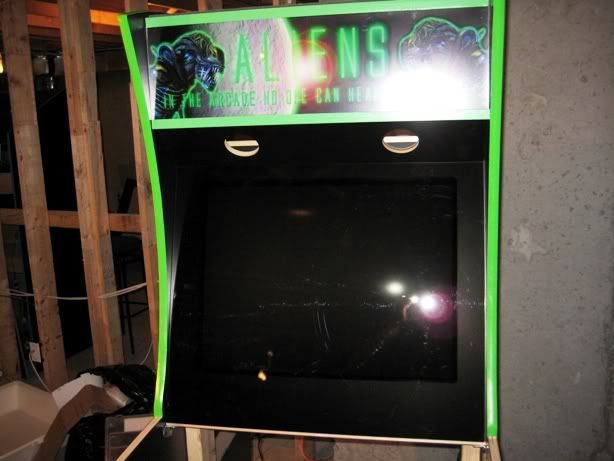
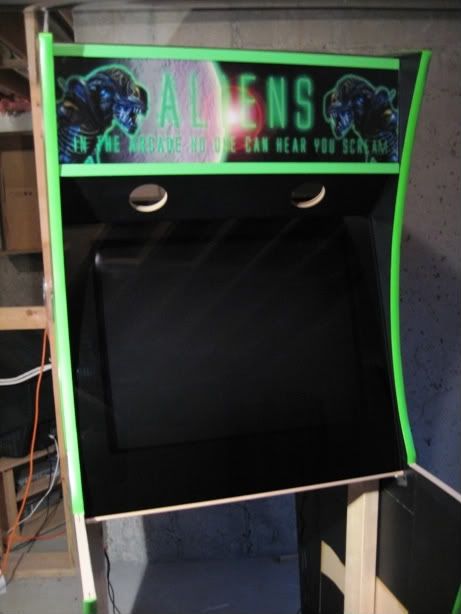
I then realized my CP was cut to not take into account plexi over the bezel...ooops...no big deal. I throw it on the table saw and do another 1/4" angle cut so it rests on the plexi flush. I also cut the T mold slot and rounded the edges. Lastly, I used my X arcade to template sketch the buttons (6 each player), trackball, p1/p2 and Spinner (to left of p1/p2):
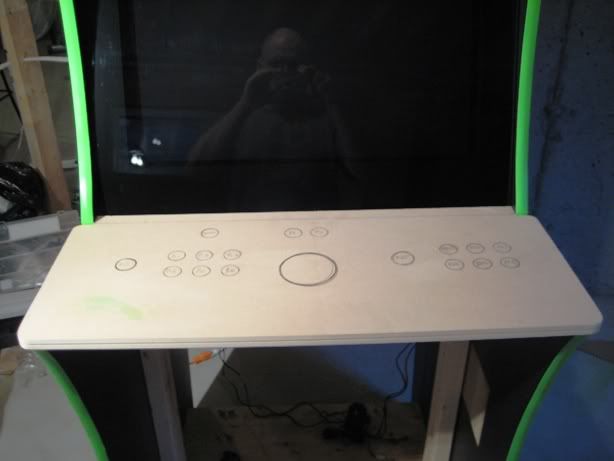
Tomorrow Ill try to finish the CP and the curved piece now...first few tests of the curved piece worked fine. To create my own bendable MDF I have been cutting slots to within 3/16" down, spaced 3/4" apart on 3/4" MDF. I will then put glue in the slots and mold the curve. Ill document this step in closer detail.


 Home
Home Help
Help Search
 Login
Login Register
 Send this topic
 Print
Print


