More baby steps. It's almost as if the world is trying to keep this cabinet from happening... So far, I have the control panel box mostly-assembled, most of the front panels cut out, and I'm starting on cutting out access holes for speakers, screens, USB ports, etc...
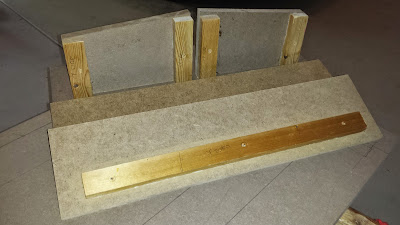
I started by cutting out the six sides of the control panel box, and attaching furring strips to keep them together. I screwed and glued the strips on, screwing through the MDF and into the furring strips (since the wood of the furring strip will do a better job gripping the threads at the end of the screw than the MDF).
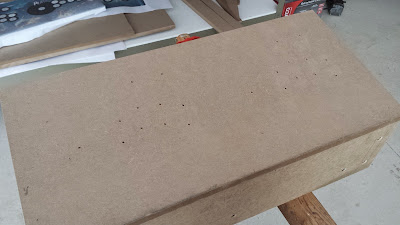
Then I glued & screwed all the pieces together. The top is not attached, since it will be detachable on the finished product. And the back panel isn't actually screwed on for now, because I need to be able to access the underside of the top panel to formulate some kind of latching system.
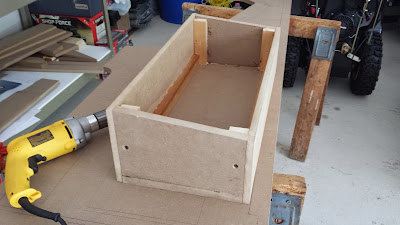
Control panel box. Is strong like bull.
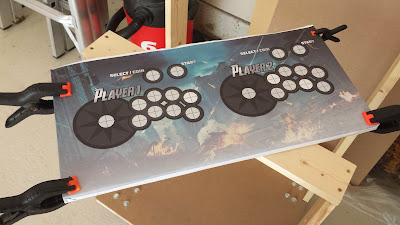
Next step is to prep the top panel for joysticks and buttons. I printed a full size version of the control panel graphics, and clamped them to the top piece.
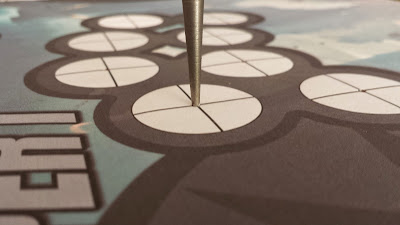
Then I center punched all of the holes. I want these holes to be drilled as accurately as possible, so I'm taking my time.
With the holes center punched, I removed the graphic template, and used a small drillbit to drill pilot holes.
For the joystick attachment, I'll need to rout out part of the underside for the joystick mounting plate. I marked this out now, since it'll be a lot easier to find the center of a tiny drilled hole than a 1-1/8" hole.

Now to drill the holes for the buttons and joysticks using a 1-1/8" forstner bit. I started with one of the joystick holes, since any mistakes will be covered up by the joystick washer. Good thing, because genius-me tried drilling the first hole with the drill in reverse, and the bit jumped out of the pilot hole. So, I had to flip the board over and drill the hole correctly, starting from the back. Like I mentioned, the error will be hidden by the joystick washer; but I'll still want to patch it up with wood filler so the control panel graphics attach smoothly to the surface.

After drilling a couple holes, I noticed that the bit was tearing chunks out of the underside as the bit came through the MDF. So, I started drilling about 1/4 of the way through the bottom first, then flipping the board over and drilling through the top. This seemed to go more smoothly.
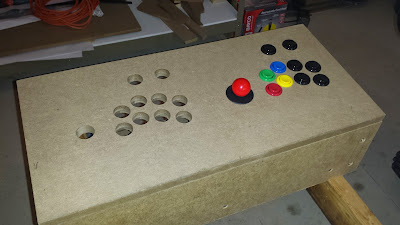
After getting the holes drilled, I tossed in some buttons and a joystick to see how they fit. Nice.
After getting most of the front panel pieces cut out, now I'm starting to make templates to rout out the access holes for the various components. Here's my start on the speaker cutouts. Measure twice / cut once is definitely a rule to live by for me, because I always screw up the measurements the first time (hence all the scribbled out lines).


 Home
Home Help
Help Search
 Login
Login Register

 Send this topic
 Print
Print Topic: "Avengerless Avenger" - [11/17/15] Finished! (Read 85074 times)


