It looks like your actuator actually has feedback (the yellow, blue, white wires), meaning you wouldn't have needed limit switches at all because you can tell it via software how far it should go 
Yup, has a built in potentiometer. I didn't put as much into learning the software as I should have.
The original setup with the limit switches was designed to work using the printer port.
It wasn't until I gave up on getting the printer port working with Vista64, that I switched to the pololu controller.
I've been making lots of progress on the cab, but it's stuff you'd assume was already done.

Finally grounded the audio panel and coin door, organized the wiring, switched the fans over to 5v so they're quieter,
crimped some ends on the wires hanging by the coin switches and hooked those up, fixed a lot of small software issues, etc.
Got a LOT of loose ends tied up.
What follows is more random stuff that progress has haphazardly been made on, but hey...it's progress.
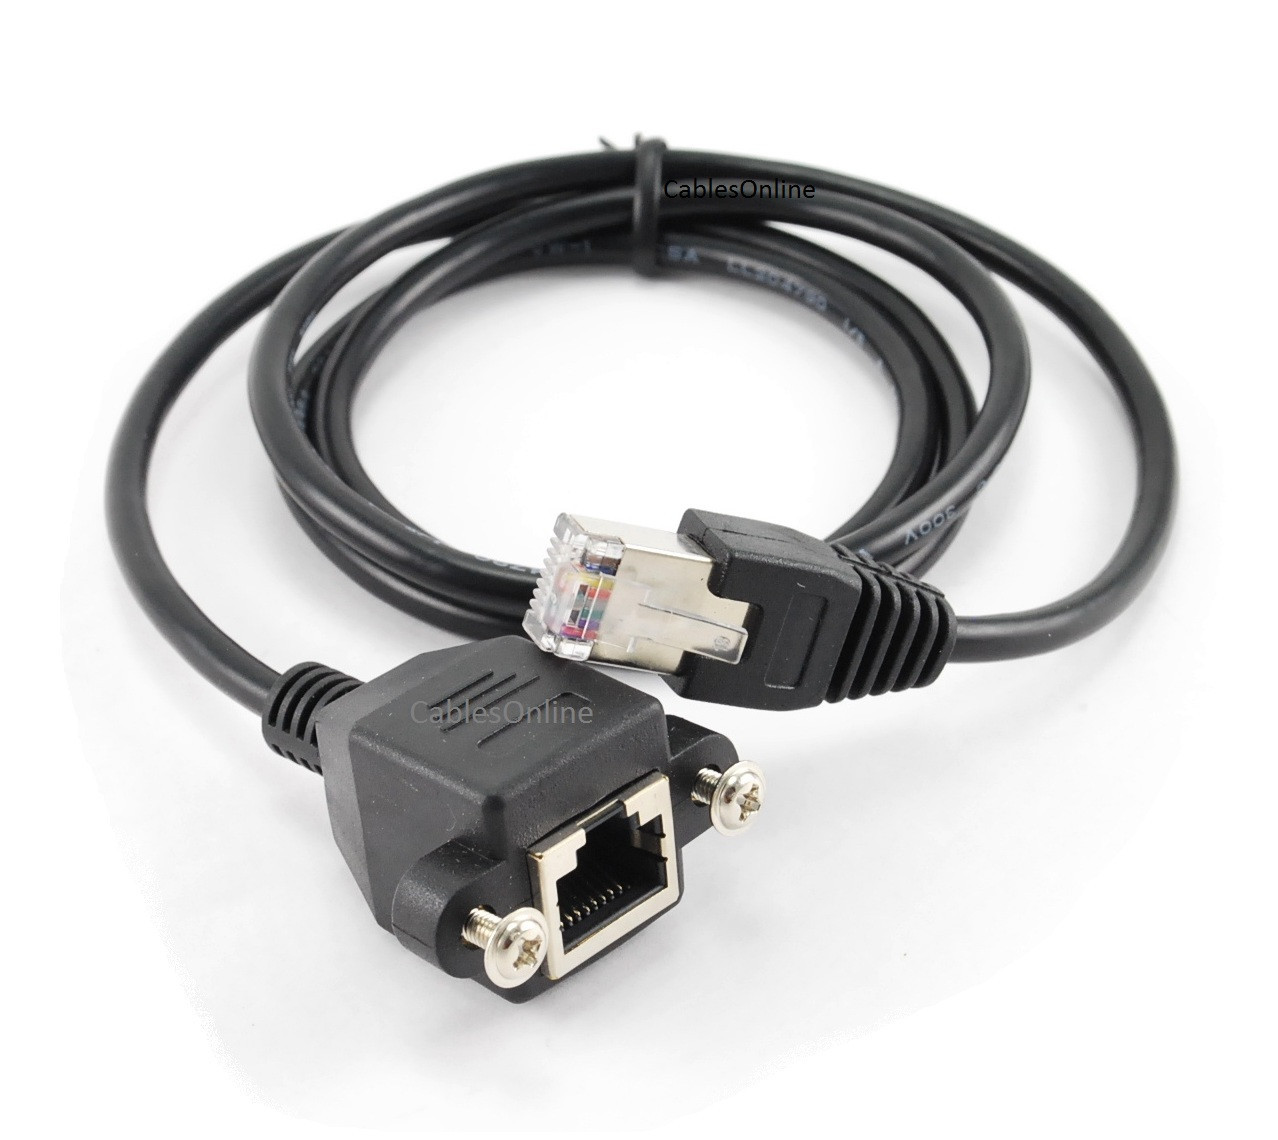
I hadn't originally planned for this cab to be connected to the internet, but got into Steam and changed my mind. To avoid having to mess with any extra wiring outside the cab, I installed a powerline adapter that transmits the signal through the electric cord. It didn't work so well when plugged into the power strip, so I installed a splitter before the power strip. Seemed to be working good at first, but then got flaky. It turned out to be a software issue caused by me disabling services, but before I figured that out, I made this nifty Ethernet port (I don't like the looks of the neutrik ones):
Started with a panel mount extension:
Grinded the sides off of it:

Until it fit in a cut up power inlet from an old PC:

JB welded in place from the back, then topped off with liquid electrical tape in front. This turned out to be a mistake. I thought the liquid tape would pool and make a shiny black surface. It kinda did, but not as smooth as I thought it would be. It would have looked much better if I'd filled with bondo and spray painted. Since it's on the back, I don't care enough to redo it. Still need to pick up some mounting screws.

(used a black sharpie to touch up the edges of the cut area. Apparently I slipped. I did not notice any of this before looking at the pic. Guess I should run the paint roller over that area)
Been setting up HLSL separately for each resolution. I'm finding that the theoretical best settings for the really low resolution games look like crap on a monitor this big.
Using pics of the real games on original hardware for reference, the results are pretty awesome:

My method is to find a section of the screen where the lines are easily counted and then make sure HLSL has the correct number of lines, then get the size and darkness of them to match.
I wish the curved edges of the pincushioned image were smoother and the corners were more rounded, so I might try to make a .lay overlay that has the look I want.
CP art is evolving:

The idea is something between the original NEO GEO and modern candy cabs.
Pixelhugger is doing the art. Part of the deal when he agreed to take the job was that I realized that he didn't have much spare time to work on it, so it will be done whenever it is done.
The part that says evolution will probably be different by the time it's done. Maybe NEO GEO in the bump out area, and evolution stretched across the whole bottom...
Need to work on next:
Make HLSL settings for a few more resolutions.
Redesign exit button art and print on sheet along with serial plate.
Set up Joychoose and pololu controller for 4/8 way switching.


 Home
Home Help
Help Search
 Login
Login Register

 Send this topic
 Print
Print Topic: NEO GEO Evolution (EVS-1) - Experimenting with DIY trackball (Read 132428 times)


