Just thought I'd share this project I just finished. The basic rules for this build were:
- The table had to blend into the decor of the room
- I was asked not to cut up the existing coffee table in the room

That's about it. So I went to work building a new coffee table from scratch.
Parts:
- Glass from an old coffee table
- 3/4" pine (boards and a few panels)
- Logitech 2.1 speakers bought cheap (refurbished)
- HP LP2065 flat screen LCD
- An old Pentium 4 I had laying around
- 2 Ultrastik 360's w/ 16 buttons
Tools:
- Mitre saw
- Table saw
- Kreg Pocket Screw jig
- Corded and cordless drills
- Clamps and other misc shop tools
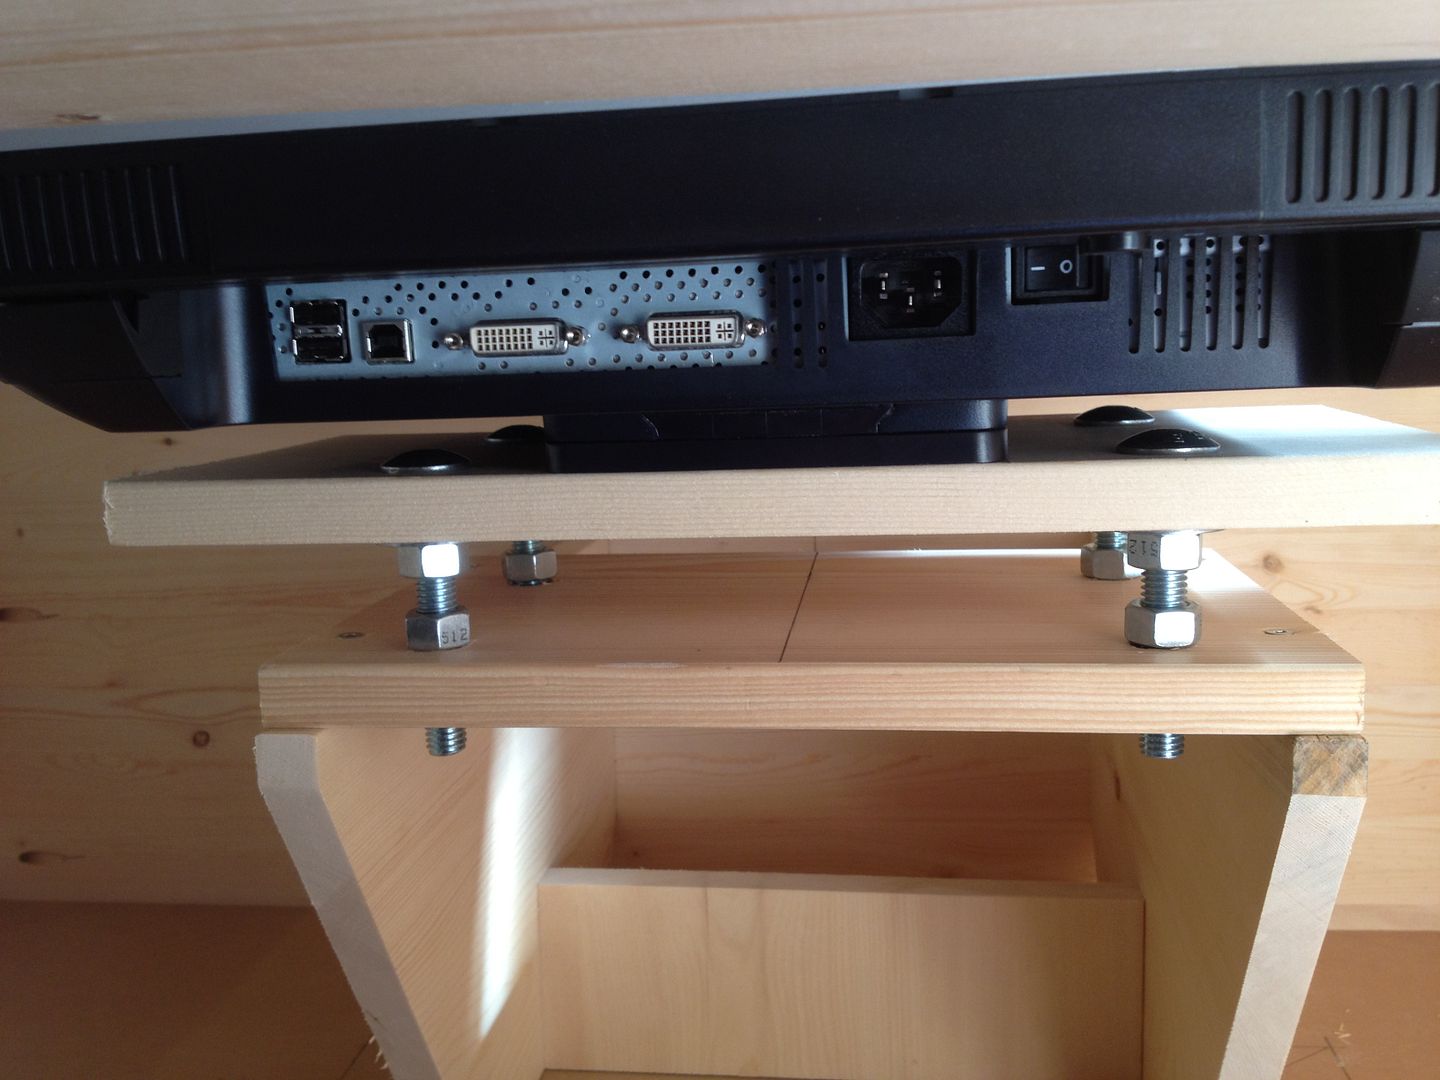
I started laying out the new top on the original table that would be replaced:
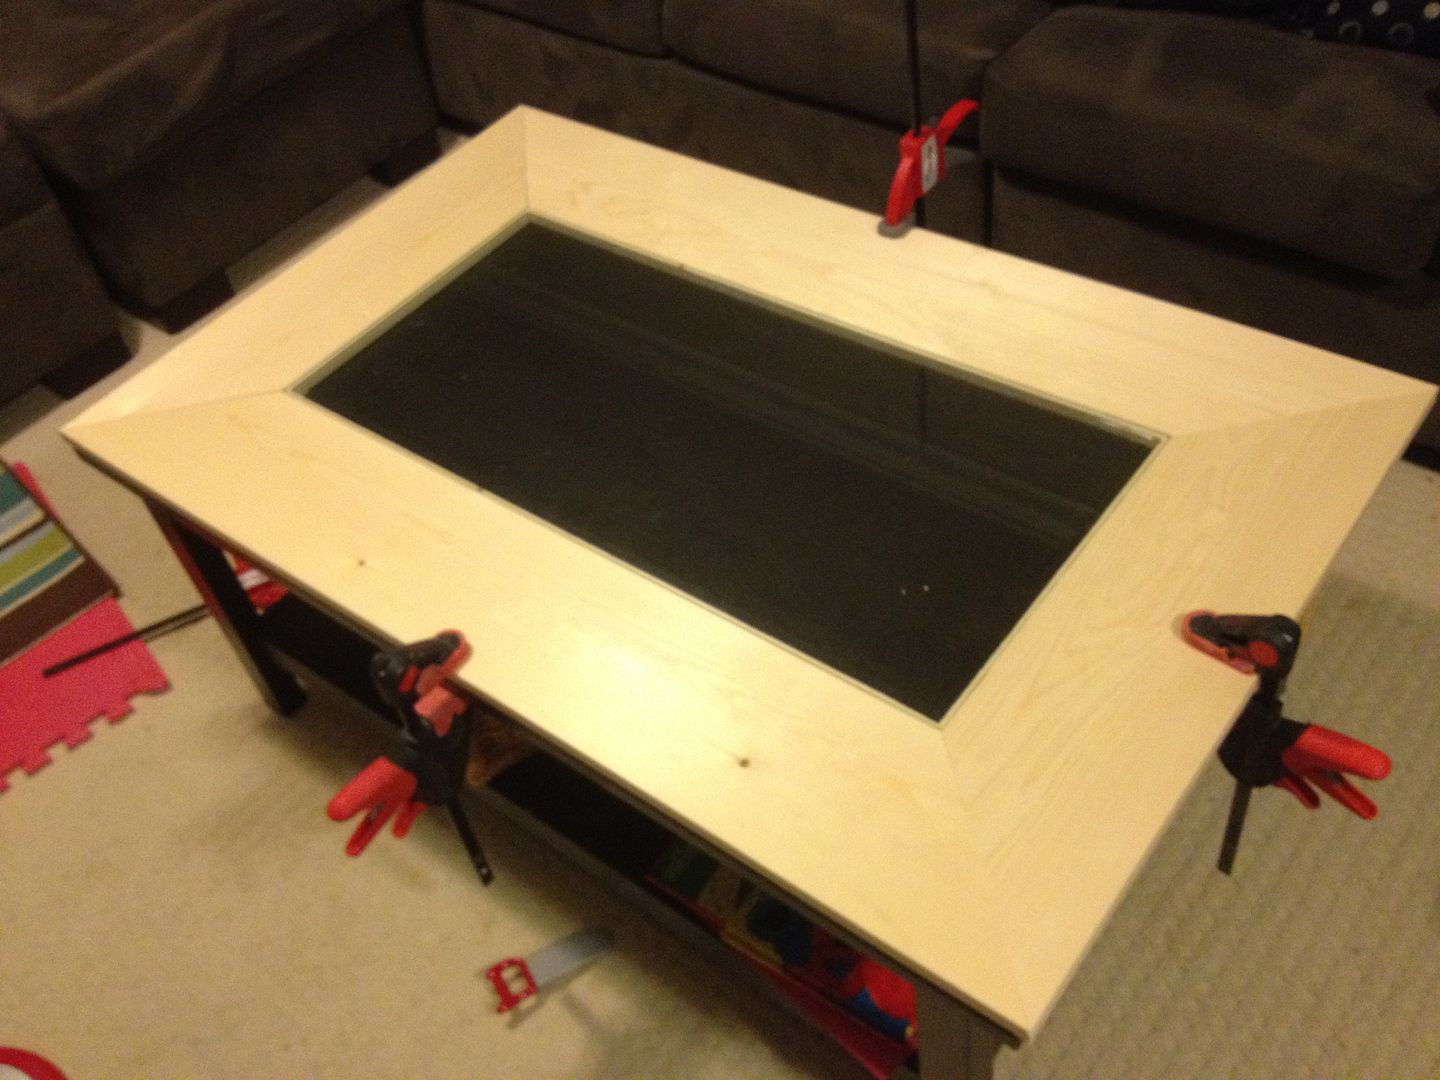
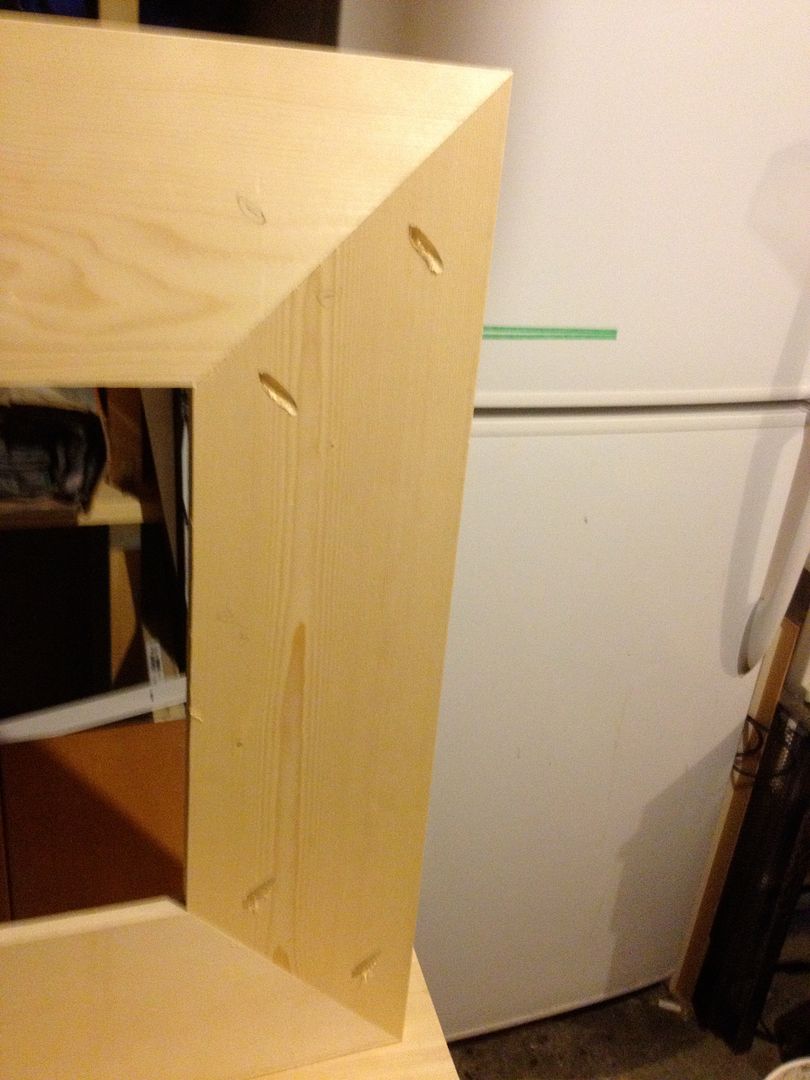
Attached the corners of the top using glue and pocket screws:
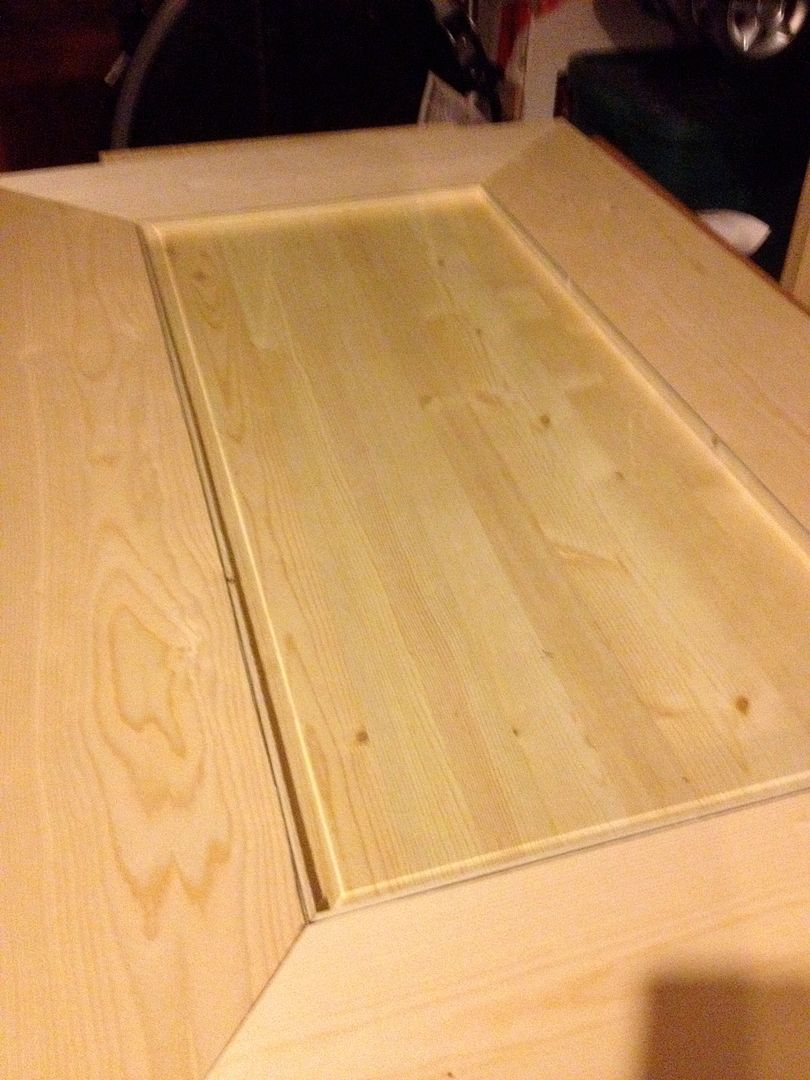
Here's the top laid out in the garage with the glass in place. It fits!
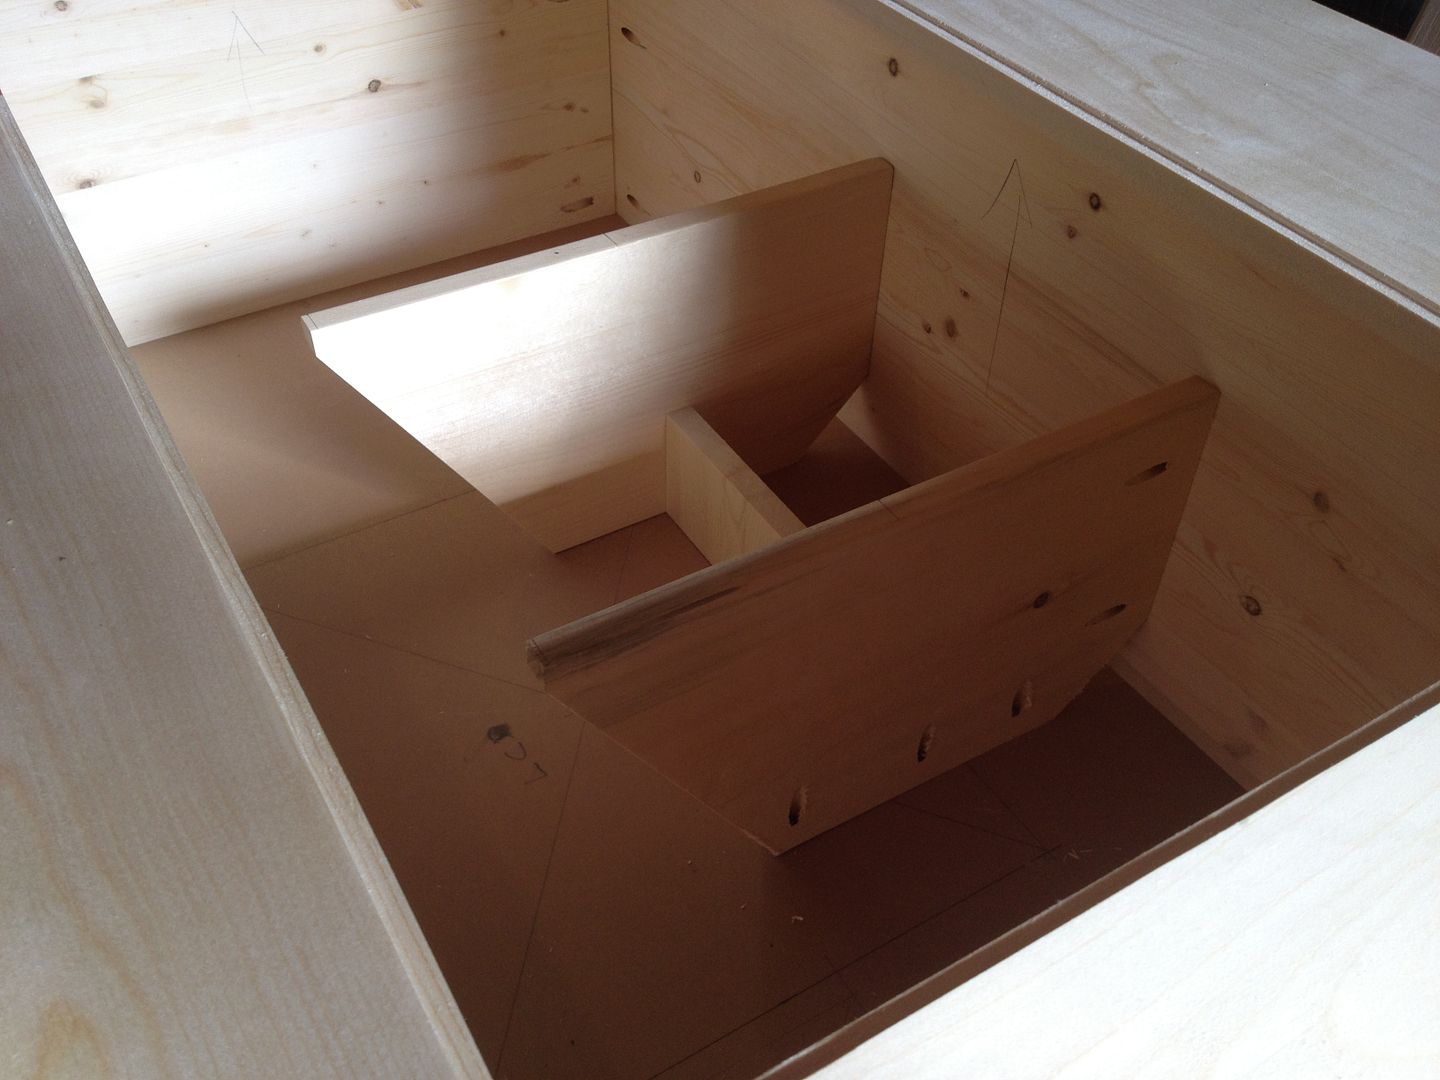
After that I built the base. It's basically 4 legs and 3 sides of a box pocket screwed together, then mounted to the top (again with pocket screws - I think I'm addicted to them!)
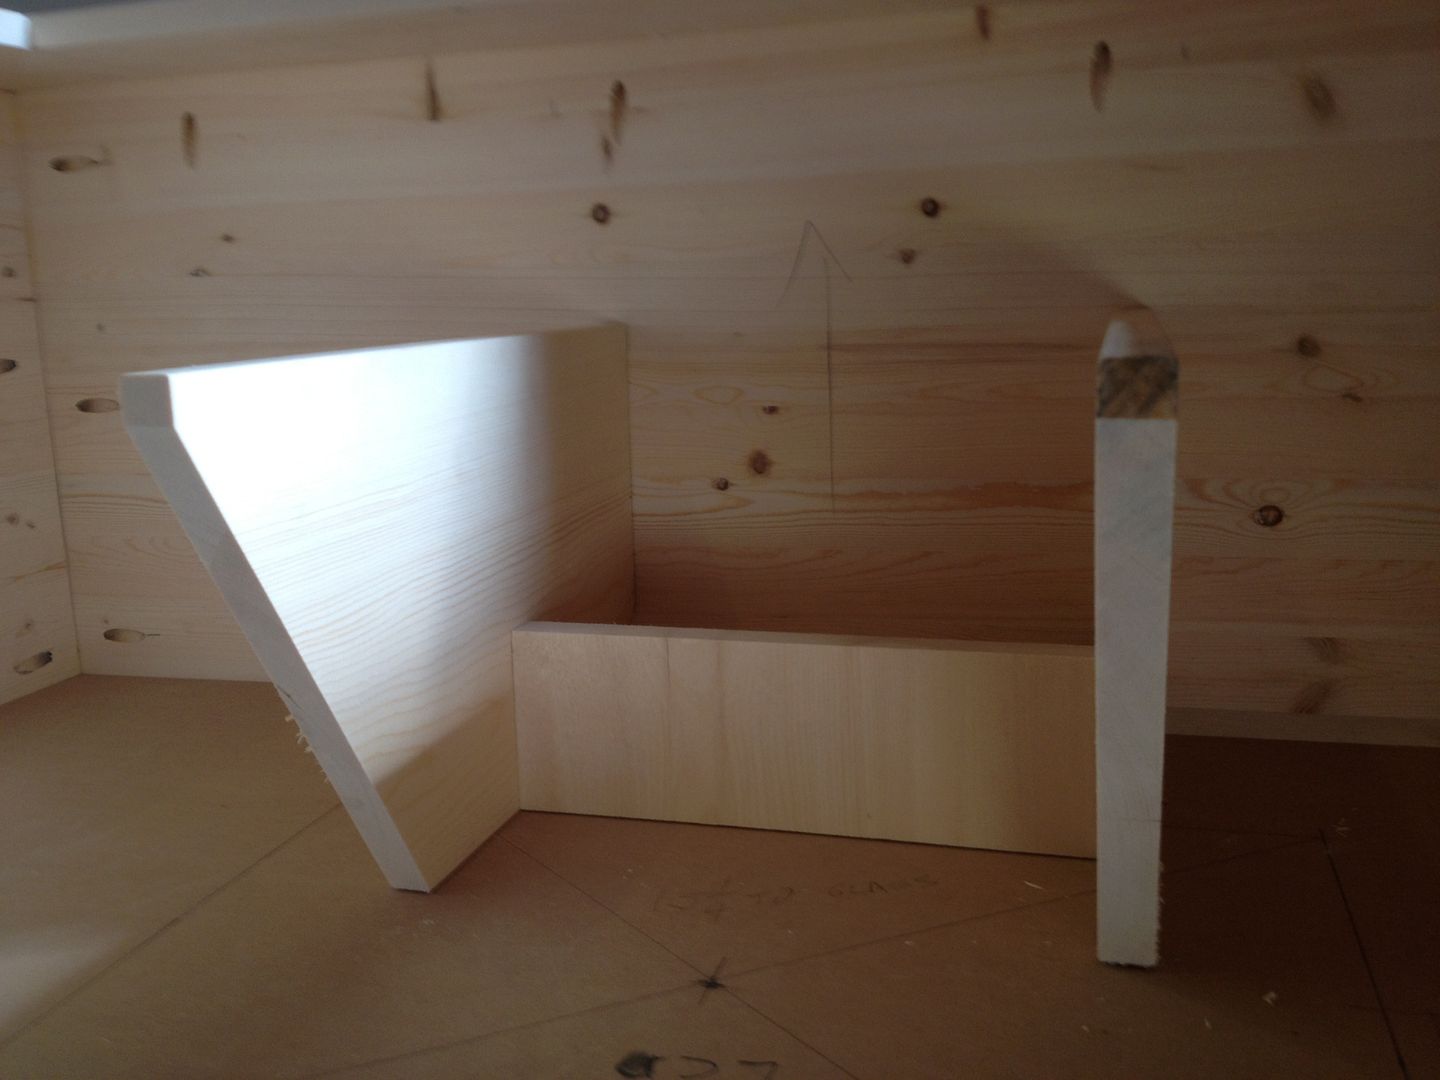
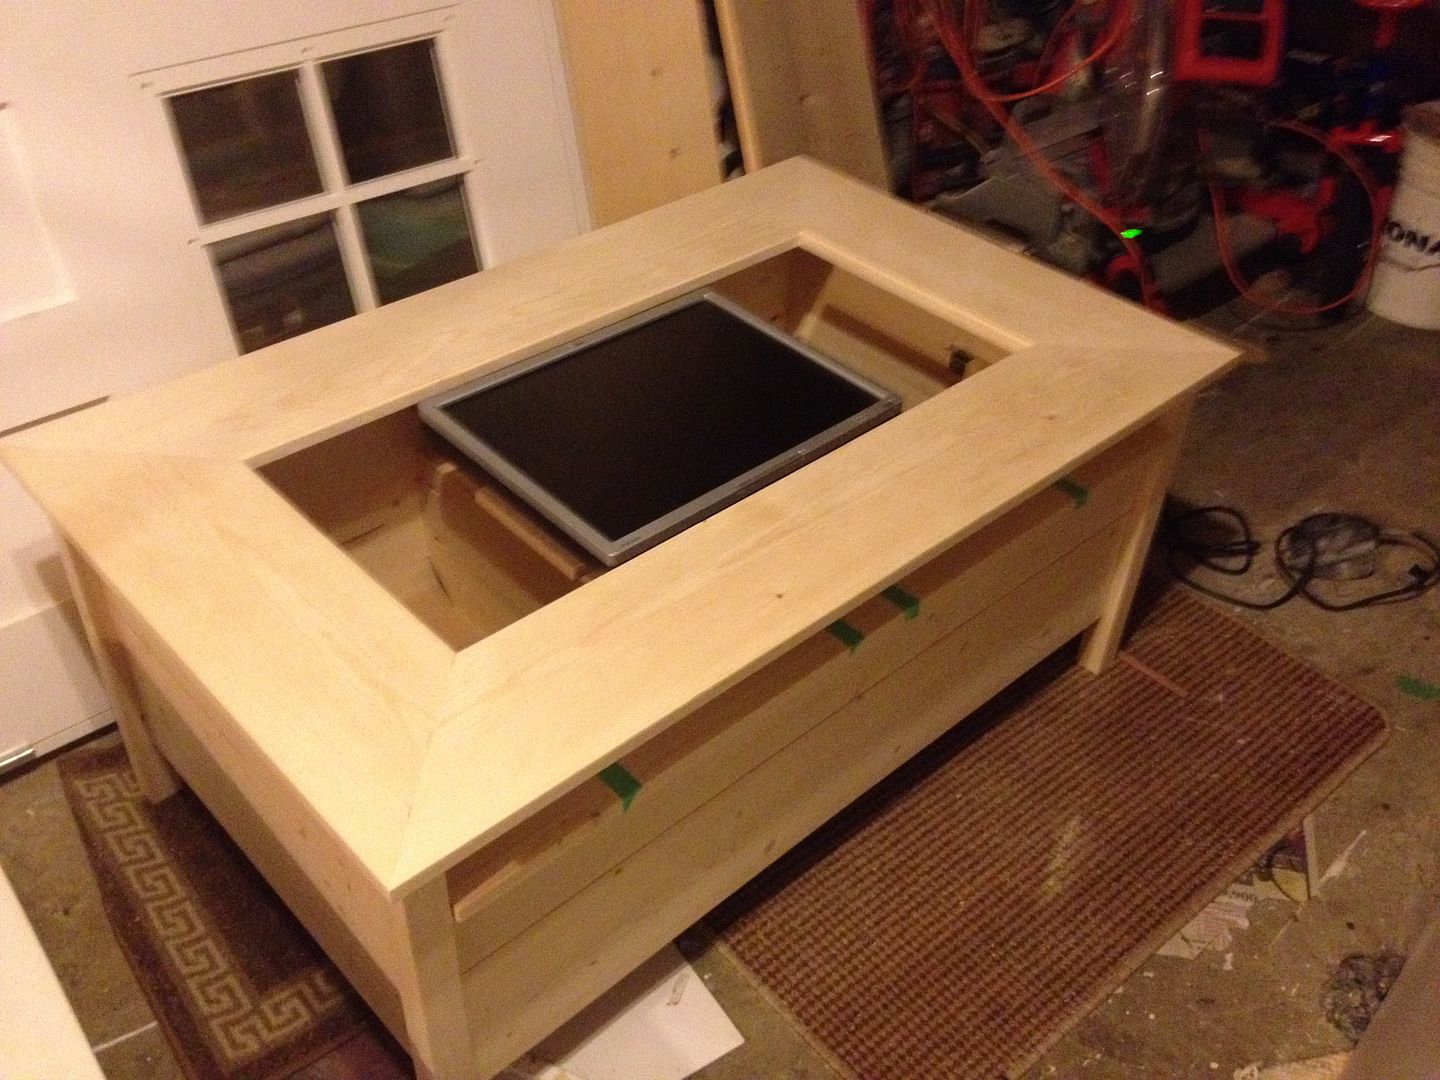
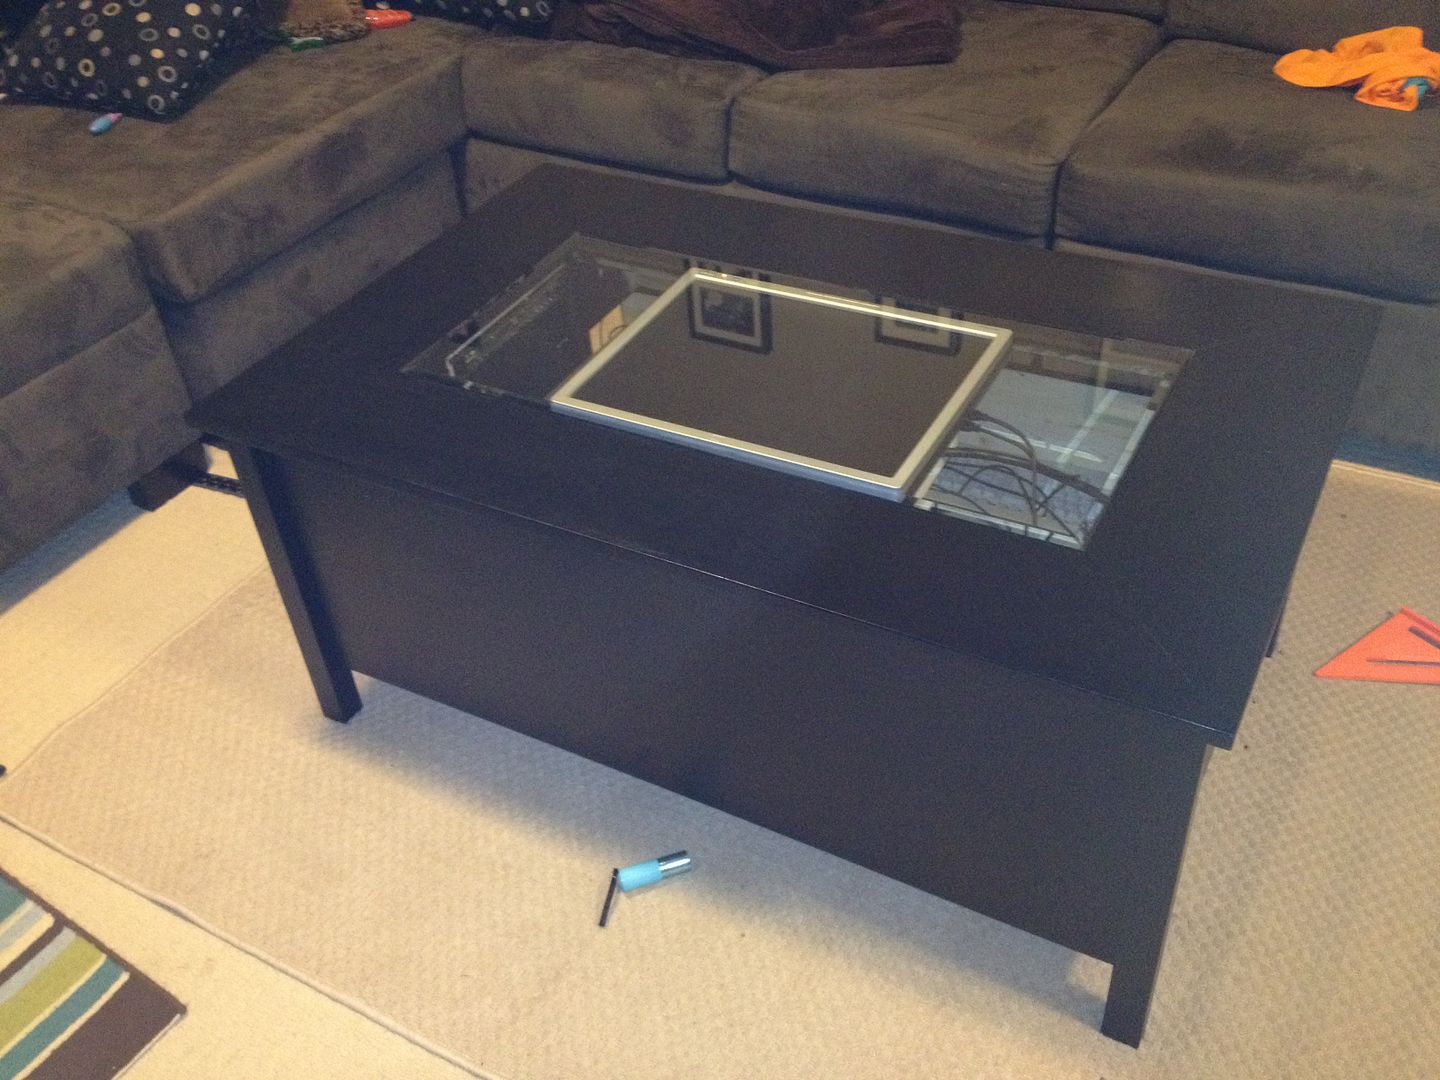
Next step was to figure out how to mount the screen. Here's what I came up with in the cabinet:
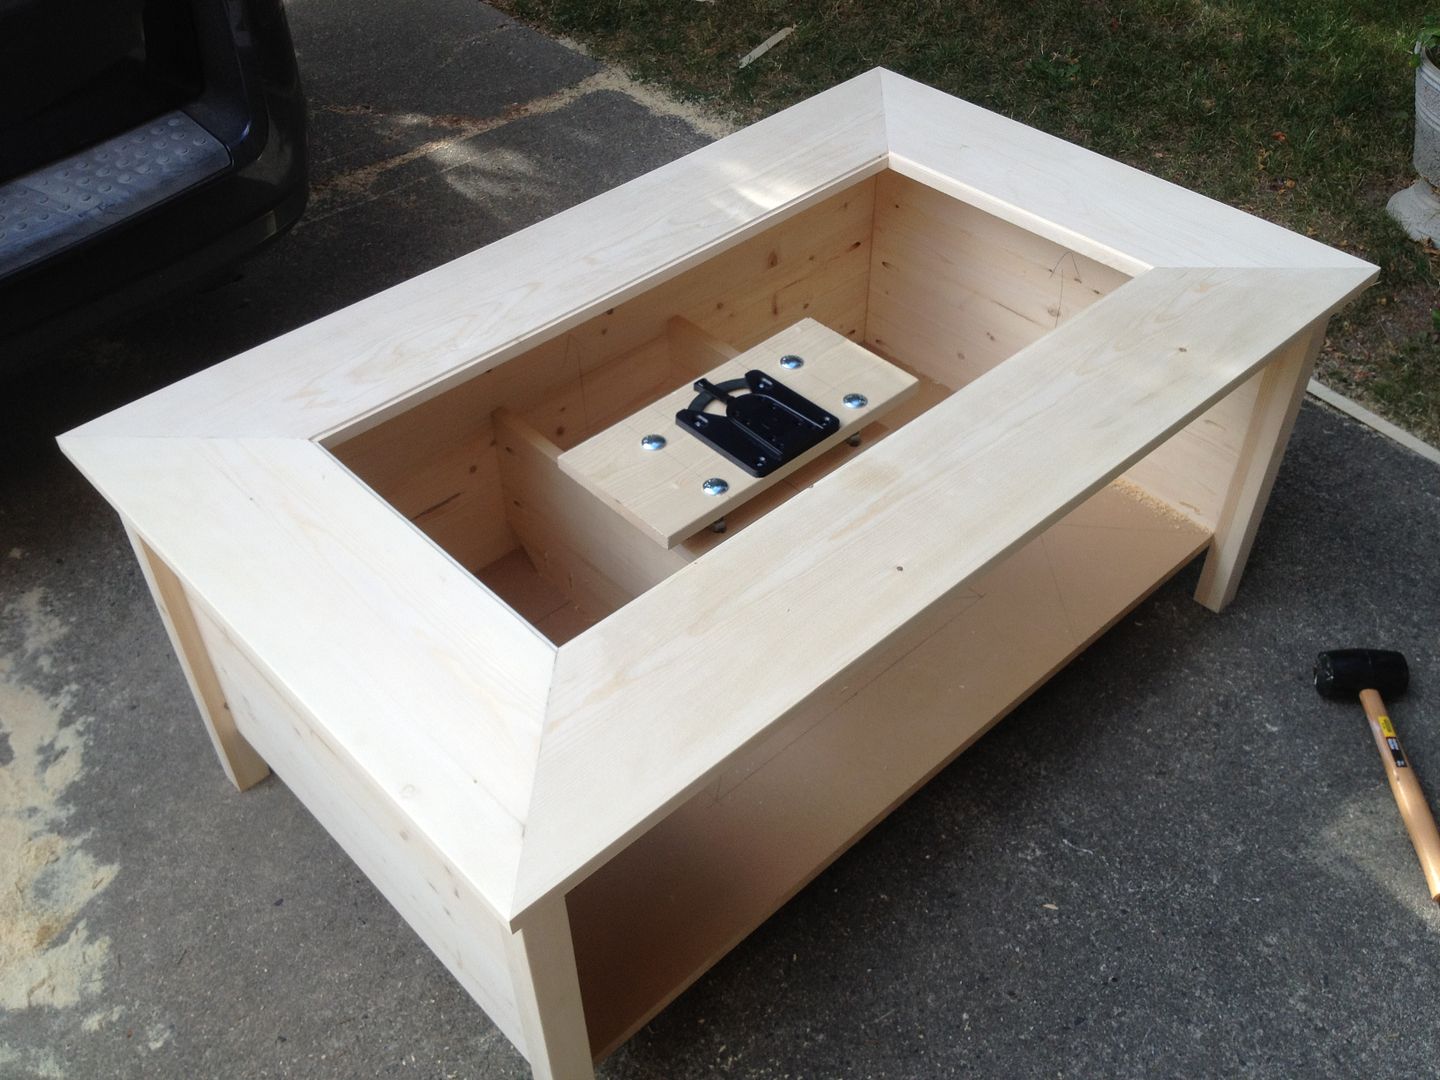
And here's the part that attaches to the monitor. It's got 4 bolts, with 3 nuts each, so each corner's height can be adjusted:
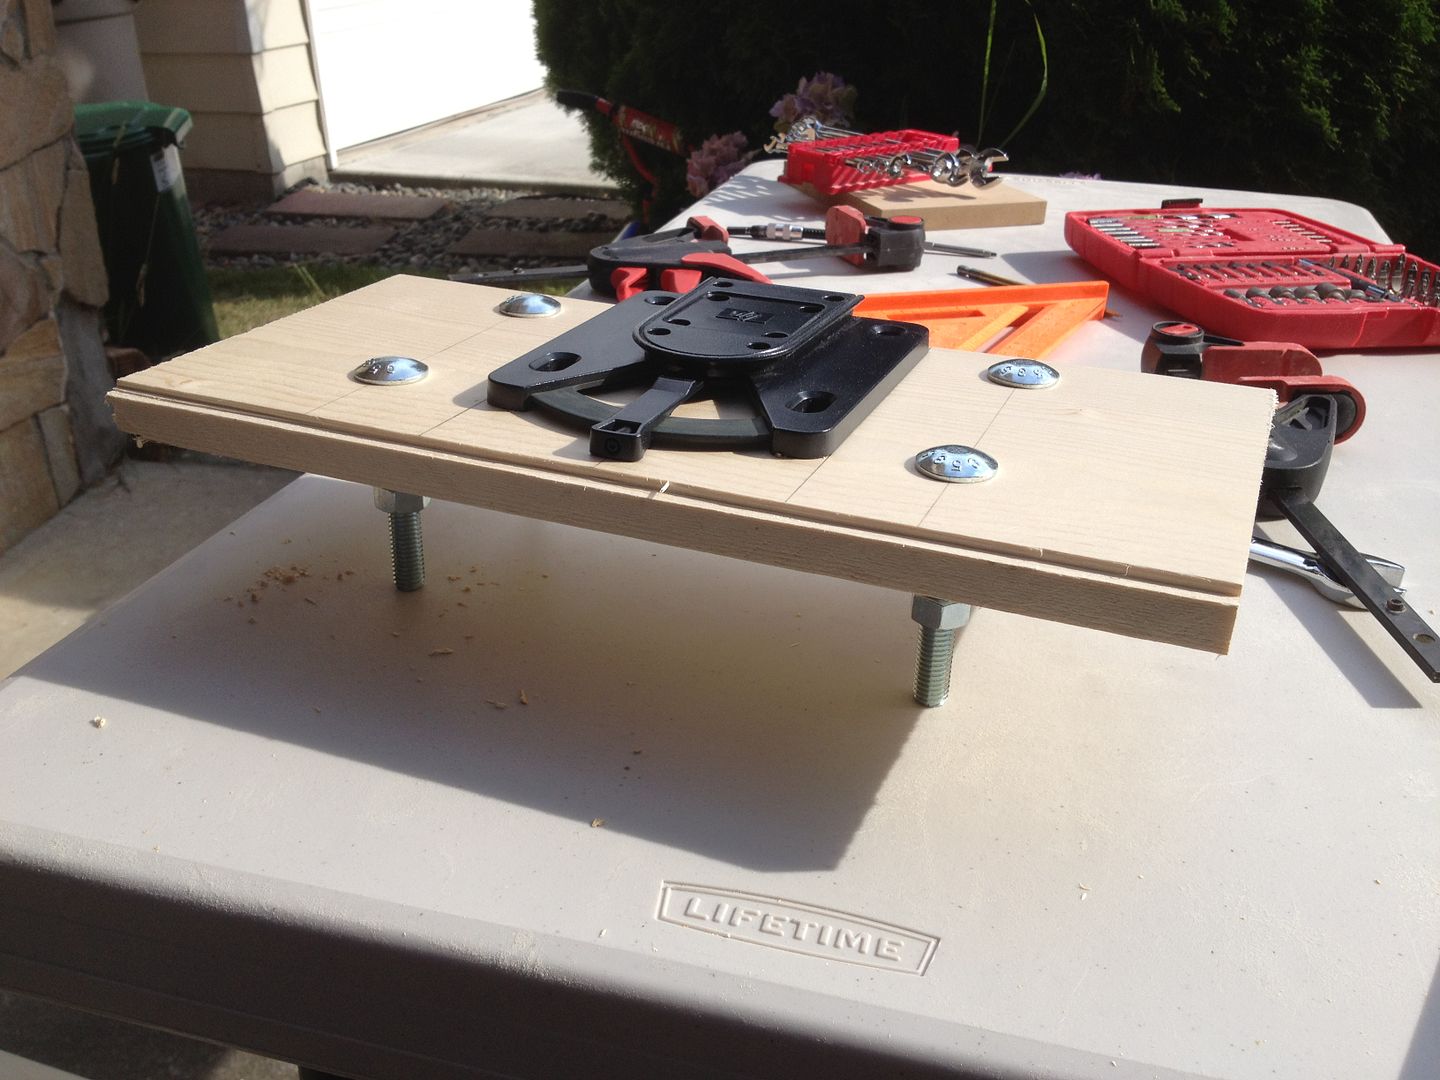
So now it's a coffee table that can hold an LCD screen:
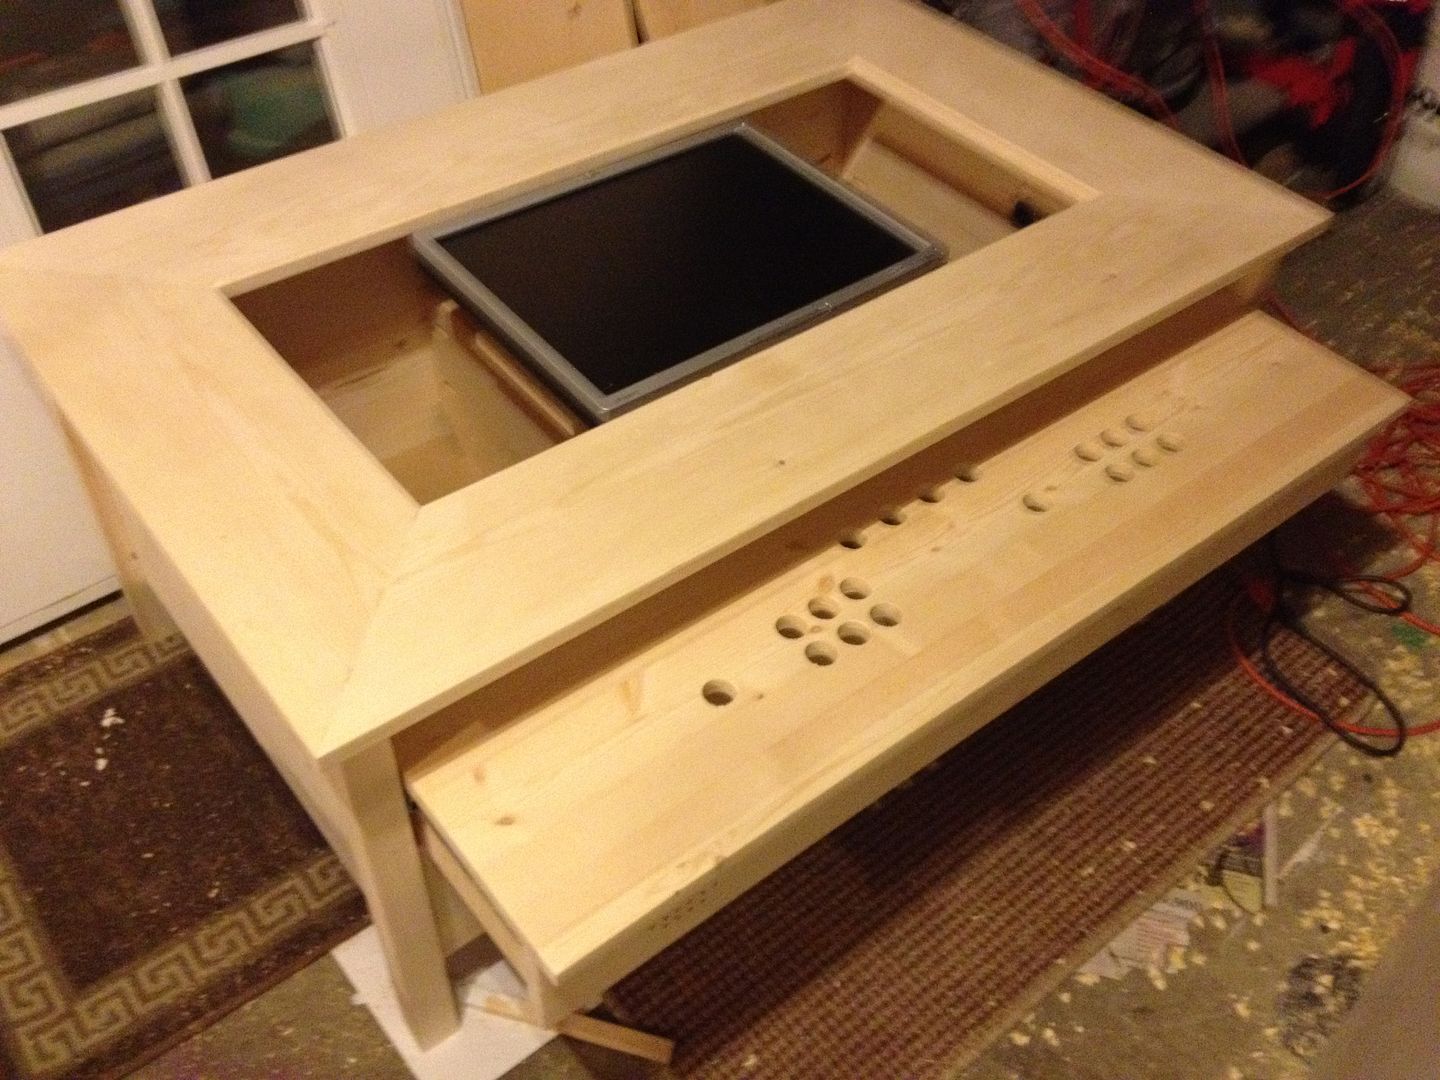
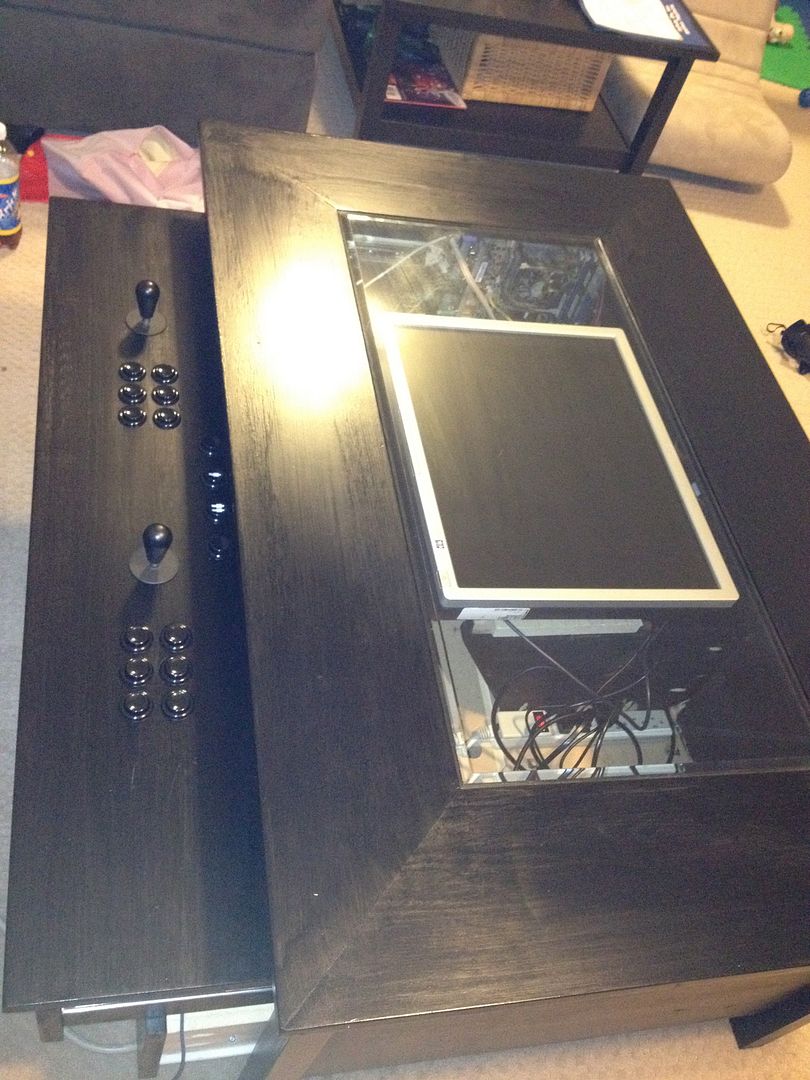
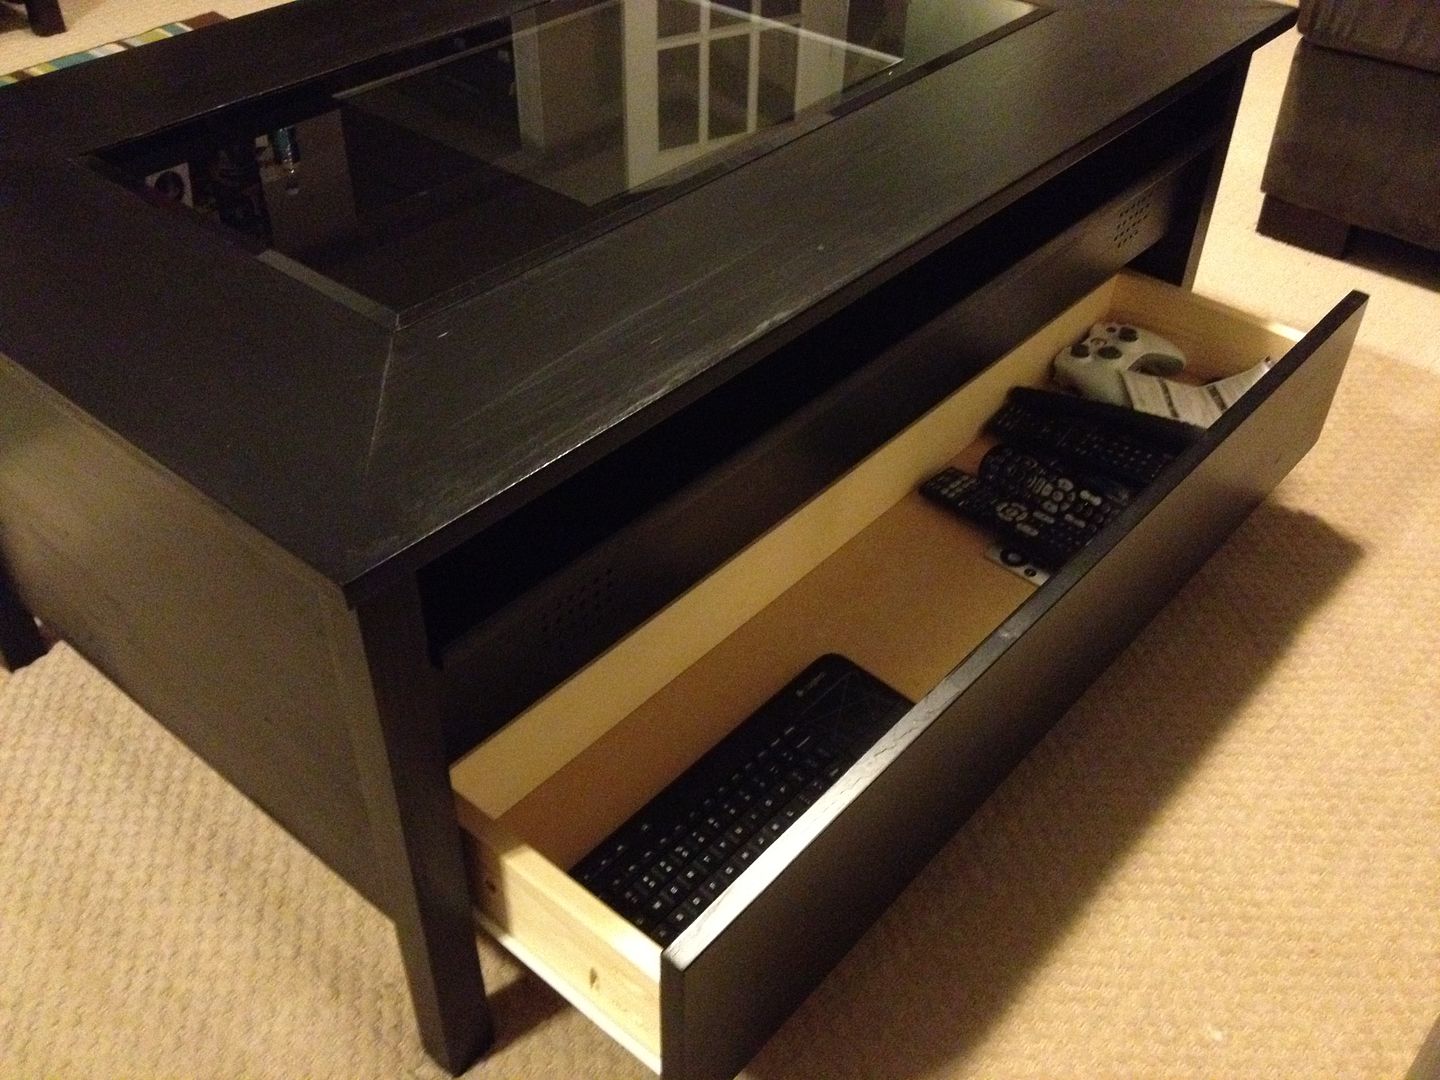
Up next, I added basically 2 drawers. The botom one's just a standard drawer to hold a keyboard and remotes for the TV in the room. The top is the control panel.
Here they are closed:
And here's the control panel pulled out. The tape's to help locate the controls.

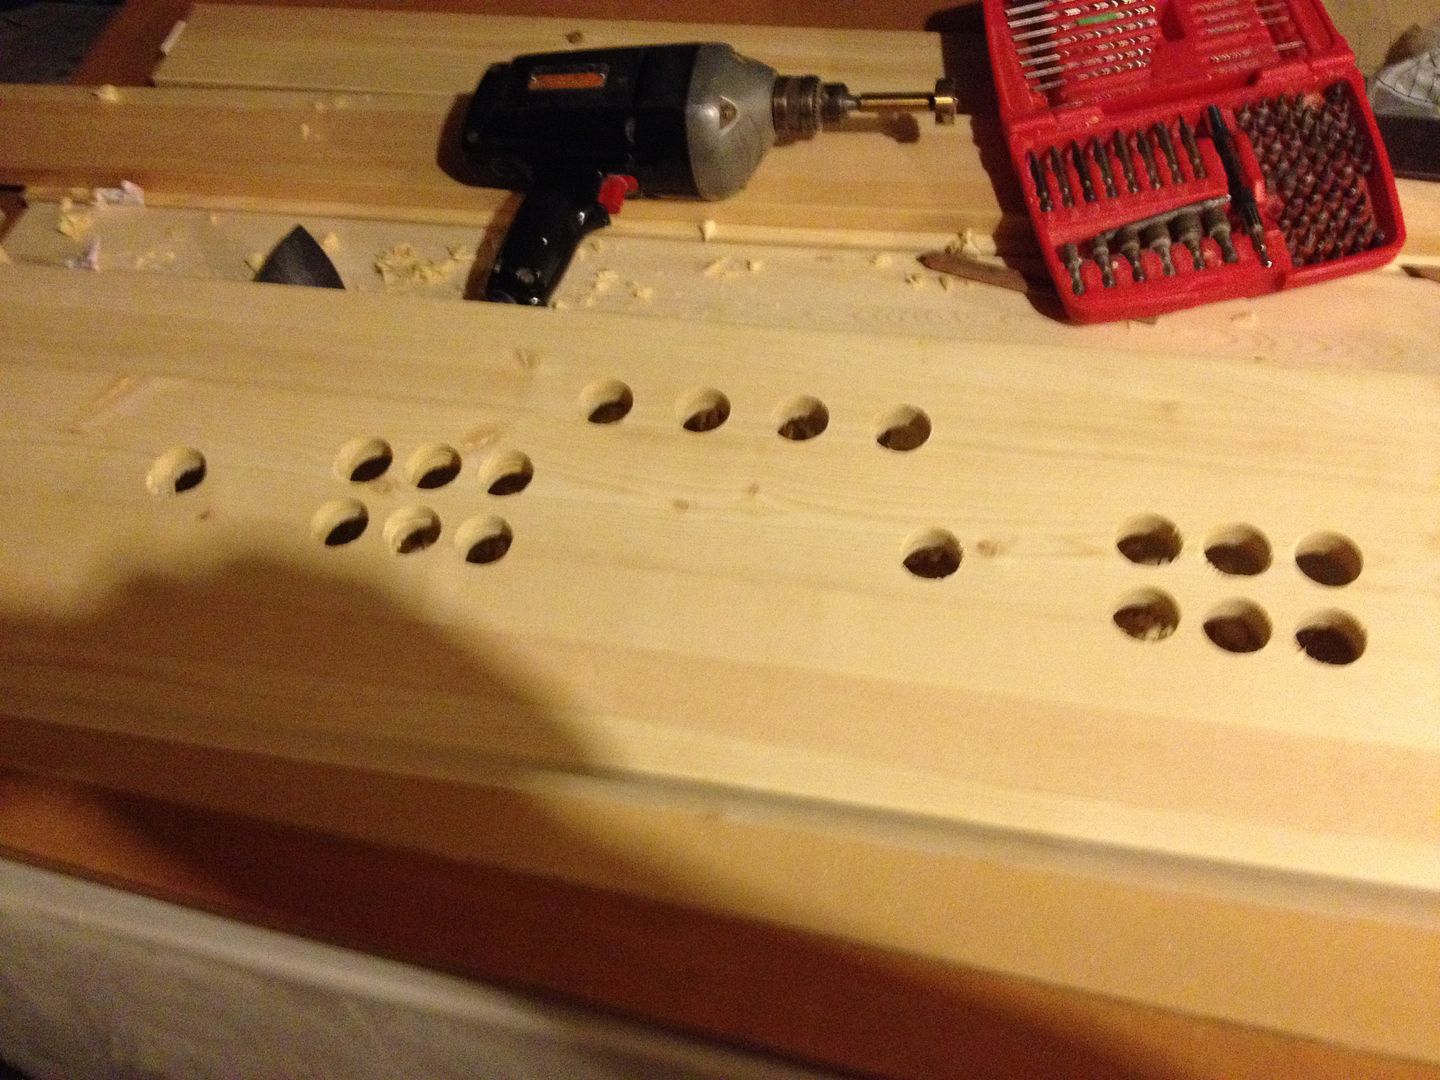
Next, drilled out the holes for the joysticks and buttons. Nothing fancy, but this layout should work for a lot of games
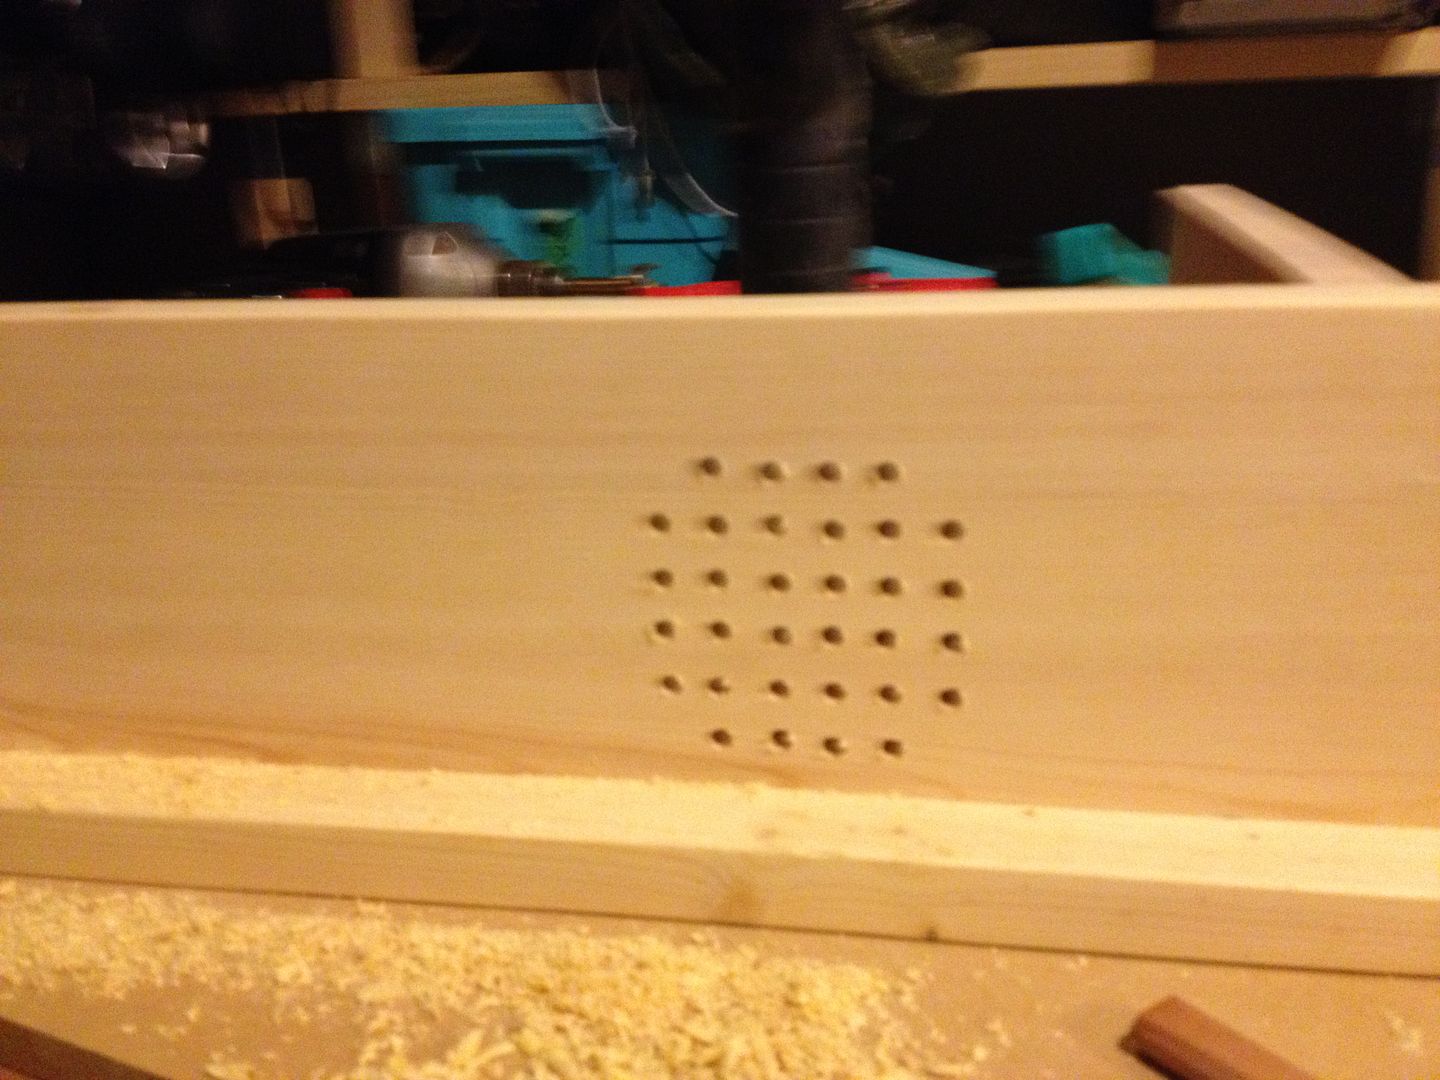
The speakers will be mounted to the front of the sliding control panel. I made a quick jig to drill holes for the sound to come out:

And here's the result:
With the drilled out panel installed:
After lots of sanding, I stained and polyed the whole thing with Minwax Polyshades Classic Black w/ satin finish. Then mounted the joysticks, buttons, speakers, CPU parts and monitor. I was getting too excited to remember to take photos, so here's what it looked like:
Almost done!
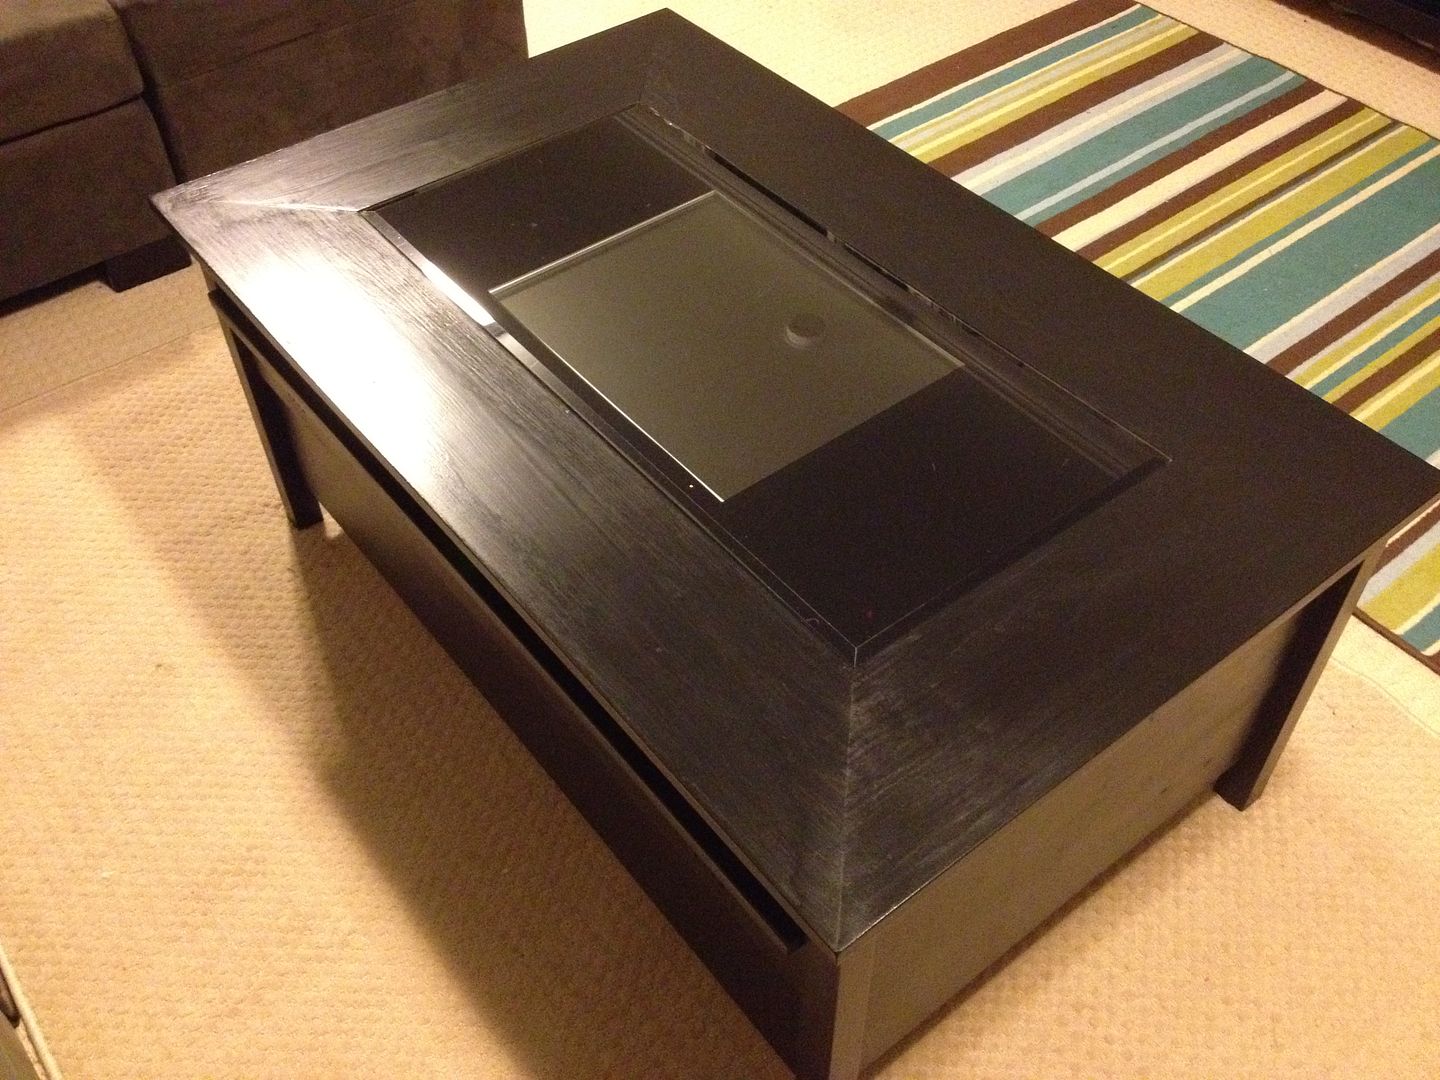
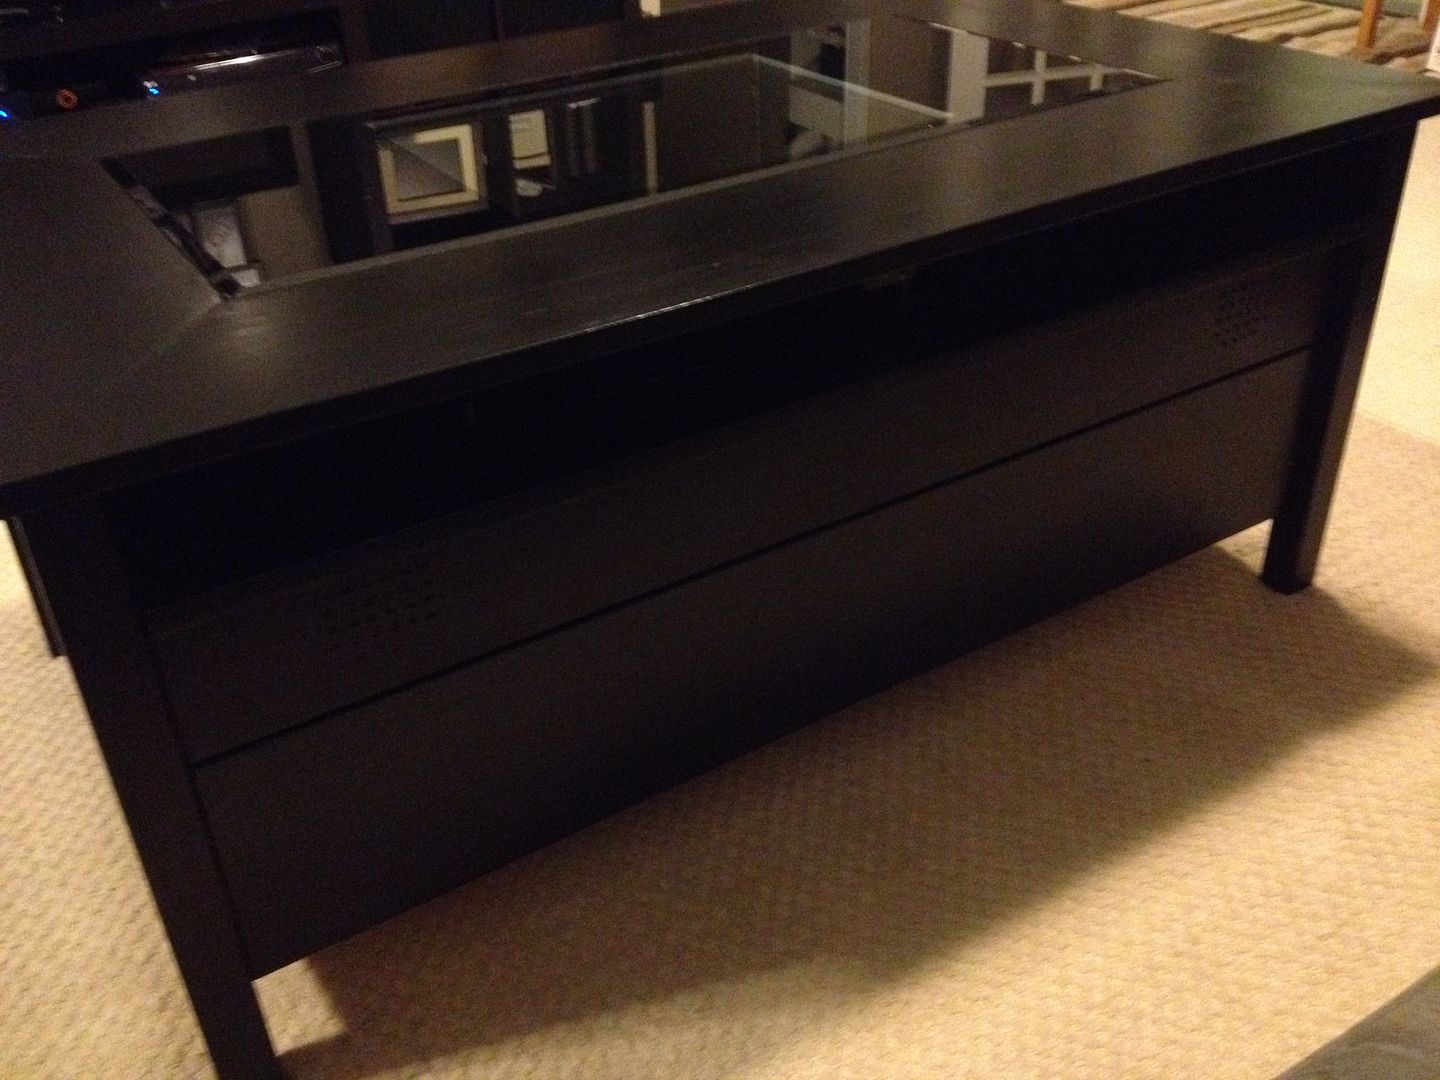
Just needed to tint the glass around the monitor. I found a roll of privacy window film at Home Depot for only $15 that did the trick. Simply cut it out and applied it to the back of the glass. I almost didn't get around to doing this step, since the table was already functional without it, and I was having too much fin with it
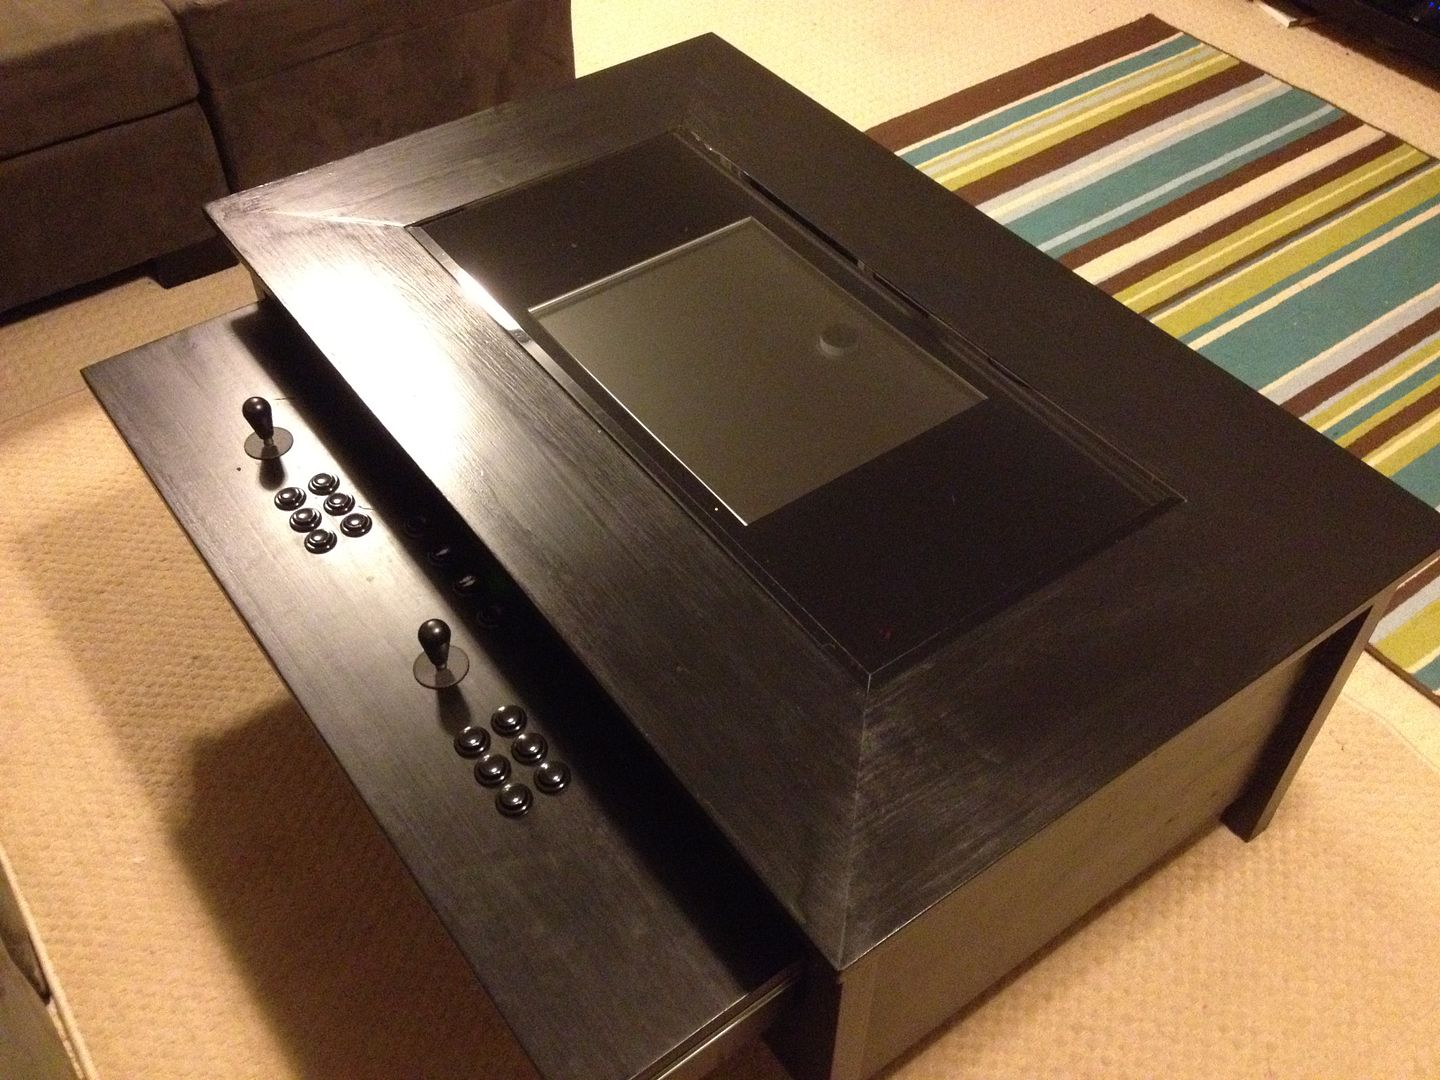
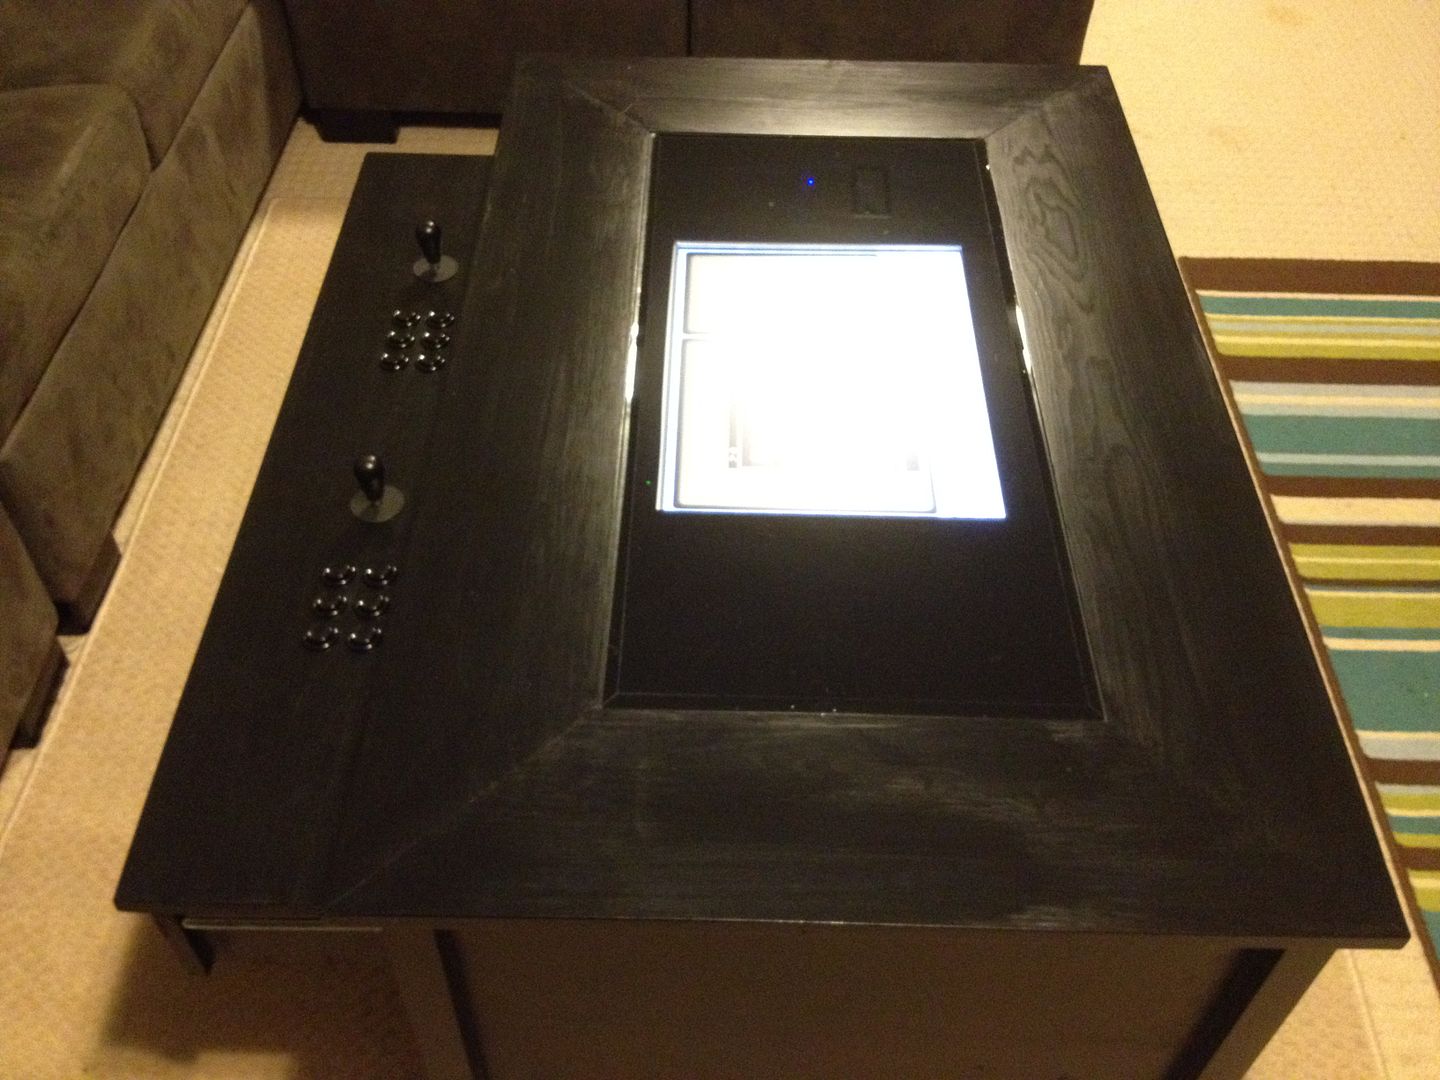
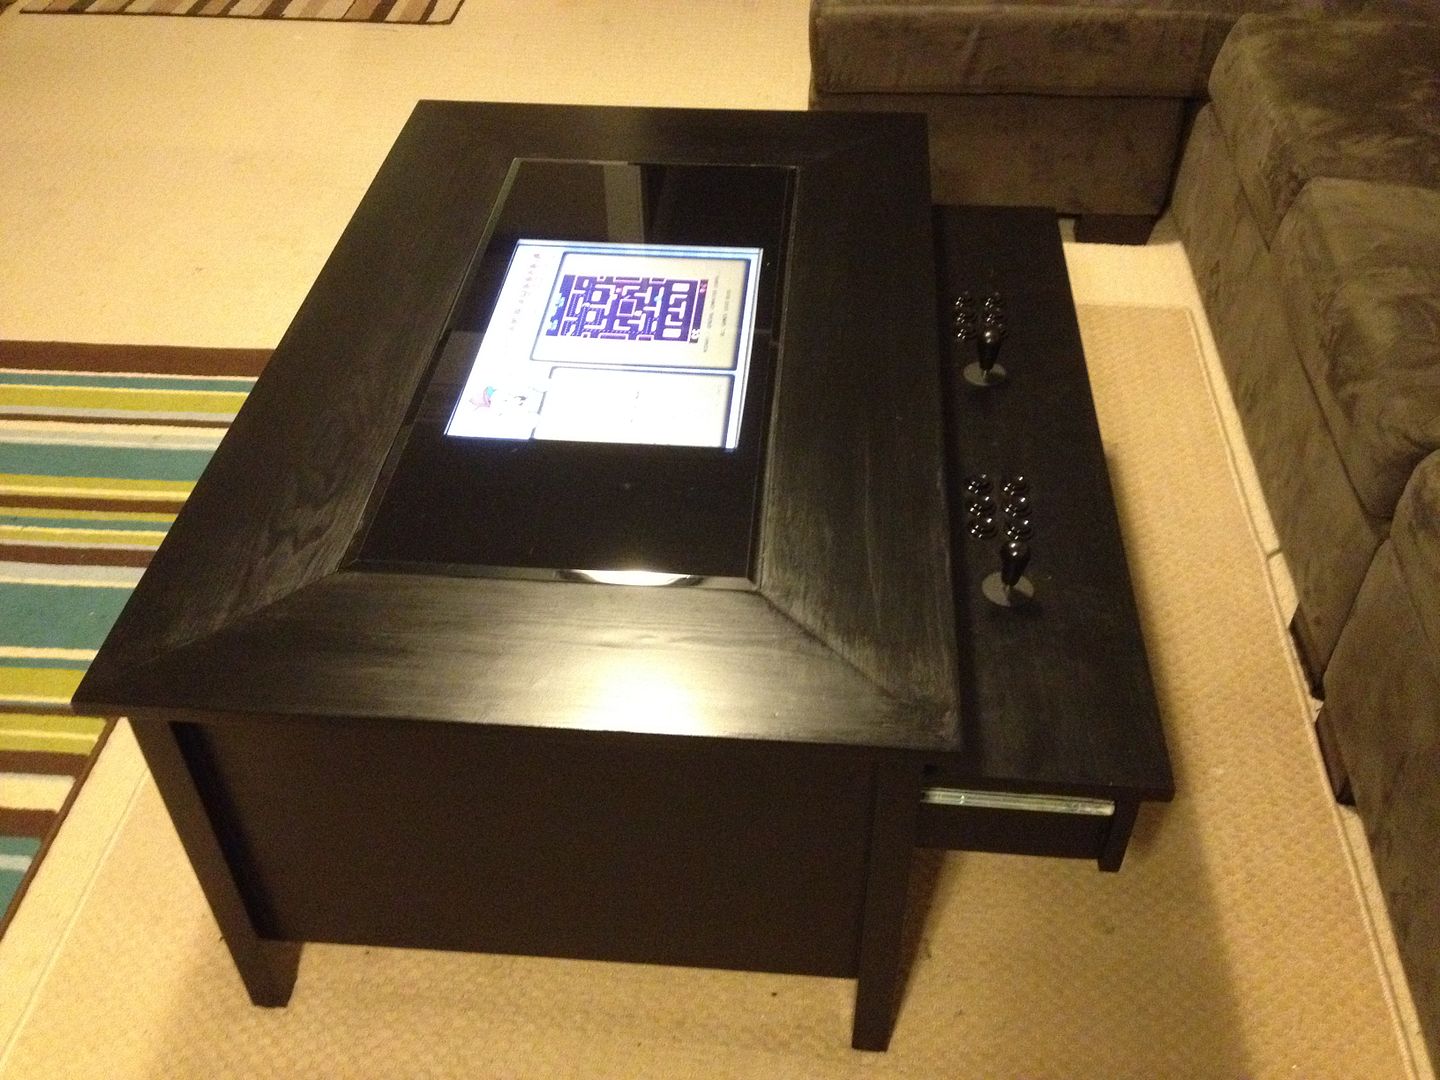
And here's the finished results!
From the back:
From the front:
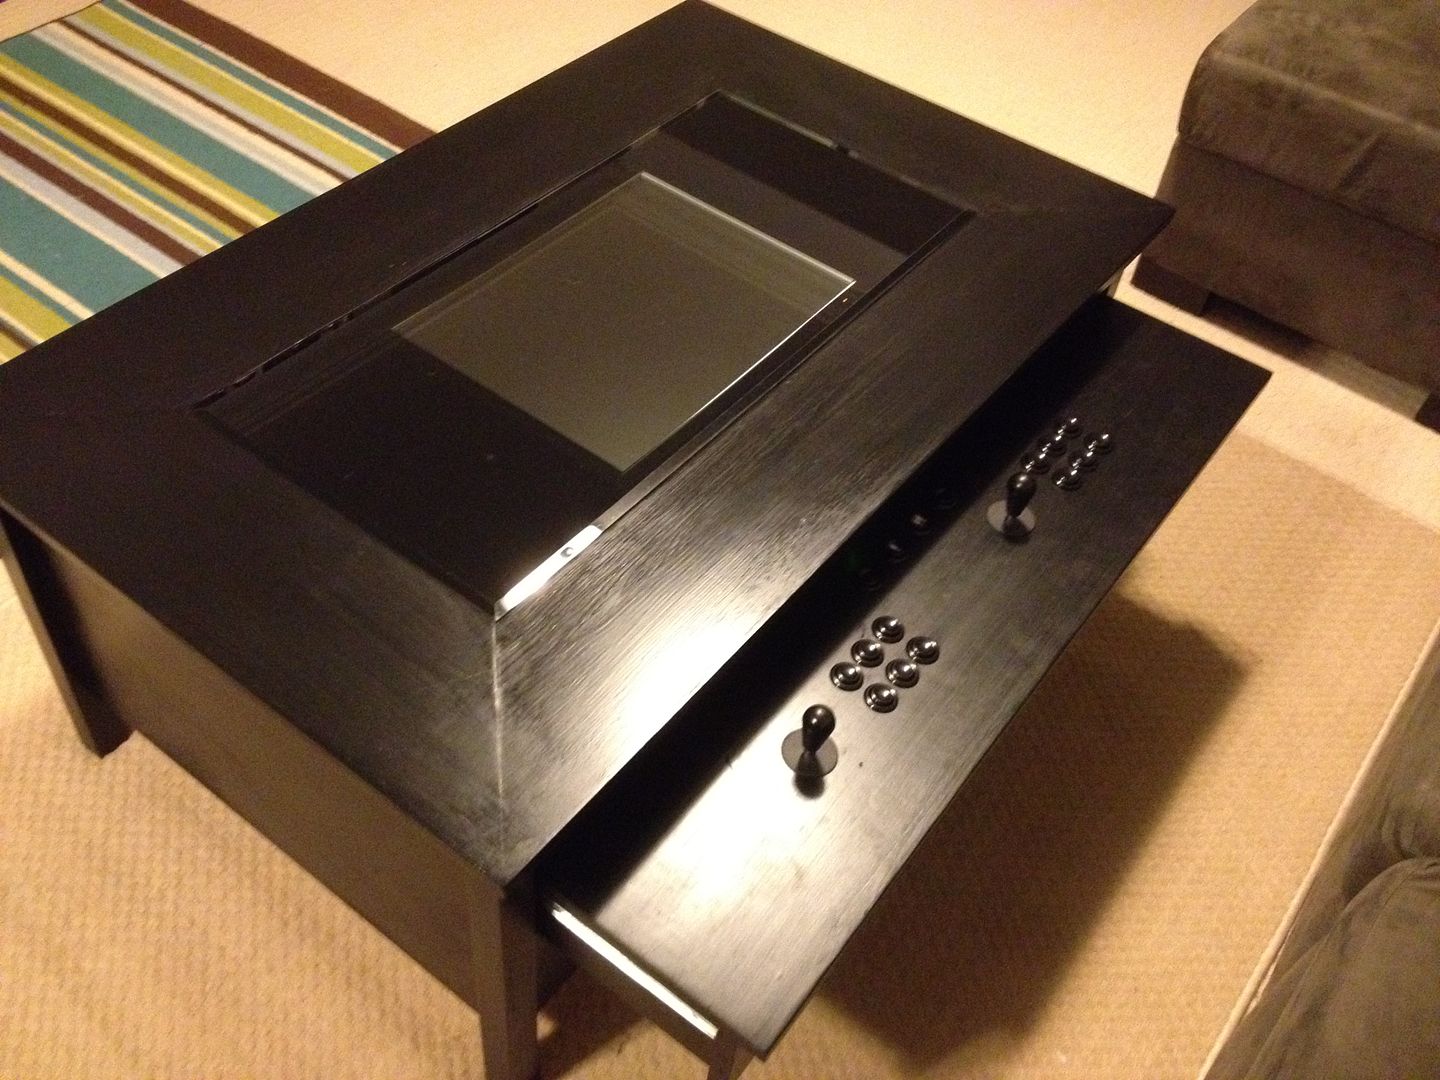
Side view:
Keyboard drawer:
All closed up:
Ready to rock!
All said, the project took about a week and a half. Probably could have been faster if I had a plan before I started
This was a fun build! But even better, I finished it just before we hosted an 80's themed party! This thing really helped set the mood
Let me know if you have any questions or comments. I'm sure I've glossed over some of the steps. Also, sorry about the quality of the photos, I only had my phone around to take them.
Cheers!


 Home
Home Help
Help Search
 Login
Login Register

 Send this topic
 Print
Print Topic: A Subtle Coffee Table Cabinet (Read 10758 times)


