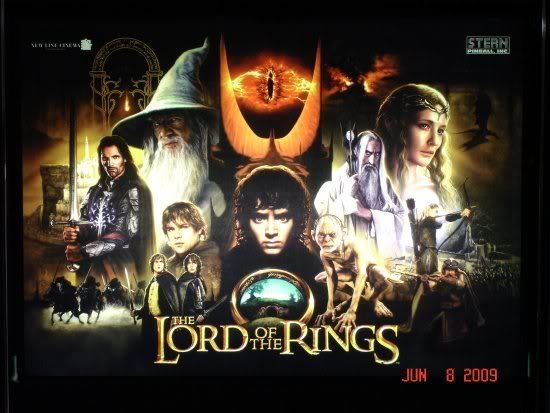
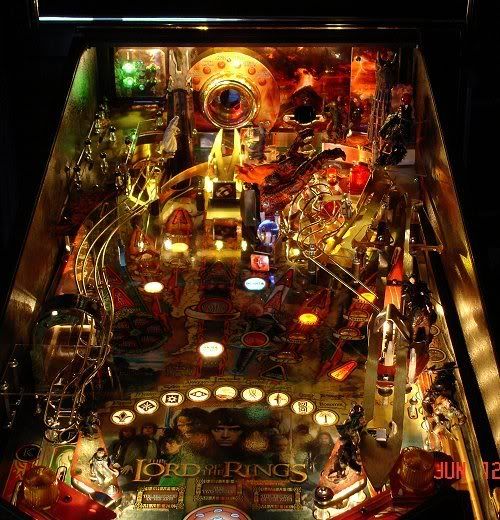
Recently I picked up a gorgeous HUO LOTR. I had no idea pins could be this clean and shiny! I've never seen a NIB before but this one ranks pretty close I would think.
Since it's so new looking I didn't want to change it too much from what I believe would be the designers original vision.
So I'll update this thread as I do some somewhat suttle mods.
This is my first Stern and the single flourescent bulb really threw me off. So I got a warming filter from PinballPal..here are some of the side by side comparisons of those:
No filter, original lighting:
1 sheet of warming filter:
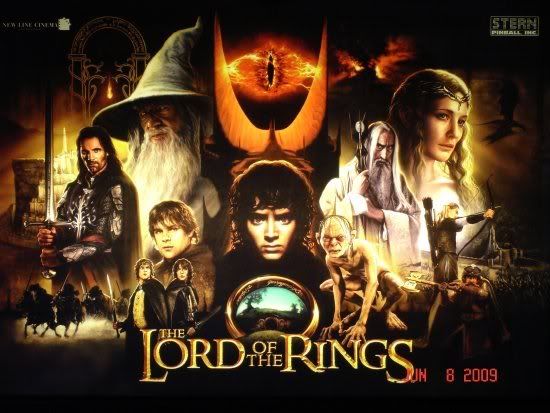
2 sheets of warming filter:
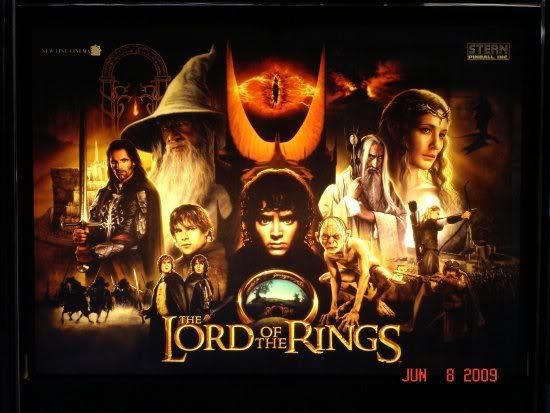
I really liked the look of 1 warming filter over the flourescent tube and went with that. It really makes it look like the incandescent backbox lighting I'm so used to. The more amber glow adds more depth the the translight and brings out colors better IMO.
Easy mod to change or put back to original.
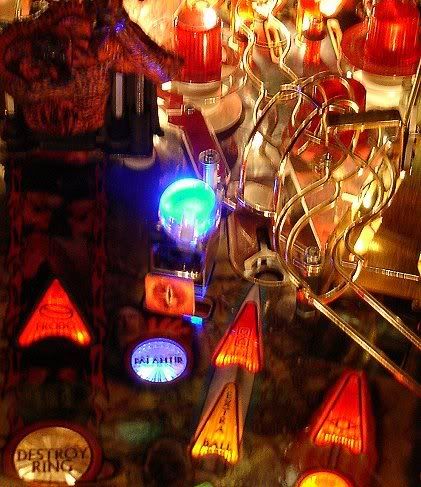
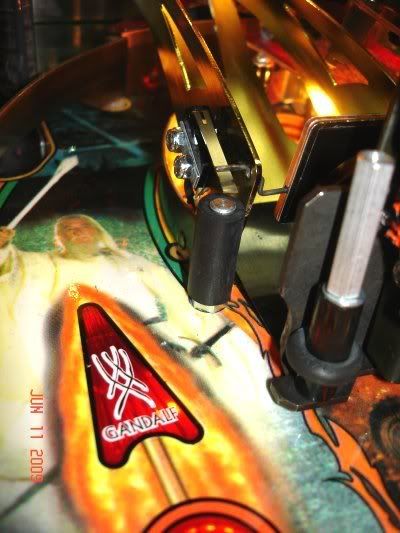
As some may know I am a big fan target decals. I hate looking at blank targets. Pinballdecals.com has lotr decals available now even though their site says coming soon. They look GREAT!!! .... Here are some pics.
Some other mods I'm really thinking of are color changing bulbs for the palantir globe and insert lighting, & possibly (but not totally sold on) yellow GI lights under gold ramps and rails.
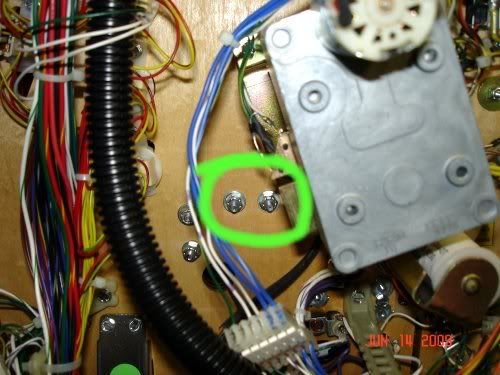
Also Pinpal button protectors were installed as I've seen so many lotr with flipper button wear on the cabinet and also pinballlife.com's real post replacement (of the screw post) by the spinner switch.
Will update as parts get in and I'm able to install things.
UPDATE 6/11/09I don't have before or after pics of the DMD Glare Filter but here's a pic showing an overhead light reflecting off the glass but no DMD glare at all with the DMD glare filter. (I usually don't have the pin in this location...this is just to show differences or lack of glare)
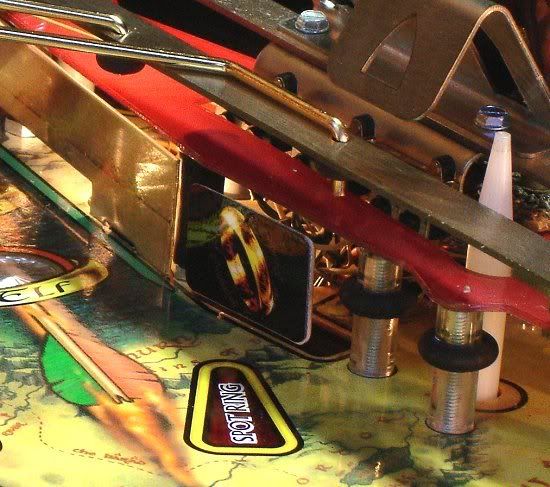
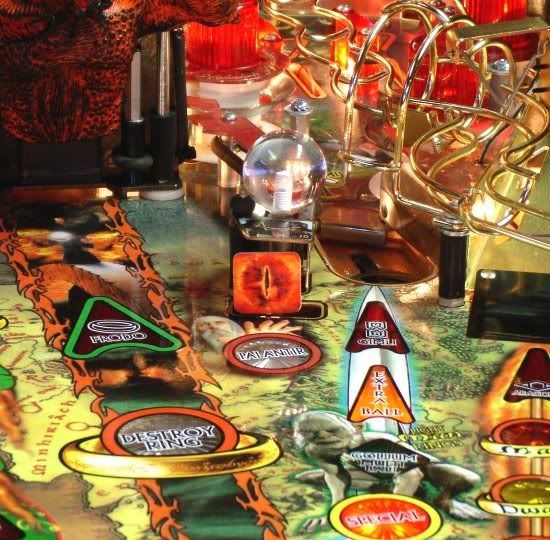
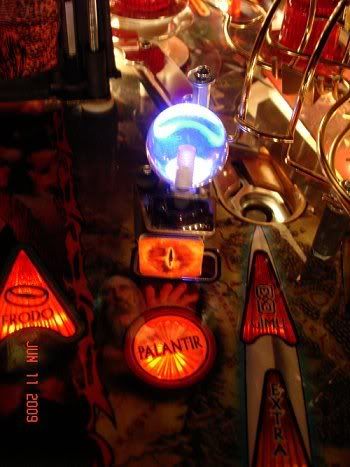
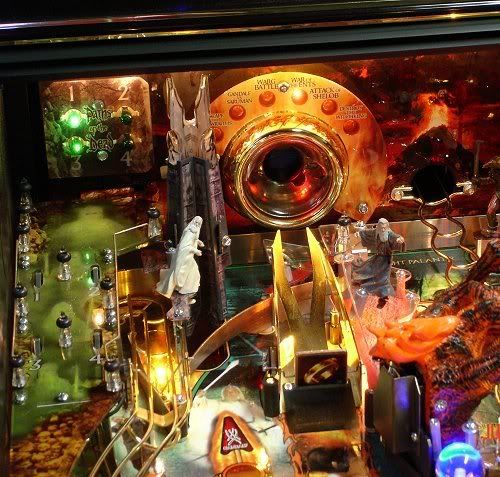
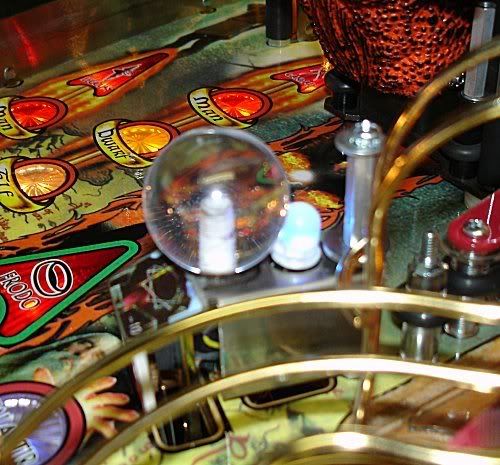
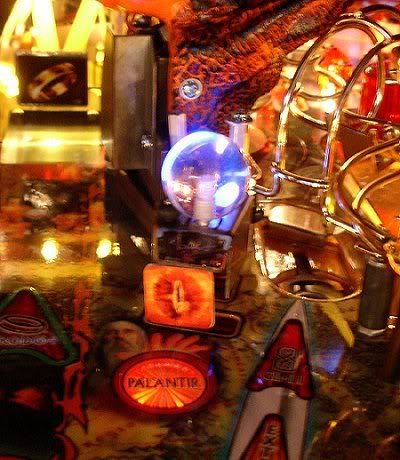
So I also got color changing bulbs (both a 44 and 555 from bcs pinballs.) for the palantir bulb and insert.
The 44 bulb behind the actual globe is shorter than a regular 44 (especially without the red bulb condom). The effects still look really cool BUT it is really dependant on which angle you happen to be facing the globe, that will dictate how dramatic a color fill effect it will have.
Here are 3 side by side comparisons of what difference the angle the user is facing makes.
This is looking straight at the globe with the bulb directly behind it. This in NOT a normal players view but this view makes it look the best. Taking the picture in the dark exaggerates the glow a bit , but you get the idea:
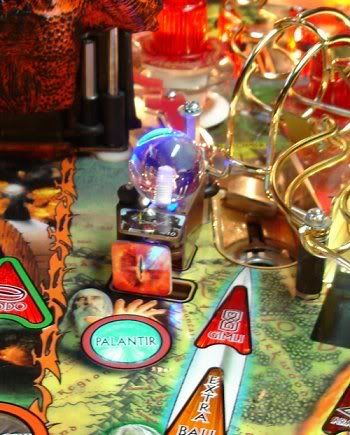
This view is closer to the players view but not the players exact view...see how the intensity and fill of the color is lessened the less of a perpendicular view you are to the globe and bulb:
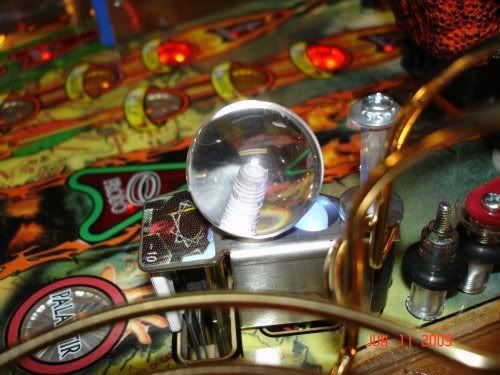
Finally this is the players view (at least my view anyway). The fill of color is certainly not as intense:
I think the lack of fill from the players view is due to the 44 color changing bulb being shorter than a normal 44. I have to find a way to raise the bulb...will look into that later:
Minor tweaks:
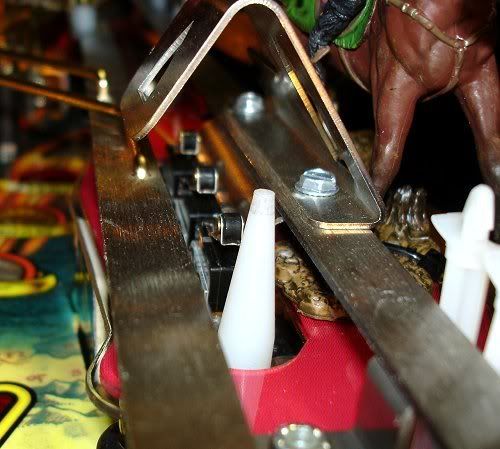
This is the real post placed in lieu of the screw post which originally came with the game. So much sturdier and nicer! It's pinballlife's replacement post for this game:
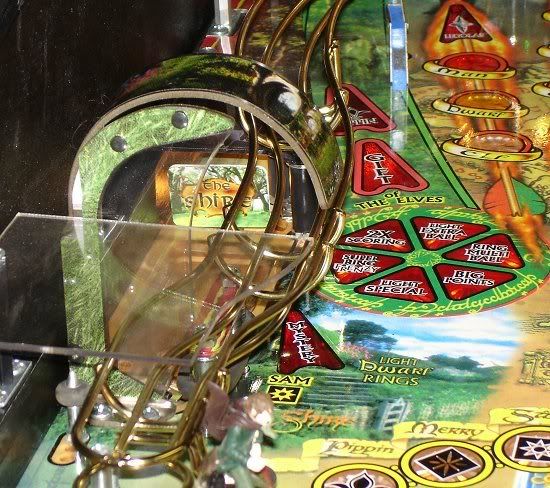
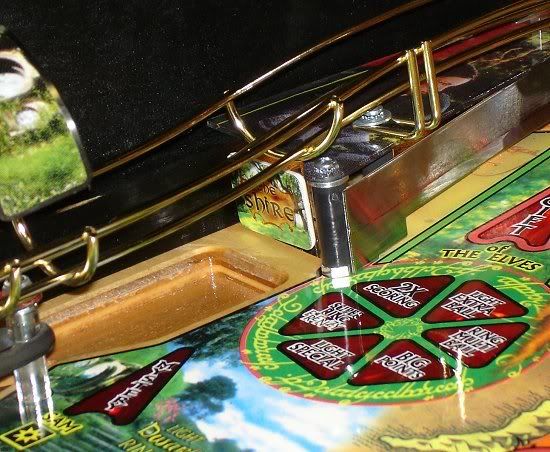
Also the plastic near the shire VUK sometimes would make a slow flowing ball get stuck bu the top of the plastic and rail. (This would very rarely happen). But added washers under the plastic to raise it a bit and now it is not possible for a ball to get stuck:
That's it for now ill update again when I get time and get parts....
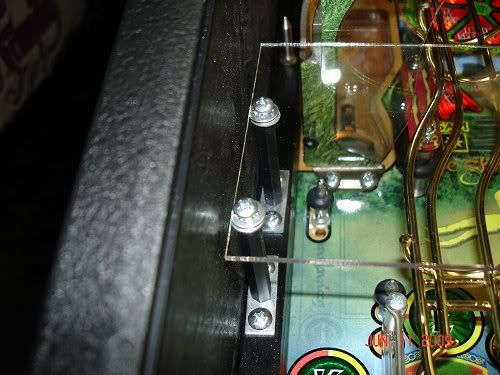
****UPDATE 6/12/09****I put in pinbits plastic protectors. They are great fitting ptortectors and I like them!!...2 notes on these for this game though:
1. You will need 1 longer screw (not supplied) for the arwen protector. They provide you with one piece of protector which goes under Arwen and another that goes over. The middle screw (which goes through the ball guide) needs to be longer after installing this protector, as the existing screw just wont reach with the added thickness. So you need to get a #6-32 1/2" screw, it fits perfectly after putting on the protectors and can be found in any hardware store.
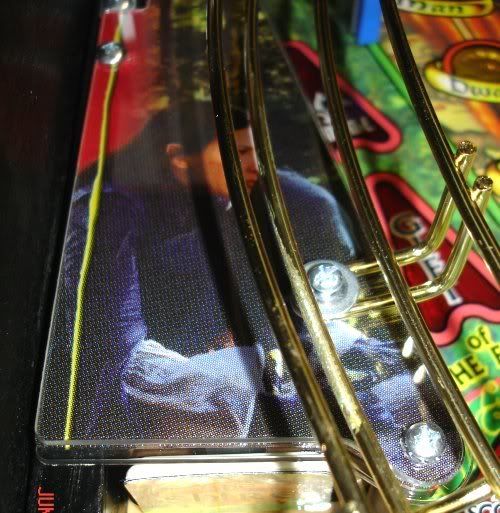
2. Another issues is regarding the protector for the piece to the right of the ring ramp at the very bottom. (the very bottom layer of pieces under where gandalf stands). When you put the protector on it doesn't allow the balrog to block the ramp with a flush fit. The protector protrudes to far from the piece which touches the balrog. Easy fix is to just cut that part of the protector off.
Ok on to more fun stuff...got some colored bulbs in today and I like the results! I didn't want to change the lighting too much as I'm pretty happy with the way the game looks. But I read about certain enhancements I wanted to try and though the effects turned out be relatively subtle it made enough of a difference (and upgrade)..it make it worth it I think...
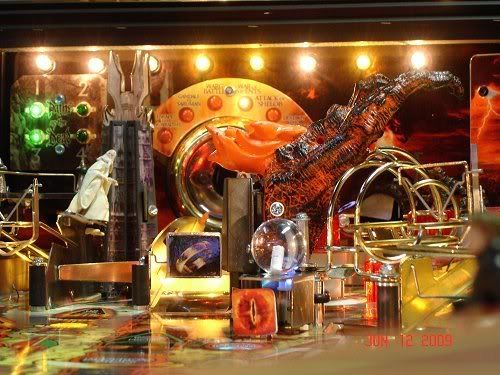
I added yellow bulbs around gold ramps, above the ring, and where any rails over/under GI bulbs. (I think I only changed out 8 bulbs o so...less than a pack of 10 anyways...
Here's the left rail and ring ramp with regular lights, no changes

Here it is again with the lights under the ring ramp and light under the left rail changed to yellow bulbs. Wow! Brings out the yellow luster huh!?
Ring Wraith ramp with yellow lights:
I also changed the 2 lights under Barad Dur (Saurons tower back right). Changed the 2 bulbs to red and amber giving it a lava effect. Besides that tower should look more menacing with some red hues under there!
No change under the tower lights:
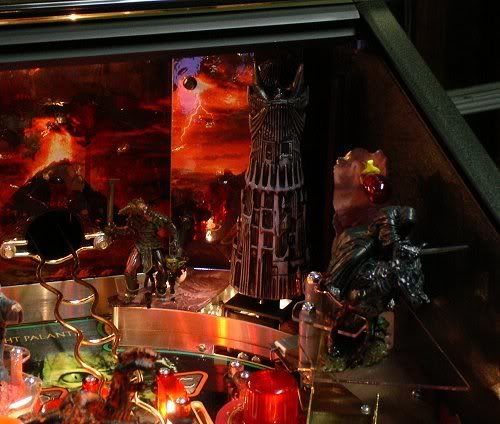
Red and amber lights under the tower:

I also changed som bulbs on the row of lights on the backboard. This view shows which bulbs I changed but you will never see this view while playuing. The added yelloe lights are over the giant ring and ball guide coming from the ring. It makes the yellow on the pieces shine a little more:
Here's are shots after all the yellow bulbs have been placed where I want them with room lighting on and off:
Yellow lights with room lighting ON:
Yellow lights with room lighting OFF:
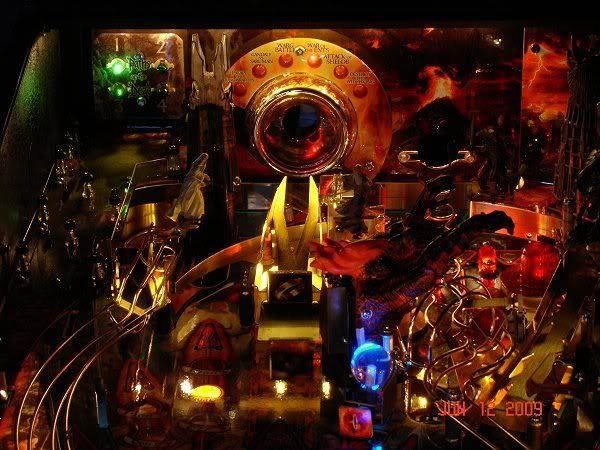
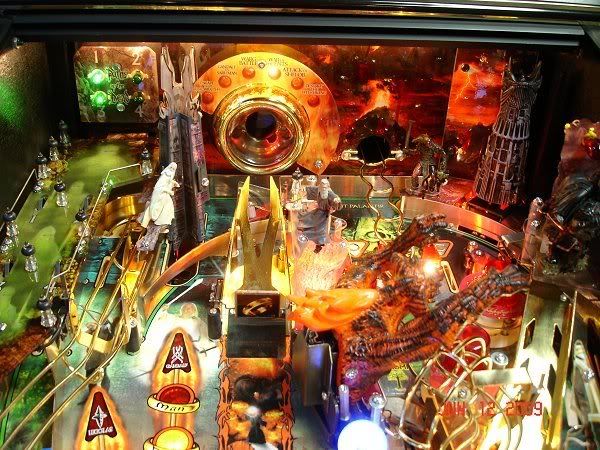
Finally Pics of the entire playfield before lighting mods and after:
No change in lighting, all bulbs factory:

Yellow bulbs change only where they are near gold ramps/rails/ and the ring. Also red and amber bulbs change under barad-dur (right tower):
Don;t think I'm going to change more bulbs...don;t want to darken he playfield look or change it too much.
So what do you guys think? Better A or better B?
***UPDATE 6/15/09 ***I was able to raise the multicolored #44 bulb for the Palantir! Looks alot better now with more color fill from the raised bulb.
I bent the lamp bracket with 3 bends to shorten the length of it thus raising the bulb. Looks like this:
Bulb is raised higher than it was before (see previous pics for comparison):
Here is the new players view...the bulb is certainly more colored filled than with the shorter bulb. Not a perfect fill ...but much better
The next 2 issues are more adjustments than mods:
I was getting alot of bouncebacks from the rings shot. And upon some closer inspection it seemed that the ramp was pointed a little too far left of the ring hole. A little research and I found that there are 2 screws holding the ring ramp down. Loosen them and you can slightly angle the ramp to the right (more centered to the ring hole, and make much more consistent ring shots.)
The 2 screws are near the area of the ramp entrance under the PF. Loosen the nuts (no need to take them all the way off. And angle the ramp to the right more. HUGE improvement on gameplay if your getting alot of ring bounceback shots!
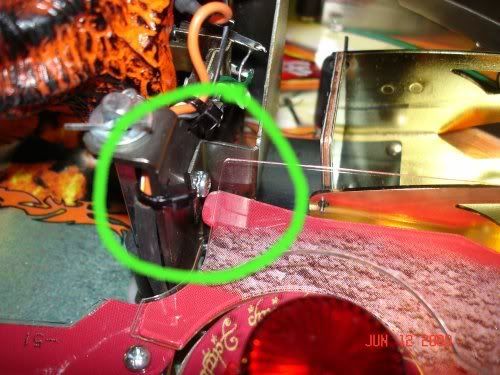
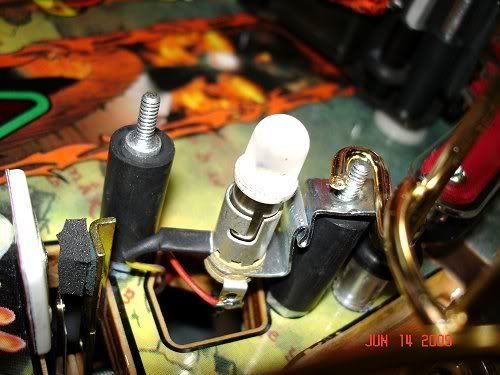
Another minor tweak to make is regarding the ball lock on the sword ramp. If you are
NOT on a mode of the sword locking balls and the balls passing through are slightly stopped by the 'ball lock cone' before it comes down (i.e. the ball taps the cone right before the cone is able to come down all the way to get out of the way) then an easy fix is to use a leaf switch adjusting tool to slightly bend up the 3 rollers on the switches before the cone. This will make it so the ball and cone is timed perfectly so that the cone drops down just before the ball is about to touch it...and just misses the ball entirely for smooth ball low.
Picky adjustment, I know, but it was bothering before...... but not anymore!

 ***UPDATE 6/20/09***
Finishing things off on the mods of this LOTR....I don't think I will be adding much more but you never know.
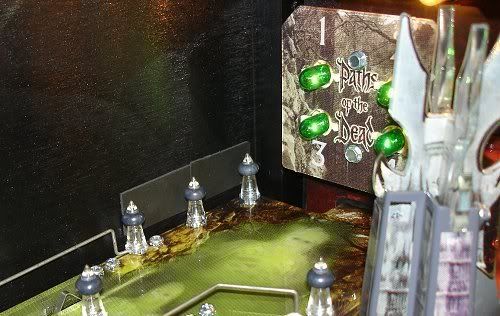
-Added thin foam padding on the POTD where the ball sometimes slams against the inside cabinet shooting up from orthanc. It's not very noticible (noticable more so with flash in the pic than seeing it in person) and helps out alot on the comfort factor of wondering just how long it takes that ball to wear down paint without the padding!
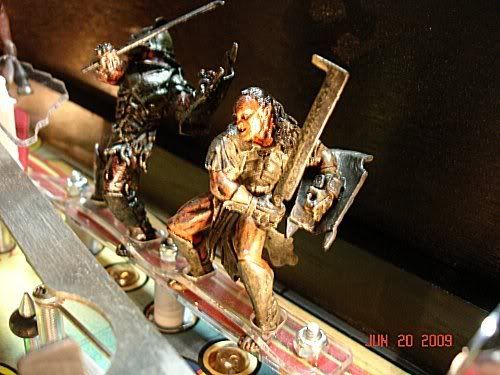
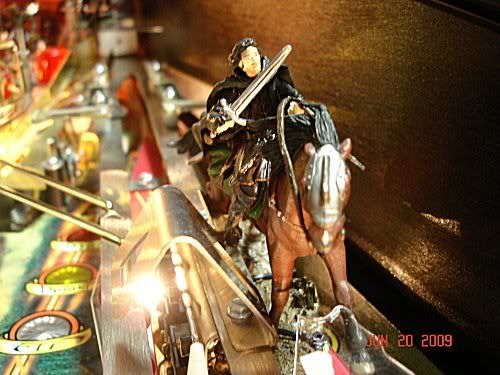
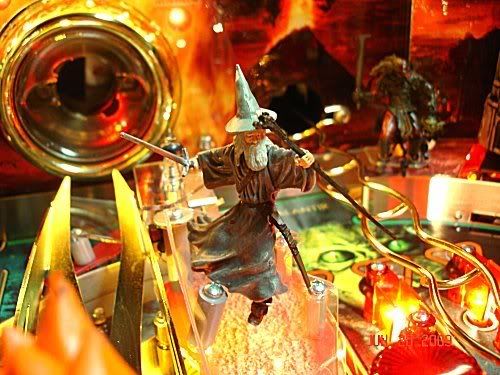
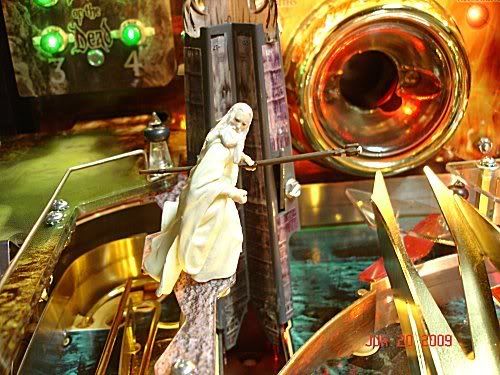
- I decided that I didn't want to add more figures to the playfield (for now at least) but I really did want the figures existing to have weapons in hand. It just bothered me that they were bare handed! So tracked down some weapons and here are the results:
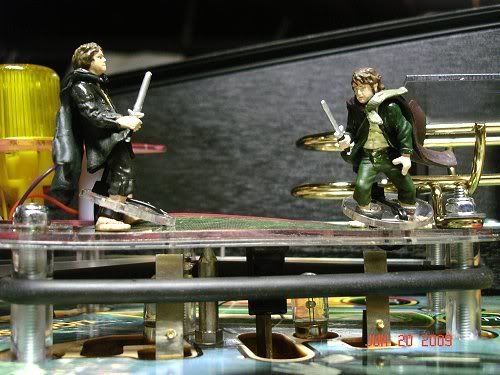
When looking at the sam and gollum figure I just always thought he was holding gollum with the elven rope. Though the rope was never part of the play along sets I thought it appropriate to put it on there (the rope/thread has a 'sparkling/almost glitter like material' to simulate magic elf rope

but it doesnt show well in pics)

Well that's about it, hope someone found this useful and post some of your mods if you made any!
Will update if I ever do anything else.....


 Home
Home Help
Help Search
 Login
Login Register

 Send this topic
 Print
Print Topic: LOTR MODS... Here we go again! (will have lotsa pics) *Updated 6/20/09* (Read 22076 times)


