Main Restorations Software Audio/Jukebox/MP3 Everything Else Buy/Sell/Trade
Project Announcements Monitor/Video GroovyMAME Merit/JVL Touchscreen Meet Up Retail Vendors
Driving & Racing Woodworking Software Support Forums Consoles Project Arcade Reviews
Automated Projects Artwork Frontend Support Forums Pinball Forum Discussion Old Boards
Raspberry Pi & Dev Board controls.dat Linux Miscellaneous Arcade Wiki Discussion Old Archives
Lightguns Arcade1Up Try the site in https mode Site News

Unread posts | New Replies | Recent posts | Rules | Chatroom | Wiki | File Repository | RSS | Submit news


Author Topic: Finally progression has started :)  (Read 3102 times)

0 Members and 1 Guest are viewing this topic.

Paulson

  • Trade Count: (+1)
  • Full Member
  • ***
  • Offline Offline
  • Posts: 106
  • Last login:January 29, 2015, 06:55:37 am
Finally progression has started :)
« on: August 17, 2008, 08:07:04 pm »
 It's announced as from now...


« Last Edit: September 10, 2008, 07:39:01 am by Paulson »

Franco B

  • Trade Count: (+10)
  • Full Member
  • ***
  • Offline Offline
  • Posts: 3766
  • Last login:February 15, 2024, 09:14:06 am
Re: Some more 3D Max Stuff...unfinished...
« Reply #1 on: August 17, 2008, 08:18:42 pm »
Why wait and put all your separate posts in the main forum when you could put them all in one PA thread where we can see the progress ;)

Paulson

  • Trade Count: (+1)
  • Full Member
  • ***
  • Offline Offline
  • Posts: 106
  • Last login:January 29, 2015, 06:55:37 am
Re: Some more 3D Max Stuff...unfinished...
« Reply #2 on: August 20, 2008, 03:06:49 pm »

 Still waiting for tools... :angry:

Franco B

  • Trade Count: (+10)
  • Full Member
  • ***
  • Offline Offline
  • Posts: 3766
  • Last login:February 15, 2024, 09:14:06 am
Re: Some more 3D Max Stuff...unfinished...
« Reply #3 on: August 20, 2008, 03:29:18 pm »
 :tool:  :tool:  :tool:

Yes I know Im helpful, your welcome  :laugh:

No sign of your jigsaw then?

Paulson

  • Trade Count: (+1)
  • Full Member
  • ***
  • Offline Offline
  • Posts: 106
  • Last login:January 29, 2015, 06:55:37 am
Re: Some more 3D Max Stuff...unfinished...
« Reply #4 on: September 10, 2008, 07:37:11 am »
 Finally I have being able to make a start...there is a slight change of plans
 to the original design. I will be making a standard 2 player vertical cocktail
 cab with either a 48-1 or a 60-1 jamma board installed. I will probably
 do the 3 sided on another date...we will see how this one pans out.

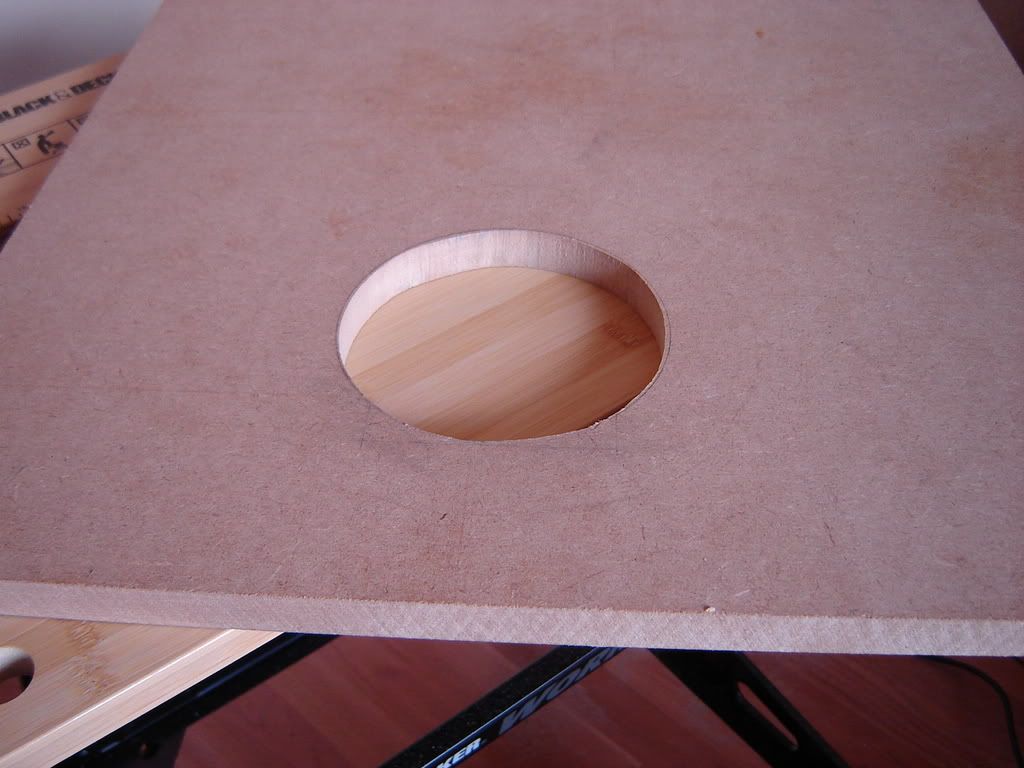
 Anyways I started on the base & cut out a 120mm hole with my jigsaw...this with be for
 my multicolour fan I bought off Ebay for 1p.
  It was far easier than I thought to be honest...& I cut just inside the line
 for a perfect fit when sanded.
 

 Next I cut out the base vents...this was a bit more tricky & time consuming
 as they are plywood opposed to 3/4 MDF.


 They are a bit wragged at the moment but I mocked up the positions on
 the up-turned base.
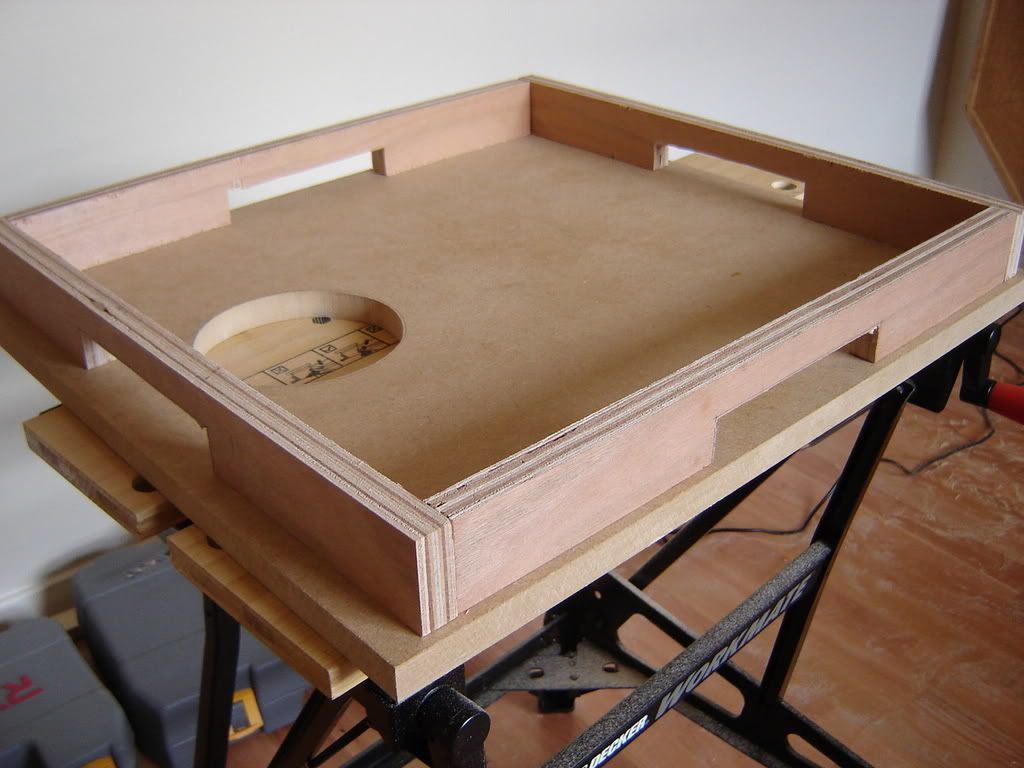
 

 Now for some sanding...more to come later...

 P (UK)

« Last Edit: September 10, 2008, 10:19:51 am by Paulson »

ratzz

  • Guest
  • Trade Count: (0)
Re: Finally progression has started :)
« Reply #5 on: September 10, 2008, 10:02:54 am »
Looks good so far buddy .... I'll be keeping my eye on this one  ;D  :cheers:

Paulson

  • Trade Count: (+1)
  • Full Member
  • ***
  • Offline Offline
  • Posts: 106
  • Last login:January 29, 2015, 06:55:37 am
Re: Finally progression has started :)
« Reply #6 on: September 10, 2008, 10:27:28 am »
 Thanks Ratzz I appreciate it  :cheers:

 Well instead of sanding today I thought I'd get some more of the
 cutting out done so I set to work on the coindoor...
 Whoops... excuse those marking out lines...lol


 And finally I roughly cut out the top making sure I was inside
 the line again... so if I use my router to get a nice clean finish.


 Now for the sanding...& I still have to work out where I am
 going to fit my speakers...I haven't got them yet so I don't know.

 More to follow...

                               P (UK)
« Last Edit: September 10, 2008, 10:30:18 am by Paulson »

spacies

  • Trade Count: (0)
  • Full Member
  • ***
  • Offline Offline
  • Posts: 934
  • Last login:February 19, 2015, 03:40:49 am
Re: Finally progression has started :)
« Reply #7 on: September 10, 2008, 06:26:36 pm »
Yay, you have finally started  :applaud:
Now you have the bug it wont stop.

The Pac cocktail is a great 1st build for any beginner because of the massive amounts of information and pics on the net. It was also my 1st build so it is a project I like to follow when they come up.

Oh, BTW, your plinth feet are upside down  :P  :laugh2:


« Last Edit: September 10, 2008, 06:29:09 pm by spacies »

Paulson

  • Trade Count: (+1)
  • Full Member
  • ***
  • Offline Offline
  • Posts: 106
  • Last login:January 29, 2015, 06:55:37 am
Re: Finally progression has started :)
« Reply #8 on: September 11, 2008, 01:18:56 am »
 Well Spacies... let's see if I can make it as good as your first cab...or
 better? That's my goal on this project.


                P (UK)
« Last Edit: September 11, 2008, 03:07:51 am by Paulson »

Franco B

  • Trade Count: (+10)
  • Full Member
  • ***
  • Offline Offline
  • Posts: 3766
  • Last login:February 15, 2024, 09:14:06 am
Re: Finally progression has started :)
« Reply #9 on: September 11, 2008, 02:43:16 am »
Nice to see some progress buddy.  :)

How are you getting on with the router? You'll soon find you will want to use it on every part of your project.

Paulson

  • Trade Count: (+1)
  • Full Member
  • ***
  • Offline Offline
  • Posts: 106
  • Last login:January 29, 2015, 06:55:37 am
Re: Finally progression has started :)
« Reply #10 on: September 11, 2008, 03:06:55 am »

 I haven't used my router yet...but I think I'll be using it pretty soon.

Franco B

  • Trade Count: (+10)
  • Full Member
  • ***
  • Offline Offline
  • Posts: 3766
  • Last login:February 15, 2024, 09:14:06 am
Re: Finally progression has started :)
« Reply #11 on: September 11, 2008, 03:39:55 am »
Ahh, I thought you may have used it to trim the inside of the cocktail 'lid'. Did you jigsaw it or...?

Have a practice with the router on some scrap bits of wood, you'll soon be itching to use it :)

Btw I hope you are using a dust mask as you are cutting that MDF indoors. It will be 100x worse when you fire that router up ;)

Paulson

  • Trade Count: (+1)
  • Full Member
  • ***
  • Offline Offline
  • Posts: 106
  • Last login:January 29, 2015, 06:55:37 am
Re: Finally progression has started :)
« Reply #12 on: September 11, 2008, 05:53:47 am »

 Yeah...Franco I used my jigsaw to cut out the...well everything...I'm just trying
 to figure out out to trim these edges with the router...??? How do I know
 how deep it's going to cut? I have a straight edge clamped in position but
 I don't have much space for error...


Franco B

  • Trade Count: (+10)
  • Full Member
  • ***
  • Offline Offline
  • Posts: 3766
  • Last login:February 15, 2024, 09:14:06 am
Re: Finally progression has started :)
« Reply #13 on: September 11, 2008, 06:26:01 am »
Did you get your pattern bit in the end? If so you can just clamp a straight edge to the line you want to cut and let the bearing follow the straight edge.

If you don't have a pattern or flush bit you can use a straight router bit with a straight edge and the flat section of the router base. Clamp a a straight edge to a scrap piece of material and route the edge of the material using by running the flat section of the router base along the straight edge (just to remove a little material). You can the measure the distance between the straight edge and the edge that you routered. Record the measurement for future reference. When you want to trim an edge, draw a line parallel to the edge you wish to cut offset by the recorded measurement and clamp a straight edge to the other side of it. You should then be able to route the edge as before.

Obviously the recorded measurement will change if you change the diameter of the router bit so make sure you remember which bit you used.

If you are routing out the inside of the cocktail top, go slowly and keep checking the material left when approaching the corners as you don't want to go too far and cut into the corner.

You don't have much material to work with on some parts of that piece of wood so you may need to attach/clamp some support boards to the material to enable you to route the material. Take a look at [this] web page for some info and general router basics.

If you haven't used a/your router before (it looks too clean to me  :)) I would suggest having a play with some scrap material to get used to cutting feed etc. Just make sure you have eye and lung protection but most of all, take your time.