I finally completed my first MAME cab. I started with the design in October of this year and just completed last night. When I was designing my cab there were a few key features I wanted to incorporate:
- two player
- lighterweight and somewhat moveable
- slim and sleek looking
- themed
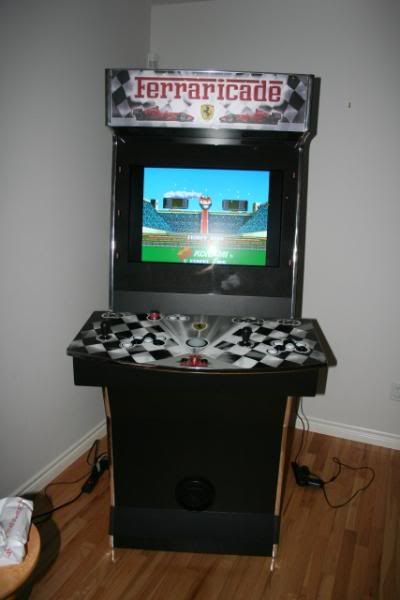
With these targets in mind, I decided to build my cab out of ¾ inch Maple plywood primarily. I also decided a modular design would enable portability and I like the look of the UAII style of cabs. I also decided to go with an LCD monitor to enable a sleek/slim design. Finally for my theme I chose to base it around F1 racing and the Ferrari racing team since I am a huge fan of the sport.
With that I set out to design some actual plans in Microsoft Excel. After a few hours of work I came up with some plans I liked and started to gather my materials. Construction began the first week of October.
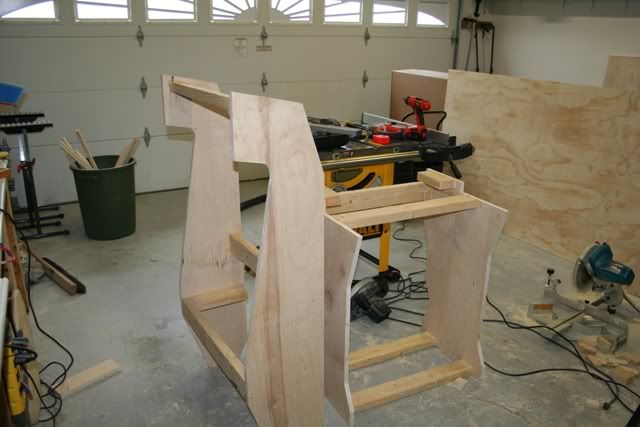
Started with constructing the top of the cab and base:
I wanted to incorporate a hidden keyboard drawer in the base. It slides and the faceplate is hinged to the actual drawer. It is opened simply by pushing on the face plate which is held in place when closed by spring loaded magnets.

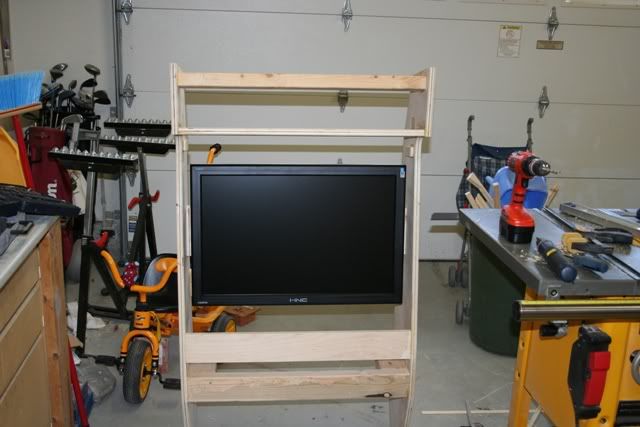
I wanted a large 1080p LCD computer monitor (not TV). I found a 28 monitor at TigerDirect. It is large enough to play vertical games at full scale.
With the monitor mount completed, it was time for a little sanding, priming, painting and artwork application. The artwork was custom designed with Vlad at Mame Marquees - great job and very professional!

With the artwork applied, it was time for a little chrome T-molding before installing the marquee and speakers.

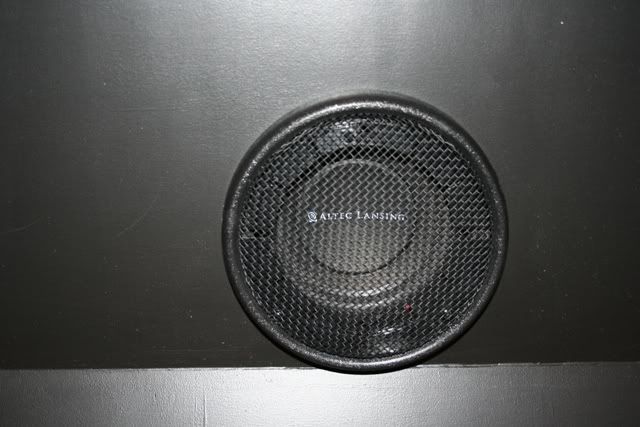
Got a great deal on an Altec Lansing 2.1 system from Futureshop. It has a separate volume, base and treble control module which I keep tucked away in the keyboard drawer. Subwoofer is in base of cab.


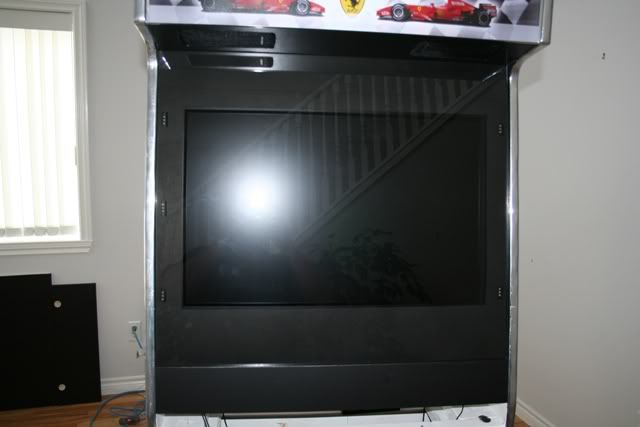
Time for the marquee, LCD Topgun LED strips and monitor glass. The marquee is backlit with the NovaMatrix LED lightstrip. The Topgun LED strips are attached to the sides of the monitor behind the 5mm grey tinted monitor glass (tempered).

Here is a shot with the glass and bezel installed you can see the TopGun LCD LED strips on the left and right quite clearly.
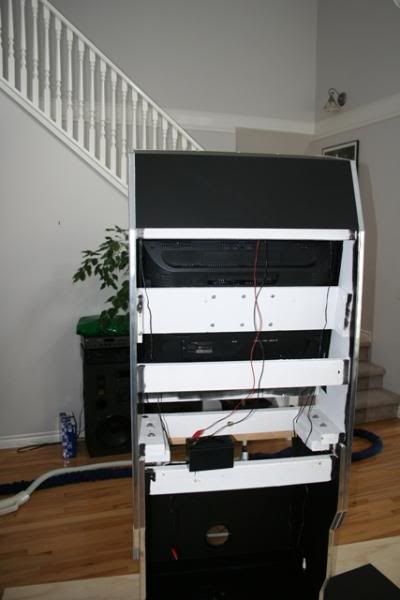
Here is a shot of the back you can see how the top and base are secured with 4 lag bolts.
Before tackling the control panel, a quick test to make sure everything works as so far intended.

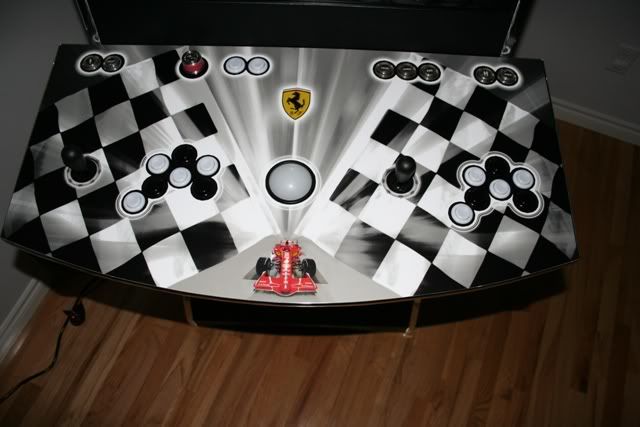
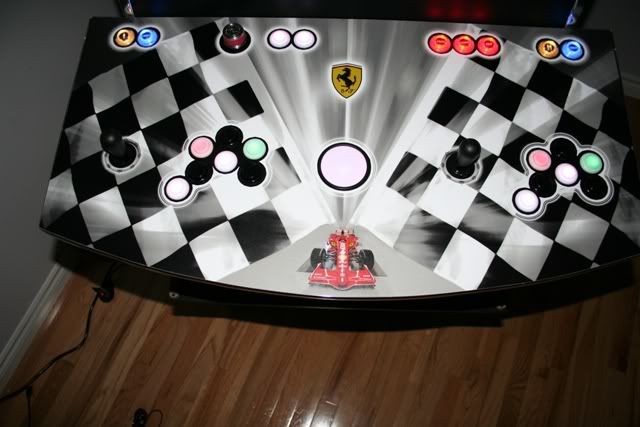
Alright, on to the control panel. I decided on two players with 7 buttons per player along with a spinner and trackball. First things first, I built the control panel base which is secured to the cab with removable bolts, again for max portability. The control panel top is 34 x 18 and also made of ¾ inch maple.

I made a drilling template and printed it on transparency material after comparing it to my actual CPO.


With the control panel complete, I sanded primed, painted, and installed the CPO. Fits great so time to install some controls and wire this puppy up. I installed the following:
- 2 U-360 joysticks
- TurboTwist 2 spinner
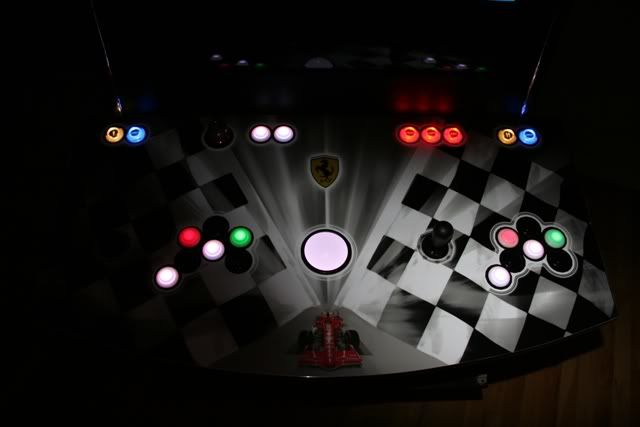
- Betson Imperial electric ice trackball with RGB lighting
- 8 RGB electric ice buttons
- 4 single LED electric ice buttons
- Single LED lit P1, P2 Credit 1, Credit 2, 3 dedicated admin buttons, 2 pinball buttons
- LED Wiz to control lighting
- IPAC 2
I also hinged the control panel with hidden hinges that open the top away from the monitor. There is even room to store my LCD lightgun!

Spaghetti uggh!

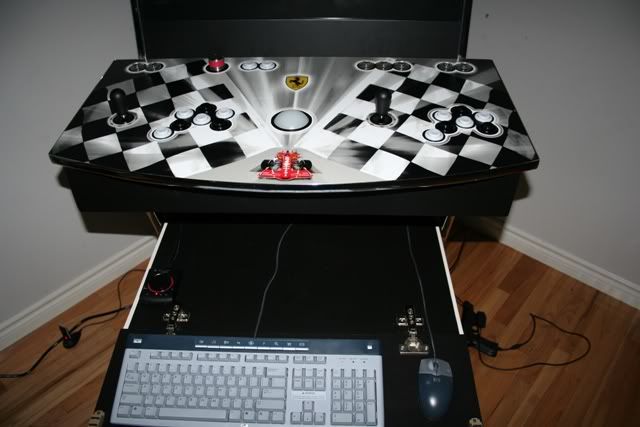
Here are a few completed shots. First with keyboard drawer open and extended.

Drawer closed up:

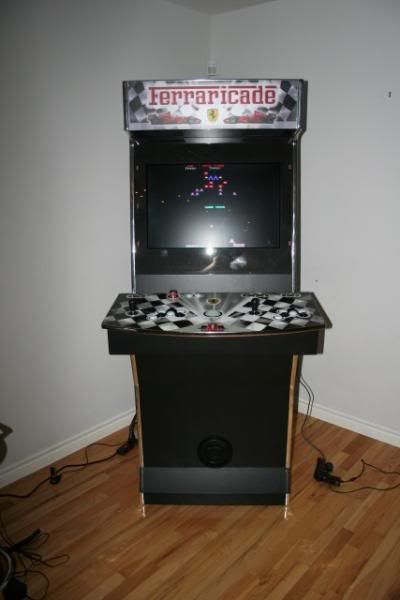
A few other final shots:


I'm really quite pleased with how it came out. Hope you enjoy as much as I did!
Take care,
Rich


 Home
Home Help
Help Search
 Login
Login Register

 Send this topic
 Print
Print Topic: Tifosi unite - Ferraricade (Read 7006 times)


