I made myself a router table fixture today to use with the templates I made.
You can commercially buy tables to mount your router to but in the spirit of things I though I would make my own

I'm not saying anyone should build one as they could be potentially dangerous (like any power tool) but this is how I made mine.
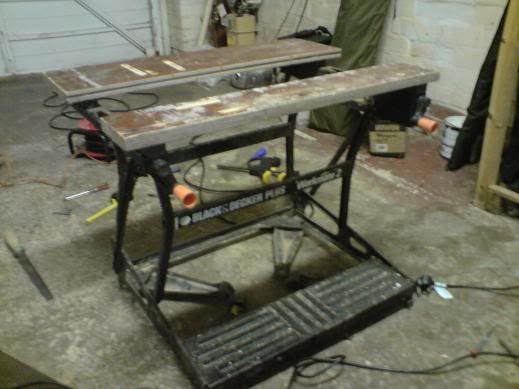
I have an old B&D Workmate which I'm using to hold the fixture:
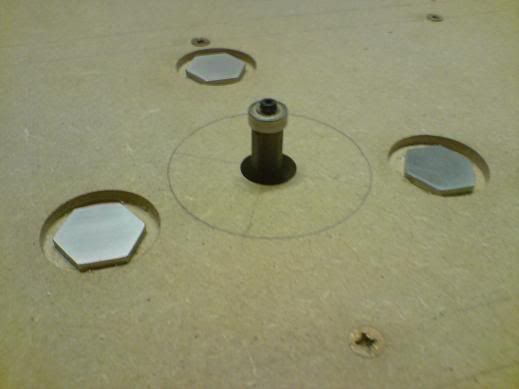
The bottom of my router has three M6 tapped holes so I made some large-head hex bolts to mount the router to the table:
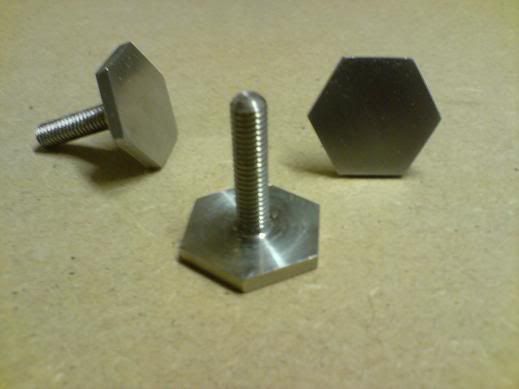
I made the head oversize as the bolt will be taking the weight of the router and the whole thing needs to be really secure as you don't want the router falling/moving at 20,000 odd RPM.
I cut a piece of 12mm MDF to roughly the size of the workbench. The fixture is plenty big enough to route with the templates and should hopefully be big enough for any larger projects I have in the future. I'm using 12mm MDF rather than 18mm as the flush trim bit would not have been long enough to cut the 18mm MDF I will be cutting with the templates.
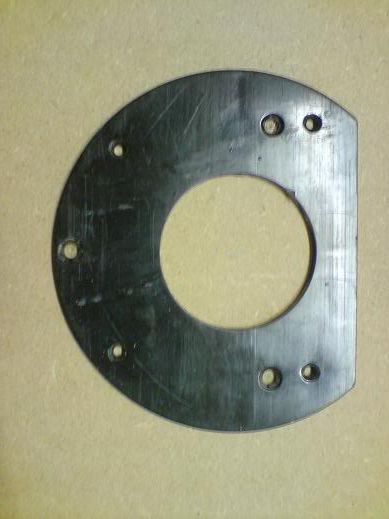
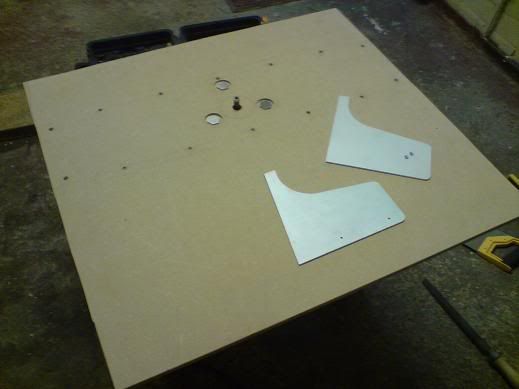
Luckily, the plastic base of my router was removable so I took it off and marked the mounting hole positions onto the MDF:
I then used a Forstner drill bit to counterbore the holes for the bolts so that they sit just below the level of the table. I also made sure the Forstner bit was large enough so that I could tighten the bolts with a socket.
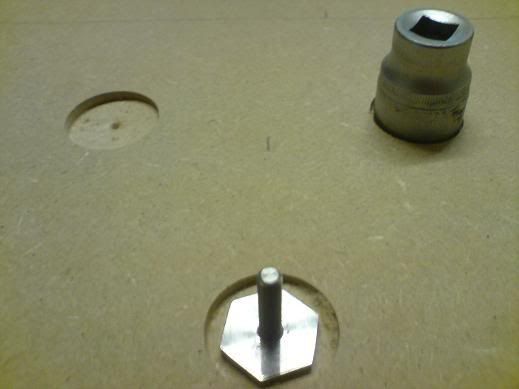
I then drilled some 8mm holes using the Forster point as a center and then fitted the router to the fixture.
As 12mm MDF is fairly flexible I added a box section on the flip side of the fixture to keep the cutting area nice and flat. I'm also using the box section to clamp onto with the Workmate jaws:
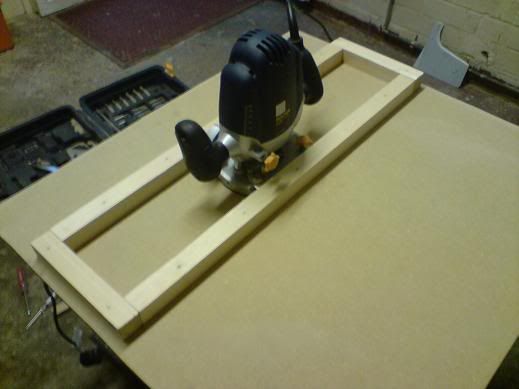
This is the finished fixture:
It seems to have come out quite well and the router is held very securely.
Hopefully I should get the CP ends routed tomorrow night, ill let you know how I get on.


 Home
Home Help
Help Search
 Login
Login Register

 Send this topic
 Print
Print Topic: Franco's Custom Cocktail (UPDATE: Wood cutting commences!! =) ) (Read 85000 times)


