I have been "planning" a Galaga style upright cab for months now. I decided to build a control panel to test some idea's. Glad I, did since not many ideas worked

This is just an experimental thing, not meant to be kept, but I learned a lot of things from it.
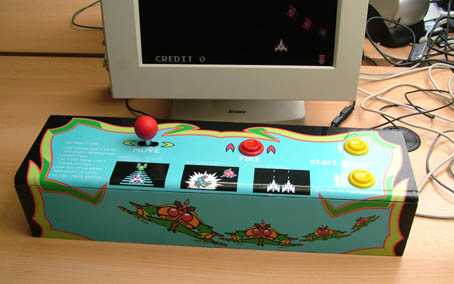
Here's the whole thing:
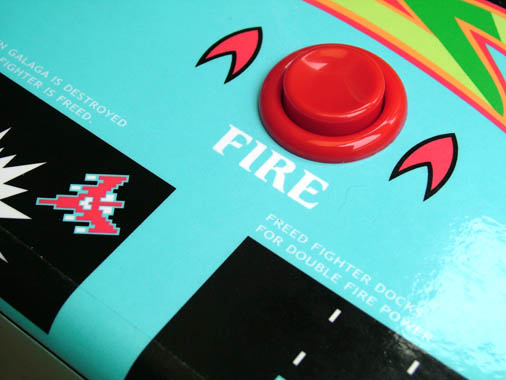
and close-up of the CPO:
The CP box is made from 18mm wood with dowels for connecting it all together. The box is 50cm (20") wide (I actually thought I could have my cab about that wide (go figure). Obviously this CP is way to small. I had a hard time fitting even these few controls into it (had to dig out area's in the side to get the microswitches on the Joystick and the player 1 button)
I wanted to cover the CP with a bent sheet of 3mm Lexan. I was unable to bend the Lexan properly and after trying Plexi (and failing at bending that too) I gave up. I guess I have to think of something else for my final cab.
I made a space for the Joystick to sit in the wood with a router (as described by OSCAR in another thread). So I had to add some 8mm MDF to the top of the CP to cover it up and put the CPO on. In the end the 8mm MDF + 18mm wood together were to thick to hold a button. When I put the button bolt upside down it did fit though (allthough I guess it could work loose). So I need to make sure the top MDF+Wood are not too thick in the "real CP".
Also since I wanted to be able to open up the top of the CP (to get the Joystick out) I had to cut a seam into the artwork. That certainly looks awful so I need to think of something to make the front from one piece of wood (or at least glued together to form an "L" shape like I planned for the Lexan)
Painting is a lot of work and/or I suck at painting.
The artwork from my printer (Epson 1270 with custom "continuous fill" pigment ink cartridge) really came out looking stunning (as usual the pictures don't do it justice). I laminated it myself with some bookcovering foil. Works pretty well, but I don't care for the glossy look of it. I used 3M spray glue to stick it to the CP.
I cut the whole for the buttons in the wrong place (I forgot that I made the CPO overhang a bit at top and bottom) so the artwork is shifted down. Need to make sure my brain is working next time I start drilling holes.
I tried to cut the artwork at the bottom with a knife after applying it. That didn't work either. Better cut it to size first. Better still make sure the overhang is there.
BTW there is no angle on tha control panel, but it would be mounted in the cab at an angle. I figured I could build a rectangular box easier.
All in all a lot of lessons learnt and finally something to playest the dimensions of the final cab.


 Home
Home Help
Help Search
 Login
Login Register

 Send this topic
 Print
Print Topic: Galaga style control panel (tesversion) (Read 6564 times)


