No worries

A quick tutorial on the paneling if anyone's interested. Cut and paste from another forum where someone asked how it was done. Simple stuff really but may be useful for someone.
You will need a router with flush trim, chamfer and rabet bits, a jigsaw, a drill a small workbench and some clamps.
It will describe how I made the outer panel for this and was my first attempt at doing it:
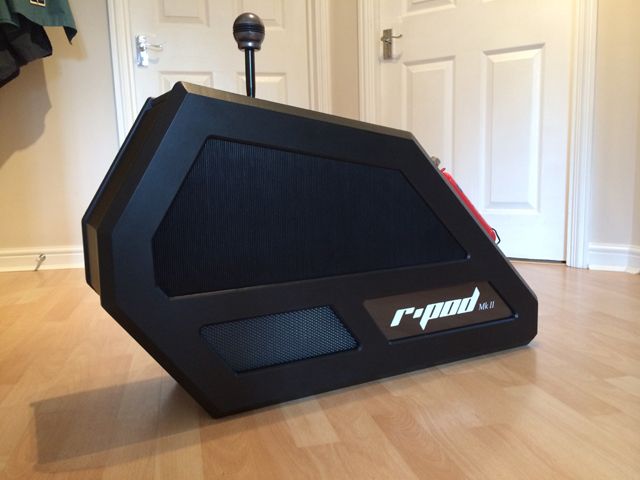
First, cut your basic shape and ensure you have nice clean edges. I use the flush trim router bit against a straight edge (usually another piece of MDF) to achieve this:
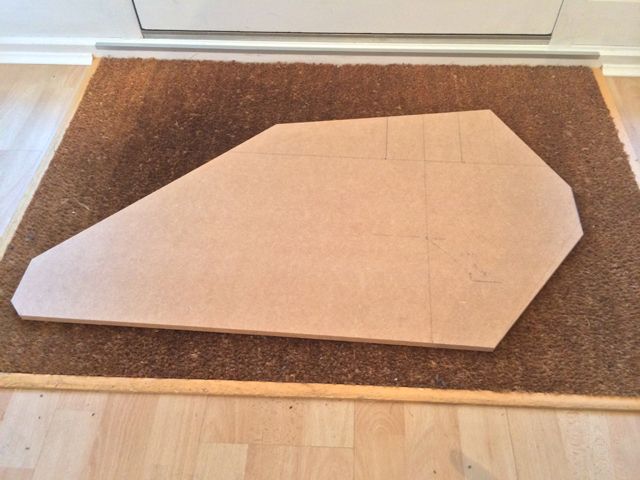
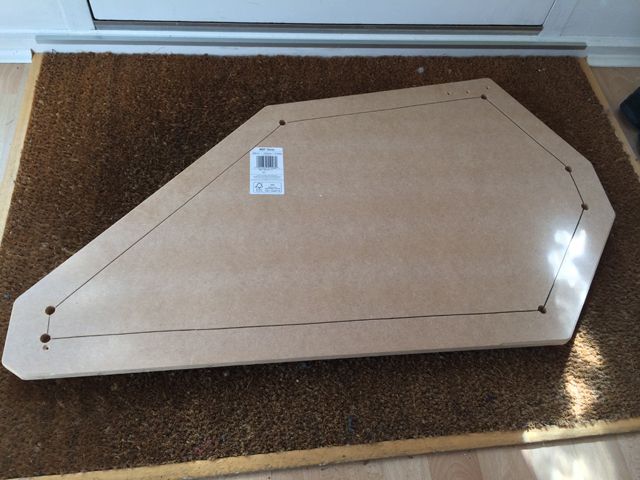
Also cut a second one - this will become the back plate for the panel and hold in the insert (mesh, grill, logo, acrylic etc). Typically, I will use 18mm MDF for the outer panel and 12mm for the inner one. It creates a nice thick (but heavy) piece which adds a nice bit of depth and substance to the projects. You can use the first panel as a template for the second panel. Mark the outline on the second board, rough cut and flush trim.
Next, mark out your design. Firstly, I draw out a perimeter which shows where the outer, more aggressive beveling will reach. After that, I draw out a second inner line equidistant from the edge. I used a distance of around 16mm for the first perimeter and added 5cm to that for the inner line. 5cm becomes the distance between each of the frames on the inner windows. This gives you an idea of the original design I came up with for the outer face of the shifter pod:
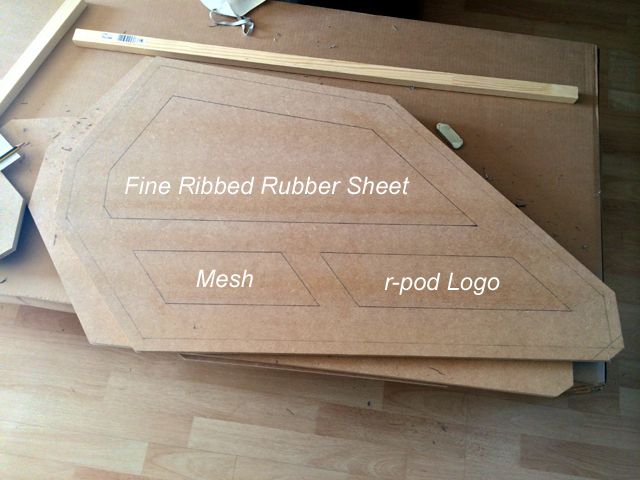
Once done, drill some holes towards the corners of the windows. It's best not to get too close to the corners of very tight angles. I generally use a 12mm spade bit for this:
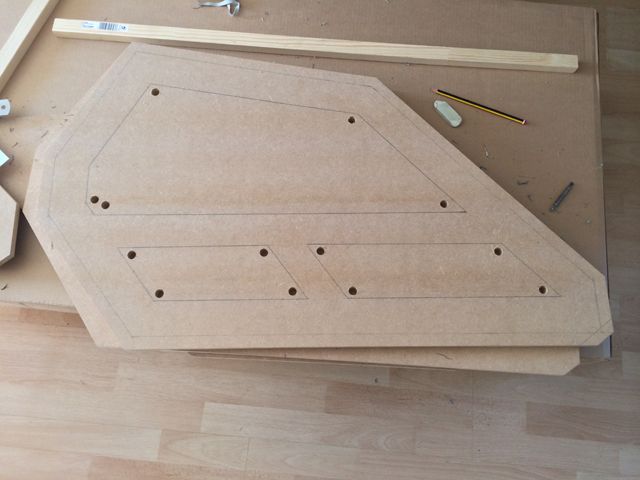
Next, cut out the windows with a jigsaw. Don't go too near the lines, its much better to under cut rather than over cut considering the work that's required if a mistake is made:
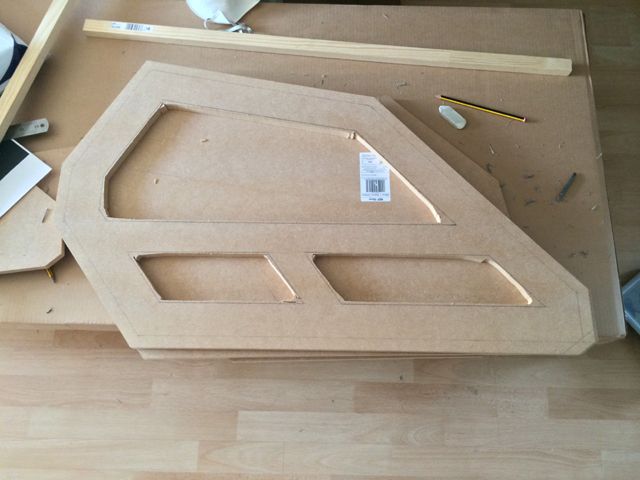
Attach some straight wood strips at the lines marking out the windows:
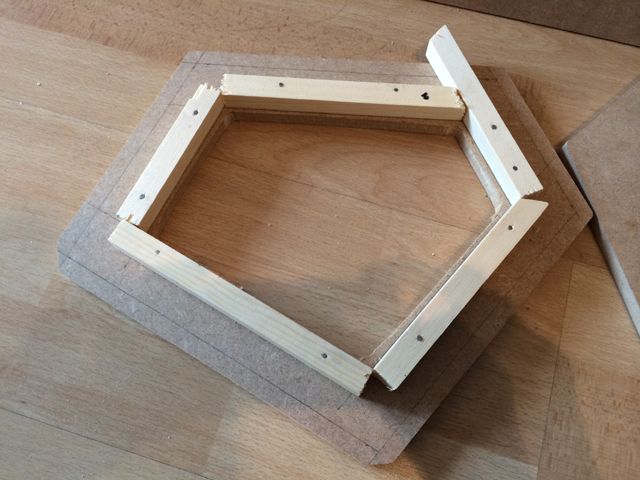
Using the wood strips as a guide you can now use a flush trim router bit to get the edges straight and clean. You will also get a rounded corner which I happen to like:
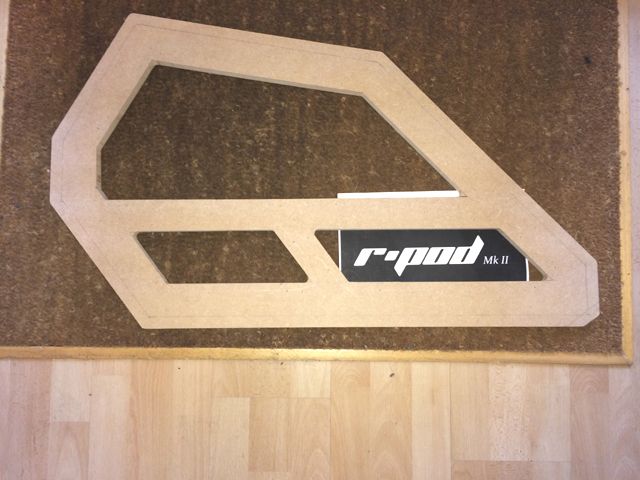
Bevel the outer edges and lightly bevel the inner edges of the windows:
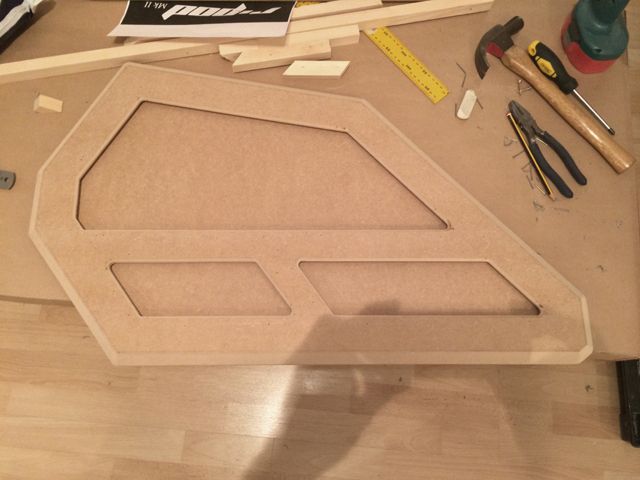
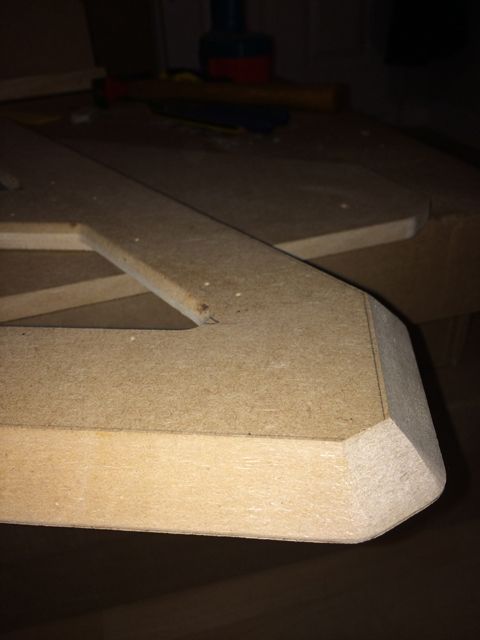
Then use a rabet bit to rout out the inlay areas on the inner side of the panels for the windows. You will need to determine the correct depth to accommodate the inserts. I use about 2mm for mesh and 7mm for acrylic and rubber inlays:
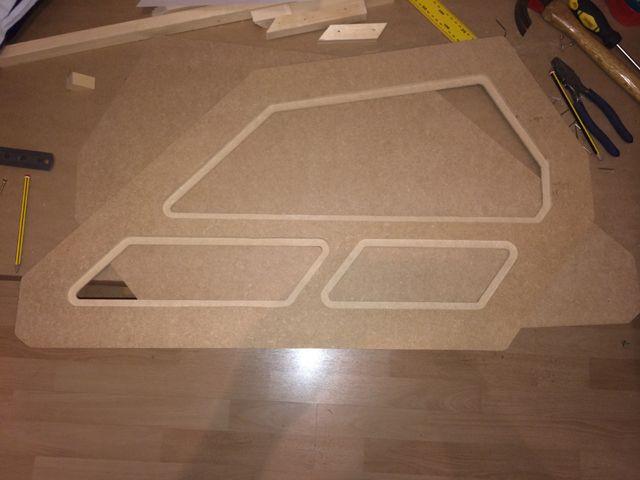
You should now have a panel which looks like this:
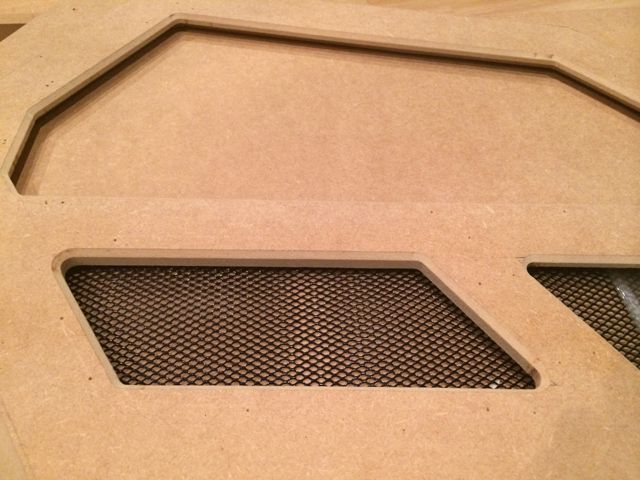
Make your inserts for the panels. I used rubber sheet (on backing board). Total thickness around 6mm. Mesh:
Rubber with backing board:
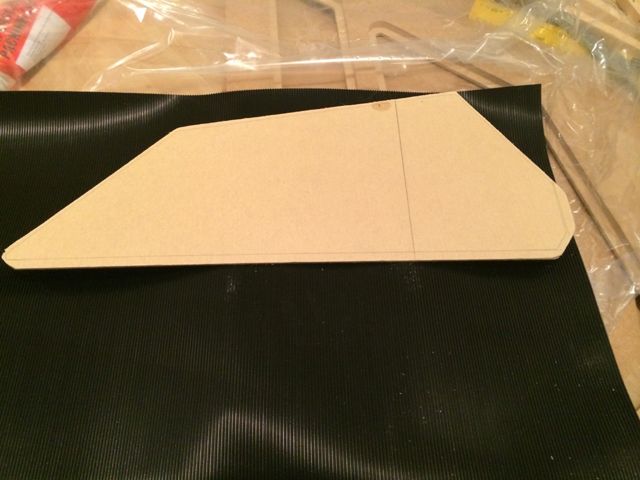
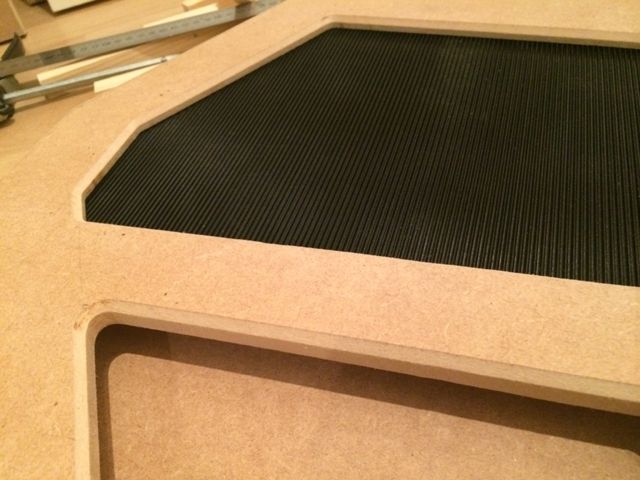
These will slot into the inlays on the main frame. This doesn't show the artwork inlay but the same approach is used as that for the rubber - 3mm cast acrylic was used as a cover with artwork sandwiched between the acrylic and backing board.
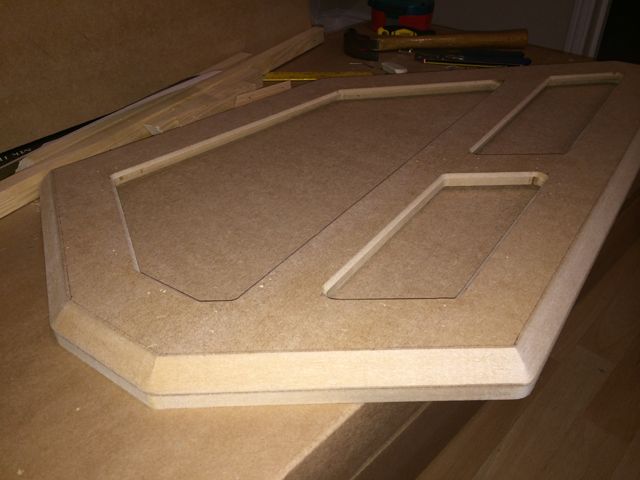
Fit the front and back pieces together and mark out the window position on the backing piece. Draw a line around 2cm from the outer edges of the windows, drill at the corners and try to keep a reasonably straight line. You should end up with a piece which looks like this:
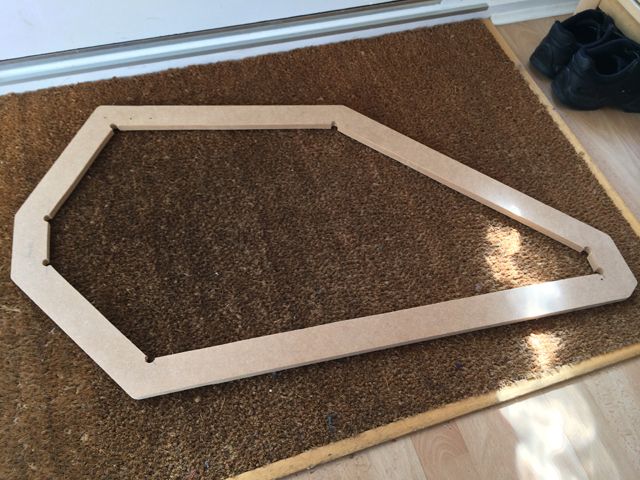
When attached to the outer frame (glued), it will look like this:
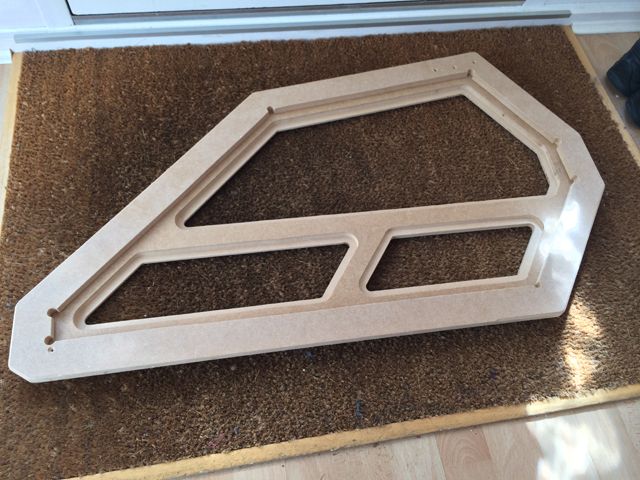
You can see that the inner thin piece has clearance for full access to the window inlays. Once the cut section is placed into position, it will look like this:
You now have a panel you can work with. Once painted, the inserts can be put back in and the back panel be glued and screwed into place. For this piece, I was able to use additional screws into the bar in the middle of the outer frame for extra stability.


 Home
Home Help
Help Search
 Login
Login Register
 Send this topic
 Print
Print


