
(Mini)
While I am waiting to be able to build the
full version, I am going to build this to give my fidgety fingers something to do.
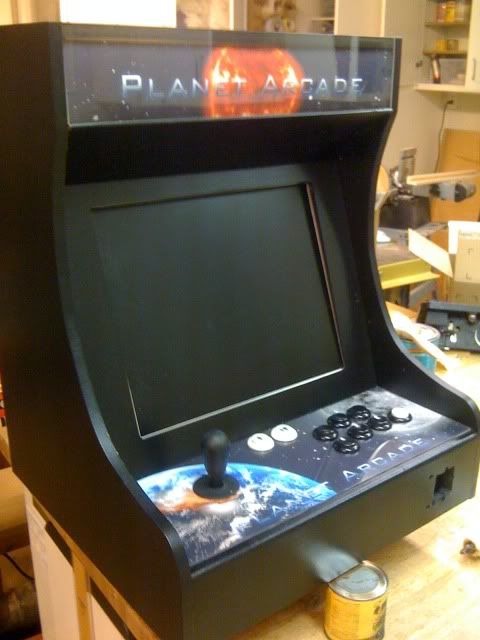
Here is what I plan for it to look like:


 Finished Product:
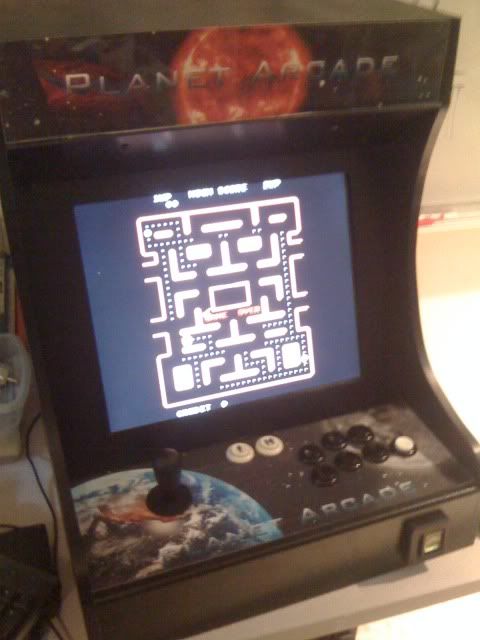 Updates:
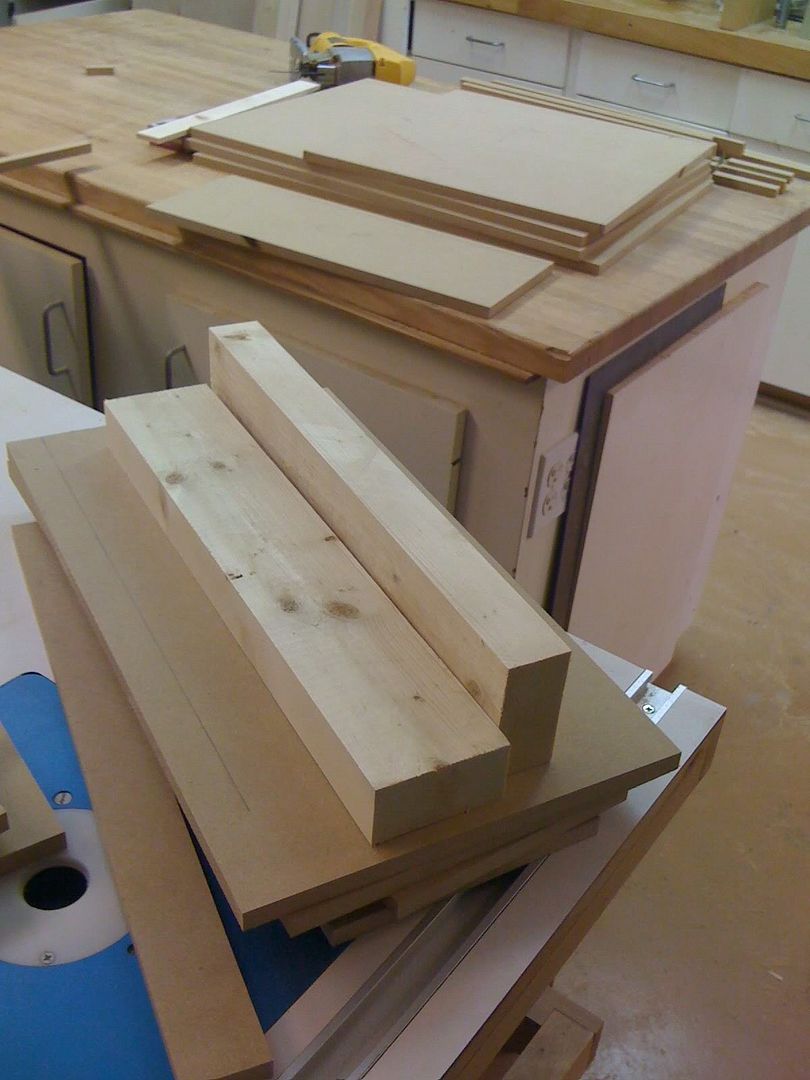
February 24, 2010
I was hoping to be finishing up today but I actually just starting. All I got done was cutting the wood

.
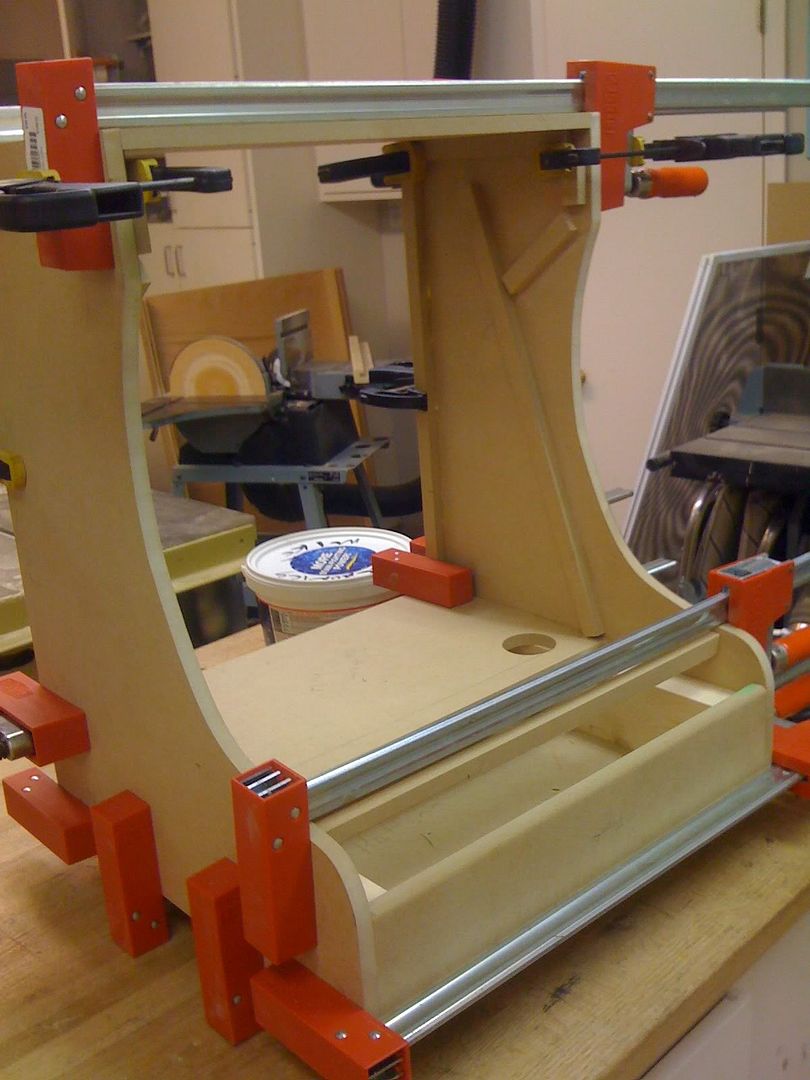
March 21, 2010
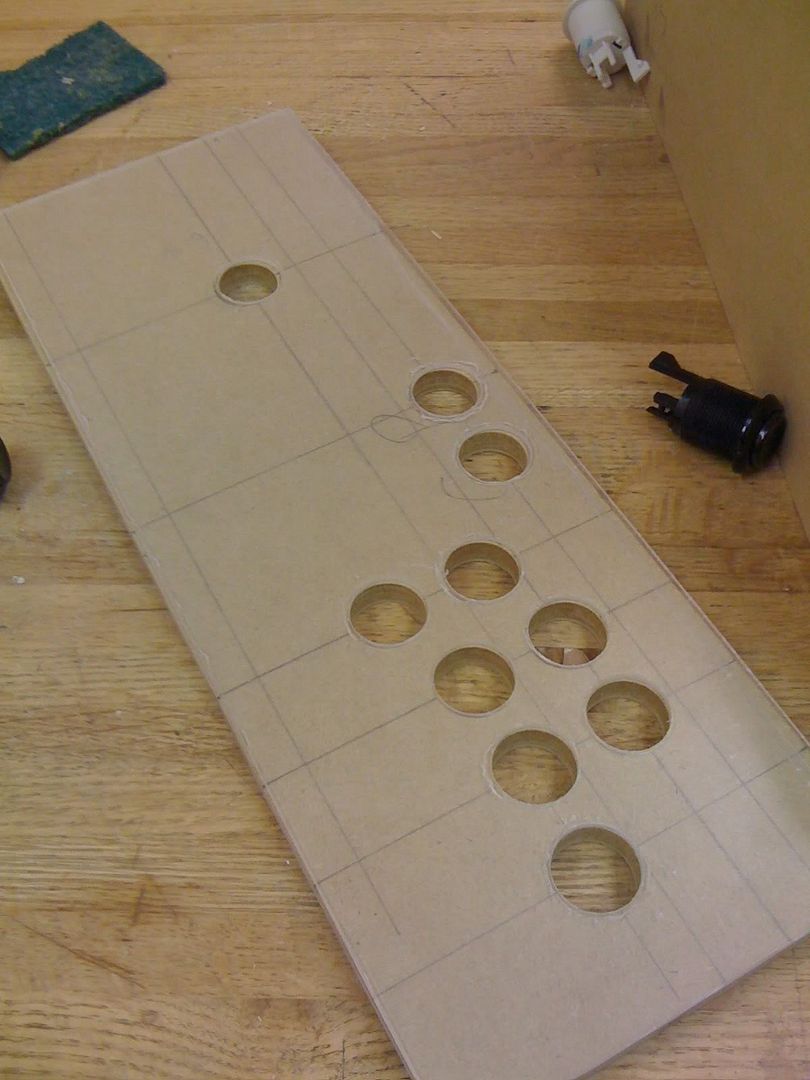
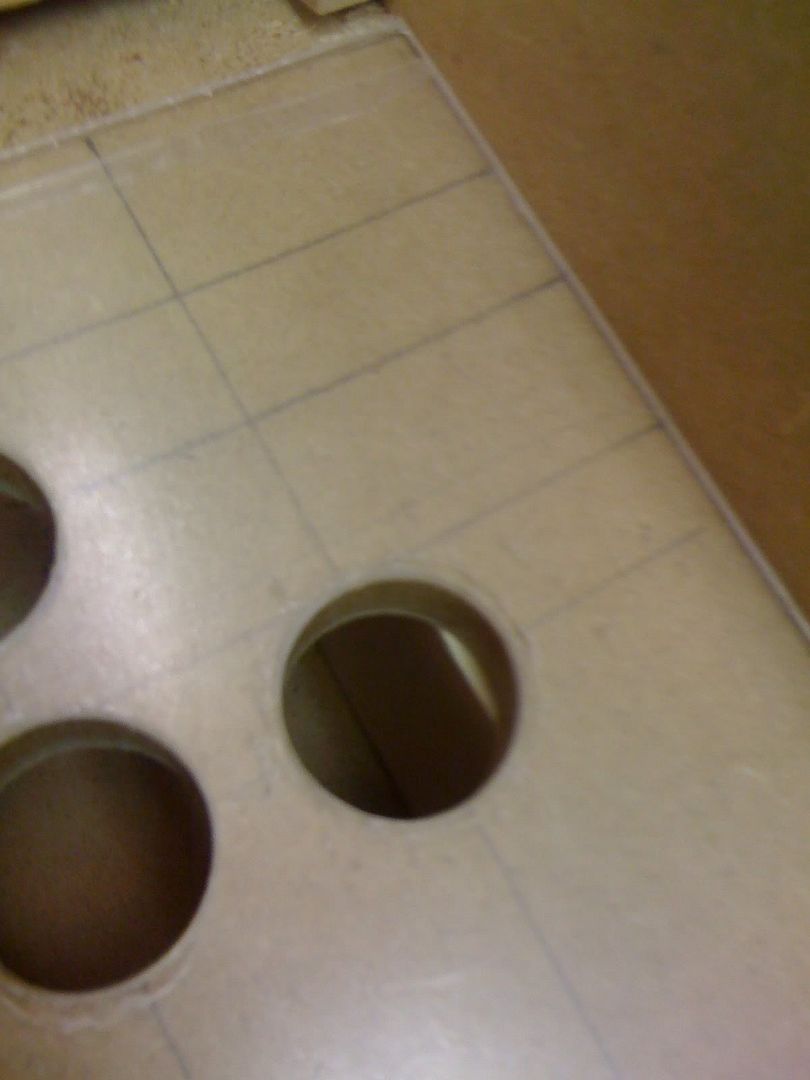
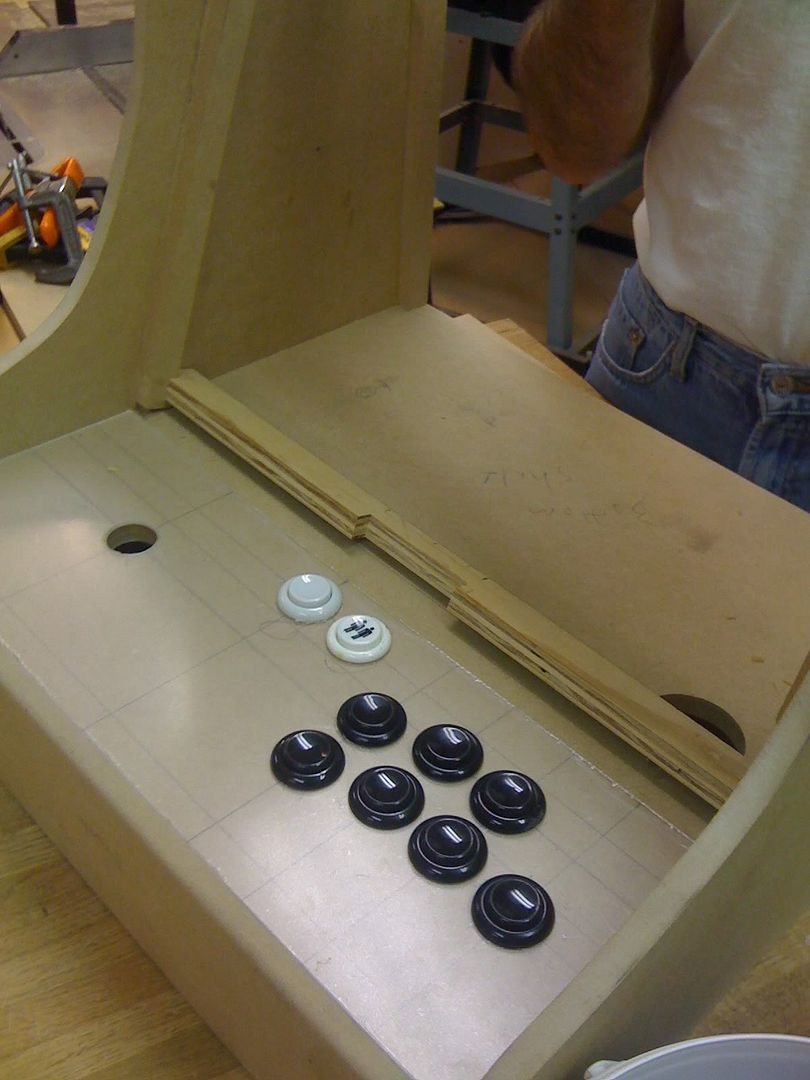
I got a good bit of work done this weekend. I cut the sides out and cut out the control panel. I also started putting the pieces together. More pictures soon to come.
March 27, 2010
More and more gluing.
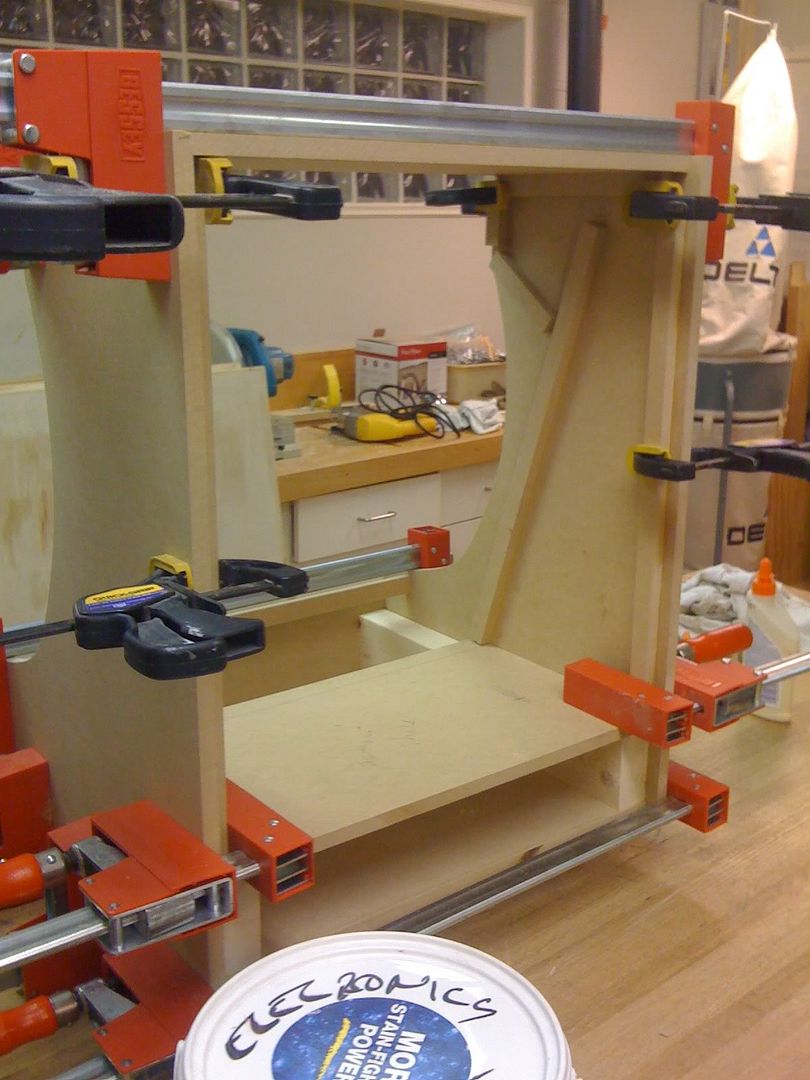
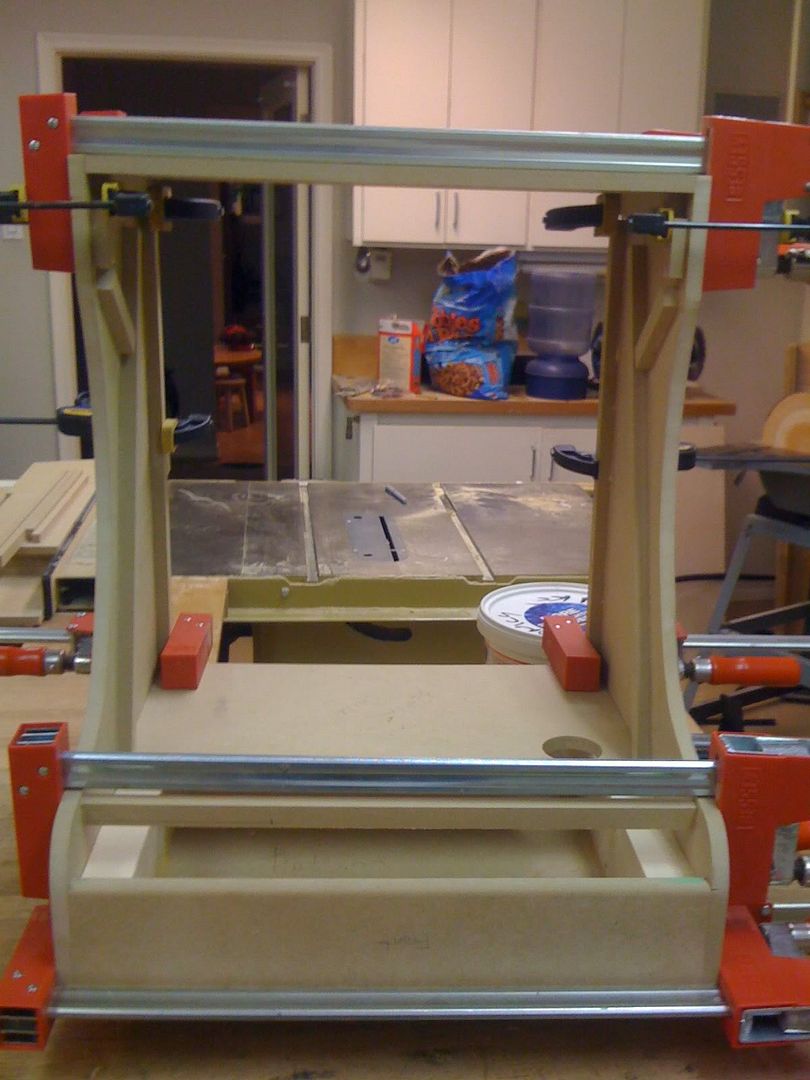
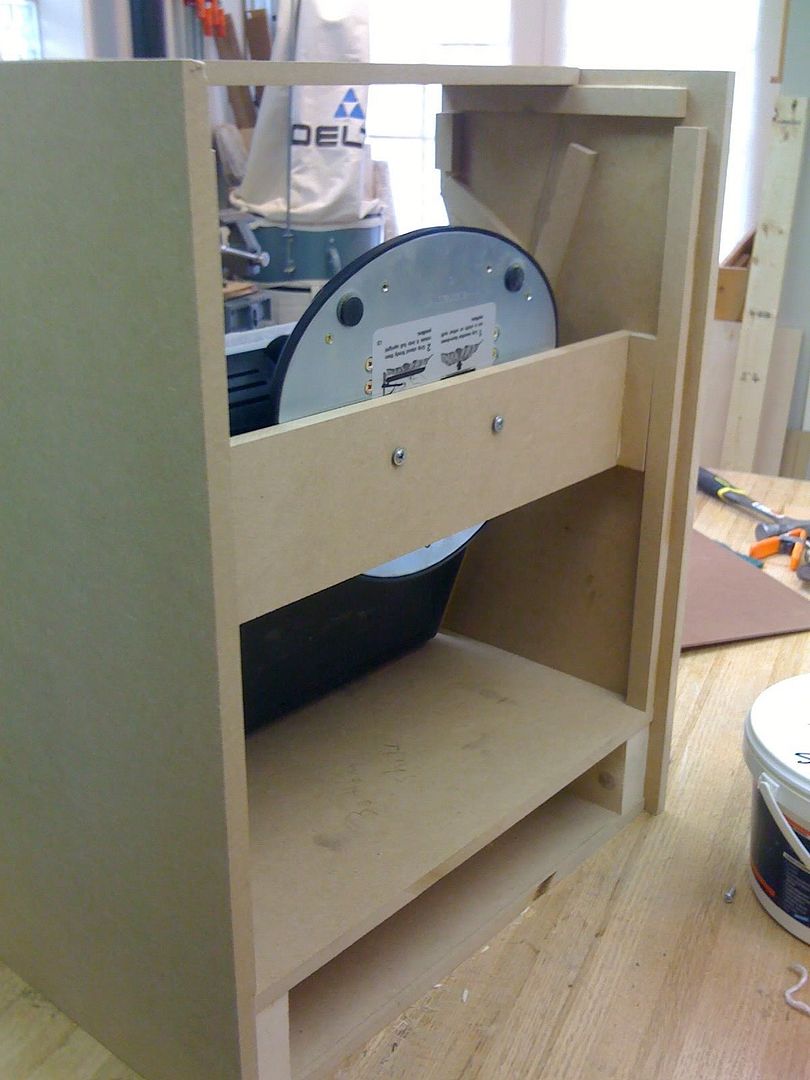
March 28, 2010
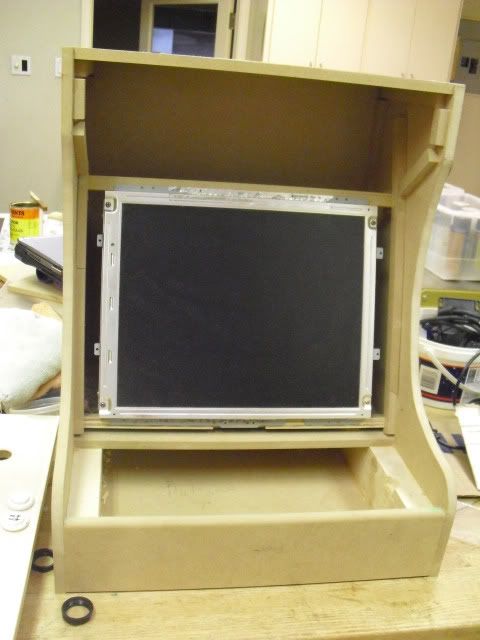
Got the monitor attached! By unscrewing the bolts in the back and sliding the support downwards, the monitor can be removed as needed. However I am going to have to re-wire the buttons on the front; for if someone were to push on the bezel it would push on the monitor buttons. Still need to cut out the wood for the bezel and speakers.
The original plan was the use magnets to hold down the control panel, but because it is such a snug fit this will not be required. Also, I decided to put the entire back on magnets so that it can be removed easily.
On a side note: The top piece somehow found its way into the scrap pile and was cute by mistake, so I have to cut a new one of those

.
 Edit:
Edit:Slight change in plans: I ripped off all the plastic on the monitor and it is looking much better. I am building a frame for the monitor. More pictures coming next weekend.

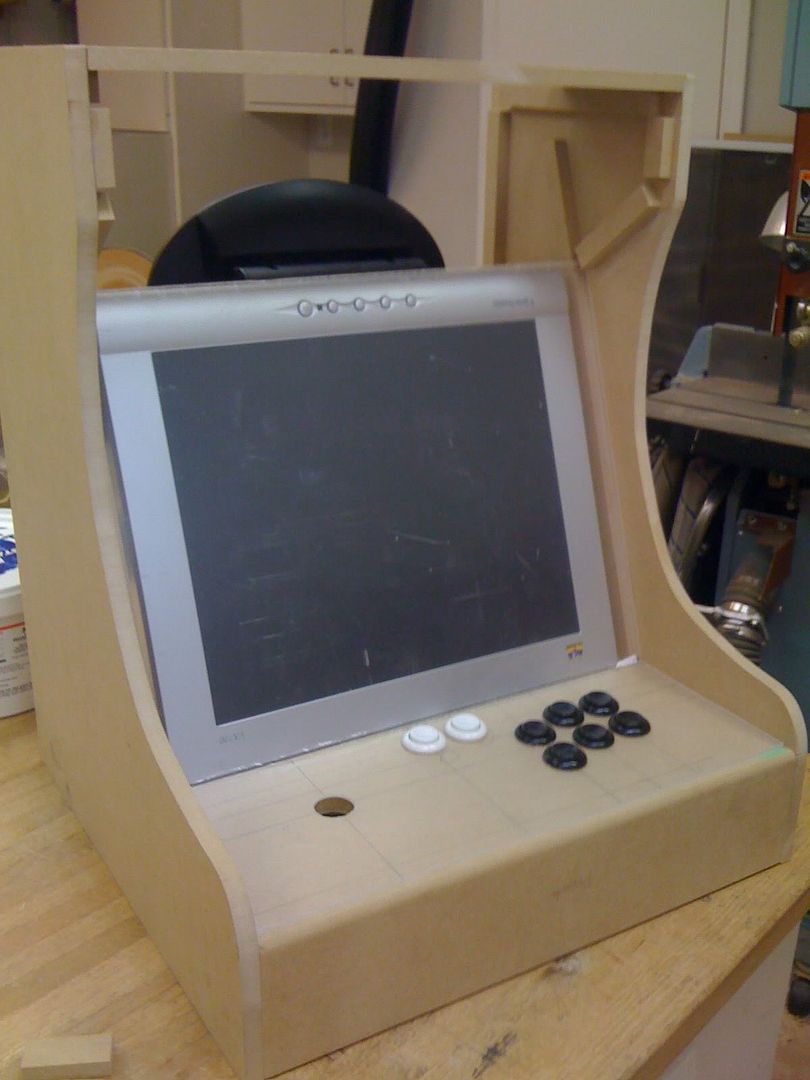
April 04, 2010
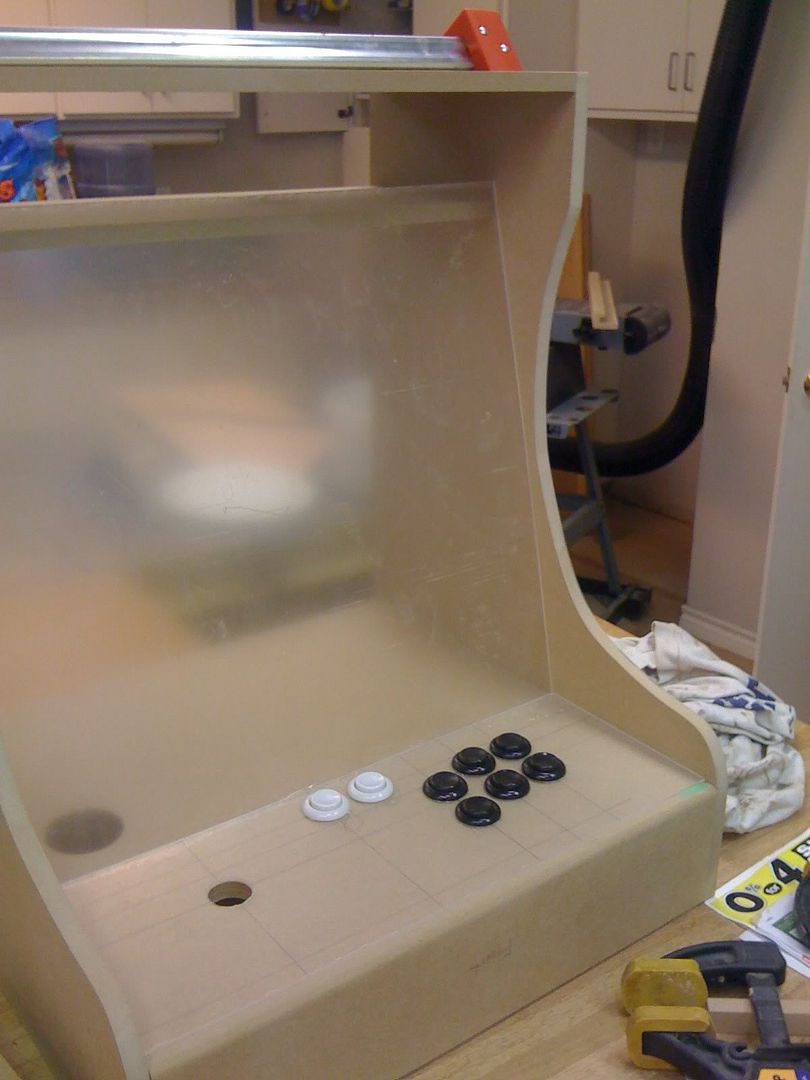
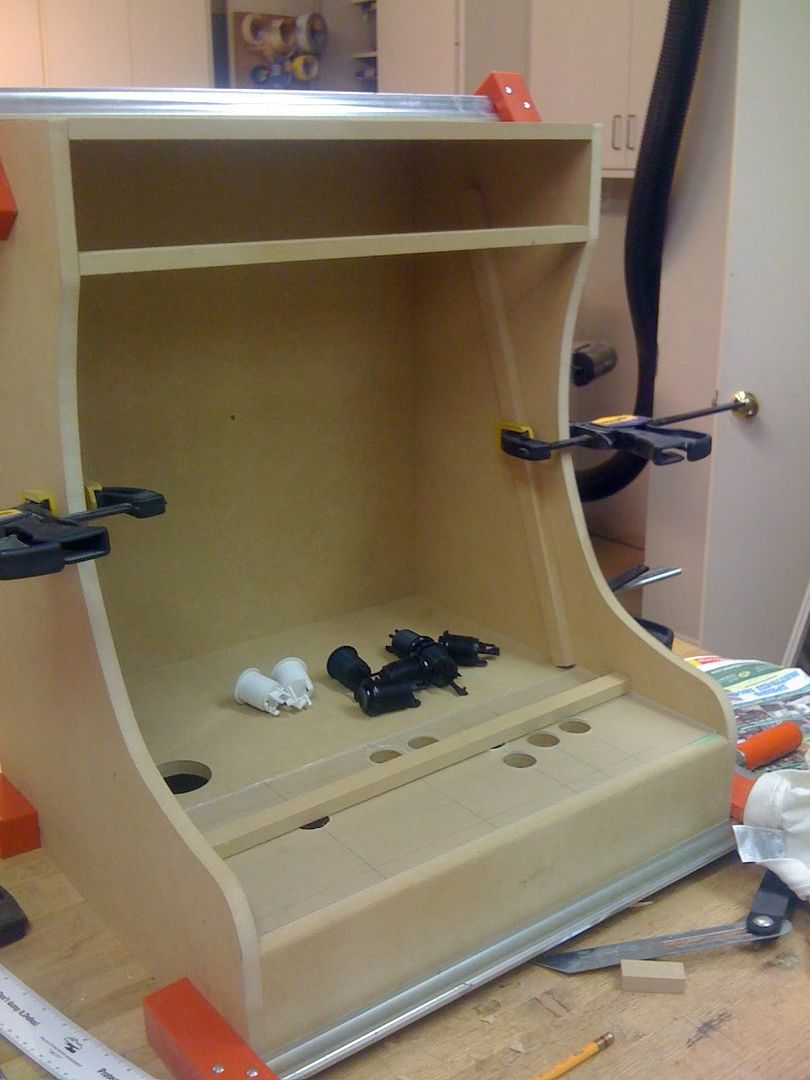
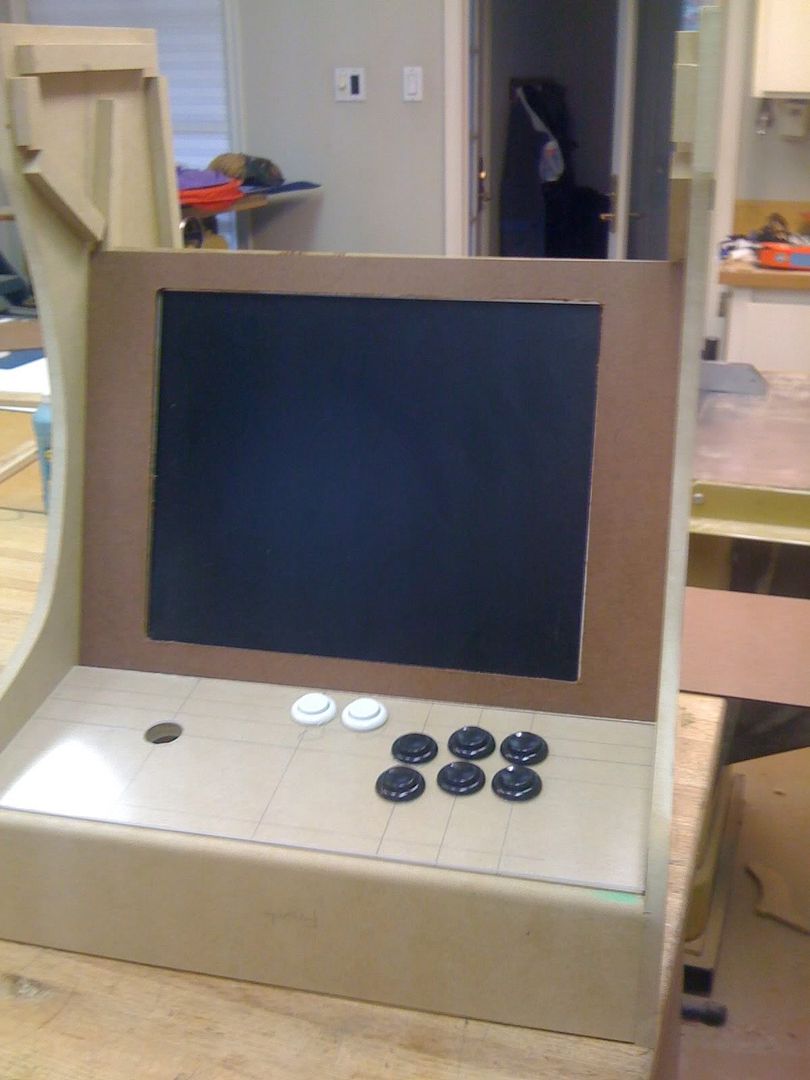
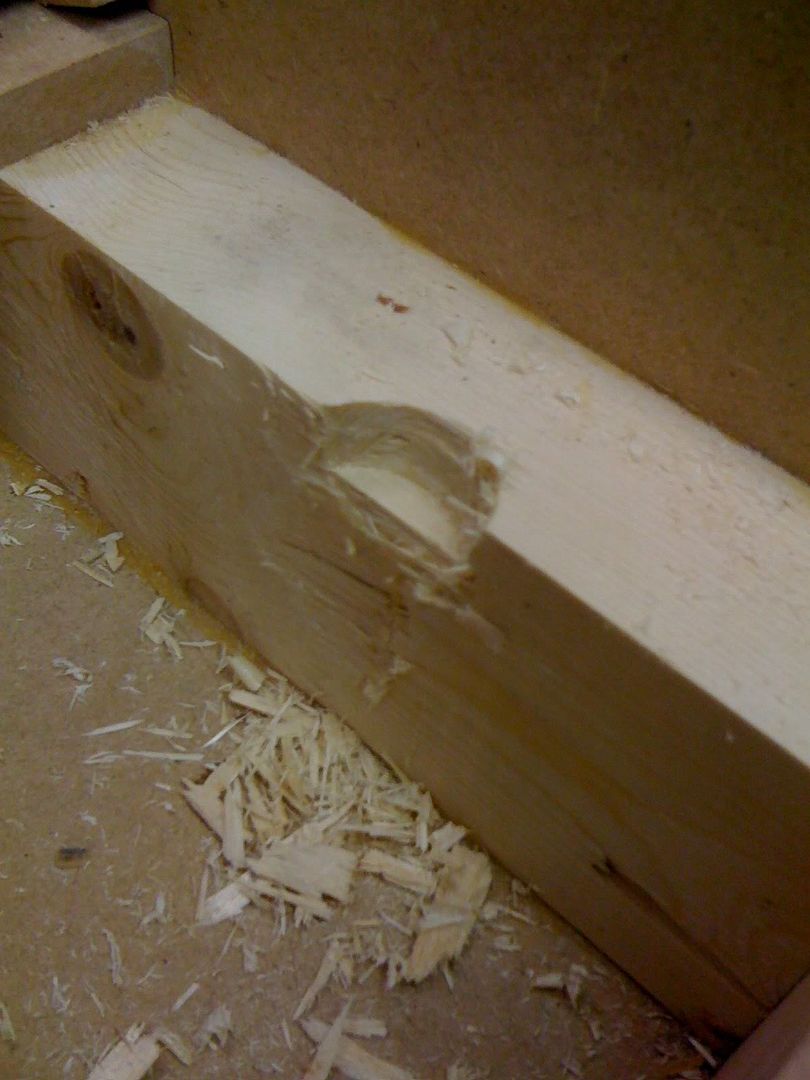
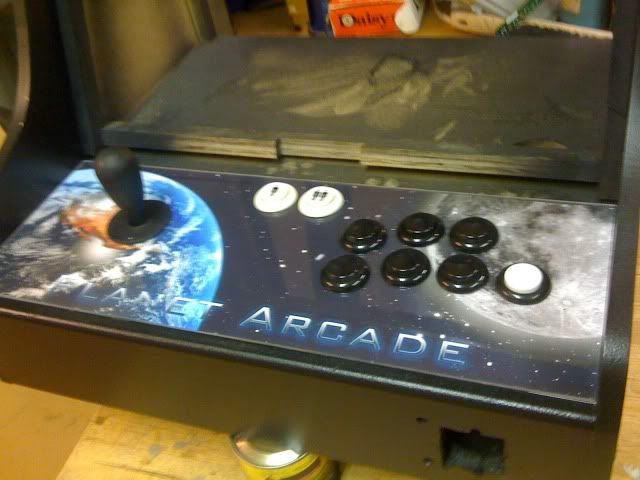
Got the bezel cut out, which fit quite perfectly. After doing some more organizing on my ROM collection I realized that a lot of games used the four-button layout... so I added a fourth button. However, the hole slightly overlapped the bottom support. I drilled out a bit from the support and it fits nicely.
Starting to look like an arcade machine
May 15, 2010
I got quite a bit done over the last two days. I decided to scratch the Plexiglas in front of the bezel; Don't really need it. I have also decided to make the control panel removable. I really want a trackball to play some of my favorite games. Obviously there is no way I could squeeze a one in along with a joystick and 7 buttons. So I am making a separate control panel with a track ball and three buttons on either side. I have also decided to rig a coin reject button instead of GGG's button. The coin slot is there for donations
. Here is the work chronologically:
- Cut A new top piece that I had accidentally destroyed before.
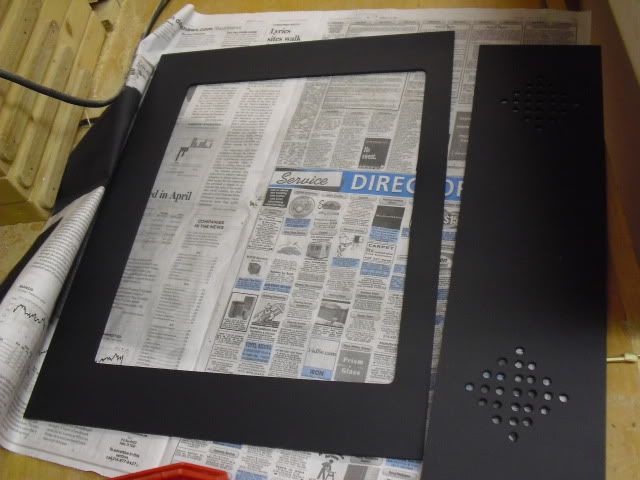
- Drilled holes into the speaker panel.
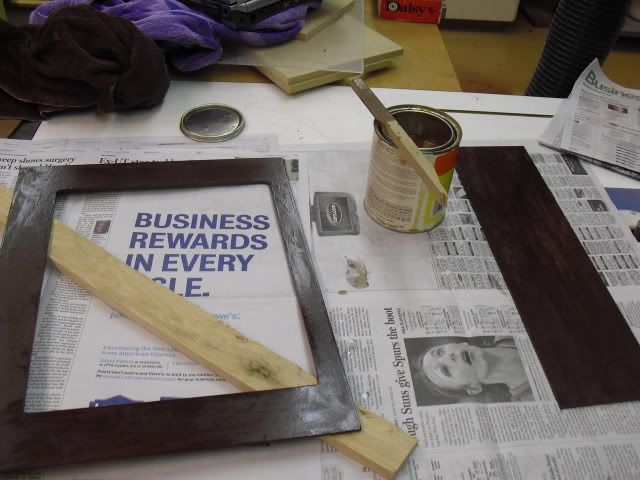
- Primed and painted the bezel and speaker panel.
- Rigged the coin reject button to work as an insert credit button.
- Put the first coat of sealer on the cab.
- Attached cabinet magnets for the removable back.
Some pictures of the progress:
New top
Priming...
Done!
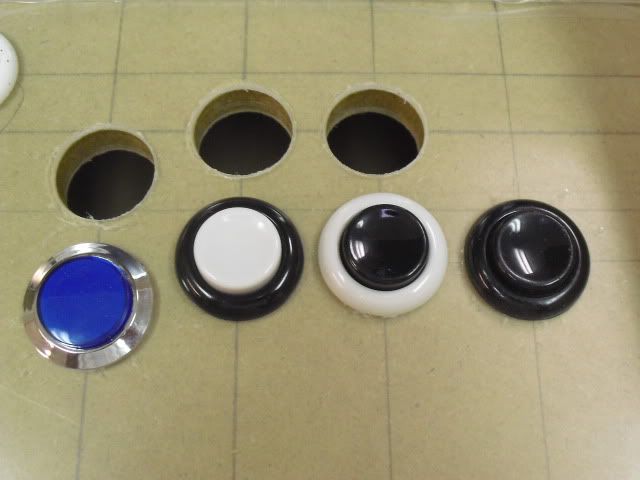
Decisions, the fun kind
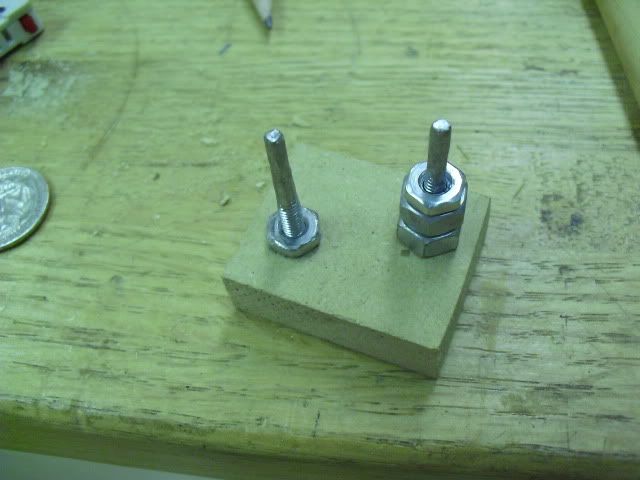
Mount to hold the microswitch

A bit of sticky-tack to hold
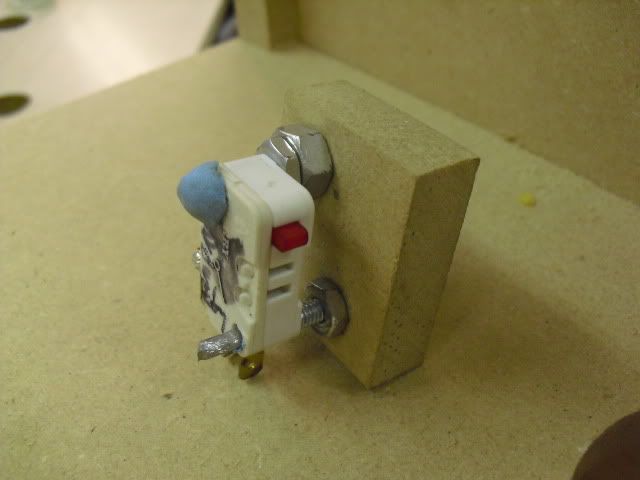
Complete

Before
After
May 16, 2010
Finished painting, now I just have to put a clear coat on. In unrelated news, I finished moving into my new apartment
. Oh, and I made a custom coin reject label in powerpoint. I would have used Photoshop but I was on my Mom's mac.


May 19, 2010
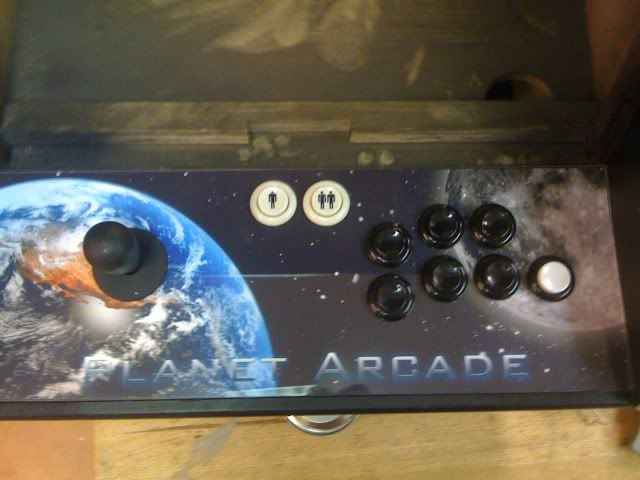
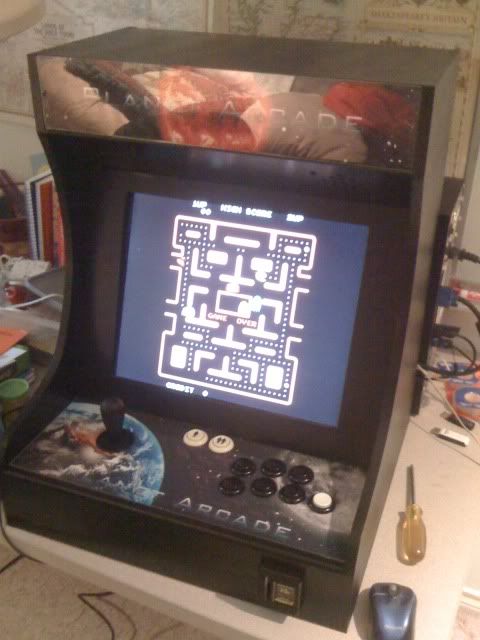
Graphics are in! I finally got my stuff printed from the Kinkos down the street. I have to say, I was pretty disappointed in the quality. I had it printed on vinyl and when I got it, it already had smudges and streaks from the person handling it. The colors where also not near as vibrant or accurate as I had hoped. It only cost me 20 bucks though so I guess I got what I payed for. It doesn't look half bad under the plexiglass anyway. Now I just have to attach the marquee and get the electronics in there.
Sorry about the low quality pictures:
June 06, 2010
What I have done:Machine is 99% finished. I thought I was going to use the input controller form my old X-Arcade control panel, but unfortunately I did not have the cable to the PC. I tried to build one, thinking it was a basic serial cable. Little did I know how "sensitive" their cables are. I almost just bought a new cable for 10 bucks. But instead I decided to just go ahead and buy a GP+LED Wiz from GGG. I figured I might as well considering I want to upgrade the lighting at some point. I also don't want to have to deal with X-Arcade's "sensitive" PS/2 cables that refuse to work with any USB converter.
I wasn't about to wait for my interface to arrive before getting to test and play a few games. I took apart an old keyboard and ripped out the encoder. I thought it would be a simple solder job, but the pcb had these weird black contacts on them that would melt when you tried to solder on them and make a huge mess. Instead I hot glued the wires to the pcb and used a small clamp and a clothespin with a rubber band to hold the wires on the contacts. It was very ghetto looking to say the least; But it worked! Problem with using a keyboard encoder is that you can't press some buttons at the same time. For instance, you can't move Up Right and Fire at the same time.
I wired up the speakers and included an volume knob as well as a headphone jack that are assessable from the outside speaker panel. I also put electrical tape along the silver boarder of the monitor which makes it look much better.
Still need to do:I still have to make the second control panel along with wiring up everything to serial cables to allow you to easy unplug and take out and change the control panel as needed.
Still need to get some 1/2" White T-Molding to go along the sides. And a light behind the marquee.
Sense I was getting that GGG interface I ordered some
clear pushbuttons along with some
super bright LEDs that I got at a great price! 10 for $1.53 with free shipping! I plan on using the clear outer-ring with black centers and lighting them up. I am picking up some resistors from RadioShack. I also need to get the coin return lit up.
To be honest, it didn't come out as good as I wanted it to do. A lot of little mistakes here and there drive me crazy. Most of them are unnoticeable but they still bug me. That and the fact that I am no good at finishes.
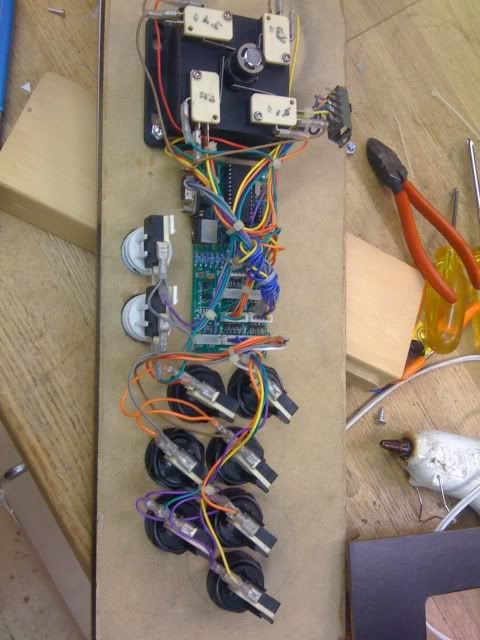
Control Panel connected to X-Arcade interface... before I realized I didn't have the cable.
Speaker Panel
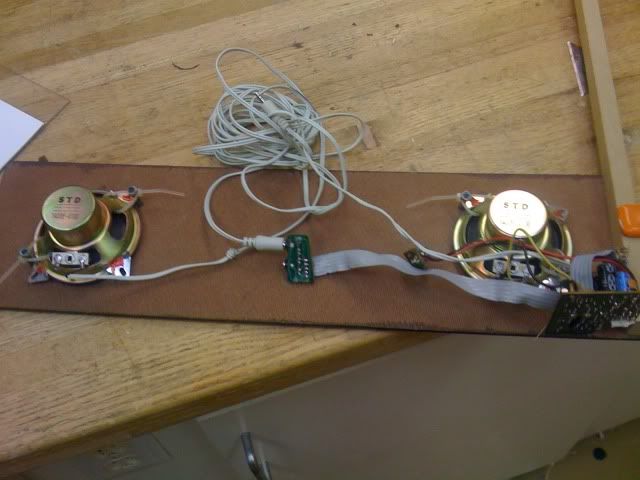
Speaker Panel with volume knob and headphone jack. I painted the knob black.
Wires for connecting to the keyboard encoder.
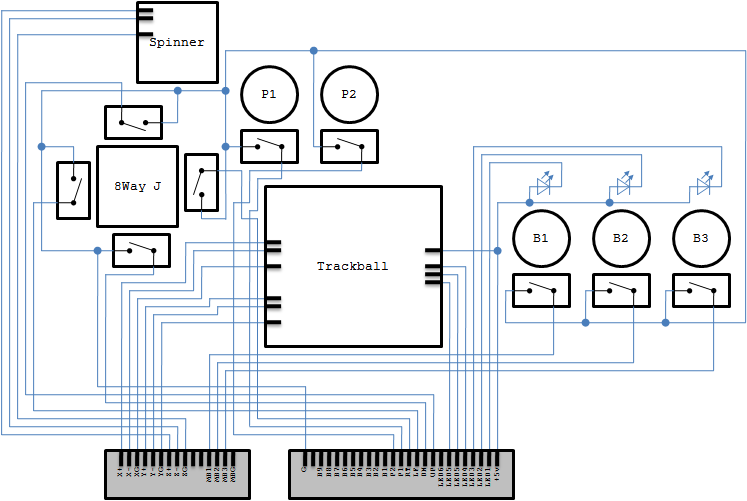
Wiring Diagram for inside the cab
Control Panel 1
Control Panel 2


 Home
Home Help
Help Search
 Login
Login Register

 Send this topic
 Print
Print Topic: Planet Arcade Mini (99% Done 6/2) (Read 18080 times)


