** UPDATES ***
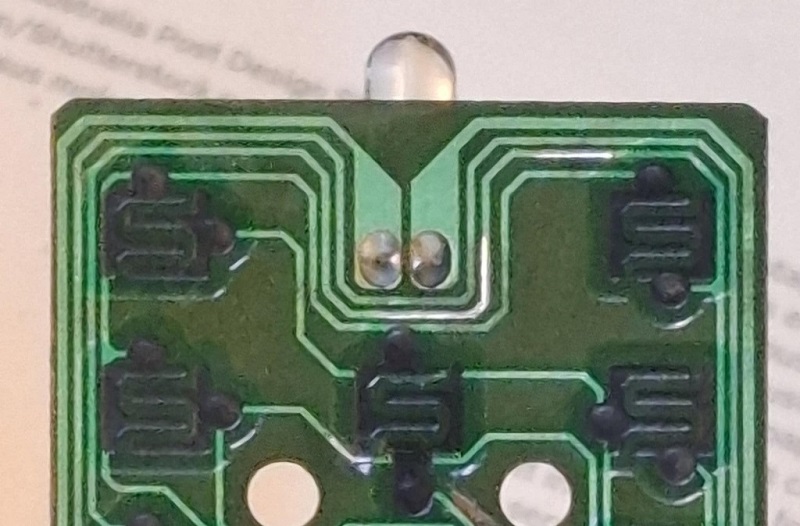
I managed to repair the copper traces on that remote control - used a jeweller's screwdriver end to carefully scrape back the corrosion to bare copper, and a couple of mm each side for good measure, cleaned it all up, then applied some flux and some really thin solder (0.25mm). There was enough copper left to guide the solder into the right places. The fix was successful! Repaired bits are shiny. Some repairs are not shown.

With the remote now working properly, I was able to access the service menu and make various geometry adjustments. Games are fitting the screen properly.

From the desktop, most of the Nokia test screen is now visible. From the arcade frontend (AttractMode) the information text at top and bottom of screen is now visible.


Biggest improvements were in vertical size and horizontal positioning. I couldn't get the H size much smaller, but I might be able to make some improvements by changing the H-coil width capacitor (more on that later).
This TCL TV has different screen geometry settings for "50hz" and "60hz" modes, and the service menu will automatically adjust depending on input signal.
To access the service mode do the following:
TCL TV service mode
- Switch on the TV set.
- Press the “MENU” key on remote to show the “PICTURE” OSD menu.
- Move the cursor to highlight “Contrast” item
- Press the “1”, “9”, “5”, “0” keys on remote within a few seconds to enter service mode.
Might also work with "9735" code.
The TCL TV also has one of those
EEPROM headers I've recently mentioned on another thread. So, I used this to access the TV EEPROM using my CH341a reader. I was able to use my custom cable, but had to swap three of the pins around as this manufacturer used a different pinout.
I didn't make any changes to the EEPROM at this time, just made a backup (.bin file). The EEPROM is circled in yellow below (bottom right), and the 4-pin header to access it is circled in turquoise (bottom left).


 Home
Home Help
Help Search
 Login
Login Register

 Recent Posts


