Around the start of last year my friend showed me some hyperspin videos running some arcade games in all their glory. That then planted the seed which is why I am building this Nintendo cabinet. I never really grew up with arcade machines but after looking at some other peoples builds I thought why not build my own one as well.
I know some of you reading this are cringing at the words 'hyperspin' and 'Nintendo cabinet' in the same paragraph but I figured seeing as I'm building one from scratch its not as bad as converting an original. I originally wanted a 2 player layout with 6 buttons each but for how often I was going to play 2 player and realising how big the control panel was I decided against it and just went with a 1 player layout with just 3 buttons to accommodate most of the vertical classics. I am using the Gaetan plans for this build as they are in mm and the most detailed. I'm using 16mm mdf for this, a local hardware shop was closing down and I got the sheets for half price!
So I am already a fair way along with my build but I've still been taking a lot of pictures so here it goes...
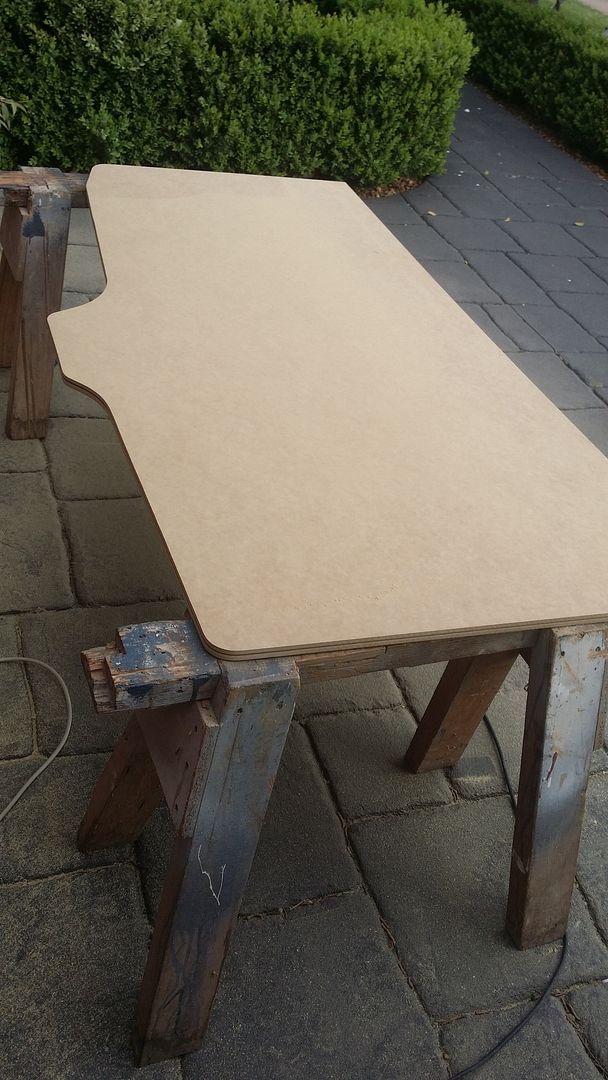
I have no work bench in the garage so I used the old man's ute to draw out the nintendo shape for my template
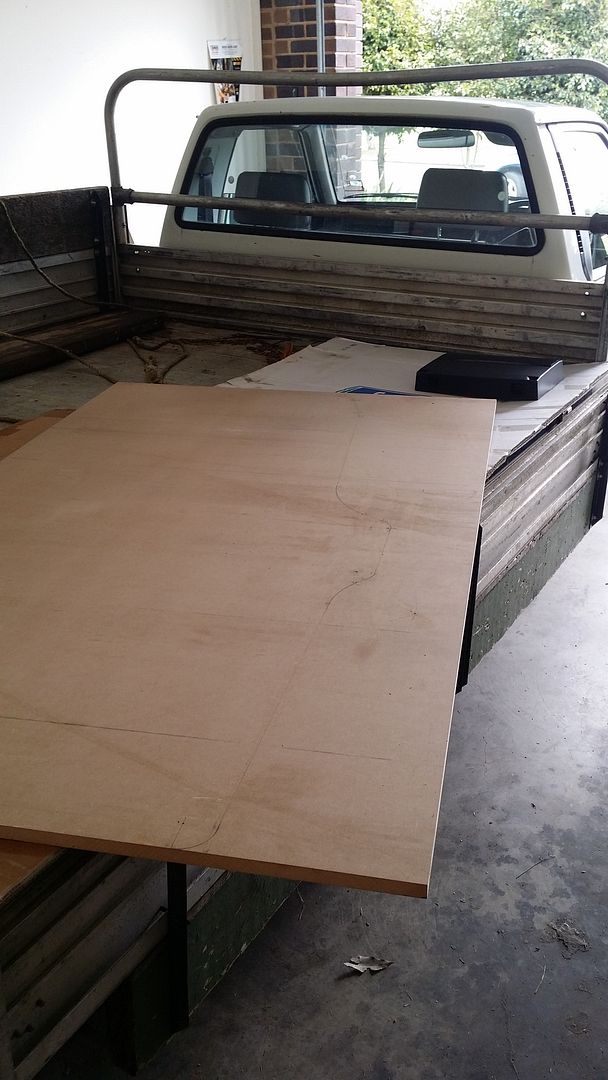
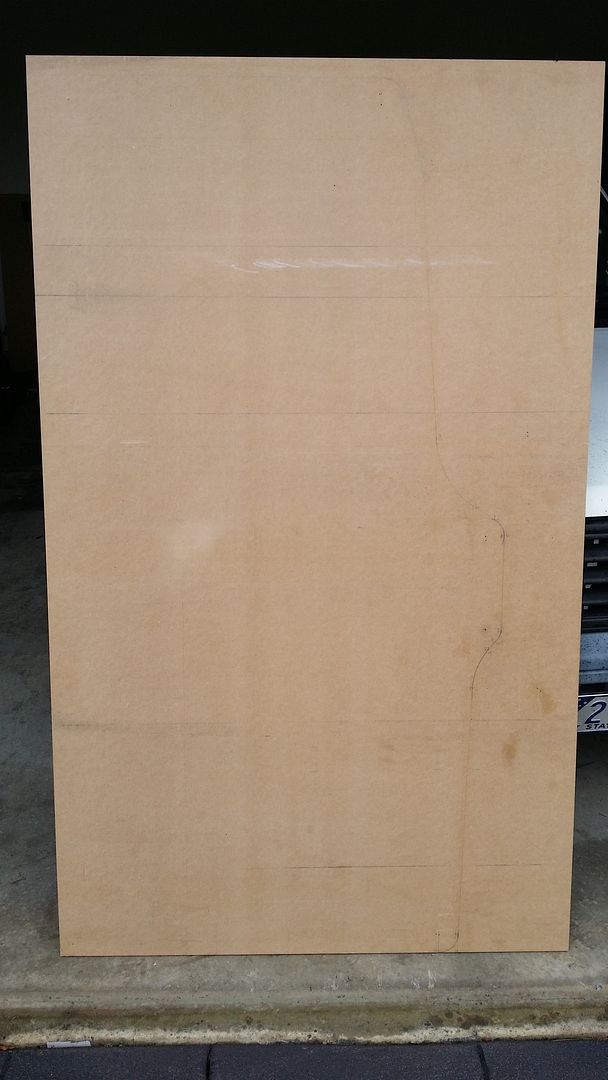
Bit hard to see but this is the outline where I needed to cut
As bad as it seems using tyres to cut on, Dad's saw horses were else where and I really wanted to get started on this so thats what I used.
I used a jigsaw for this part and sanded any rough edges
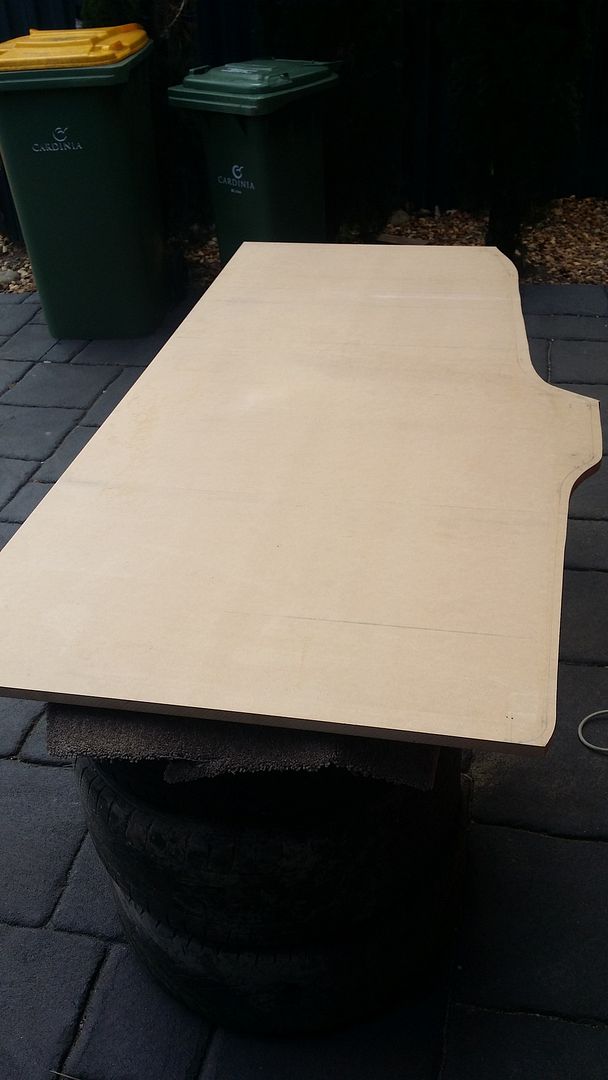
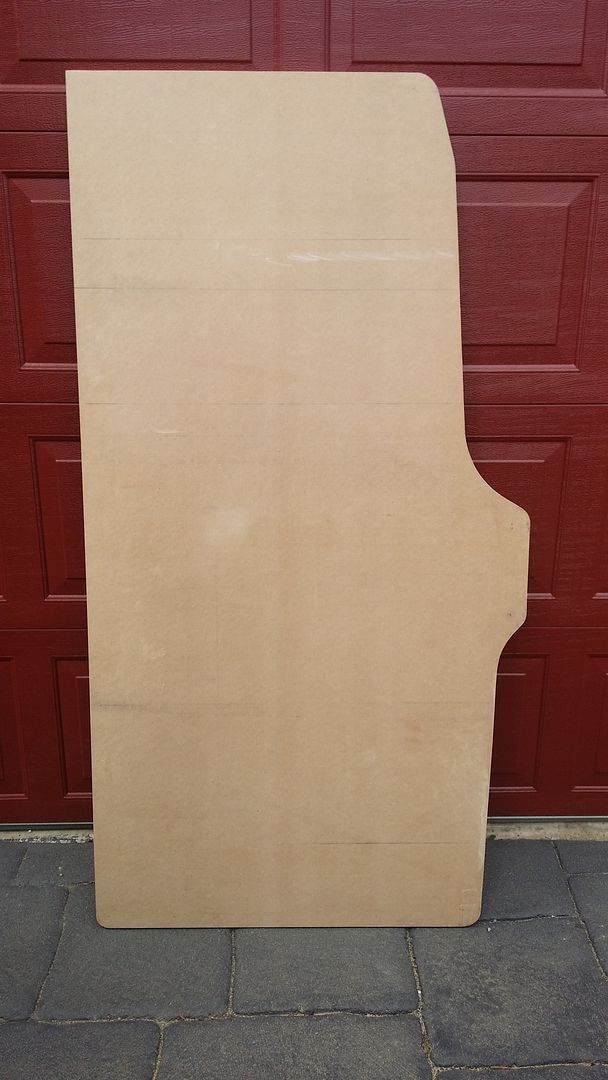
here it is all cut out
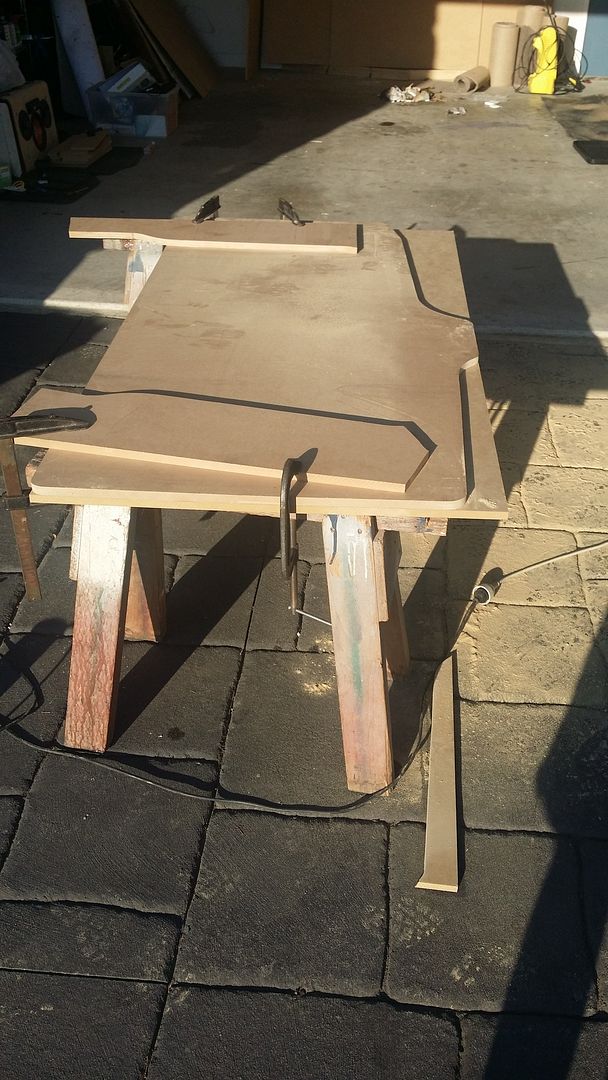
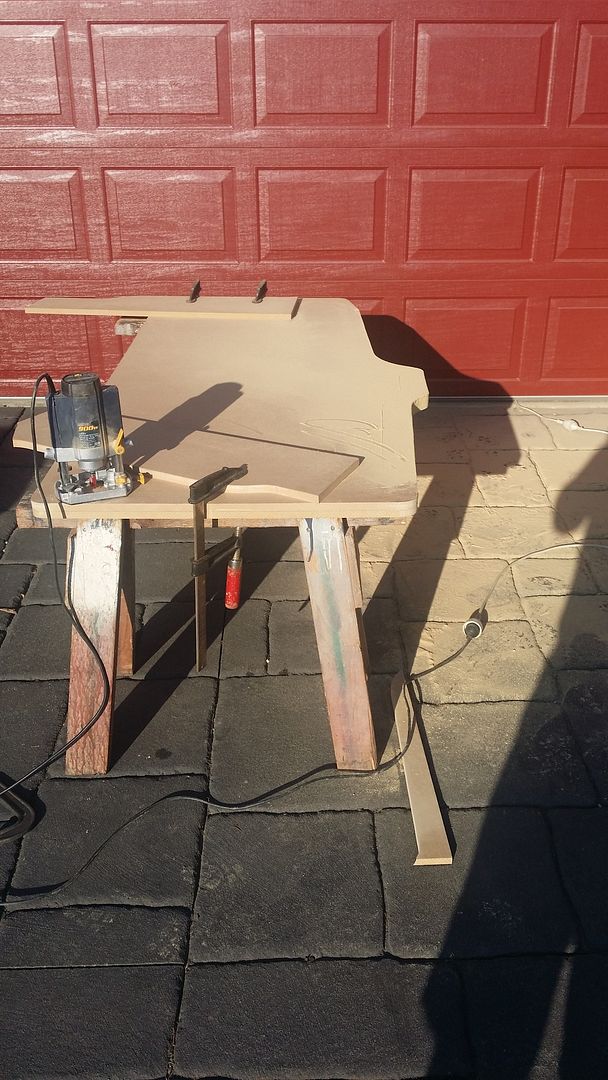
I got the saw horses at this stage and I clamped the template on top and routed out my first side. I used a flush cut top bearing bit for this. I brought the top bearing piece so that I could see when the turns were which made it easier to cut out, rather than trying to follow the template on the bottom.

about to do the second side
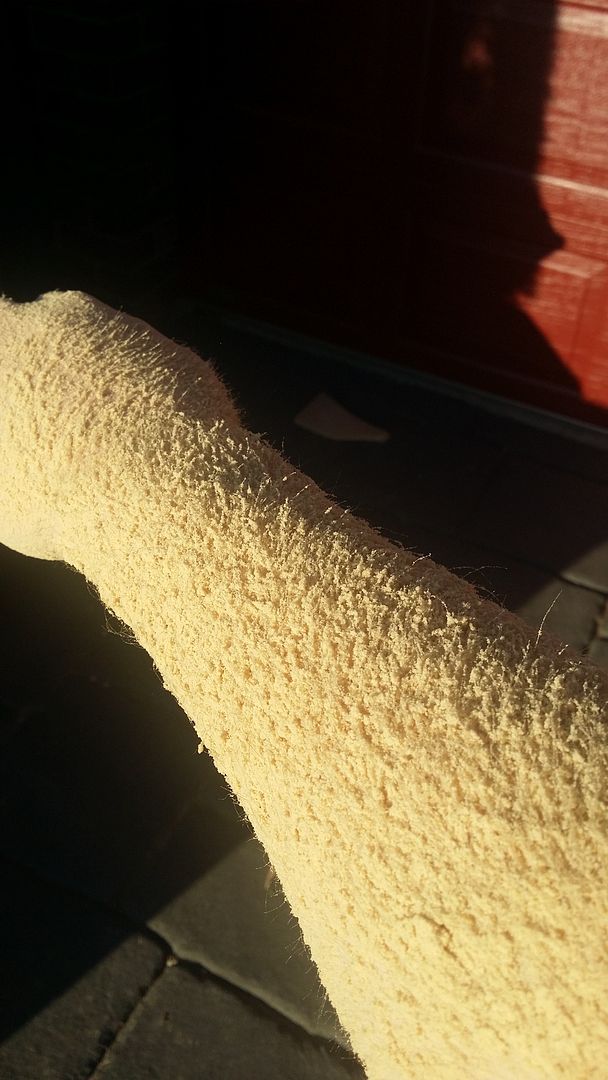
as you can see it made a lot of dust!
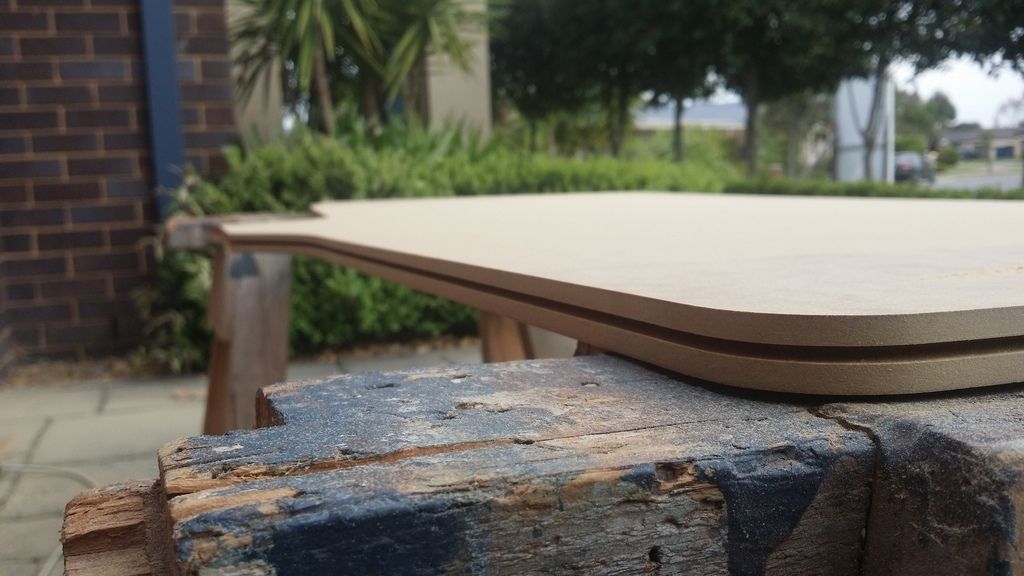
I routed the t-molding slots early on in the build just in case I stuffed them up.
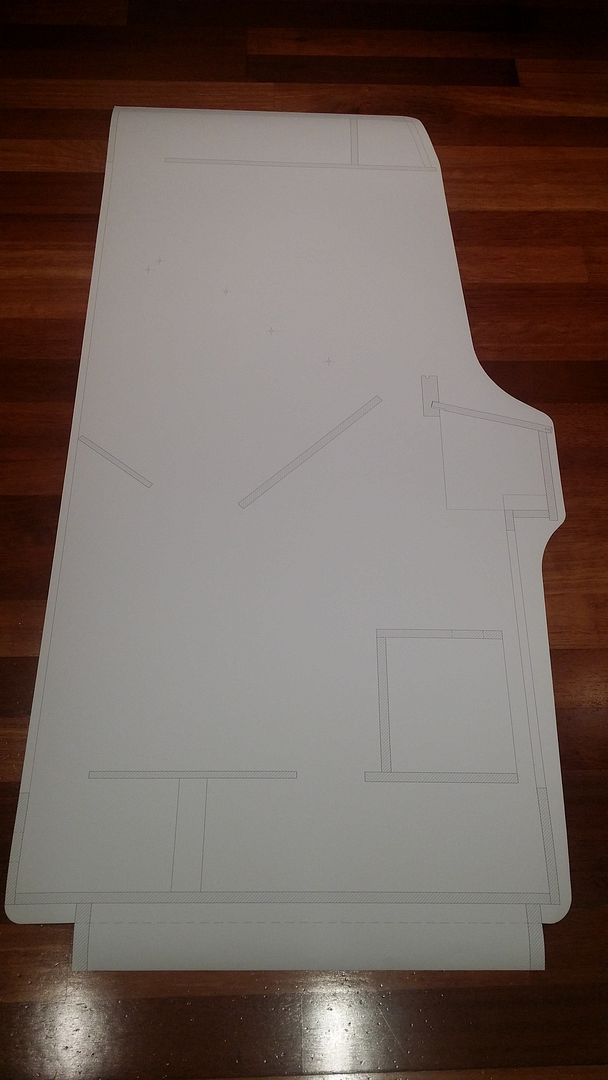
I got the 1:1 profile printed at my local officeworks (Aussie equivalent to staples but smaller)
I didn't get a picture but I have a friend who is a cabinet maker and they have a panel saw at his work, so I took in my sheets of mdf and got pretty much everything I needed cut in one go. I'll admit I did have to go back a few times for other bits I forgot
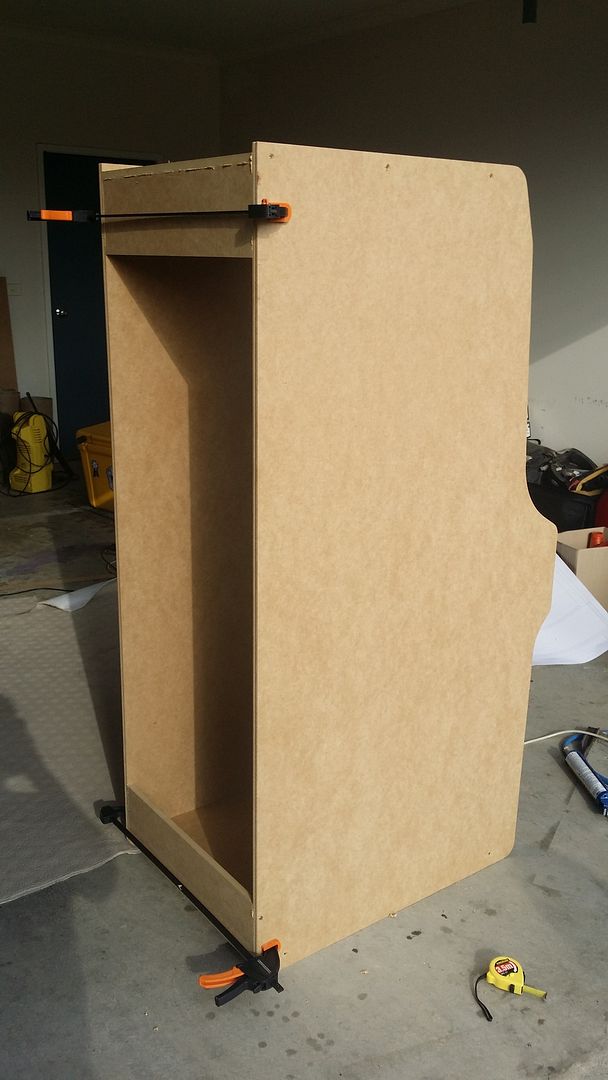
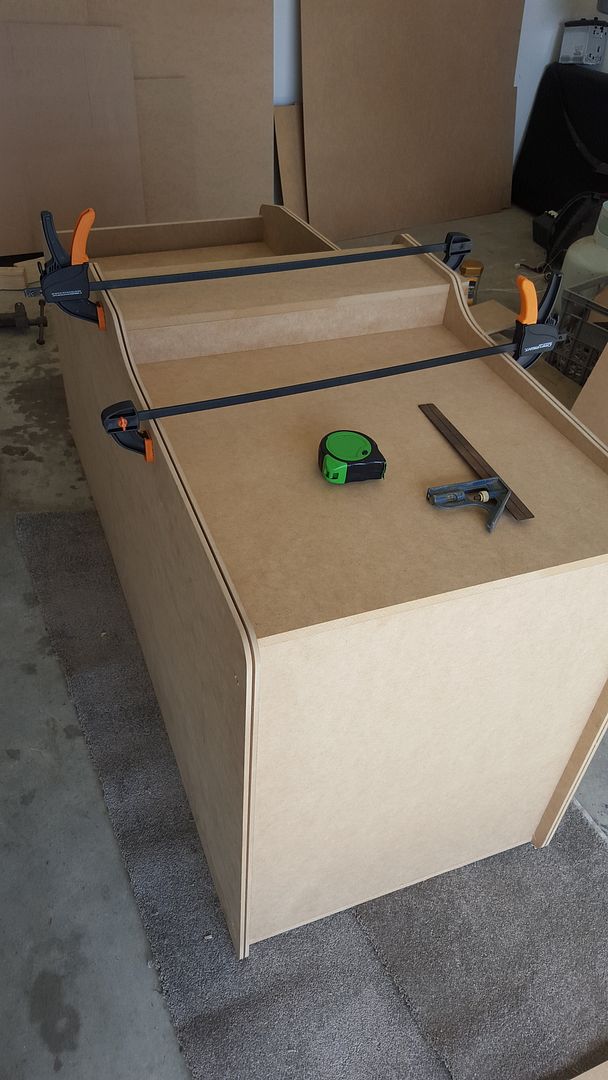
Put the first panel on

screwed on a couple more panels
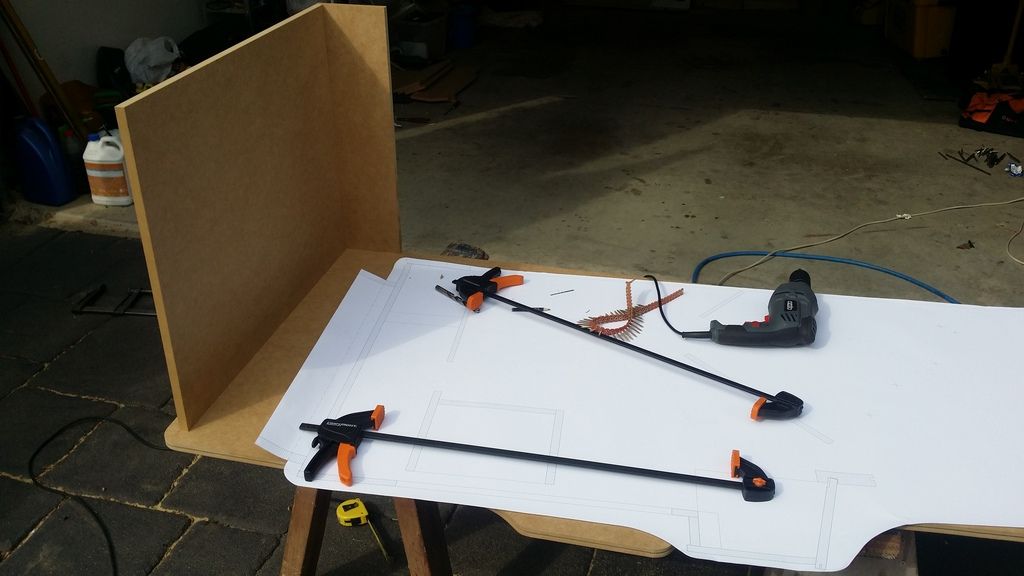
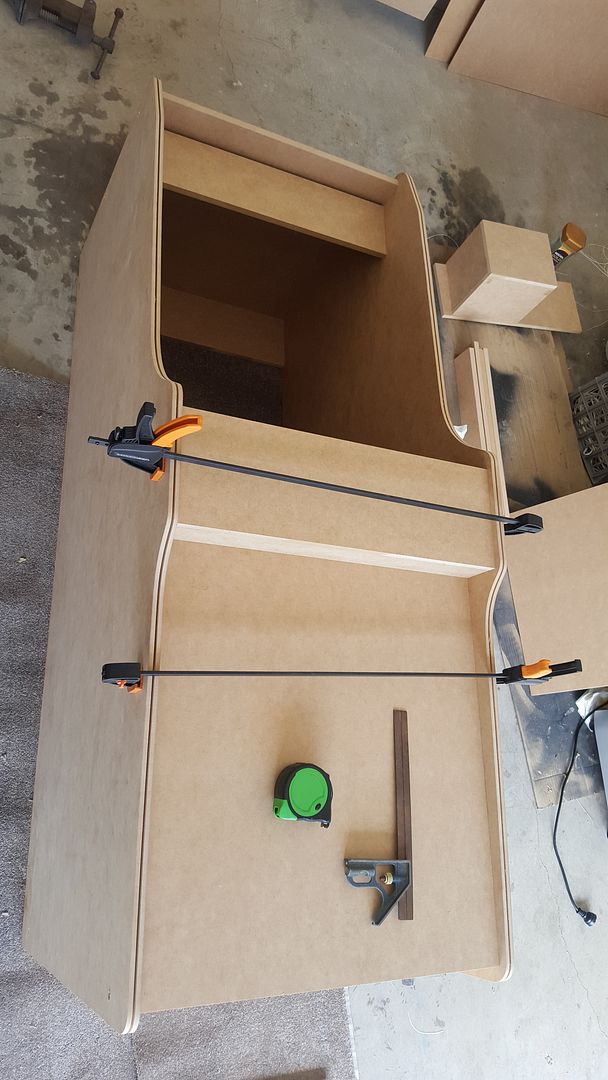
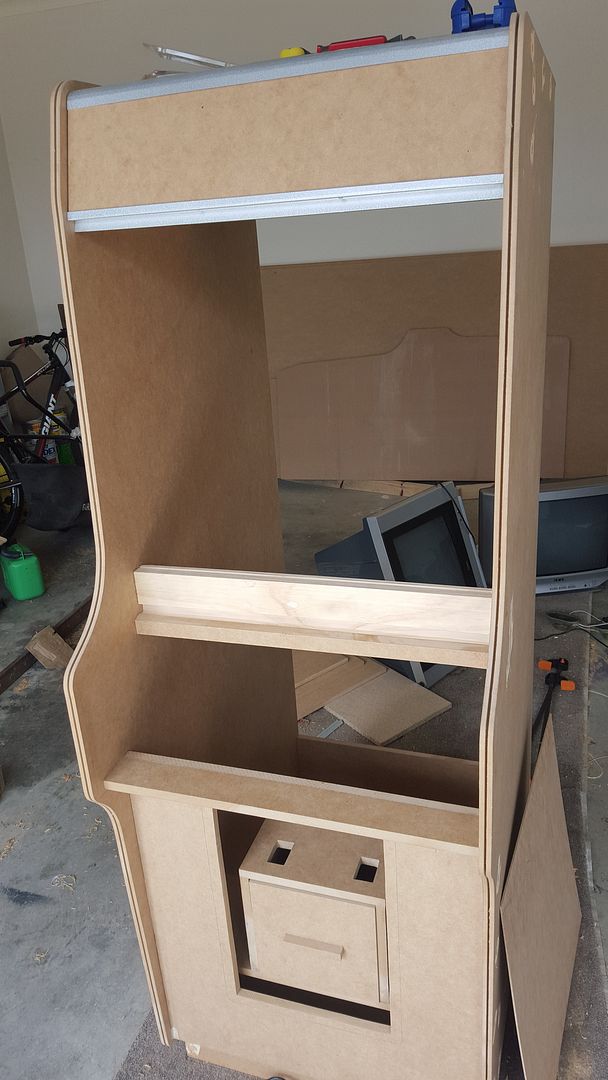
screwed in the other side and it stands!
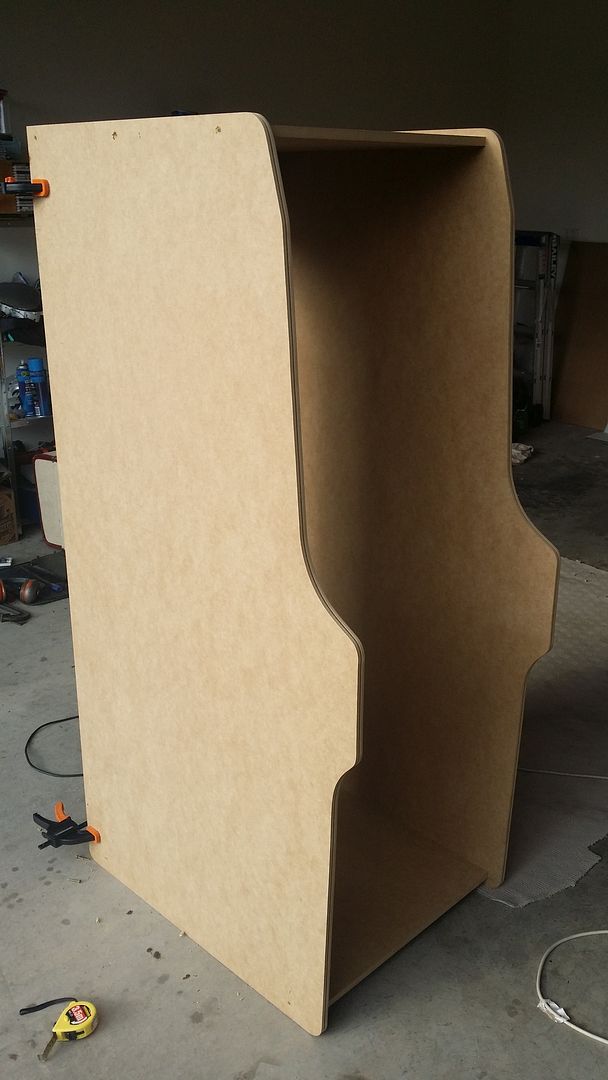
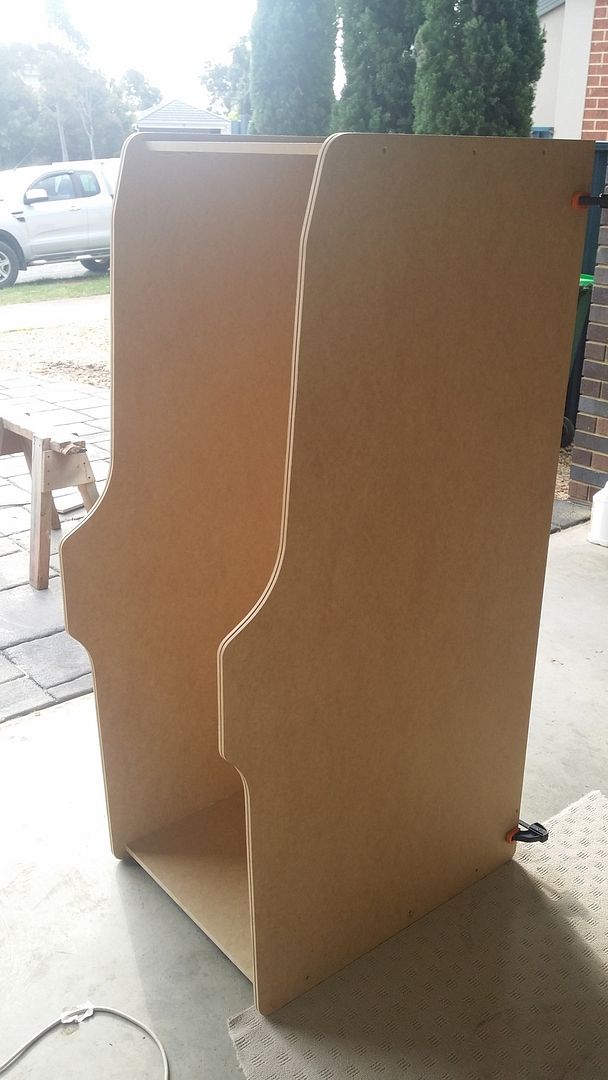
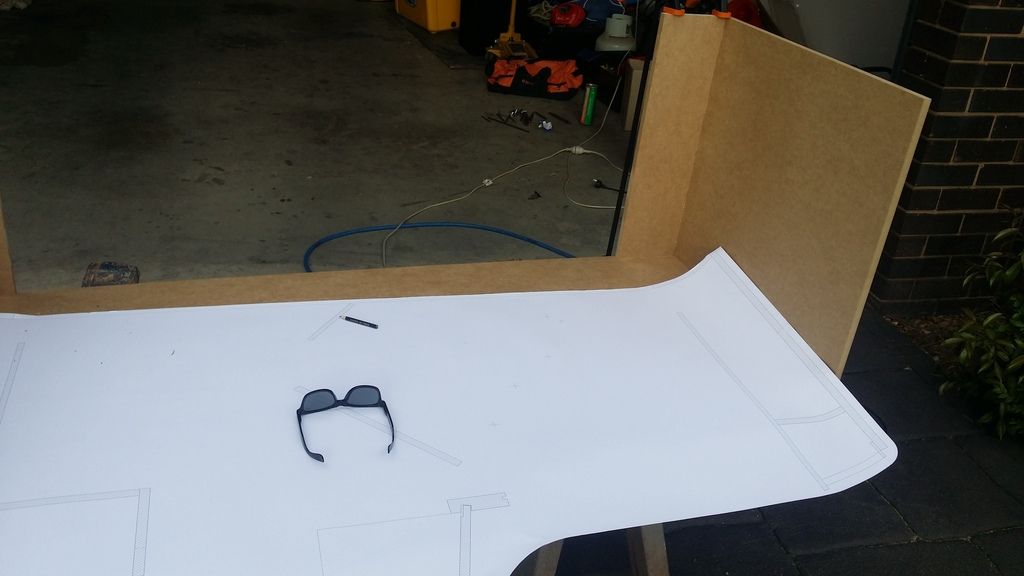
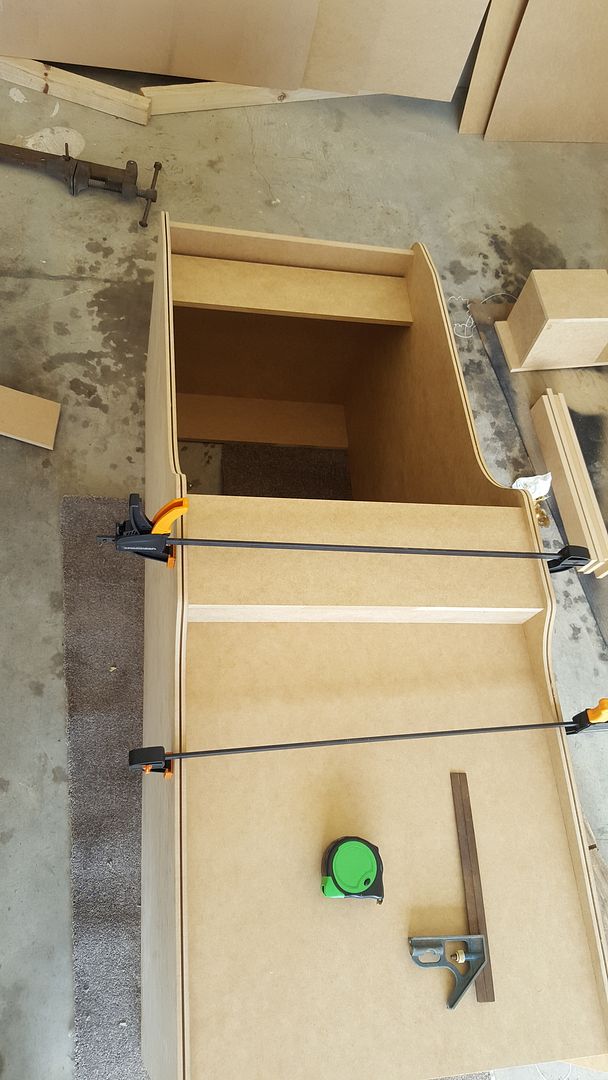
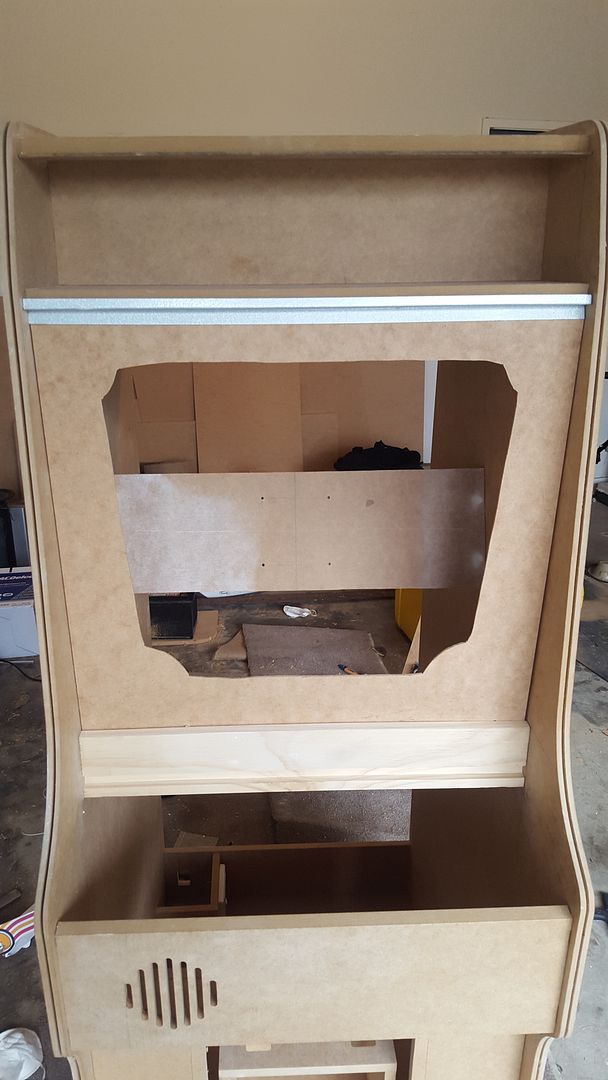
here I was eyeing up the the front panels to see how they would go
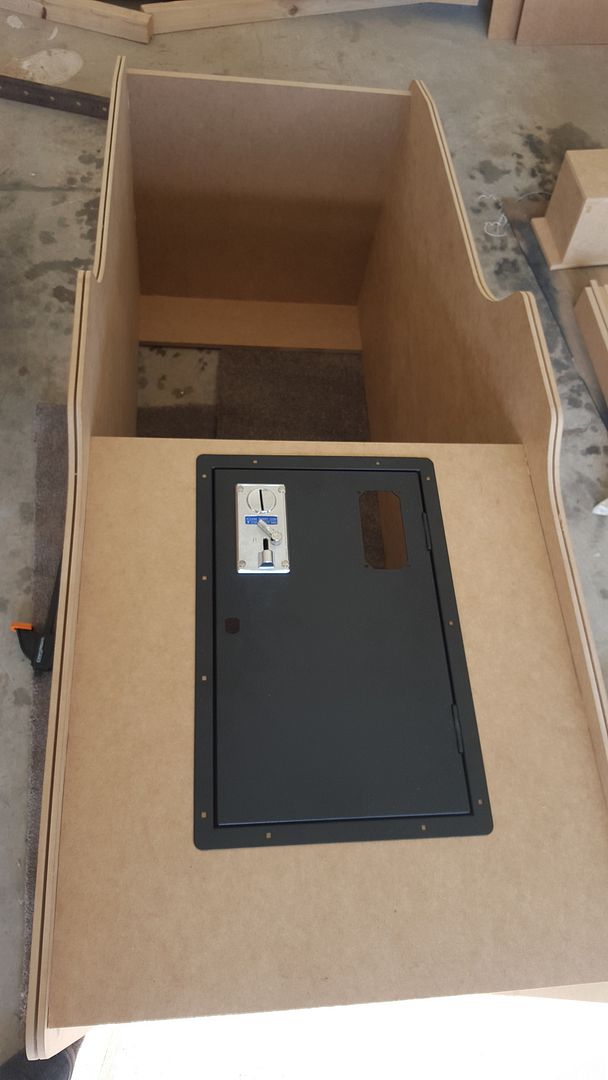
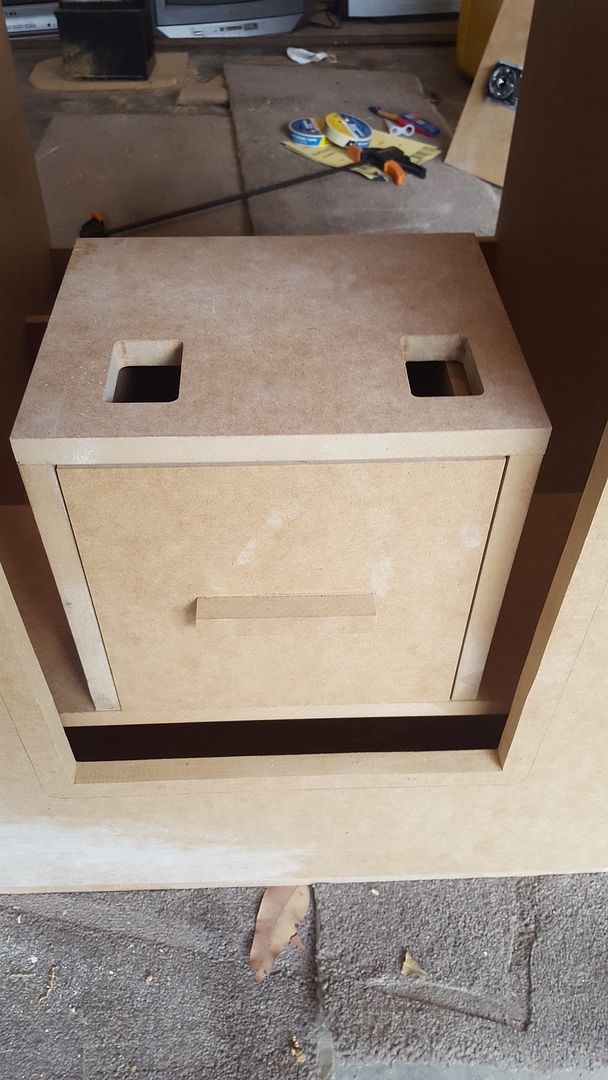
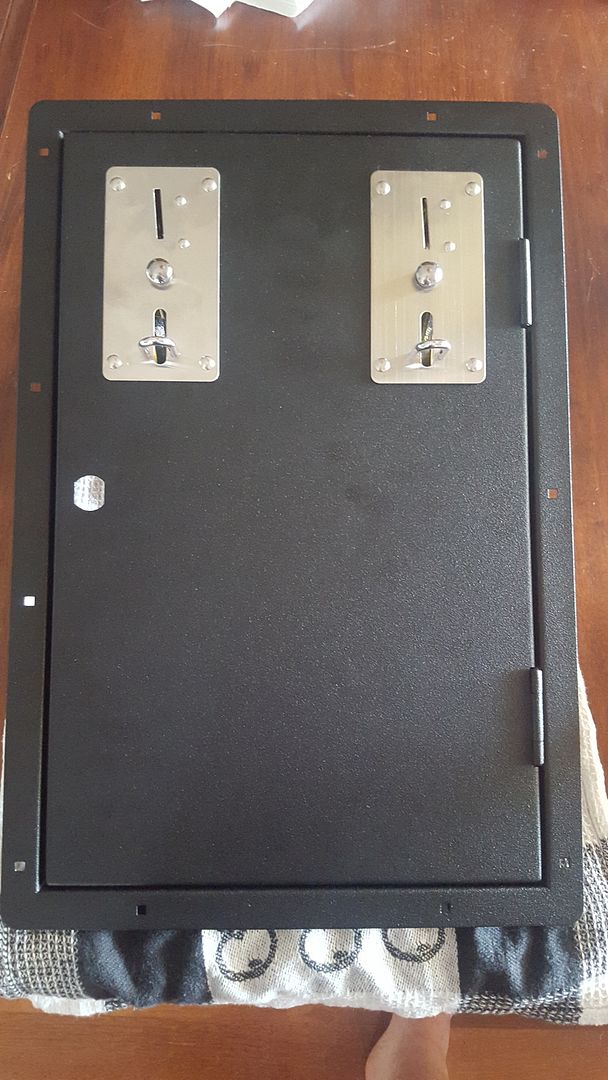
this was after I cut out the hole for my coin door, btw here is the coin door I got from plonka games
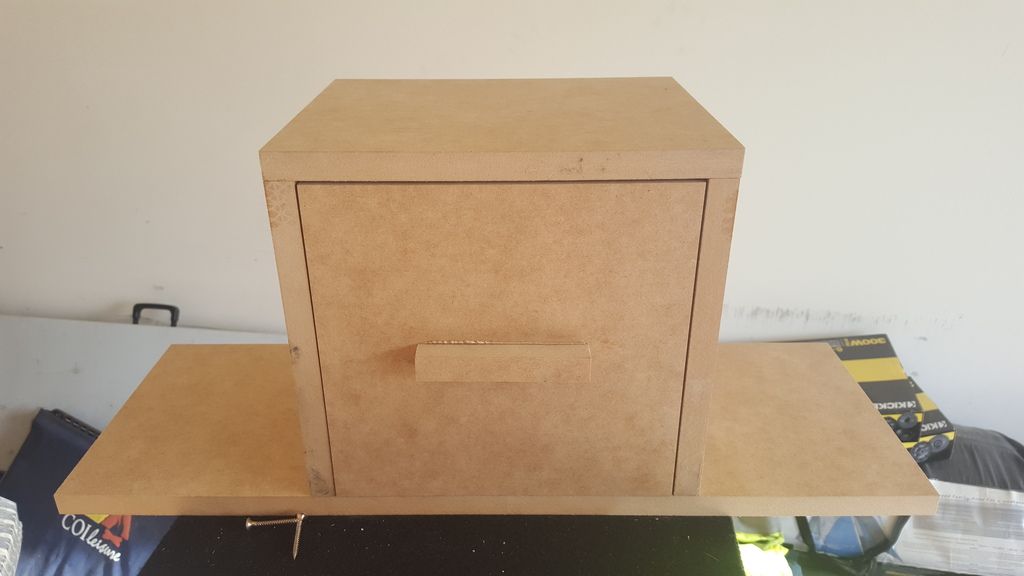
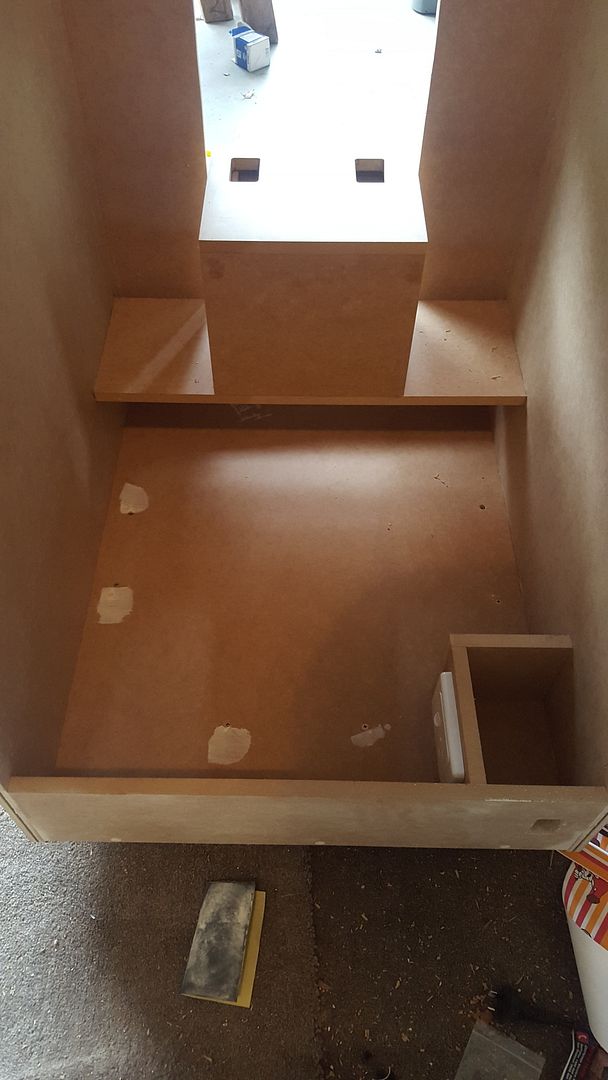
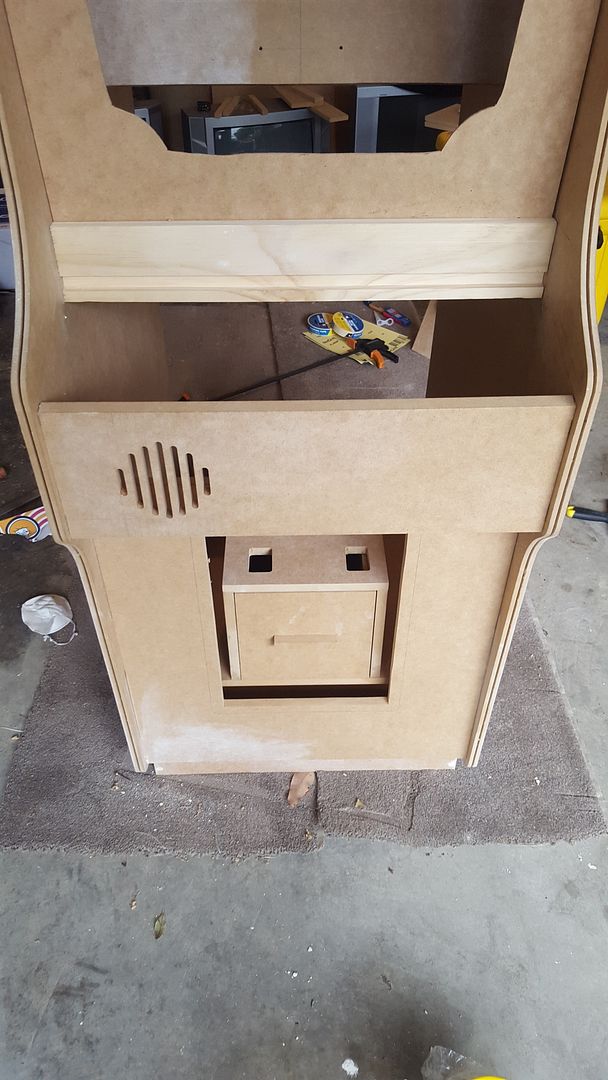
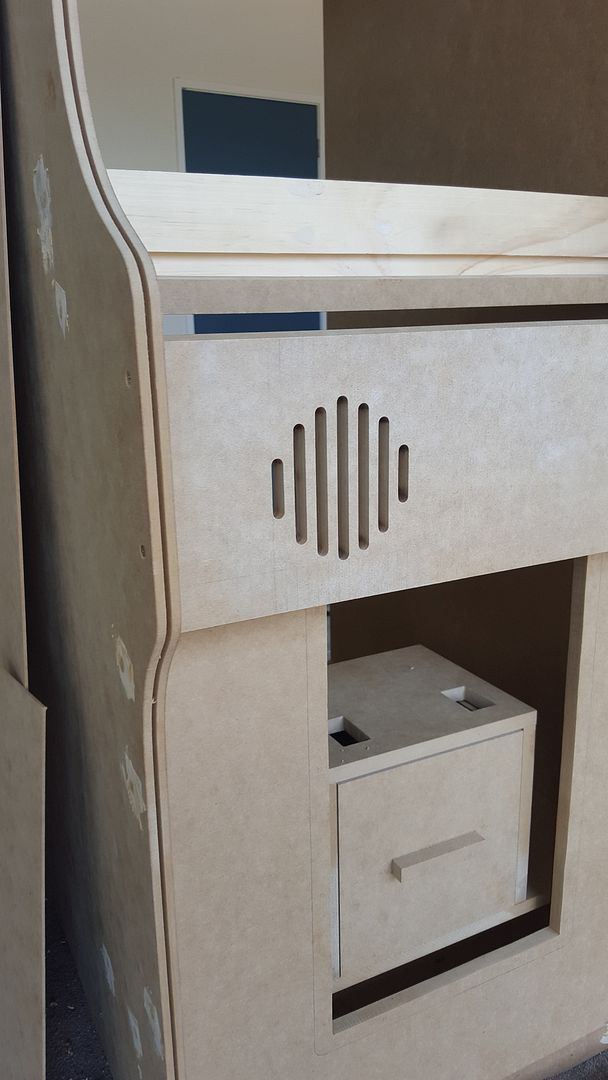
here is my coin box. For the coin holes I originally just drilled holes in each corner and jig sawed the coin holes out but it was pretty rough as you can see in some of the pictures. I had the cab laying on its back one hot day and because I only used a little bit of glue to hold it down the outside fell off (didn't have the actual box in). so I took that opportunity to route them out nice and square and used more glue this time, and I am much happier with the result.

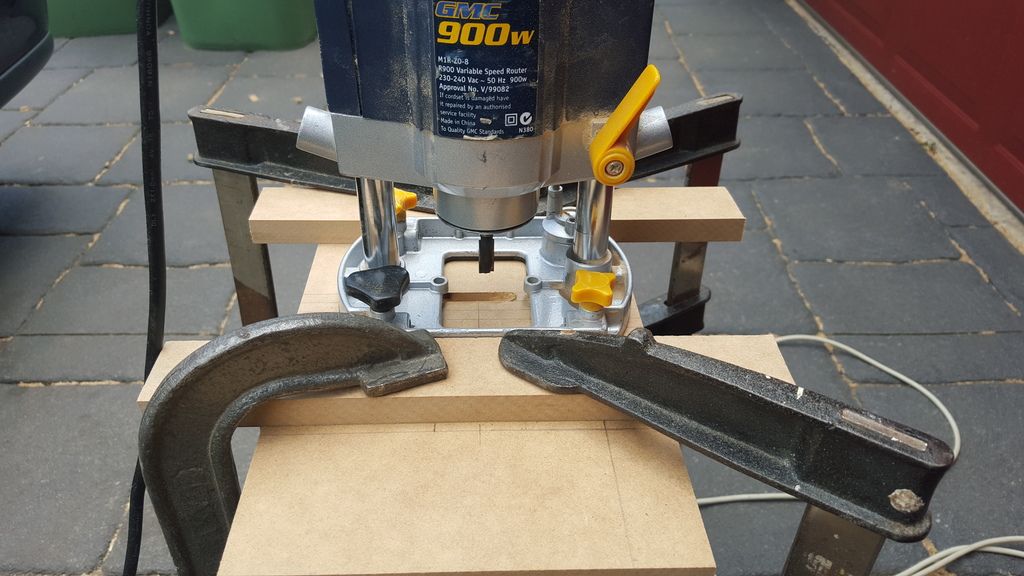
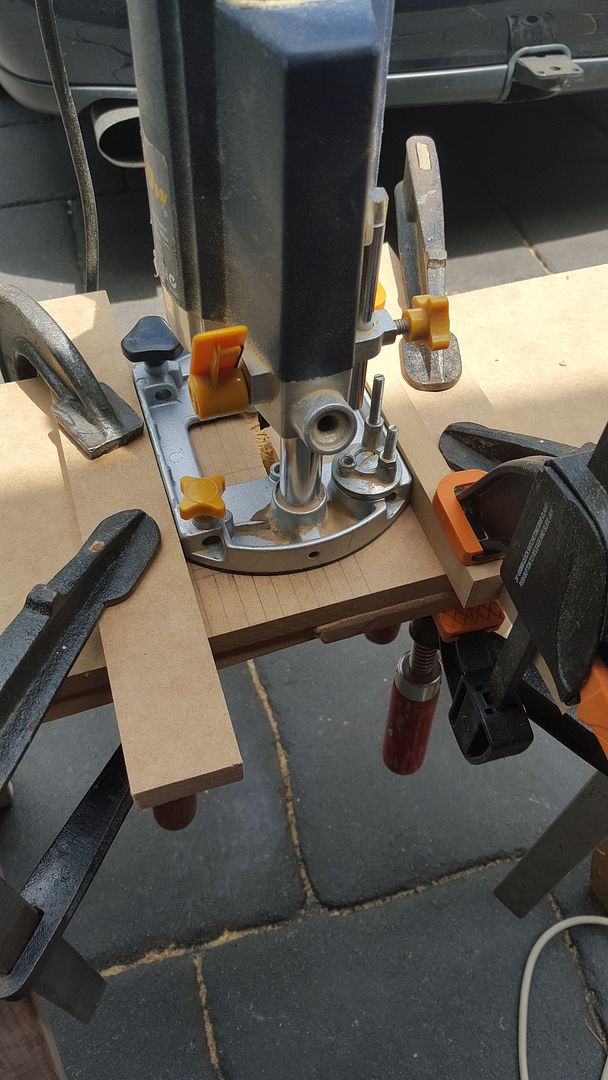
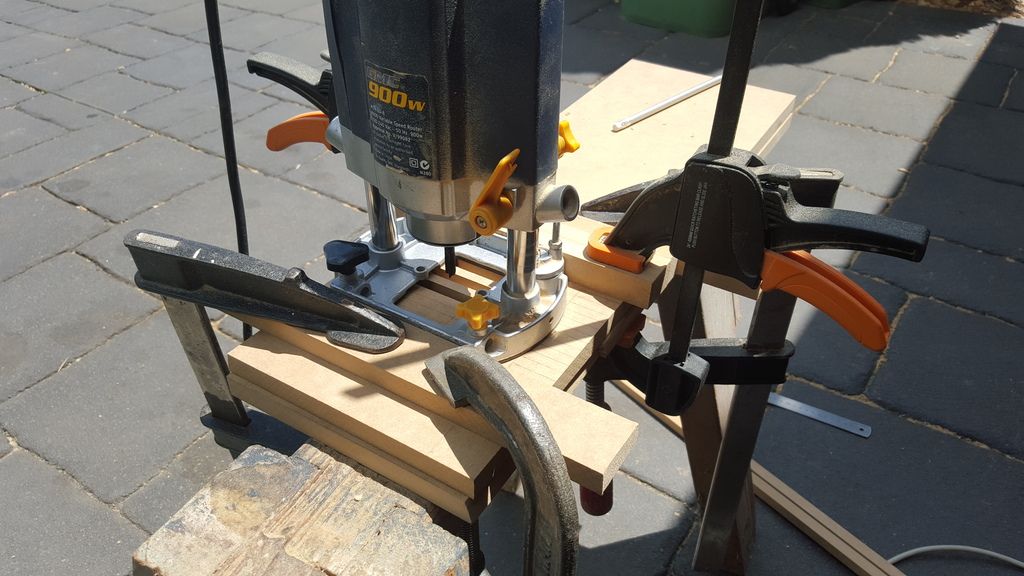
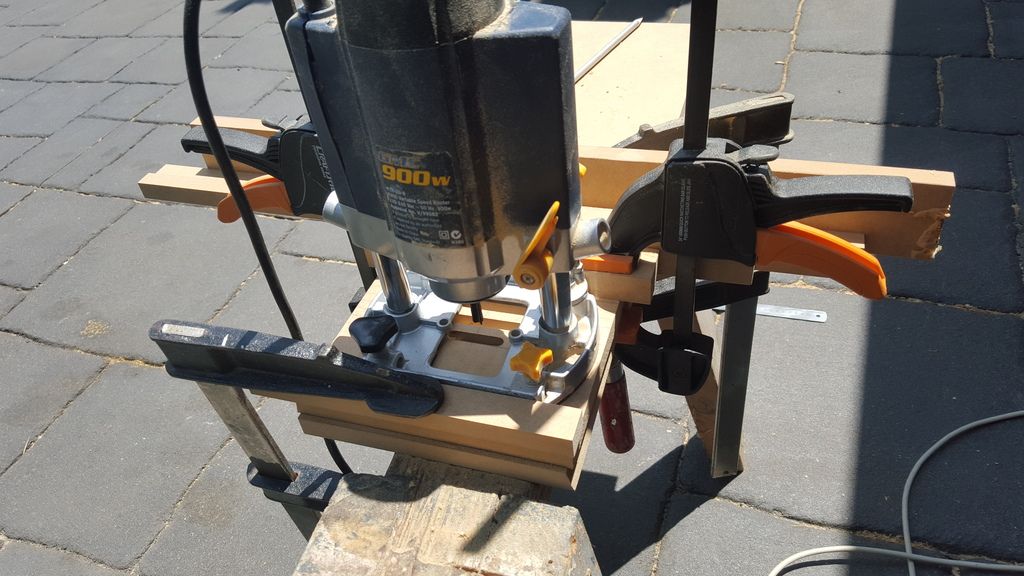
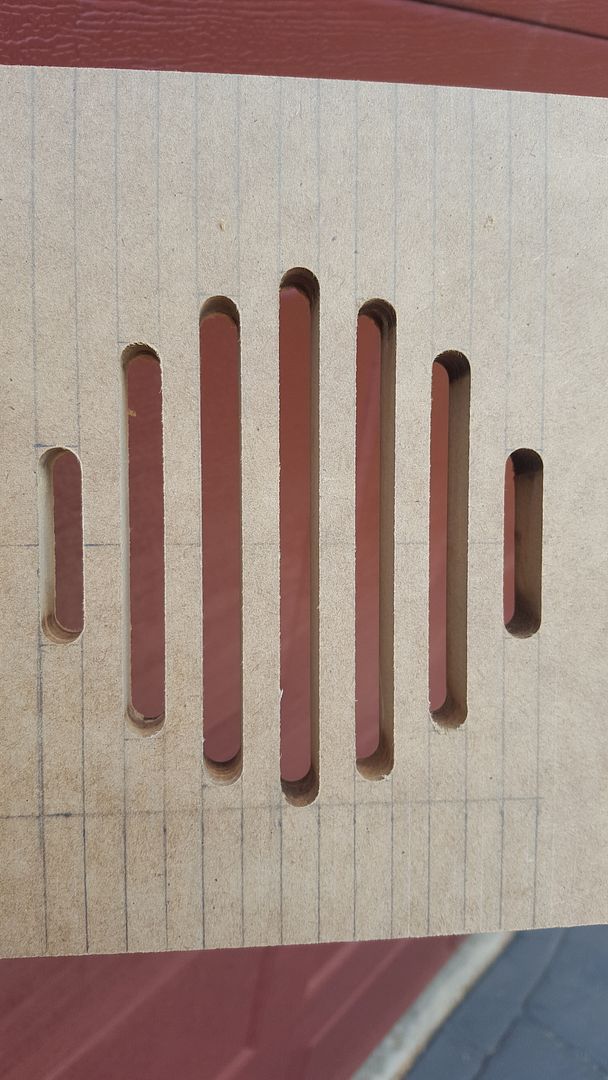
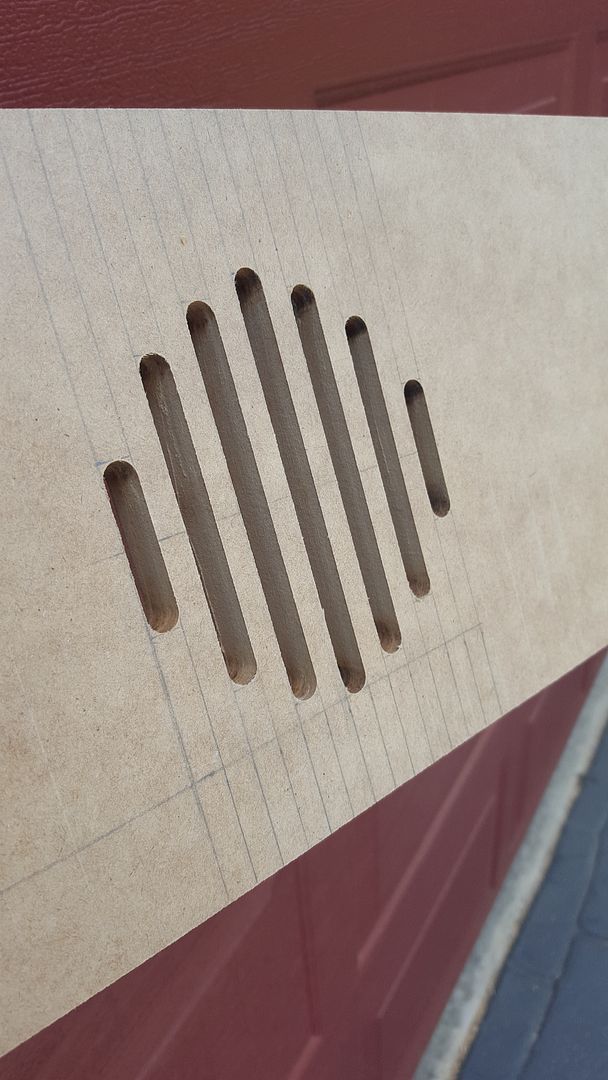
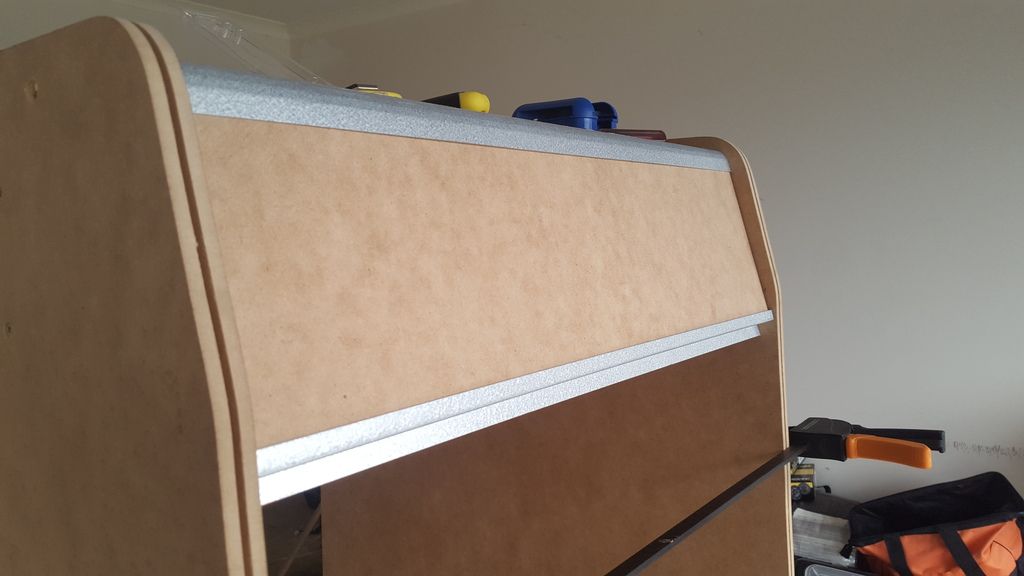
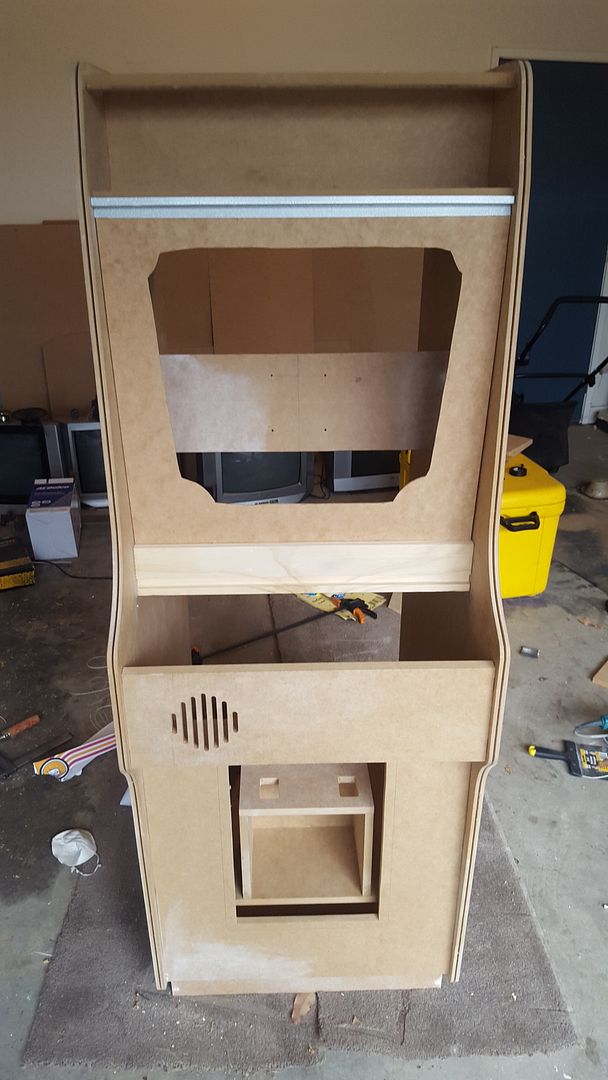
Now the speaker grille... the part I wasn't overly excited for. I didn't take pictures of these even though I know now I probably should have so some other people know what not to do but I'll just try and explain... I first used a drill bit to drill out each end of the speaker grill and go between with a jigsaw. this turned out pretty rough and its hard to get exactly straight lines and I found that my blade was a bit thin so it would actually bend and cut on an angle. I then tried the router with an 8mm bit. this started off fine using 1 clamped piece of wood as a guide but my router was a bit sticky on its up and down movements so I ended up just coming off the guide a little and I wasn't happy with that. So upon looking on the forums again I saw just the day before johnrt did his using a guide on both sides and 16mm thickness wood as a spacer everytime and as I was using 16mm wood for my build I had heaps.
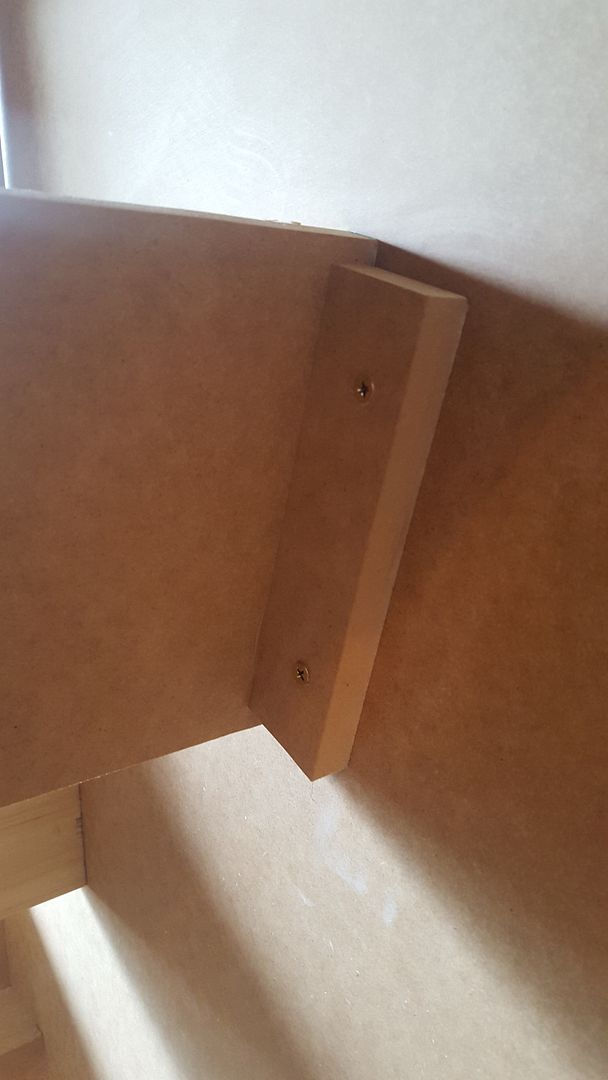
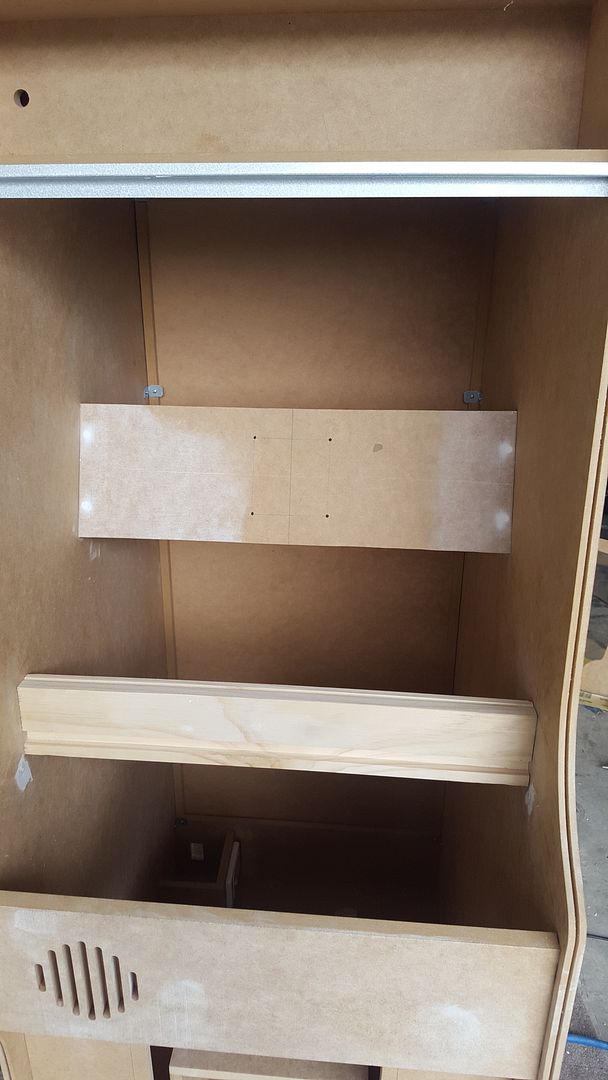
the piece that holds the bezel and control panel was also hard! I ended up finding some wood at my local bunnings (I think its like an aussie equivalent of lowes?) that was 30mm*90mm which was as close as I could find to the 29mm*89mm that I needed. i used a dovetail bit that had the correct angle I needed then used the straight cut bit to finish off the bottom part that you couldn't see anyway. the piece of mdf in front of it has also come out since.
I went into uni to try and make up some of the nintendo brackets. Didn't do too bad but my girlfriend's dad owns the machines that could make such brackets so I am still yet to take them to him to make better versions out of stainless for me but for the moment these help me see how everything fits. I also got my cabinet maker friend to cut me out bits of 3mm mdf the same size as the bezel and the marquee for testing too
here is the control panel art I made on illustrator. this gives me enough room to fit 6 buttons

by now I have my buttons, joystick and encoder and I really wanted to play some DK so I got a print of the art at officeworks so I knew where to drill my holes, hooked it up and played for an hour or so

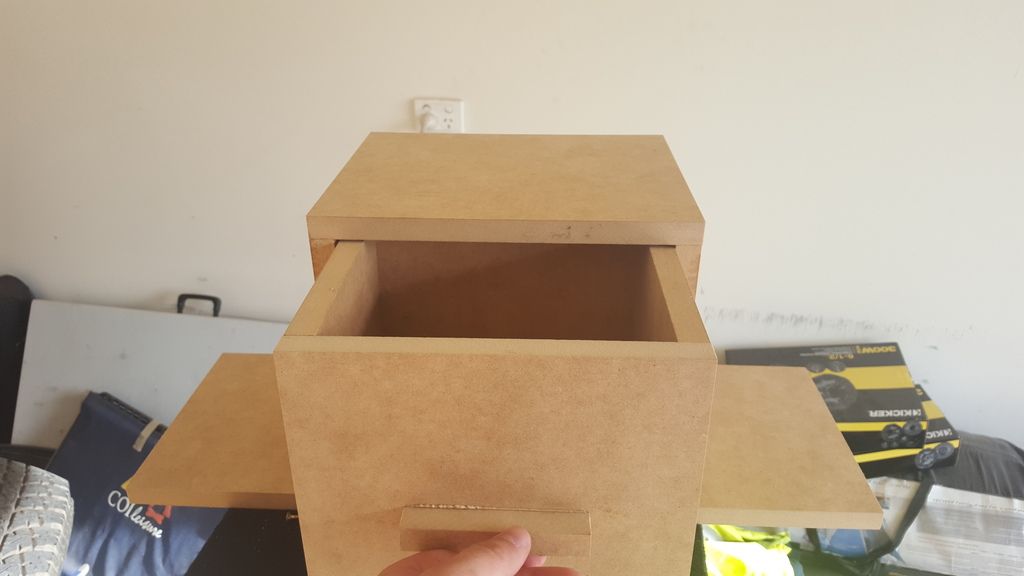
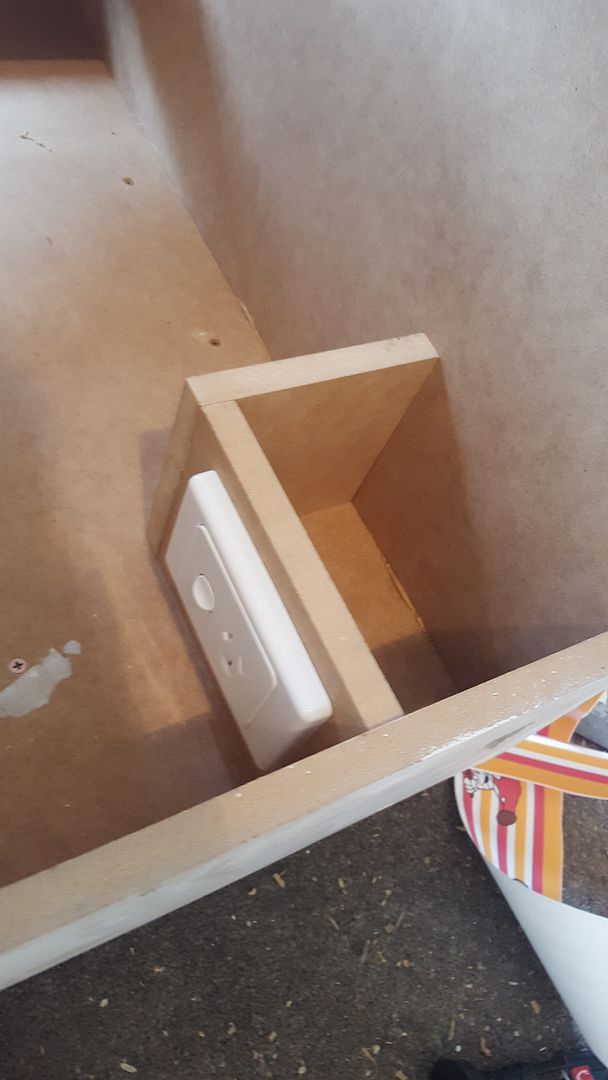
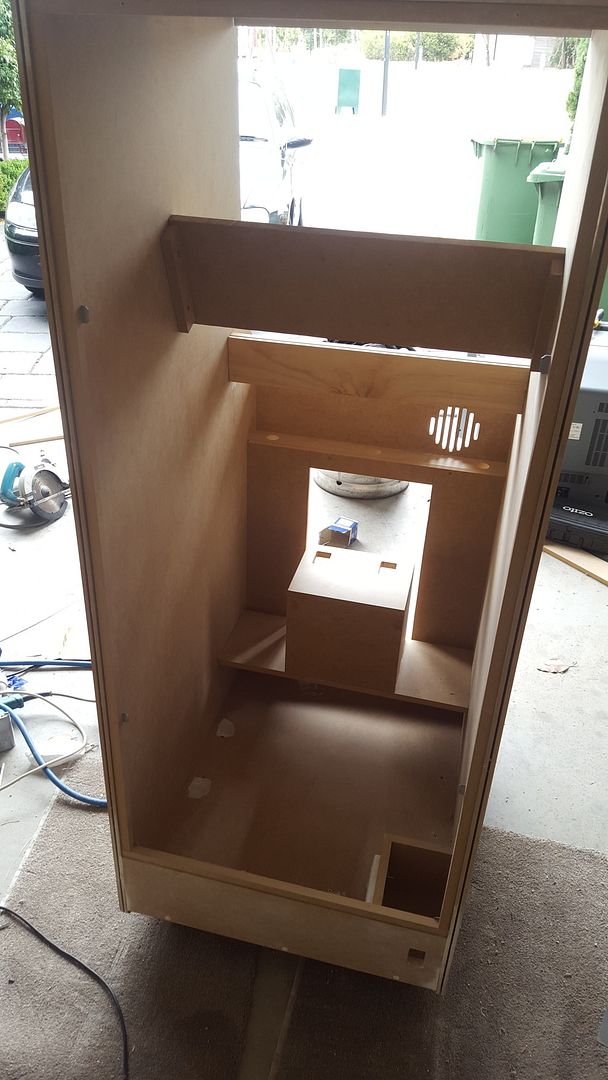
I made this small box for my live wire to go in. I didn't want any 240v wire showing so some idiot couldn't accidentally touch it. A smart power board will plug into this which should turn everything on when the pc turns on

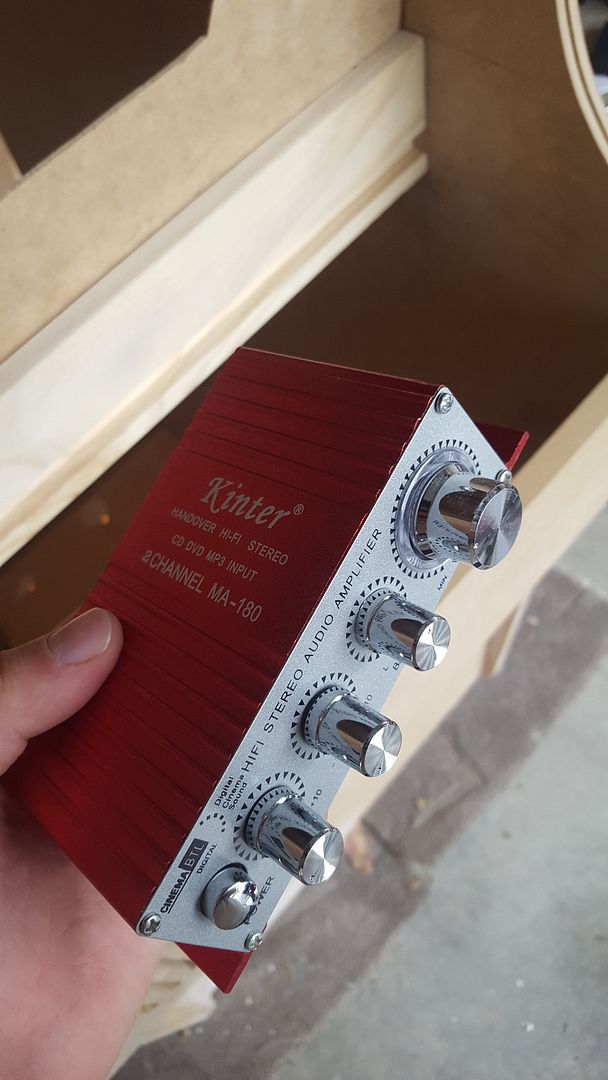
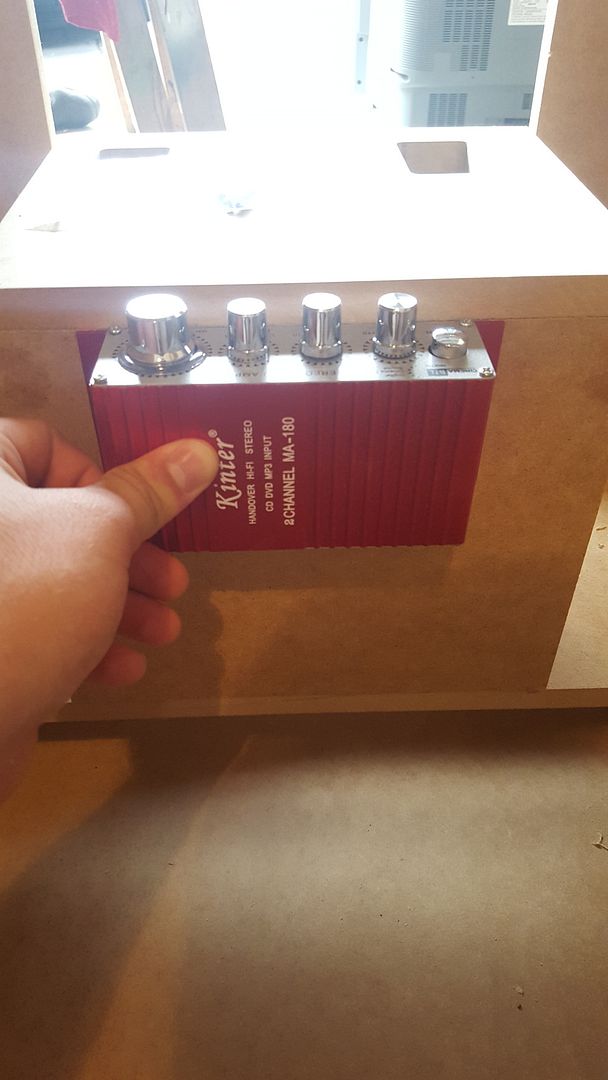
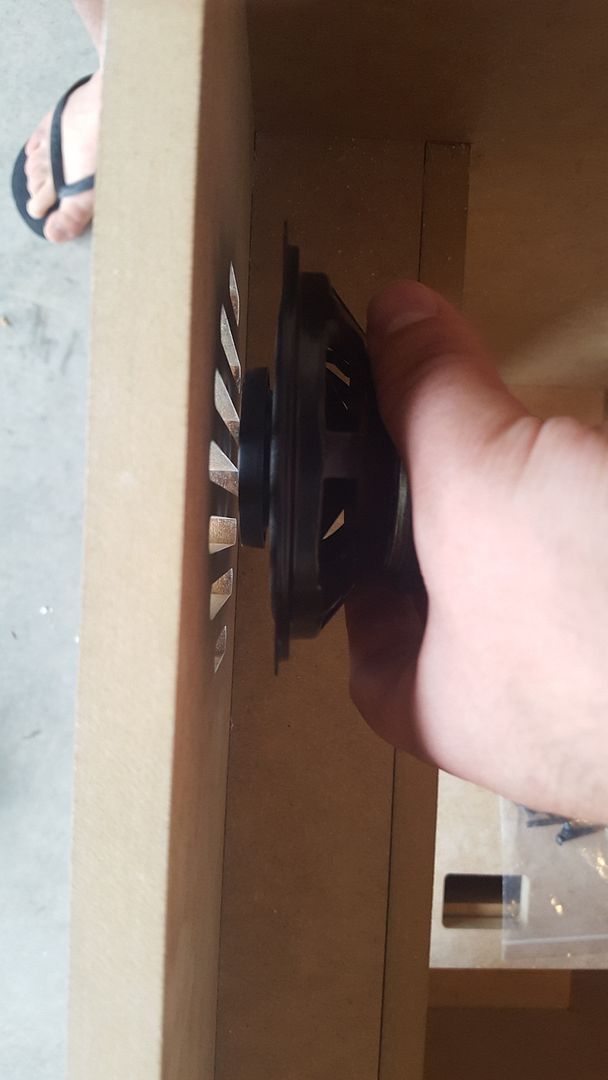
here is my ebay speaker amp and 4 inch pioneer speaker that I will be using


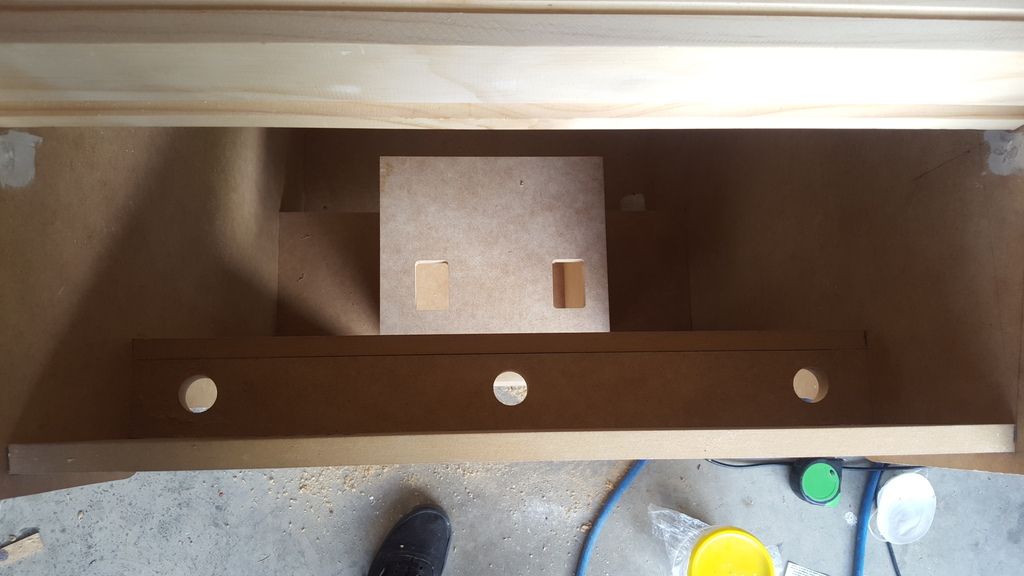
drilled some holes for my hidden buttons. I will have pause, coin and computer on/off.
here is my mount for my 19 inch LCD screen. now some of you are probably thinking why an LCD and not a CRT?! short answer is because with the range of games I will be playing I would prefer an LCD. However, the mount is not glued in so when the day the PC moves out a CRT can be put in.
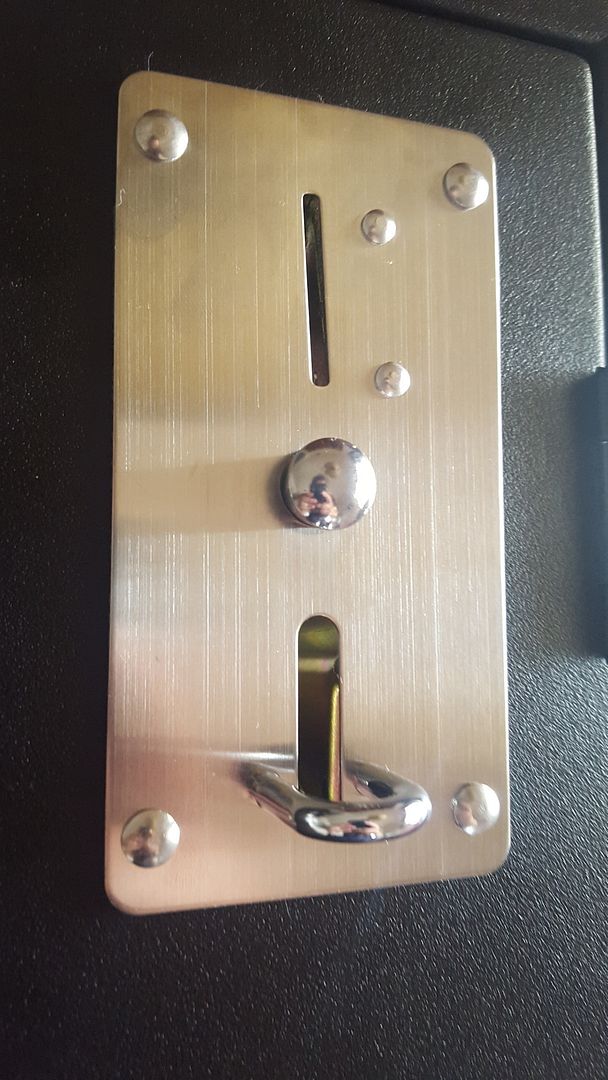
I got some new coin mechs as I didn't like the look of the other ones I had. you can see in my previous pictures which ones I was talking about
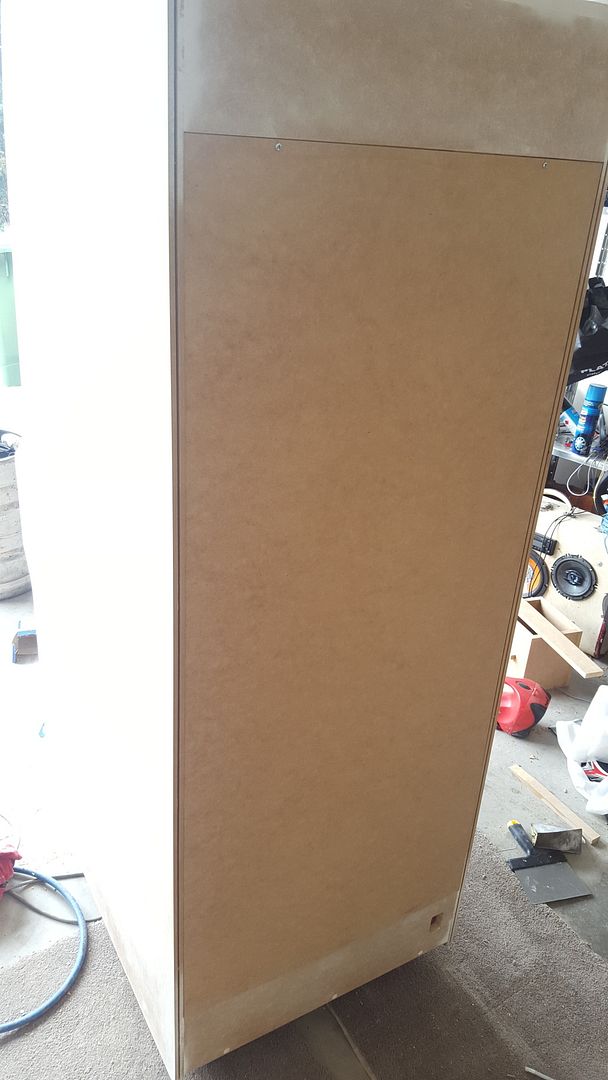
had a piece of 3mm cut out for my back door to make it lighter
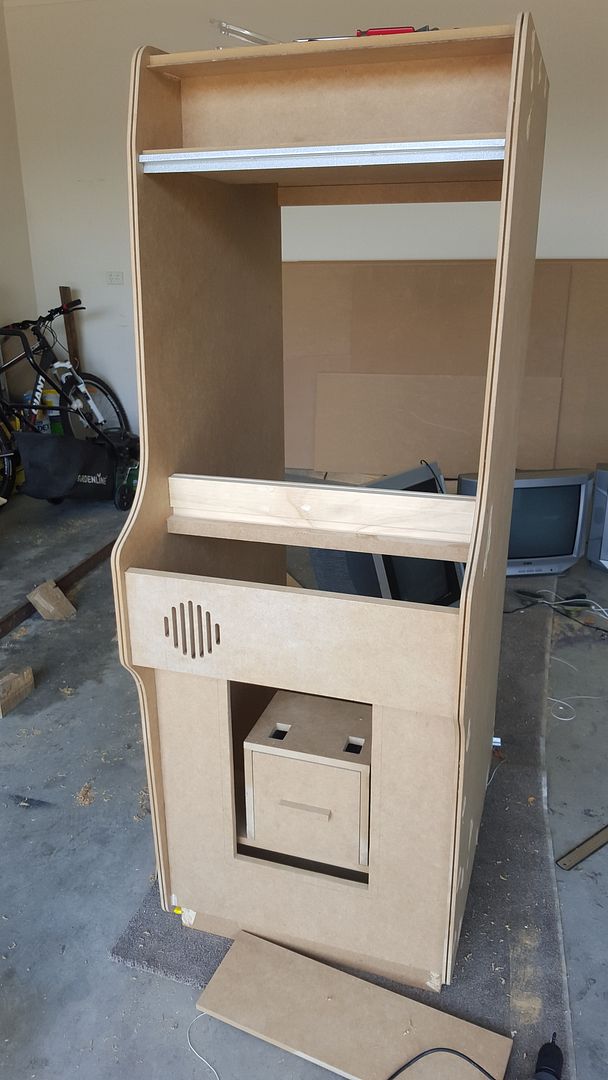
and after a lot of filling and sanding here is where I am today. It's nearly ready for paint!
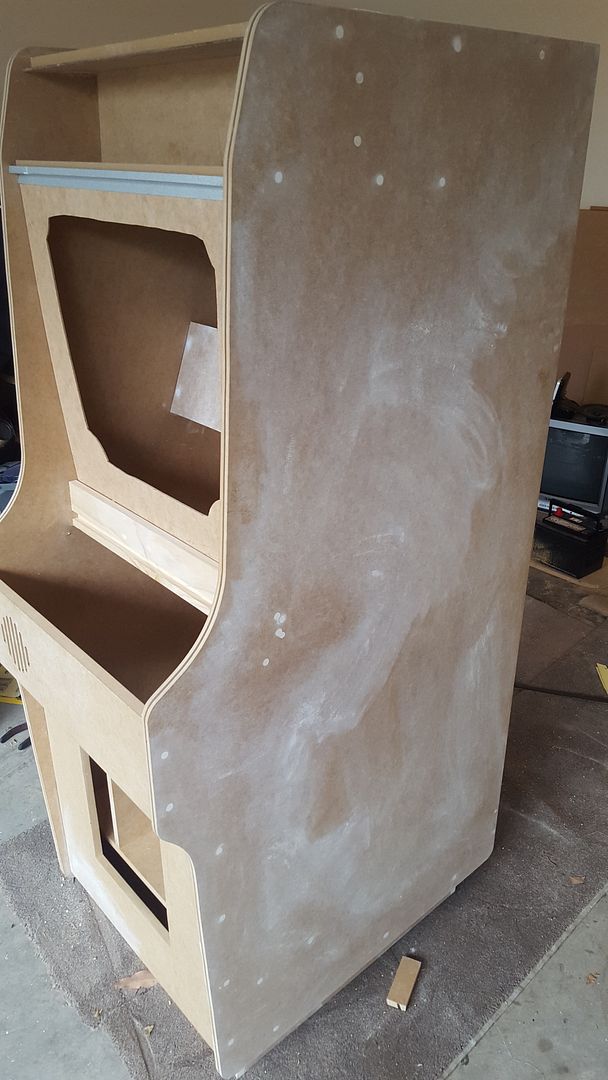
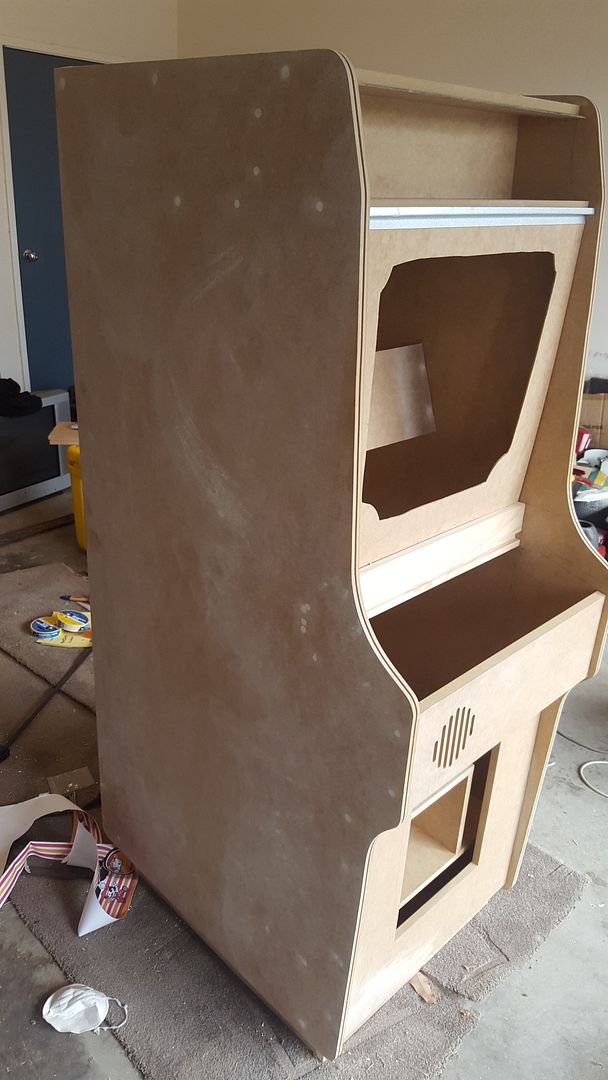
speaking of paint we don't have Behrs here in Aus so I couldnt get a batch of Liquid Blue mixed up. I found a website called encycolorpedia.com which can give you heaps of info about the colour as well as which brands have colours that are close. I found that Taubmans: River Boat was extremely close. so thats what I have.
still have a bit to do but the end is in sight
cheers


 Home
Home Help
Help Search
 Login
Login Register

 Send this topic
 Print
Print Topic: Another Donkey Kong Build (Read 20453 times)


