I posted most of this in the raspberry pi forum because i need some help, but i got that all sorted out now so here is my project thread.
I setup a Raspberry Pi powered console emulation system inside the shell of an SNES. I wanted an emulation system that could play snes and nes games, using the orignal snes controllers with HDMI output.
Here is the finished product, then i'll go into the steps below:

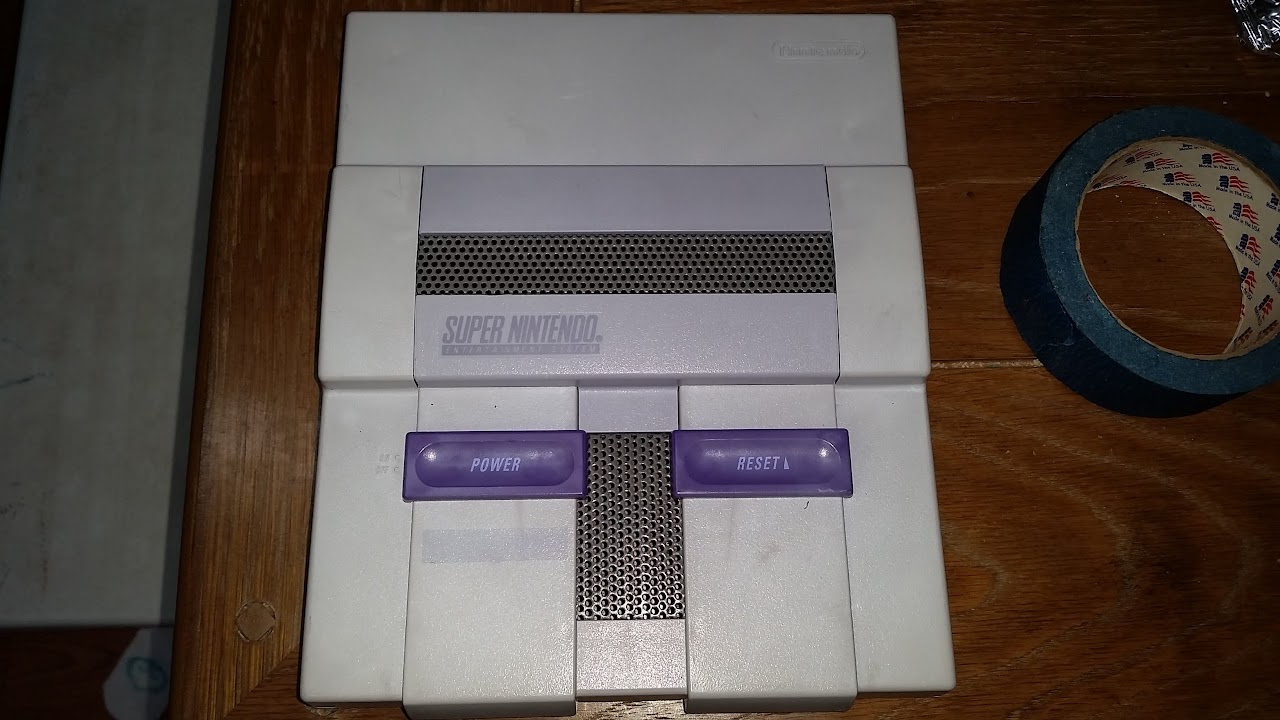
I started off by picking up a dead SNES at a local retro game shop. It cost me $10. it was severely discolored, had a broken power jack, and was full of dead bugs (didn't take pic of that). I forgot to take pics before i started, but here is the shell after gutting it and cleaning it.

as you can see, it is very yellow, one of the worst i have seen. The purple buttons were very dark and dingy looking as well..

here is the bottom of the reset button so you can see the original color

I initially tried to restore the original color, but couldn't find any high strength hydrogen peroxide locally. i ended up trying anyway, soaking it in the regular stuff and oxyclean, in a plastic container in the sunlight for 3 days. it did help a good bit, but i just wasn't happy with it. the purple buttons looked ok here (they were still wet) but once they dried, they were washed out and splotchy)

This is when i decided i was going to have to paint it.
before painting , i cut out the rear panel for the connectors. i wanted to keep it as original looking as possible. the HDMI extension i used fit fairly well in the original hole for the av jack. there is a little gap, but i'm not too concerned with that. i wanted a usb port available for troubleshooting purposes, and i needed power. In this case, i am using a stanard USB type B connector for power.


i didn't have room internally for the large eject button lever and didn't really want to keep the spring loaded flap over the cartridge port, so i cut some steel mesh from an old PC case, bent it with some vice grips and painted it a medium gray, which closely matched the original eject button color. these were hot glued in place after being painted.
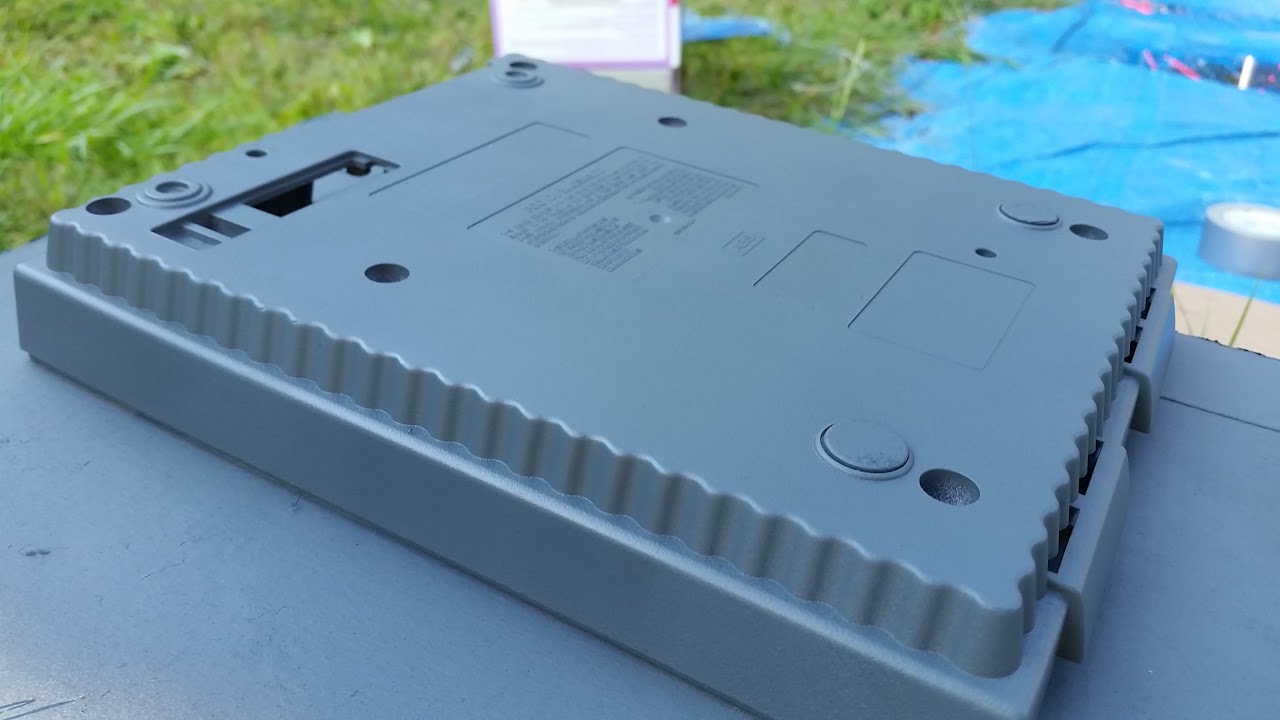
then came the painting. i used Charcoal Duplicolor Vinyl and Fabric coating that i picked up at AutoZone. this stuff is amazing..it doesn't sit on top like regular paint, but soaks into the plastic like a dye. It is hard to tell from the pics, but the shell looks like it came this color.




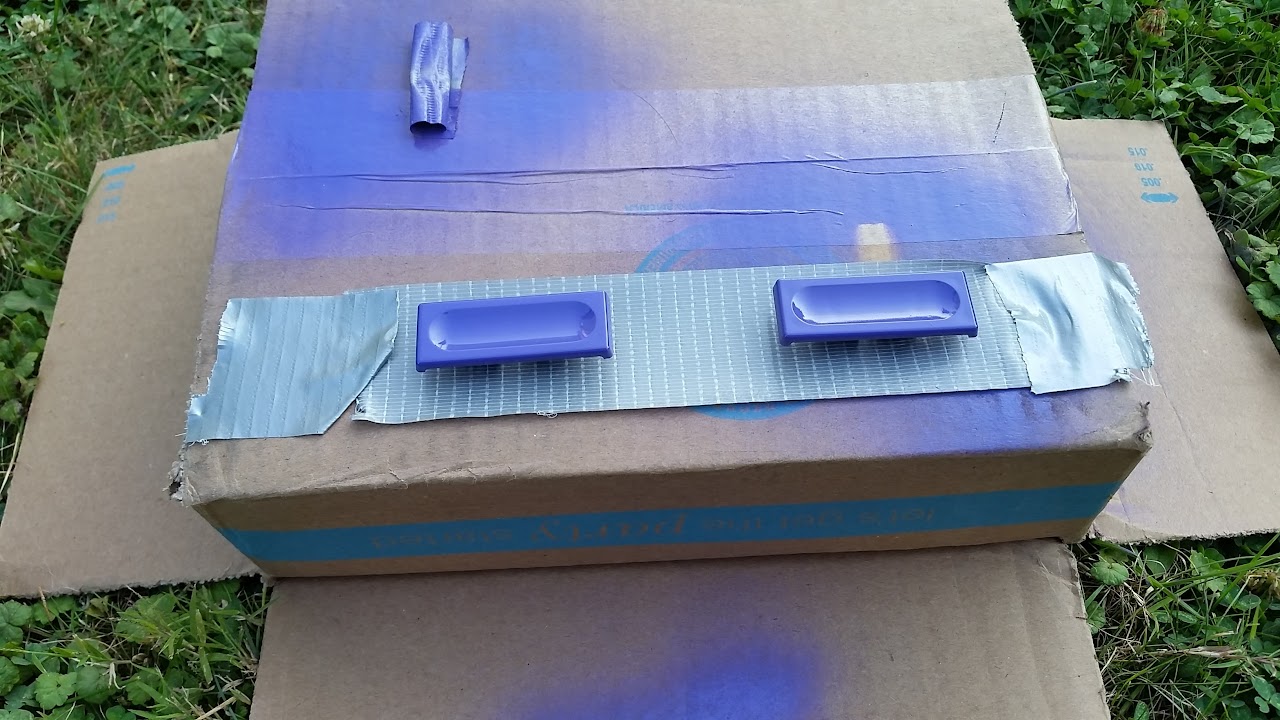
The buttons were painted with Rustoleum UltraCover 2x Gloss Plum spray paint. the color matches very closely to the original purple. they came out ok, but are obviously painted...no where nearly as nice as the Vinyl dye. i learned this trick from someone on anther forum, tape a piece of tape, sticky side up, to hold small items still when painting...it works very well.
here is the painted shell, along with the paints that i used..

next came wiring up the contoller ports. I simply soldered extensions from the original controller port pcb to a mayflash dual SNES to usb adapter PCB. doing it this way also supplies power to the original SNES power LED.

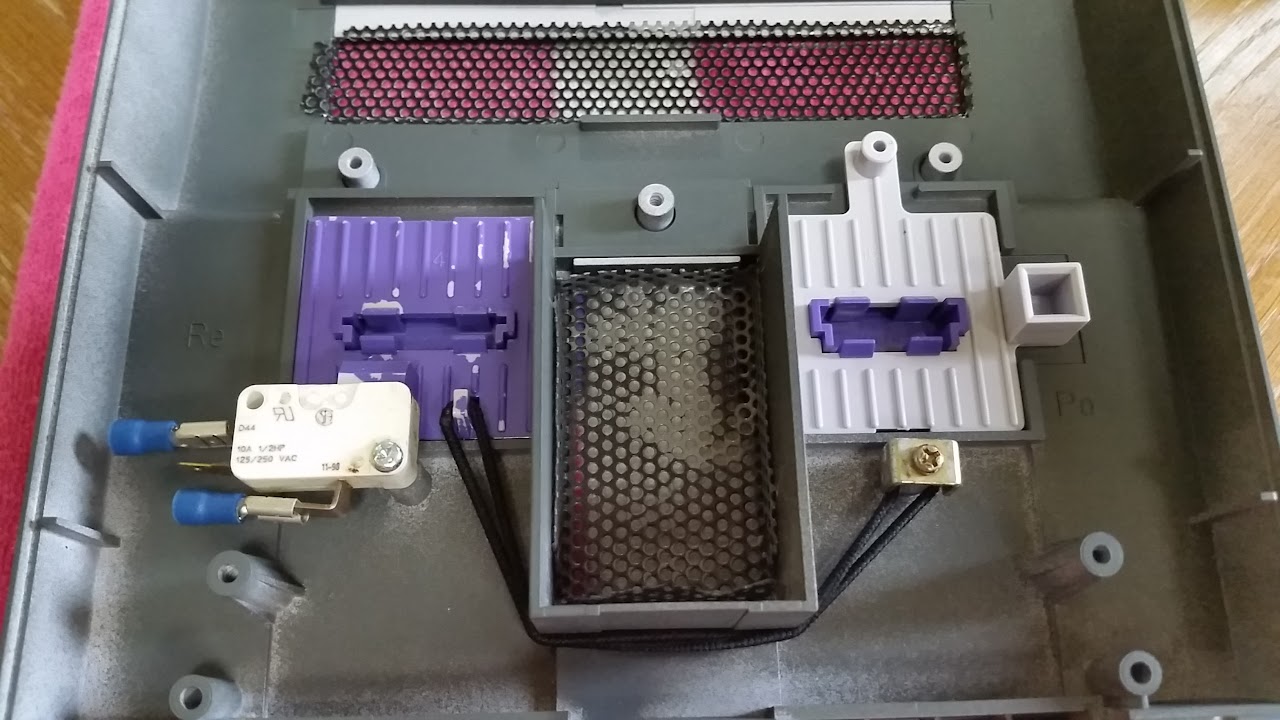
I am using the original SNES power switch to cut the 5v line to the raspberry pi, but i had to rig up something for the reset switch. i lost the little spring that caused the sliding switch to return, so i improvised and used a stretch hair band that i stole from my daughter. Then i simply mounted an arcade microswitch to one of the original screw posts on the shell. in it's resting state, the switch is pressed, and is released when you slide the purple button...so i wired it up to the normally closed terminal. This switch is wired to the GPIO pins, it triggers a safe shutdown command when pressed via a python script.
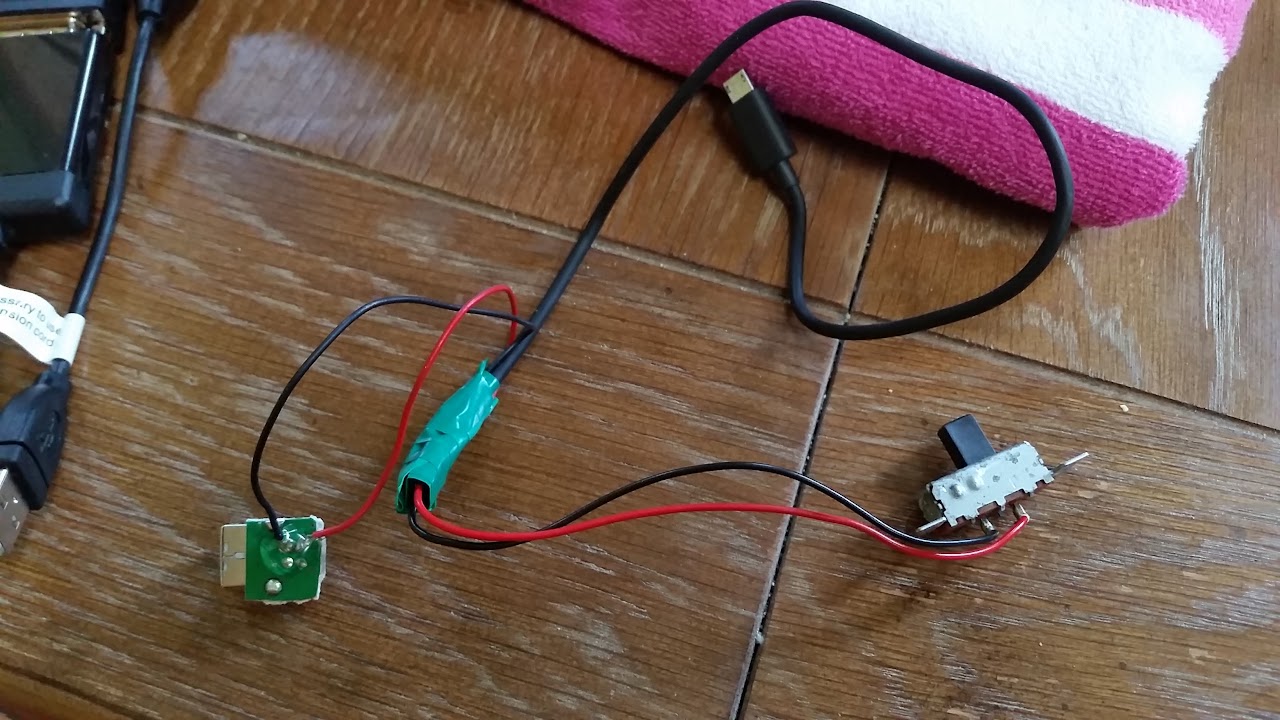
here is my power circuit.
a USB type B port that was cut from an old external hard drive. the ground wire goes directly to the micro usb port that plugs into the pi. the 5v line runs through the original snes power switch. (i know you can't just kill power to the pi or it can corrupt the card, that is what the reset switch is for.
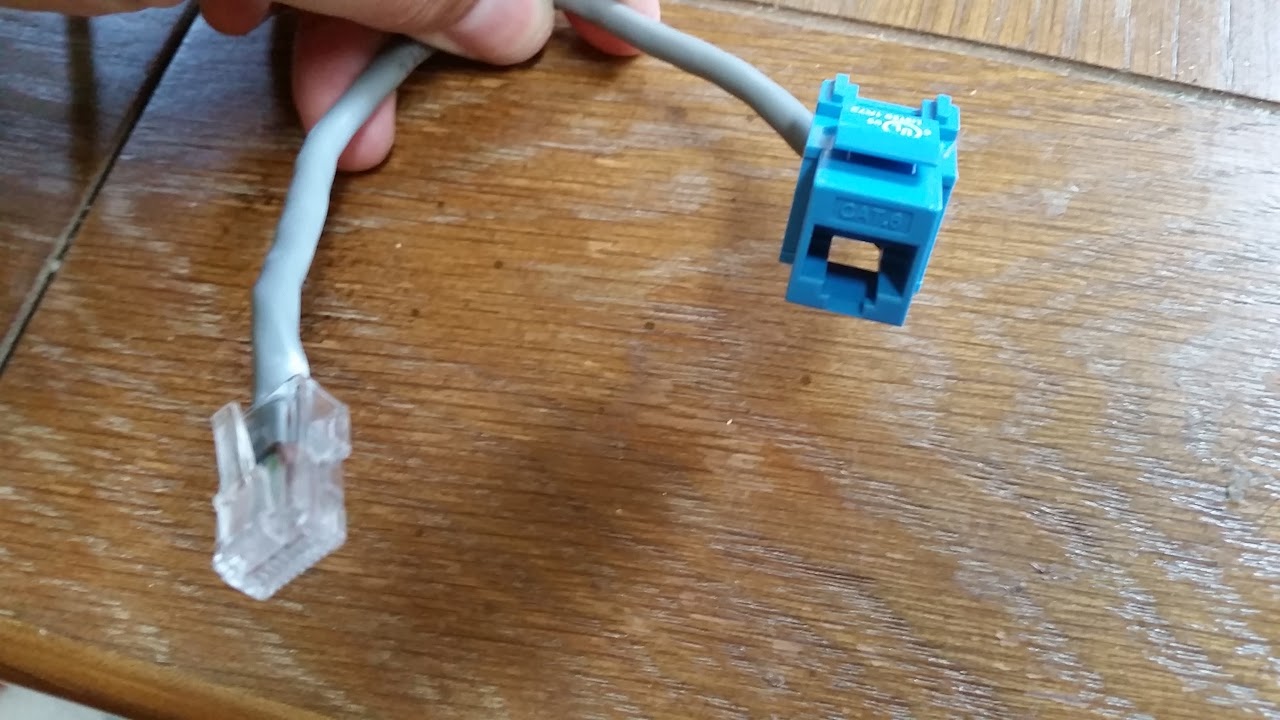
I made an ethernet extension so i can plug it into the network if i have to..i didn't have room to mount it on the back panel, but it fits nicely in the little expansion door on the bottom. I shouldn't need to use it much since it is already set up, but this way i can get to it without taking the unit apart. i just hot glued it in place.

here is a shot of the messy insides with all of the components hooked up.

here it is next to my other SNES.

a little Super Mario World action

and a few more finished images


 Home
Home Help
Help Search
 Login
Login Register
 Send this topic
 Print
Print


