Well typical for this project, I had to do this several times before I got it right.
The basic idea was to create a plastic inlay in walnut. I wanted the result to look as though the artwork overlay were embedded in the wood. I used an inlay bit in a router to cut the pieces using the templates as a guide. There's a good description of how this works here
http://www.newwoodworker.com/rotrinlays.html To quote (for the lazy)
A small diameter bit passes through a small collar, much like a normal guide bushing setup. The trick part is a removable bushing that fits on the collar. When installed, the bushing positions the bit to cut the recess for the inlay. Remove the bushing and the bit is now correctly located to cut the outline of the inlay, sized perfectly to fit the recess.The walnut came out beautifully on the first try. The plastic however was far more difficult for me... I went through 3 pieces by the time I was done.
First failure: Attempting to cut plastic in one pass resulted in pretty stuttery router control. Probably could've been salvaged except for where I pushed away from a curve in the template and about 1/2" into the inlay. ARRGH. $15 down the drain and downtime waiting for a chance to work on it again.
Second failure: Being an idiot, I tried to cut the plastic in a single pass again. This time the trail of fused plastic and incomplete depth of cut in a couple of places caused chipping when I removed the cutout. Didn't really matter since I had forgotten to remove the removable bushing and had cut the inlay way too small. Another $15 gone and more downtime.
On the third time I cut the plastic in multiple passes. I also decided not to risk cutting the right angles at the bottom and modified the jig to use 45 deg angles there instead. This looks much nicer from a design standpoint anyway.The melting/fusing problem was eliminated and the clear, shallow path made handling the curves waaaaaay easier.
Here is the template and walnut ready for the first cut, you can see the inlay bit and bushing in the router
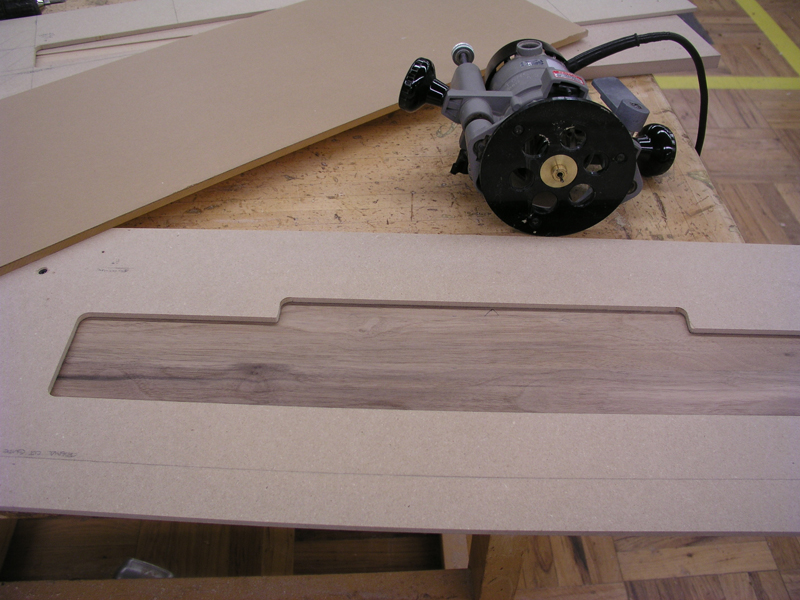
Here is the walnut after the first router pass

...and after removing the inner area of the recess.

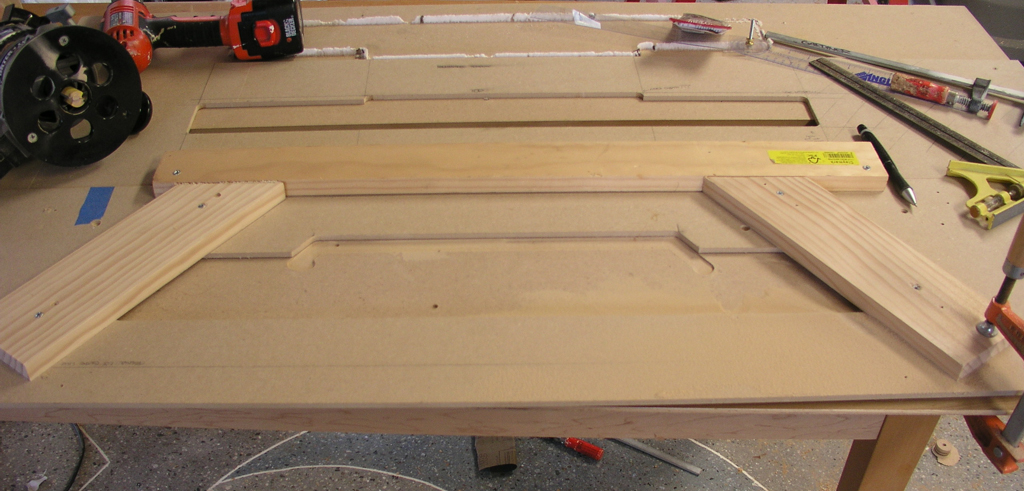
Here is the jig modification
And the final routed walnut and plastic inlay

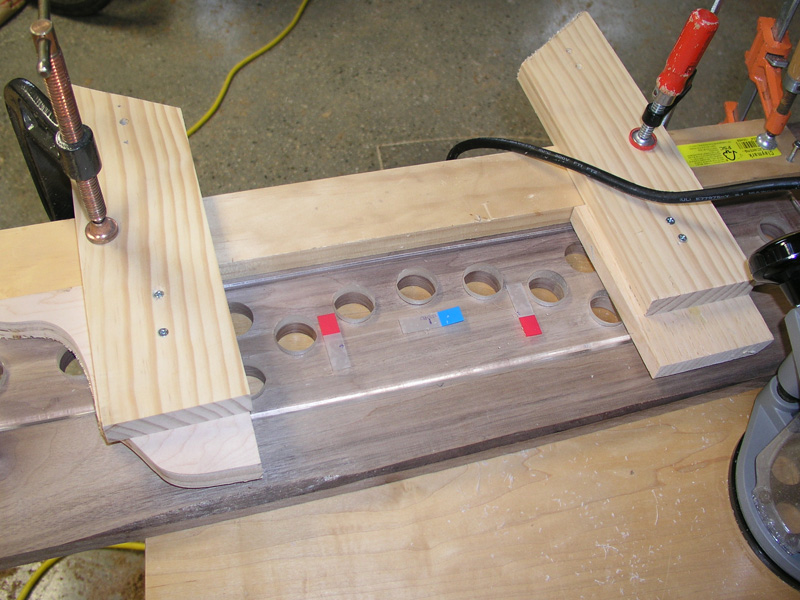
This is the setup for cutting the DVD slot
And the slot cut

Fixing unevenness in the slot
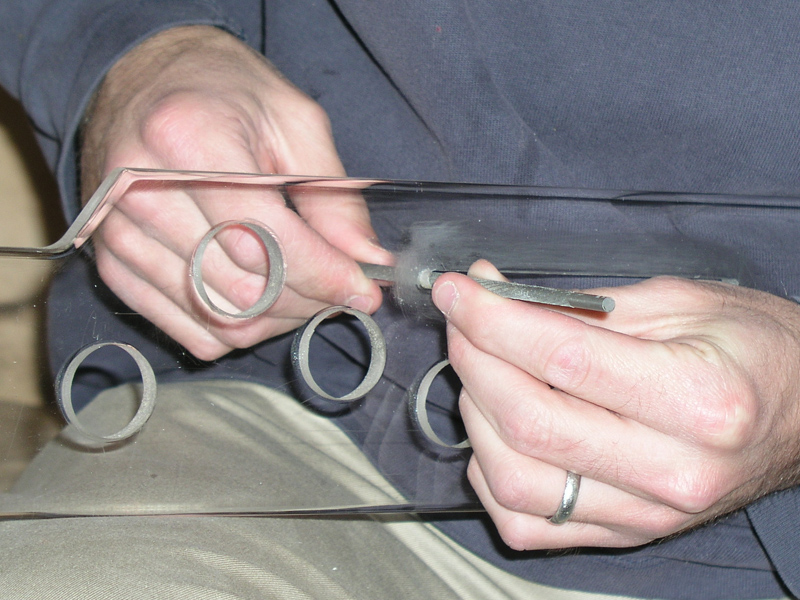
Bullnosing the edge with a 1/8" dremmel bit

And polishing the bullnosed edge.


Finished inlay. So tight it's damn near impossible to get the plastic out once seated. The plastic still needs quite a bit of polishing.

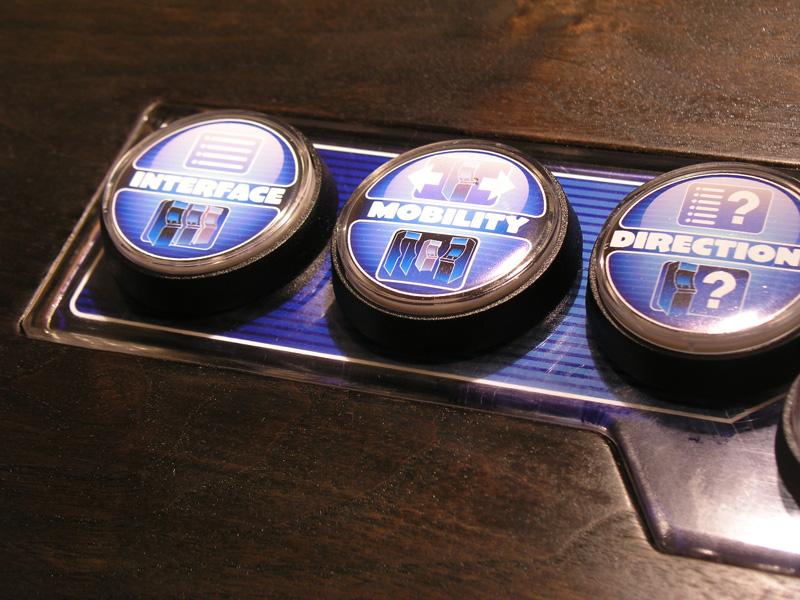

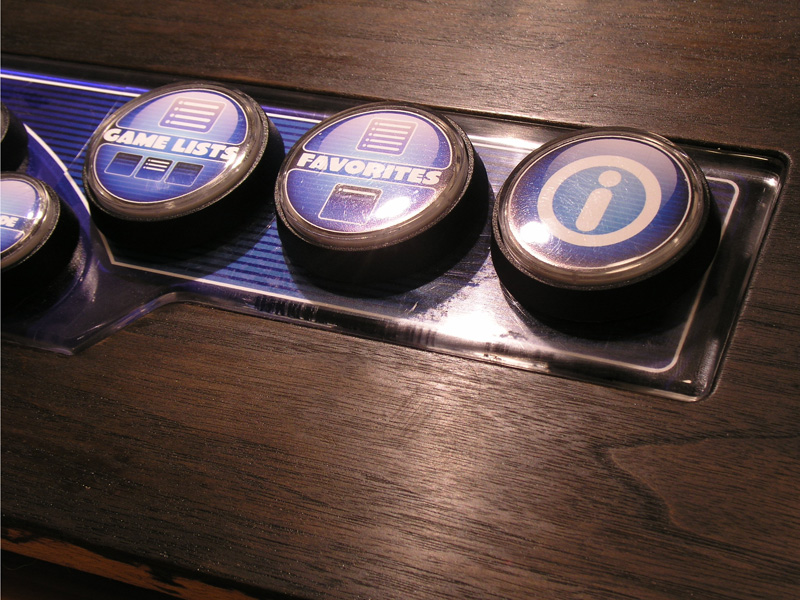

The final panel trimmed to sized will look about like this


 Home
Home Help
Help Search
 Login
Login Register

 Poll
Poll
 Send this topic
 Print
Print Topic: Mission Control Project: 5 years on, what to do with the leftovers? (Read 553699 times)


