So I drilled the acrylic and did some painting, here is a picture update

Aligned the Control Panel and acrylic up with clamps.
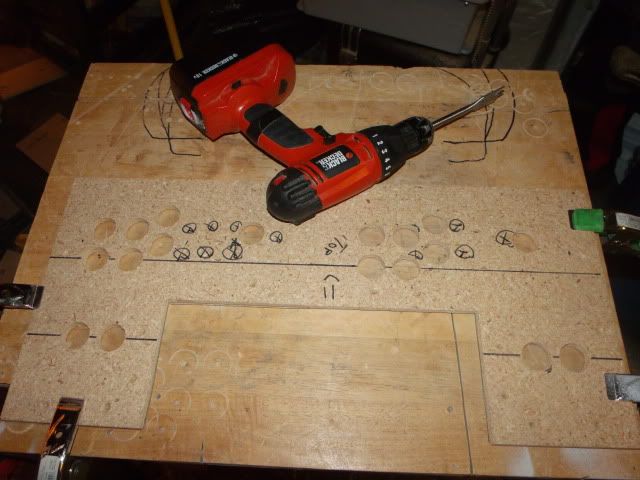
There will be a few white headed screws that will hold the acrylic on the control panel, I drilled the holes for it here and inserted the screws to help keep the piece from shifting while I bored the button holes.
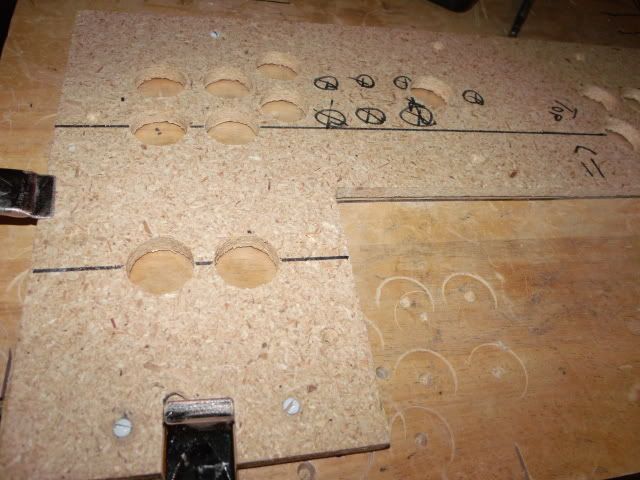
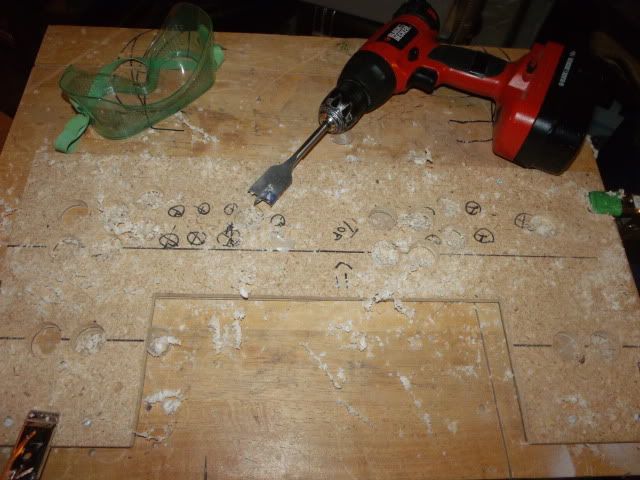
Some people have their own ways of making holes in their acrylic, I prefer to use my spade bit. I align it with the hole, set the drill to Power - 3 so if it tried to pull and rip the acrylic it stalls. I push in slowly and basically what I am aiming for is the spikes on the outer part of the bit slice a perfect circle. Kind of like a jewelry thief cutting glass.
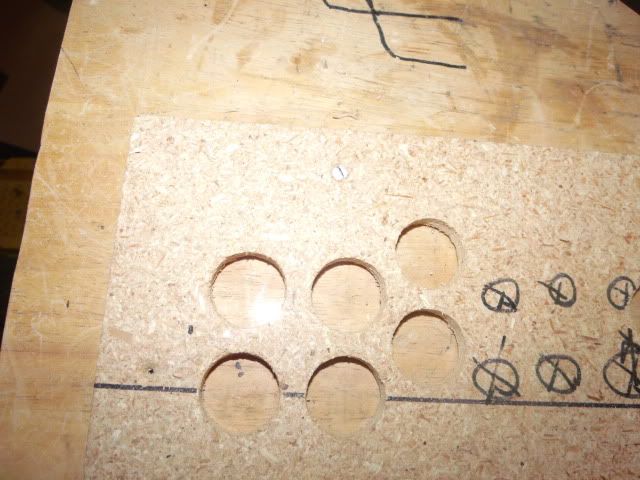
Turned out pretty well in my opinion

------------
Painting prep.
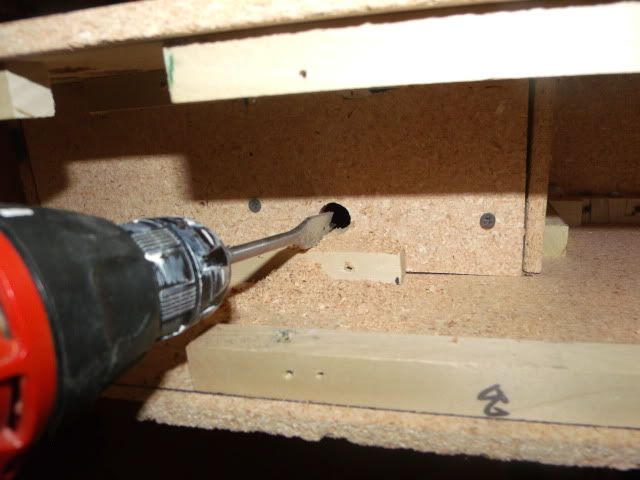
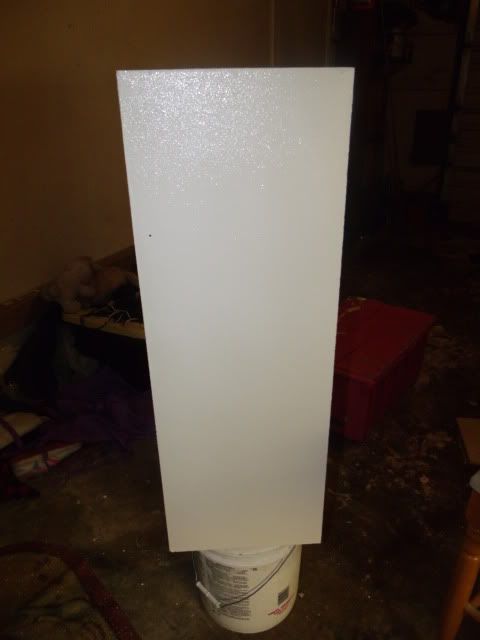
Small spade bit to create a hole for control panel wires to go into the pedestal
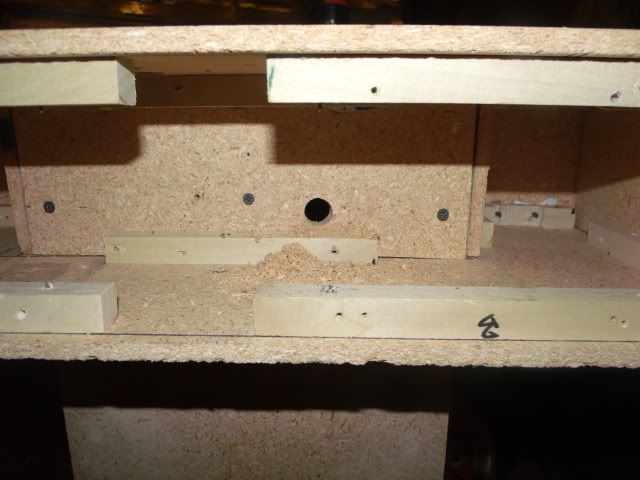
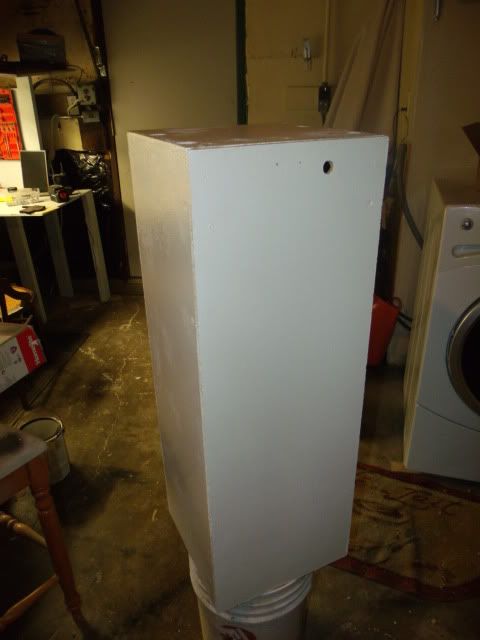
Removing the control panel from pedestal.

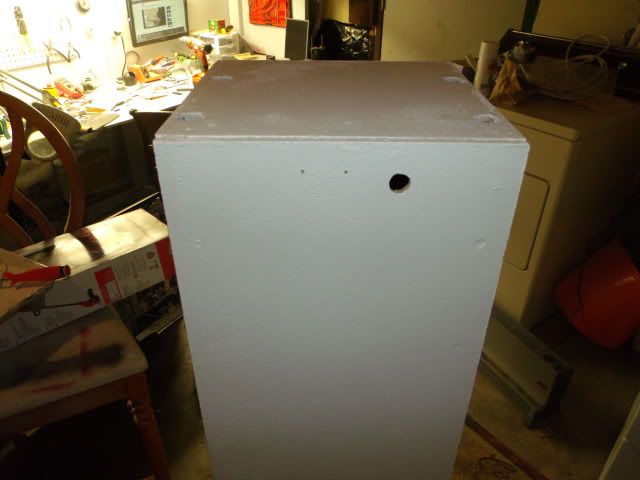
Time to close up any gaps and screws with some filler

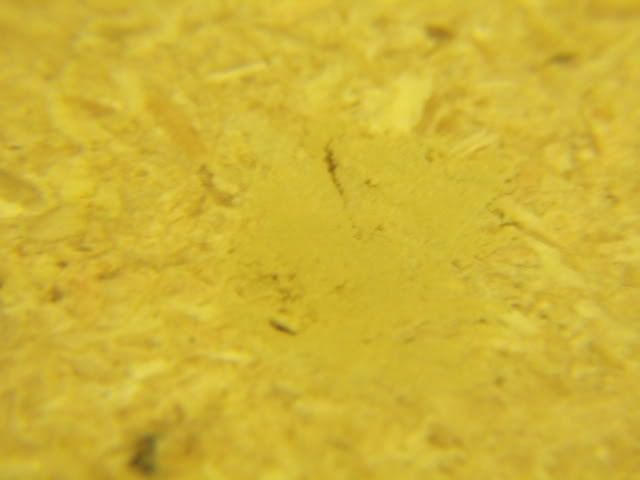
Used to be a screw here - I am sure you all know how it works, I just like pictures
There were a bunch of spots to cover so I wont go anymore into that
Painting
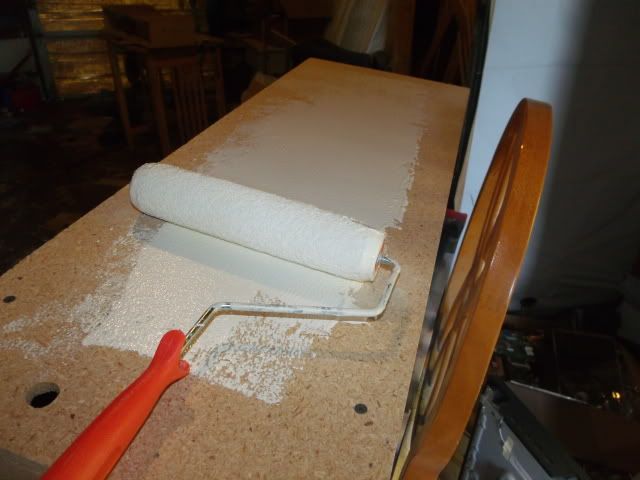
After first coat, will then sand and do another coat (maybe 3 altogether)
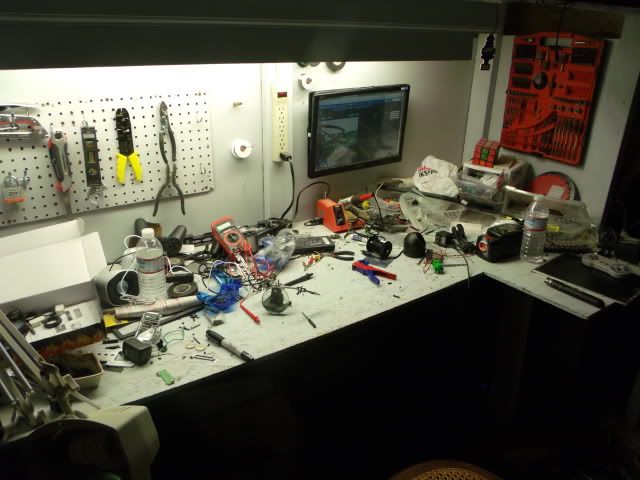
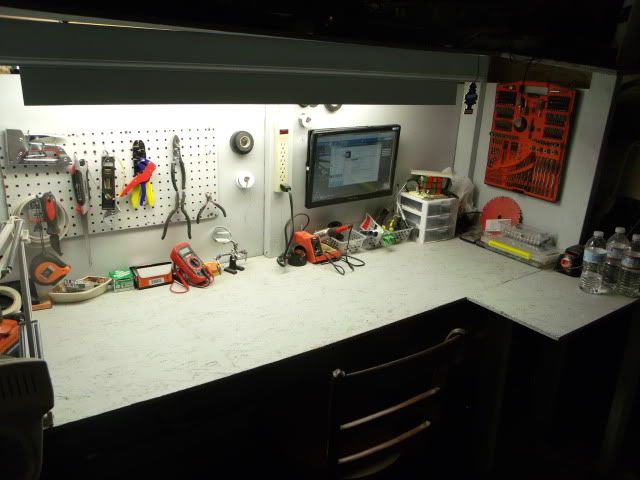
(I swear my electronics bench is clean most of the time)
---------------
Shot of the bench when I work on a project
And when it is idle (clean)
---------------
Okay, back to the project
First coat on the control panel, just the bottom & sides for now
Just need to sand\re-coat the wood (including the CP) and I will be done with cosmetics for now.

Soon to be working on my favorite part of all, the electronics!


 Home
Home Help
Help Search
 Login
Login Register

 Send this topic
 Print
Print Topic: Bartop Arcades ~Lots of PICTURES~ (Read 39125 times)


