Main Restorations Software Audio/Jukebox/MP3 Everything Else Buy/Sell/Trade
Project Announcements Monitor/Video GroovyMAME Merit/JVL Touchscreen Meet Up Retail Vendors
Driving & Racing Woodworking Software Support Forums Consoles Project Arcade Reviews
Automated Projects Artwork Frontend Support Forums Pinball Forum Discussion Old Boards
Raspberry Pi & Dev Board controls.dat Linux Miscellaneous Arcade Wiki Discussion Old Archives
Lightguns Arcade1Up Try the site in https mode Site News

Unread posts | New Replies | Recent posts | Rules | Chatroom | Wiki | File Repository | RSS | Submit news


Author Topic: Bartop Arcades ~Lots of PICTURES~  (Read 33456 times)

0 Members and 1 Guest are viewing this topic.

phyrosis

  • Trade Count: (0)
  • Full Member
  • ***
  • Offline Offline
  • Posts: 47
  • Last login:June 20, 2012, 06:54:07 pm
Re: Bartop Arcades ~Lots of PICTURES~
« Reply #80 on: June 07, 2012, 03:20:48 pm »
somewhere.... but if you saw my garage right now you would try to murder me with my own supplies.... :)

a gent that ran an old arcade sold me all his left over stock (wireing harnesses, buttons, switches, a mame cab, a nice arcade monitor, 6 or so game boards, over 500 manuals, coin doors, ect) for a hundred bucks... and then i rescued the atari cab from the dump, so i just started sorting through it all as i was too busy for the last year... when i find it, i will have one again...

if i dont find it by wednesday next week, i will go buy another. (wednesday is payday! )

CoryBee

  • Trade Count: (+2)
  • Full Member
  • ***
  • Offline Offline
  • Posts: 2093
  • Last login:May 18, 2024, 07:28:48 am
  • Bopity Boopy
Re: Bartop Arcades ~Lots of PICTURES~
« Reply #81 on: June 07, 2012, 03:51:27 pm »
jesus man, you hit the buttload of arcade parts

phyrosis

  • Trade Count: (0)
  • Full Member
  • ***
  • Offline Offline
  • Posts: 47
  • Last login:June 20, 2012, 06:54:07 pm
Re: Bartop Arcades ~Lots of PICTURES~
« Reply #82 on: June 07, 2012, 05:30:55 pm »
yeah, he had em up on the local trade site for 5 min before i had called... i hung up called a friend stole their truck and went, while i was on my way he had 5 others call him for it... :)

but your mini cabs will probally be recreated for some use in my home bar... :) i like the design of them, might modify the cab a bit to be mine but looking at it all, i like them.

CoryBee

  • Trade Count: (+2)
  • Full Member
  • ***
  • Offline Offline
  • Posts: 2093
  • Last login:May 18, 2024, 07:28:48 am
  • Bopity Boopy
Re: Bartop Arcades ~Lots of PICTURES~
« Reply #83 on: June 08, 2012, 01:55:04 am »
I would have jumped on that quick too. I converted an old arcade cab from a Caveman ninja (ridiculous game) into a MAME cab a few months ago and used the buttons and one of the joysticks to make the Punch out machine in my signature.
You can hardly tell by the picture but the thing was a bloody mess. One of the bulbs was out on the coin mech, acrylic was cracked, monitor was faded out and stretched around the edges.


Anyways I have some video of it too I might post in the convert thread or something.

CoryBee

  • Trade Count: (+2)
  • Full Member
  • ***
  • Offline Offline
  • Posts: 2093
  • Last login:May 18, 2024, 07:28:48 am
  • Bopity Boopy
Re: Bartop Arcades ~Lots of PICTURES~
« Reply #84 on: June 08, 2012, 02:58:08 am »
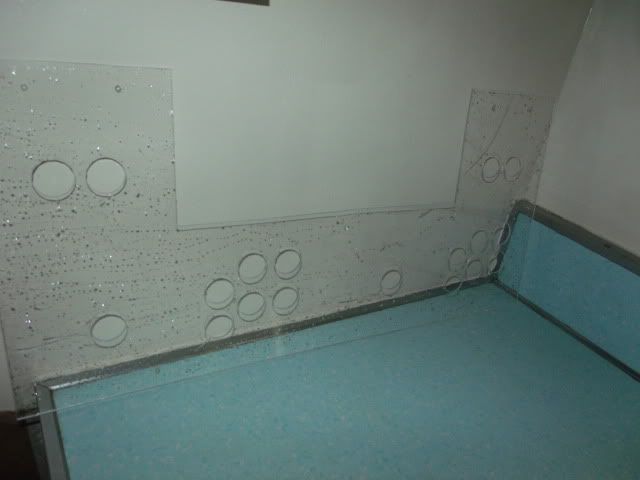
So I drilled the acrylic and did some painting, here is a picture update  :applaud:

Aligned the Control Panel and acrylic up with clamps.
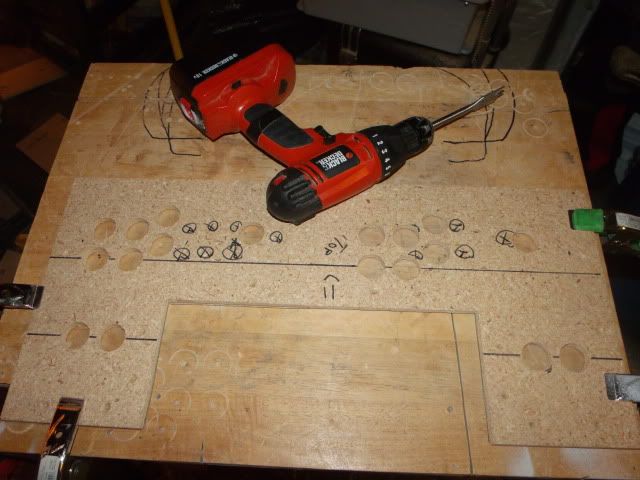


There will be a few white headed screws that will hold the acrylic on the control panel, I drilled the holes for it here and inserted the screws to help keep the piece from shifting while I bored the button holes.
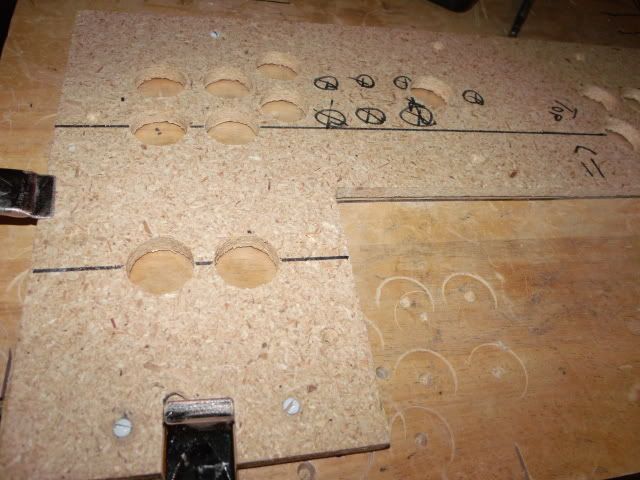
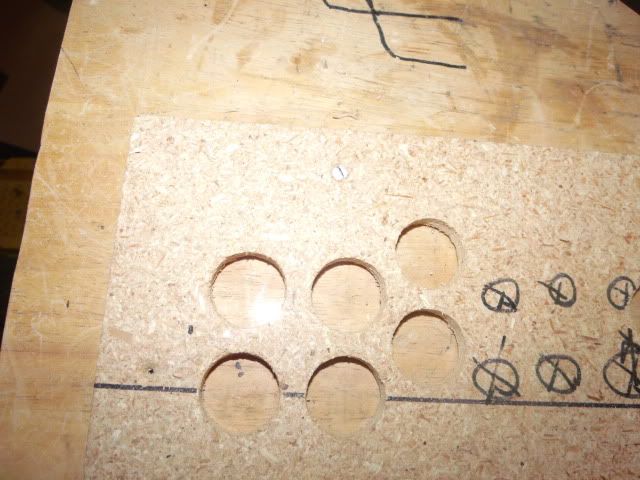


Some people have their own ways of making holes in their acrylic, I prefer to use my spade bit. I align it with the hole, set the drill to Power - 3 so if it tried to pull and rip the acrylic it stalls. I push in slowly and basically what I am aiming for is the spikes on the outer part of the bit slice a perfect circle. Kind of like a jewelry thief cutting glass.
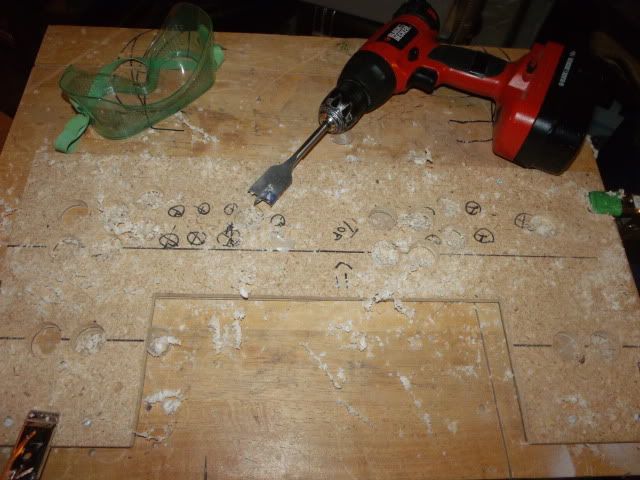


Turned out pretty well in my opinion


------------

Painting prep.

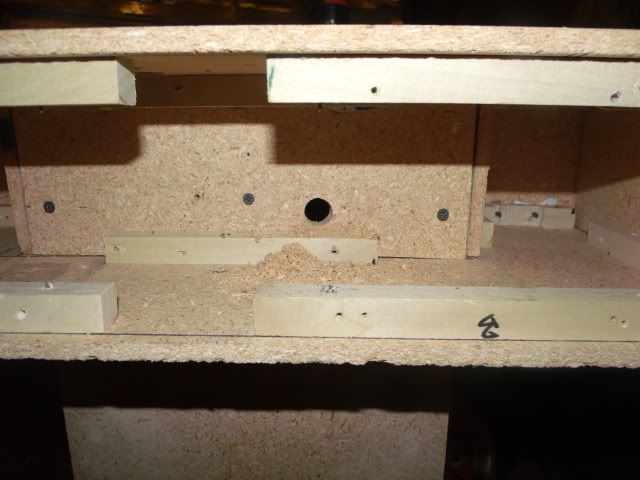
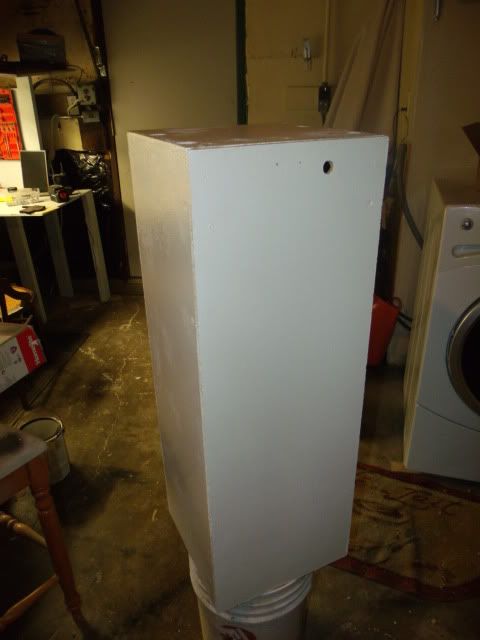
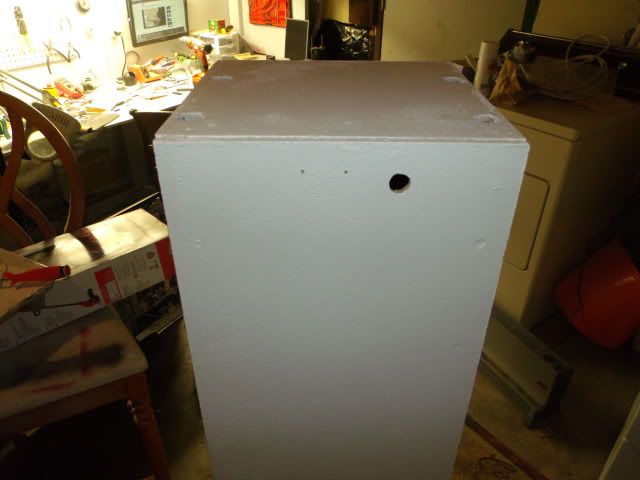
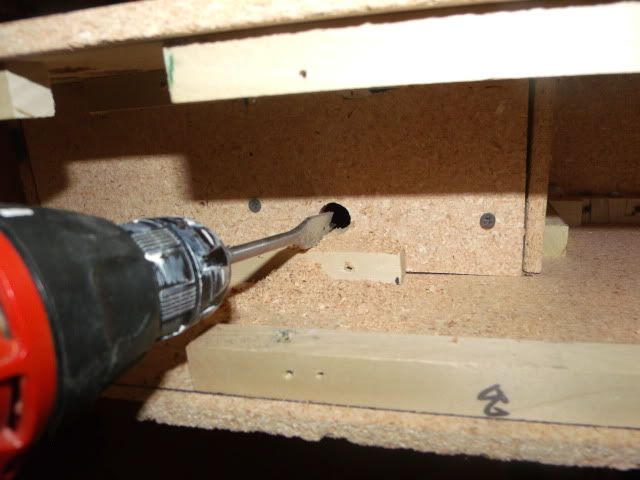
Small spade bit to create a hole for control panel wires to go into the pedestal


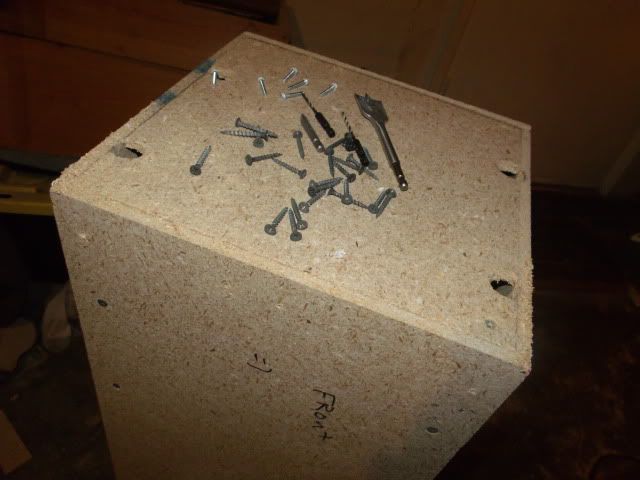
Removing the control panel from pedestal.


Time to close up any gaps and screws with some filler
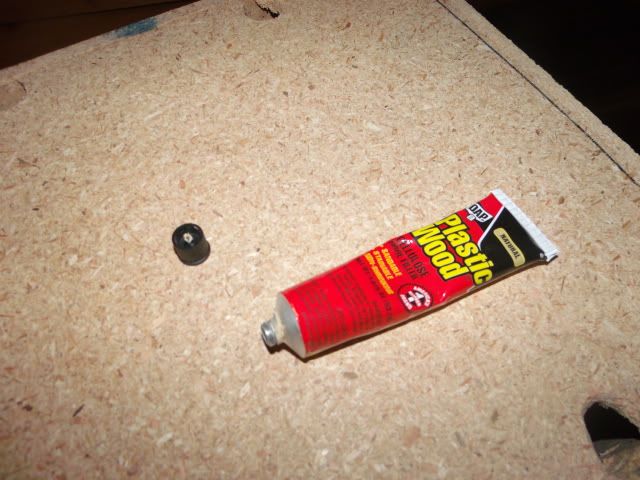


Used to be a screw here - I am sure you all know how it works, I just like pictures
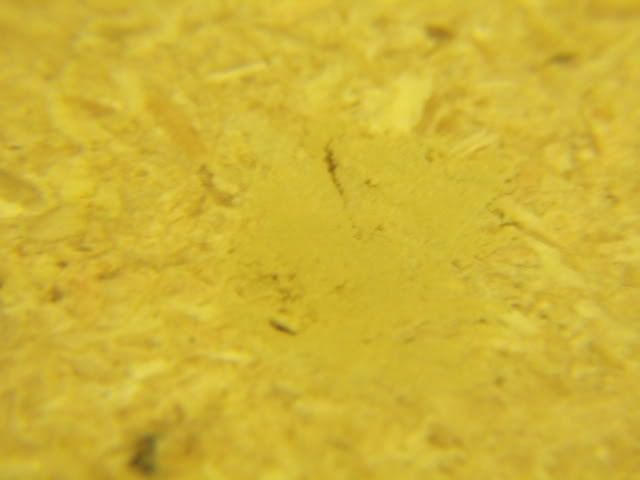


There were a bunch of spots to cover so I wont go anymore into that

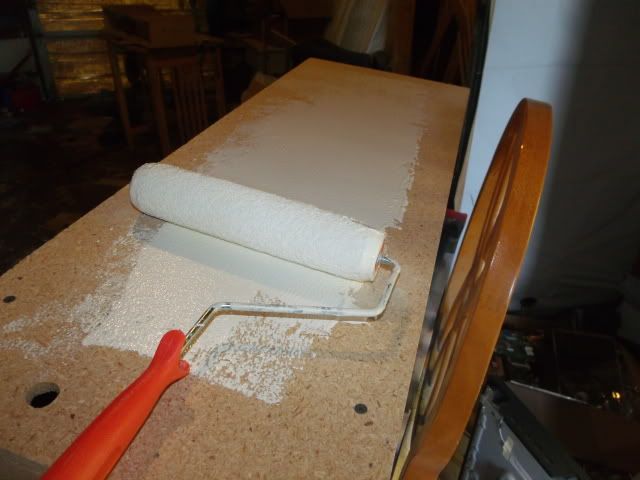
Painting  :applaud:


After first coat, will then sand and do another coat (maybe 3 altogether)
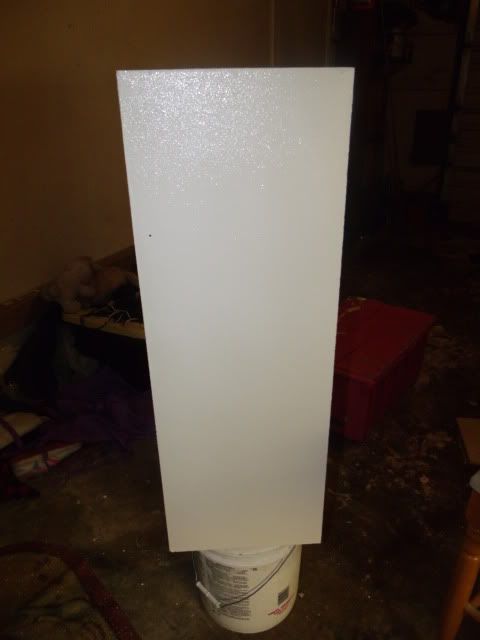


(I swear my electronics bench is clean most of the time)

---------------

Shot of the bench when I work on a project
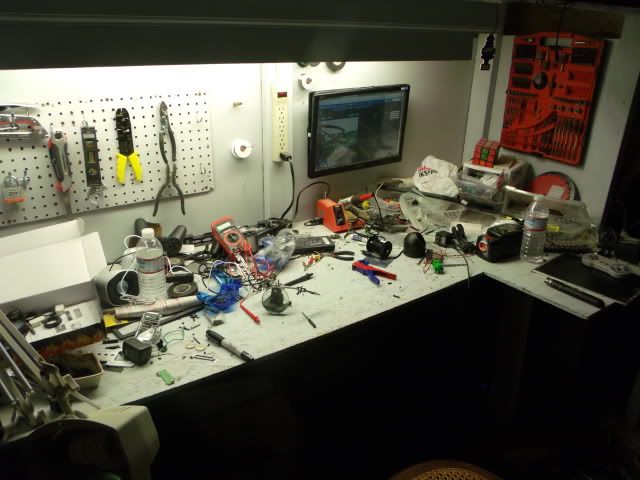


And when it is idle (clean)
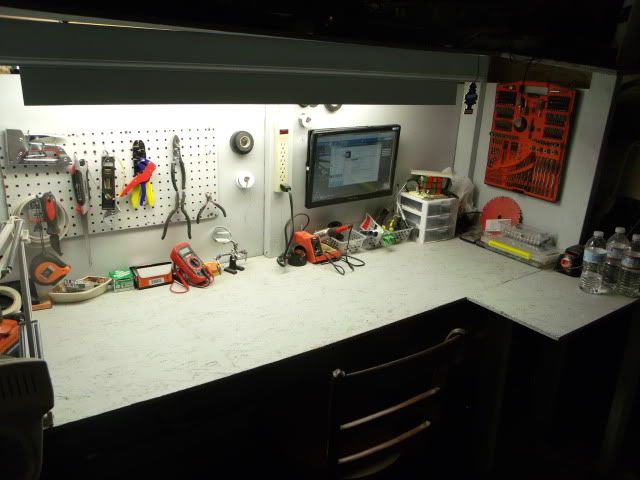


---------------

Okay, back to the project

First coat on the control panel, just the bottom & sides for now
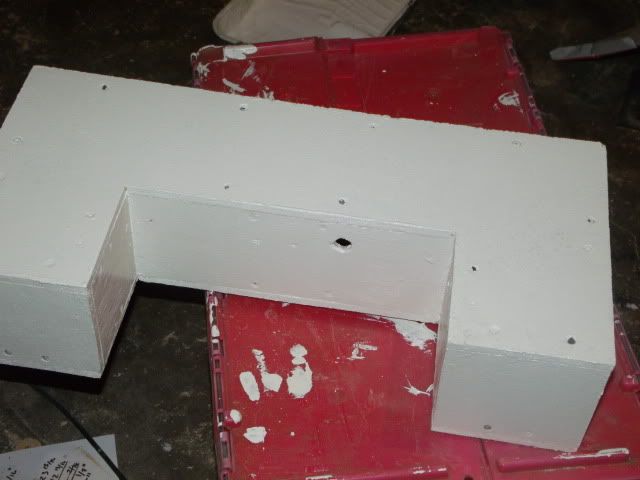


Just need to sand\re-coat the wood (including the CP) and I will be done with cosmetics for now.

 :laugh: Soon to be working on my favorite part of all, the electronics! :laugh:


« Last Edit: June 08, 2012, 03:04:19 am by CoryDee »

phyrosis

  • Trade Count: (0)
  • Full Member
  • ***
  • Offline Offline
  • Posts: 47
  • Last login:June 20, 2012, 06:54:07 pm
Re: Bartop Arcades ~Lots of PICTURES~
« Reply #85 on: June 08, 2012, 10:30:39 am »
cory, how do you like using the spade bit for doing the acrylic? i have used standard bits, low RPM bits, spade bits and forstner bits, and i am just wondering what your impression is and at what speed you use it at?

CoryBee

  • Trade Count: (+2)
  • Full Member
  • ***
  • Offline Offline
  • Posts: 2093
  • Last login:May 18, 2024, 07:28:48 am
  • Bopity Boopy
Re: Bartop Arcades ~Lots of PICTURES~
« Reply #86 on: June 08, 2012, 10:37:35 am »
cory, how do you like using the spade bit for doing the acrylic? i have used standard bits, low RPM bits, spade bits and forstner bits, and i am just wondering what your impression is and at what speed you use it at?

I quite like it, I find it easier than using the hole saw bit I first started using. It ended up cracking the acrylic half the time. With the spade bit I have it works pretty well and haven't cracked any acrylic since I turned my drill down.

Oh and like I said I keep the drill at speed "3" while using that bit on the acrylic.

CoryBee

  • Trade Count: (+2)
  • Full Member
  • ***
  • Offline Offline
  • Posts: 2093
  • Last login:May 18, 2024, 07:28:48 am
  • Bopity Boopy
Re: Bartop Arcades ~Lots of PICTURES~
« Reply #87 on: June 08, 2012, 10:38:00 am »
Didn't get much sleep last night due to this project, made some headway though.

Prepping with filler and painting the control panel


Dry Fitting the buttons


After painting the control panel I wanted to see if I could add a little design, a V in black on the pedestal

Keep in mind I have never done something like this so out of my element


Taped a bag around the bottom to catch any spray paint that dares drip on the great pedestal


PAINT  :applaud:


Removed the tape and bag, I think I did a stand-up job for the first time. The black will match the buttons


Inserting a 6ft USB cord into a small hole I made. It goes to the control panel via the hole I made before


Cord with control panel base connected


Thought I would get a little soldering done too, here is the USB hub. De-soldered the short cord and soldered on the 6ft cable.


Testing the gamepads on the USB hub


Installing all of the buttons and mounted the joysticks


 :applaud: Finished with the cosmetics!   :cheers:


I think the black stripe really accents the black buttons

 :P


Bartop docked  :blah: No actual wiring is done yet so It is just for looks as of now


I am thoroughly pleased with how it looks considering the minimal tools I have, crappy wood, and no wood working experience.  

Let me know what you guys think. I will be getting to the electronics side of it soon, I already figured out how I will duplicate the player 1 controls to the dock through USB. Stay Tuned

 :cheers:


« Last Edit: June 08, 2012, 10:40:01 am by CoryDee »

CoryBee

  • Trade Count: (+2)
  • Full Member
  • ***
  • Offline Offline
  • Posts: 2093
  • Last login:May 18, 2024, 07:28:48 am
  • Bopity Boopy
Re: Bartop Arcades ~Lots of PICTURES~
« Reply #88 on: June 08, 2012, 11:50:55 am »
Just started the electronics, Pictures to come soon  :blah:

leapinlew

  • Some questionable things going on in this room with cheetos
  • Trade Count: (+4)
  • Full Member
  • ***
  • Offline Offline
  • Posts: 7919
  • Last login:June 17, 2025, 10:08:30 pm
Re: Bartop Arcades ~Lots of PICTURES~
« Reply #89 on: June 08, 2012, 12:49:16 pm »
Looks like I could tip it over pretty easy. No?

CoryBee

  • Trade Count: (+2)
  • Full Member
  • ***
  • Offline Offline
  • Posts: 2093
  • Last login:May 18, 2024, 07:28:48 am
  • Bopity Boopy
Re: Bartop Arcades ~Lots of PICTURES~
« Reply #90 on: June 08, 2012, 06:30:45 pm »
Looks like I could tip it over pretty easy. No?

Looks like it, but no. Pretty heavy at the bottom buddy. PLus I will be adding more weight as well. I stress tested it pretty well.

phyrosis

  • Trade Count: (0)
  • Full Member
  • ***
  • Offline Offline
  • Posts: 47
  • Last login:June 20, 2012, 06:54:07 pm
Re: Bartop Arcades ~Lots of PICTURES~
« Reply #91 on: June 09, 2012, 12:10:37 am »
this has motivated me to work on my mini cabs, i am currently getting my laptops ready... i am thinking one will be made into a jukebox,

CoryBee

  • Trade Count: (+2)
  • Full Member
  • ***
  • Offline Offline
  • Posts: 2093
  • Last login:May 18, 2024, 07:28:48 am
  • Bopity Boopy
Re: Bartop Arcades ~Lots of PICTURES~
« Reply #92 on: June 09, 2012, 11:16:36 am »
Brother is in from South Dakota with his girl, set them up with this as soon as they got here. Brother on Marvel VS and she is on pac-man.


---------------

Solder time  :applaud: My brother thinks I am crazy because I like to solder and that it relaxes me.

De-Shelling controllers and removing shoulder button PCBs


Prepped with solder, ready for wires


Mounting to scrap board cut to fit in the control panel for mounting


Don't mind the multi-color wires, I ran out of wire on my spool and am using scrap wire from an old arcade tear-down. Wired up the controller PCBs


Ground connections of buttons daisy-chained


All wires soldered from PCB to buttons & joystick


I swear I am working on my wire management, It doesn't look so chaotic now with the wire ties

Gaming Tests and glamor shots. There wasn't and elbow bumping either (until we played Mario Kart 64 - then it was everyman for himself)


BooBees - So much pun intended  :laugh2:

« Last Edit: June 09, 2012, 11:23:09 am by CoryDee »

CoryBee

  • Trade Count: (+2)
  • Full Member
  • ***
  • Offline Offline
  • Posts: 2093
  • Last login:May 18, 2024, 07:28:48 am
  • Bopity Boopy
Re: Bartop Arcades ~Lots of PICTURES~
« Reply #93 on: June 09, 2012, 11:25:12 am »
Will be removing the ability to use the Bartop as a controller to make the back port available for the Pedestal. No need for the previous function anyways because of the pedestal can be used as a controller for any computer.

CoryBee

  • Trade Count: (+2)
  • Full Member
  • ***
  • Offline Offline
  • Posts: 2093
  • Last login:May 18, 2024, 07:28:48 am
  • Bopity Boopy
Re: Bartop Arcades ~Lots of PICTURES~
« Reply #94 on: June 09, 2012, 05:00:55 pm »
I'd run a little wood putty around that front seam and repaint it but otherwise this looks good.

What did you end up doing for the marquees?  Figure out how to make a long piece of paper out of posterboard?


The front seam you see is not so visible when the screws are in  ;D , I just didn't have them in after I was done soldering.

I ended up sticking two pieces together, I forgot about trying that. I did just get a drawing pad though. See if that fits.

CoryBee

  • Trade Count: (+2)
  • Full Member
  • ***
  • Offline Offline
  • Posts: 2093
  • Last login:May 18, 2024, 07:28:48 am
  • Bopity Boopy
Re: Bartop Arcades ~Lots of PICTURES~
« Reply #95 on: June 10, 2012, 02:19:49 pm »
Switching the ability to use the bartop as a controller to make the USB port for the Pedestal. I don't like splicing wires much, so I cut open a USB cord with the soldering iron and soldered directly onto the connector.


Also, I brought the pedestal over to a friends and played it on a projector  :cheers:


I found that this thing does tip a bit when on carpet..... :banghead:

I am thinking maybe a better base? or those heavy wheels would help instead of the rubber feet I have on it now.

Maybe a base like this? or any better ideas?


leapinlew

  • Some questionable things going on in this room with cheetos
  • Trade Count: (+4)
  • Full Member
  • ***
  • Offline Offline
  • Posts: 7919
  • Last login:June 17, 2025, 10:08:30 pm
Re: Bartop Arcades ~Lots of PICTURES~
« Reply #96 on: June 11, 2012, 08:45:55 am »
Add a foot to your current design to give the base a little more width/depth. Paint it black and it should look decent.

Wheels will give it too much play movement, even when locked.

CoryBee

  • Trade Count: (+2)
  • Full Member
  • ***
  • Offline Offline
  • Posts: 2093
  • Last login:May 18, 2024, 07:28:48 am
  • Bopity Boopy
Re: Bartop Arcades ~Lots of PICTURES~
« Reply #97 on: June 11, 2012, 11:46:39 am »
Add a foot to your current design to give the base a little more width/depth. Paint it black and it should look decent.

Wheels will give it too much play movement, even when locked.

What exactly do you mean a foot?

leapinlew

  • Some questionable things going on in this room with cheetos
  • Trade Count: (+4)
  • Full Member
  • ***
  • Offline Offline
  • Posts: 7919
  • Last login:June 17, 2025, 10:08:30 pm
Re: Bartop Arcades ~Lots of PICTURES~
« Reply #98 on: June 11, 2012, 01:54:32 pm »
Create a bottom portion and add it to your base to make it wider and deeper. You can disguise it to look as a foot rest or put some arcade pedals on it for driving games. Paint it black and it will look like it belongs there.

The easiest, non-decorative thing I can think of would be to use a piece of wood 4"-6" wider\deeper than the base and secure it to the bottom of the base. That would give it a bigger base and add stability.

phyrosis

  • Trade Count: (0)
  • Full Member
  • ***
  • Offline Offline
  • Posts: 47
  • Last login:June 20, 2012, 06:54:07 pm
Re: Bartop Arcades ~Lots of PICTURES~
« Reply #99 on: June 11, 2012, 03:10:49 pm »
i would create a surround for it,

i bet i am thinking the same thing as leapin

i would do a 4 sided stand that the base is placed into, three sides (back and two side panels) sloped to 45 degree and go out about a foot, and the front part have chrome foot rests that connect into the two side bits,

i would also add some weight to the bottom, bricks, bottles of water or sand would help alot...

CoryBee

  • Trade Count: (+2)
  • Full Member
  • ***
  • Offline Offline
  • Posts: 2093
  • Last login:May 18, 2024, 07:28:48 am
  • Bopity Boopy
Re: Bartop Arcades ~Lots of PICTURES~
« Reply #100 on: June 20, 2012, 10:30:17 pm »
Quick video I took a couple days ago. Since then I screwed the CP in place and touched up with paint. Also fixed any light leaks from the Bartop. Might add some more pictures soon. Have to give it away soon though....hopefully building a full sized will give me solace. Had a bunch of fun making these, just as much fun playing it while drinking though  :cheers: .


Also, feel free to skip through the video, it was mainly a demo for my friend before I deliver it.