So I have a good news/bad news situation with my DK restore right now.
The good news: After re-capping my monitor, the picture is beautiful. BTW...the HAKKO is awesome Yotsuya!
The bad news: I don't have any sound. (I did have some sounds mixed with background buzzing/alarm sound...but now I don't have any sound. More on that later)
While I was re-capping the monitor I confirmed this monitor had
definitely been capped before. In fact, I noticed that about 25% of the caps had voltages lower than the proper value.

Oh well, all the caps are correct now.
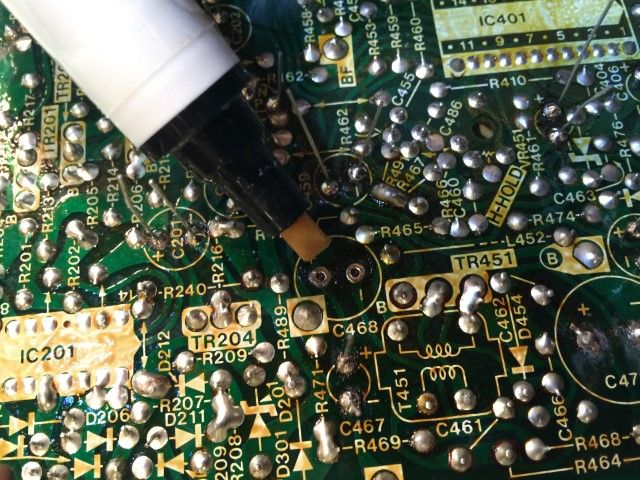
I used this nifty flux pen. Wow, should have used one of these a long time ago. Works so much better than the gooey stuff.
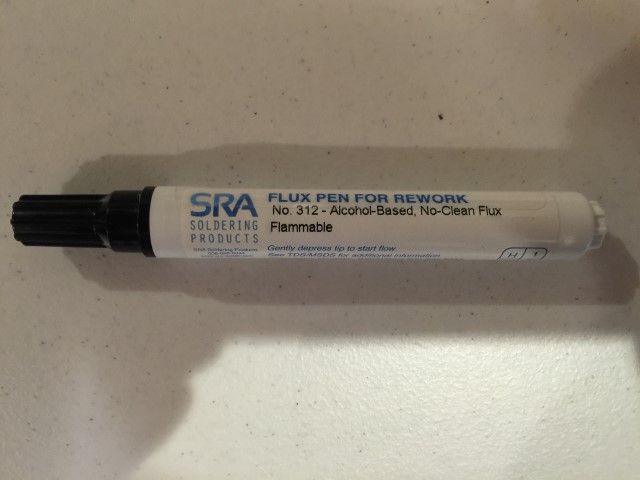
It really helps you precisely apply the flux. This really helps when the solder kept trying to crawl up the legs of the cap.
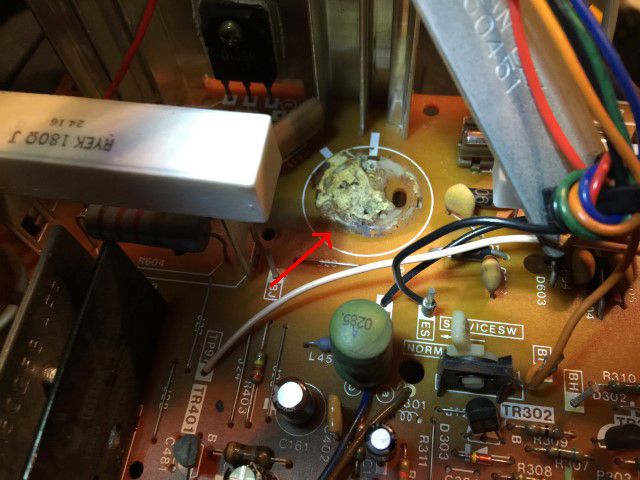
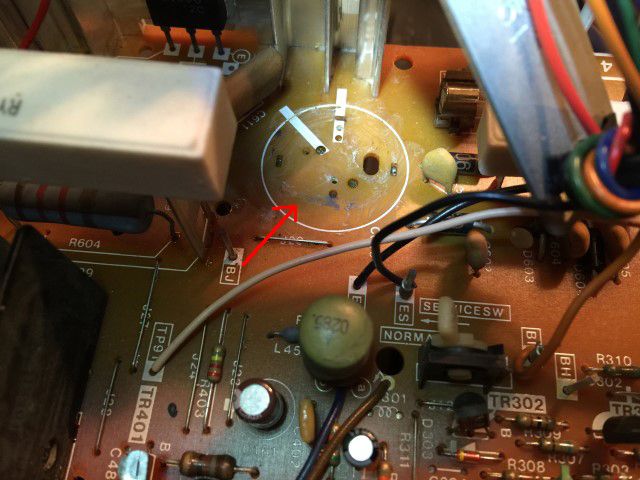
The worst cap was the B+ filter cap. As you can see it was totally rotted underneath. (funny how the new cap is so much smaller than the original)
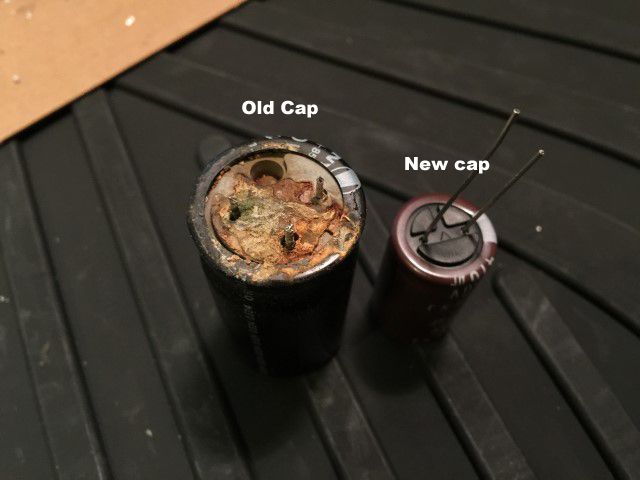
It was rotted so bad I even had to clean the pcb surface.
Before:
After:
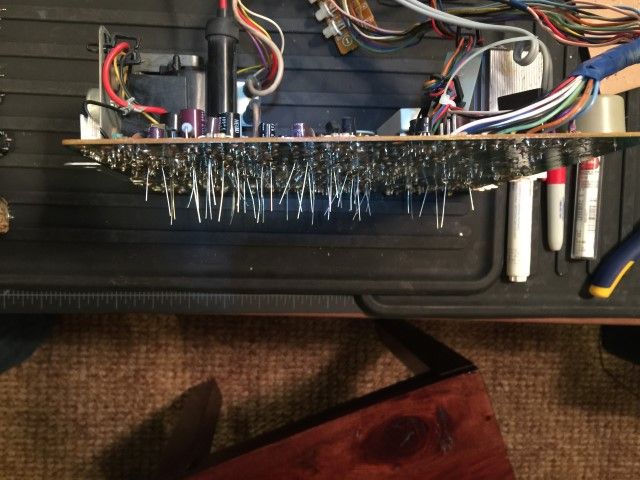
All the caps installed. Double checked the polarity and location on each one. Now just trimming the legs:
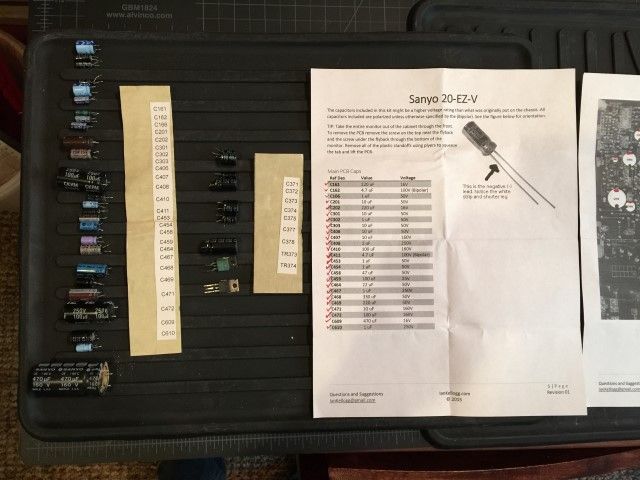
Ian's cap kit is so well organized. Makes this job so much easier. I even re-capped the sound amplifier. Just move down the list and checked them off as I went along. I really got in a groove about 1/2 way through.
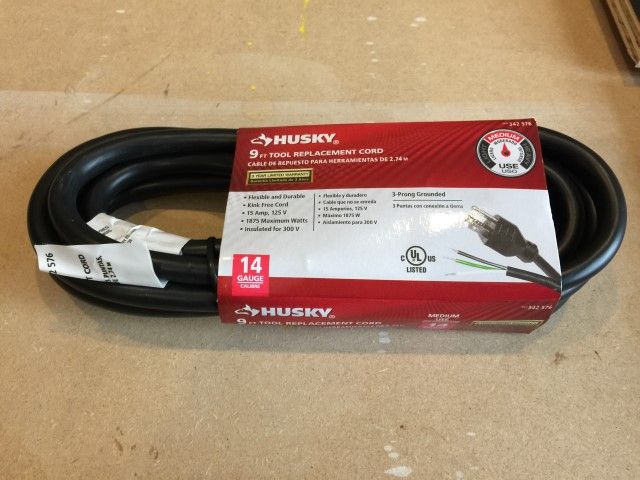
The original power cord on my fugly DK didn't even have the ground prong so I had to replace the entire cord before testing this monitor. Luckily Chance just did this on his Mario Bros restore so I just copied his work.

Thanks Chance!
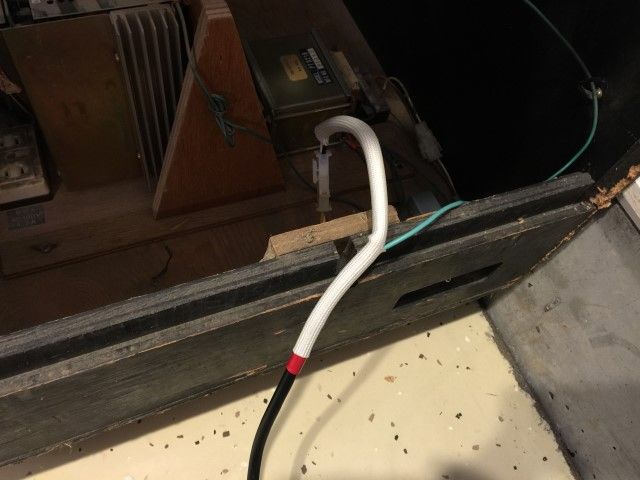
Got a 9ft. 14 gauge power cord from Home Depot. (with pre-stripped ends):
I also got the molex connections that Chance recommended from Molex.com. (PRO TIP: Molex.com offers free samples, so I actually got these totally free...yes, they even shipped it for free)
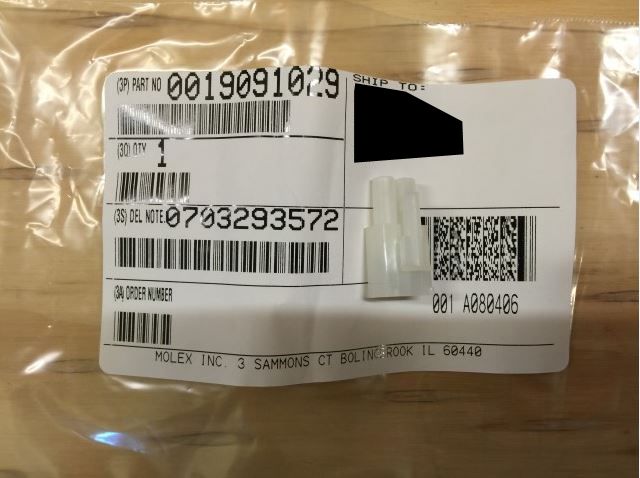
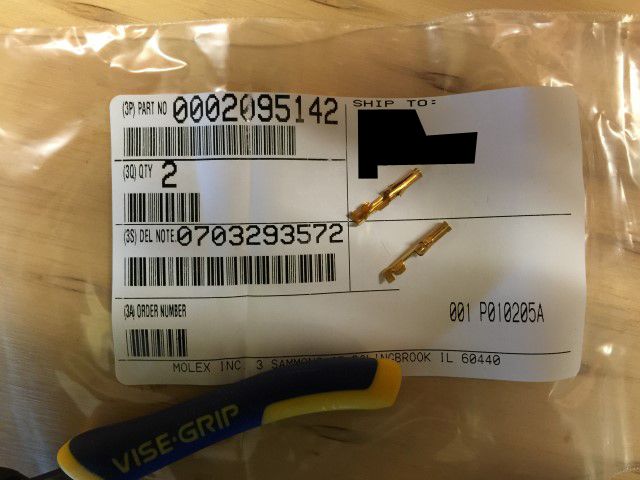
Connected them to the ends of the cord. I don't have a proper molex crimper but I made it work:

For now I just have the power cord running outside its normal hole because I still have to bondo and paint the cab later. Don't worry, I tested to make sure the molex fits through the hole after the fact.
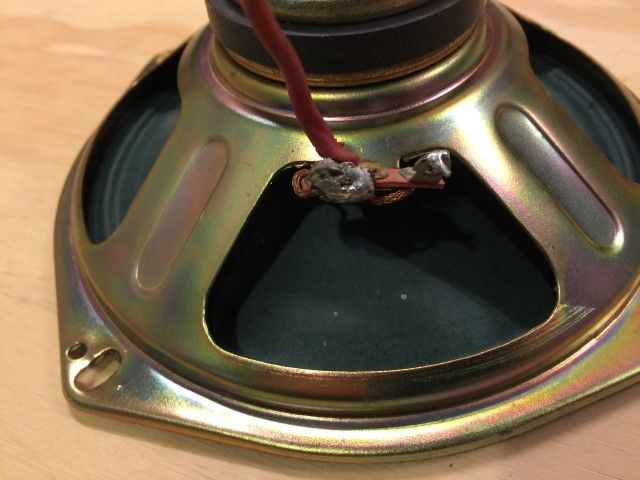
I also noticed the fantastic job the previous owner did soldering the speaker. I have since fixed that.
So I fired up the machine, made a TON of adjustments to every single POT and now I have a very good picture:

BUT....
In my efforts to figure out my constant hum and "wah-wah" alarm sound, I un-plugged the PCB and plugged it back in. Now no more sounds at all. I think something is broken on the PCB itself. I have a logic probe arriving tonight to help me narrow it down. (Full disclosure: I've never used a logic probe before) Yikes.
So I'm stumbling through this restoration. Learning a ton as I go and trying not to crowbar anything else. Please feel free to point and laugh at me about how to unplugged/re-plugged a PCB while an arcade is powered on. Learned that the hard way.


 Home
Home Help
Help Search
 Login
Login Register

 Send this topic
 Print
Print Topic: Donkey Kong Restoration (Read 45816 times)


