About 1 year ago, I started the process of designing a MAME cabinet. Like many, I thought the "uber-cabinet" with every control known to man was the way to go. But, as I worked through the process, I realized a few things:
1) I didn't want a single cabinet with 1,000s of games on it. Your average person would feel overwhelmed scrolling through an endless game list, no matter how well organized.
2) Different genres of games use different controls/monitor orientations, and they play best with their original setup.
3) I wanted a dedicated arcade room in my house one day, and it wouldn't be much fun with only one machine in it.
So, I narrowed down my game list, then split it up into 8 categories, based on genre, control type, number of players, etc. [ROMLister is super helpful here, by the way]. I've drawn up plans and artwork for a total of 8 different machines, each one designed after my favorite classic game in each genre. For example, my second machine, currently under construction, is a 2-player fighter/beat-em-up based on Street Fighter II; my trackball cabinet will be a Centipede, etc...
This machine is #1. I wanted to start with the old classics. The criteria for this was 1 player, 4/8 way joystick with hardware restriction, 2 buttons, and a vertical monitor. My favorite of these old-school games is, no surprise, Ms. Pac-Man. I made a few changes, but for the most part stayed true to the original design.
Here's construction pics of how it all came together. I didn't do a very thorough job of documenting things, but you get the idea. The only thing left to do is print and attach the side artwork - but it's just the standard factory artwork, so I haven't gotten around to doing it. I'm having too much fun playing it!

Assembling the parts...I traced the sides onto cardboard from an actual Ms PacMan at the local arcade.


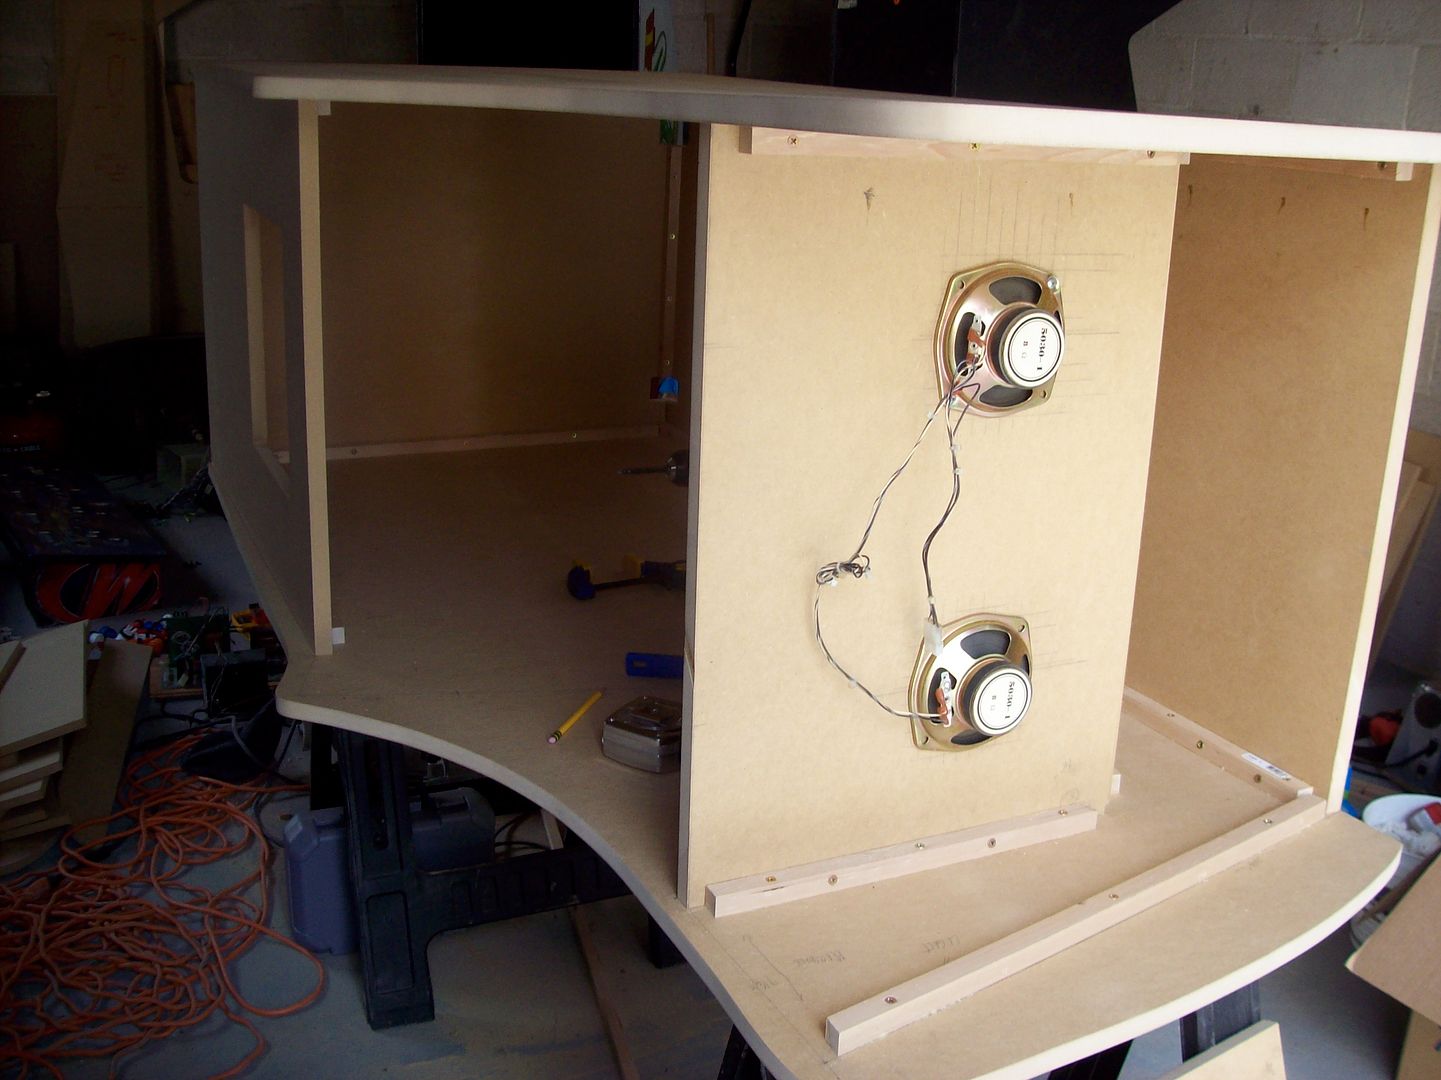
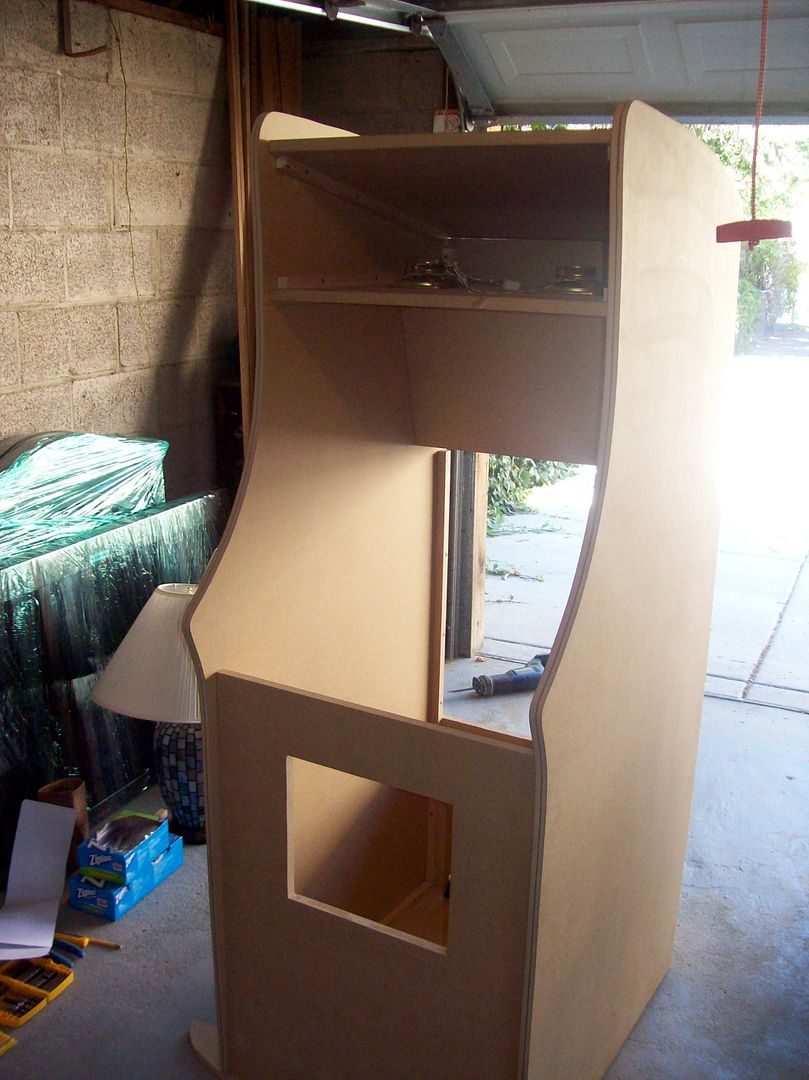
Finished and ready to sand/prime/paint. I went with a color-matched blue for the outside, and lots and lots of coats of semi-gloss black for the inside. I went with yellow T-molding, instead of the more common black or pink. I liked the way it matched the thin yellow lines on the artwork...


For the Control Panel, I sanded/primed about a dozen times. I lost track of how many final coats are on it. I wanted it shiny and smooth:


OK, now for the internals. I reused an old coin bucket and built a little shelf to collect the tokens. This thing is tokens only - no "coin button" is a rule for all of my machines.

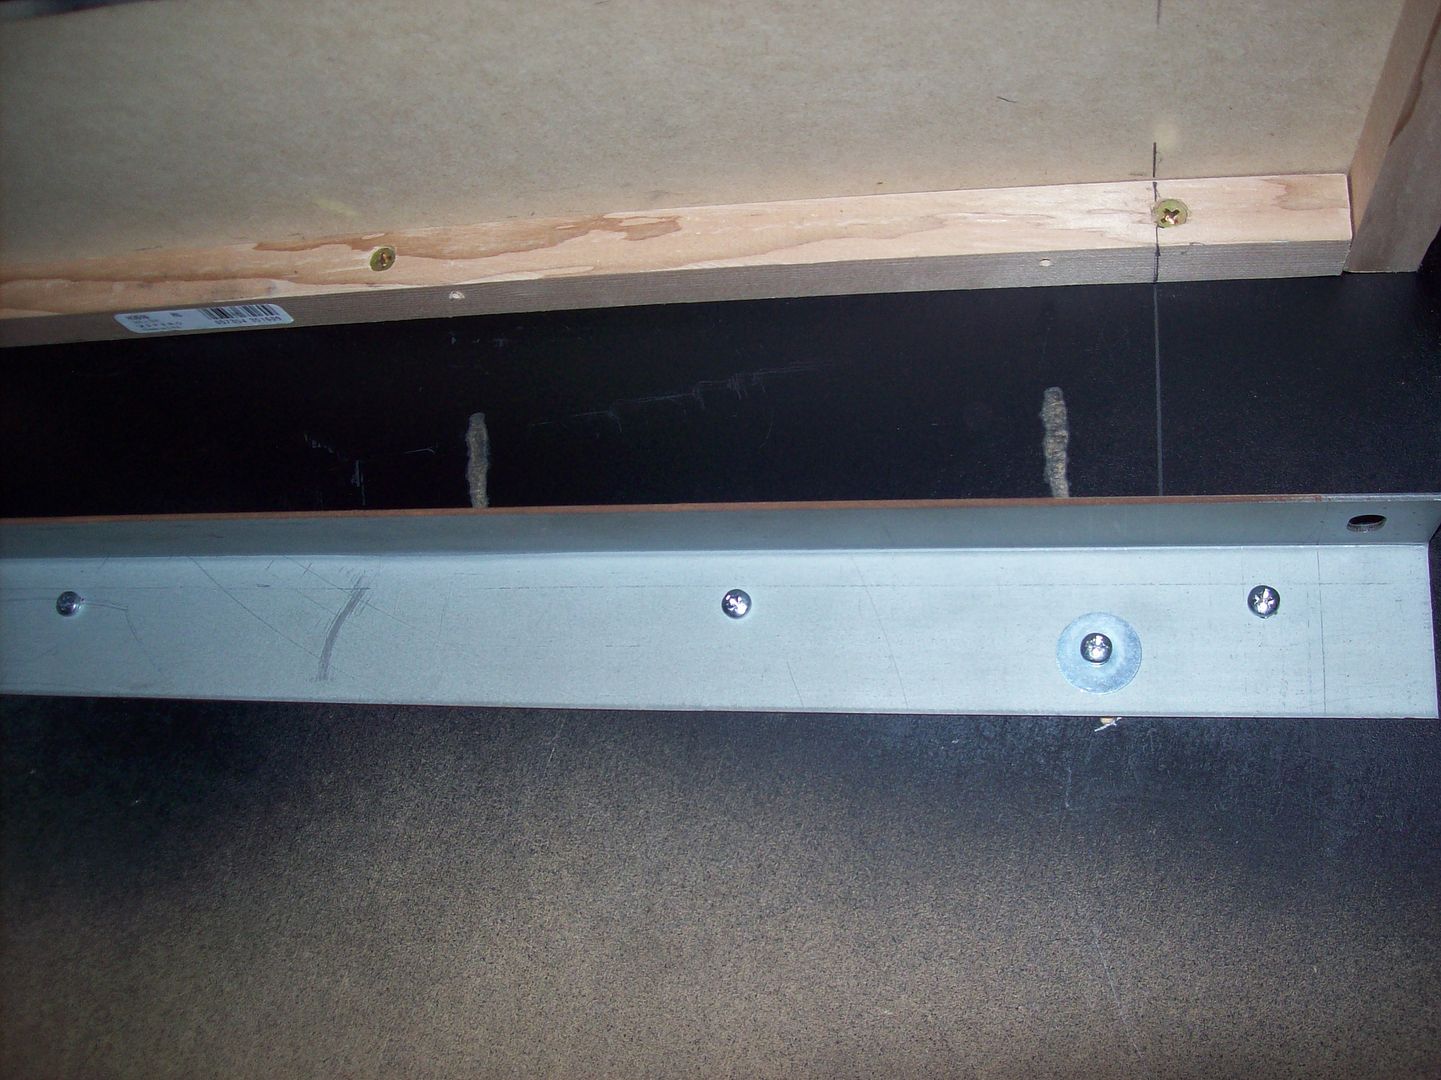
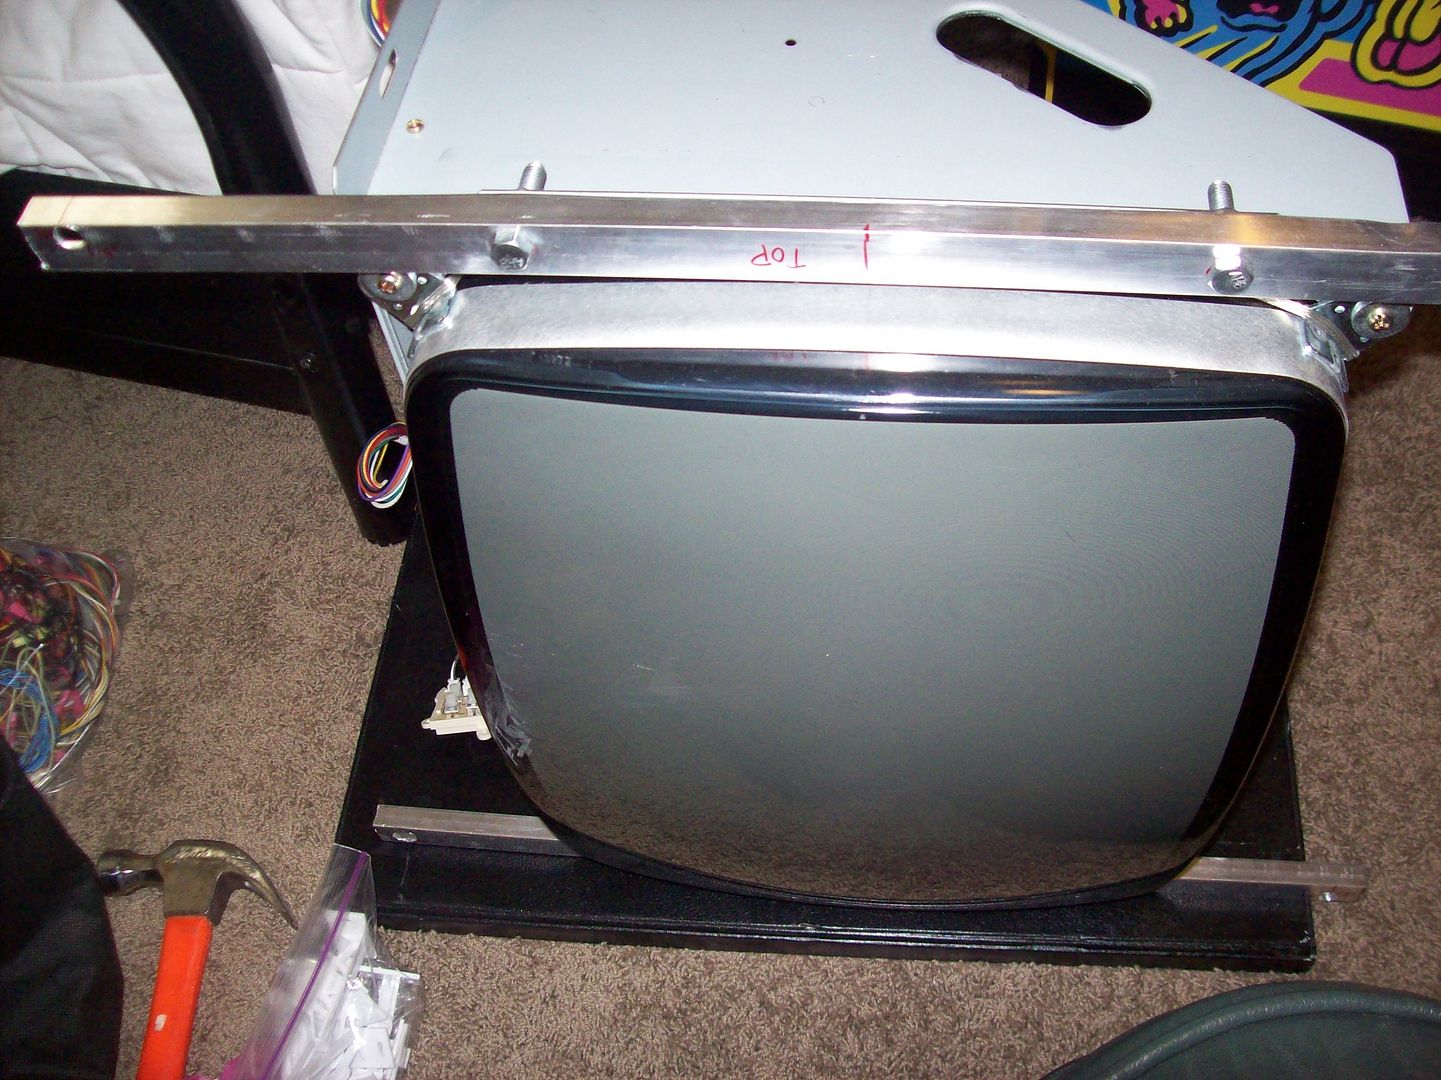
For the monitor, I got a hold of some actual Midway mounting brackets out of an old BurgerTime. It fit my new monitor exactly.
The monitor was the last new one in stock at a local arcade distributor's place. It's a Neotec and it works perfectly.
Here's the PC running the show. Old games, running MALA, so it's not much - just a Pentium IV w/ 1G of ram. I used a CF card instead of a hard drive. It's quick, silent, and it's set to read-only, so it won't wear down over time.
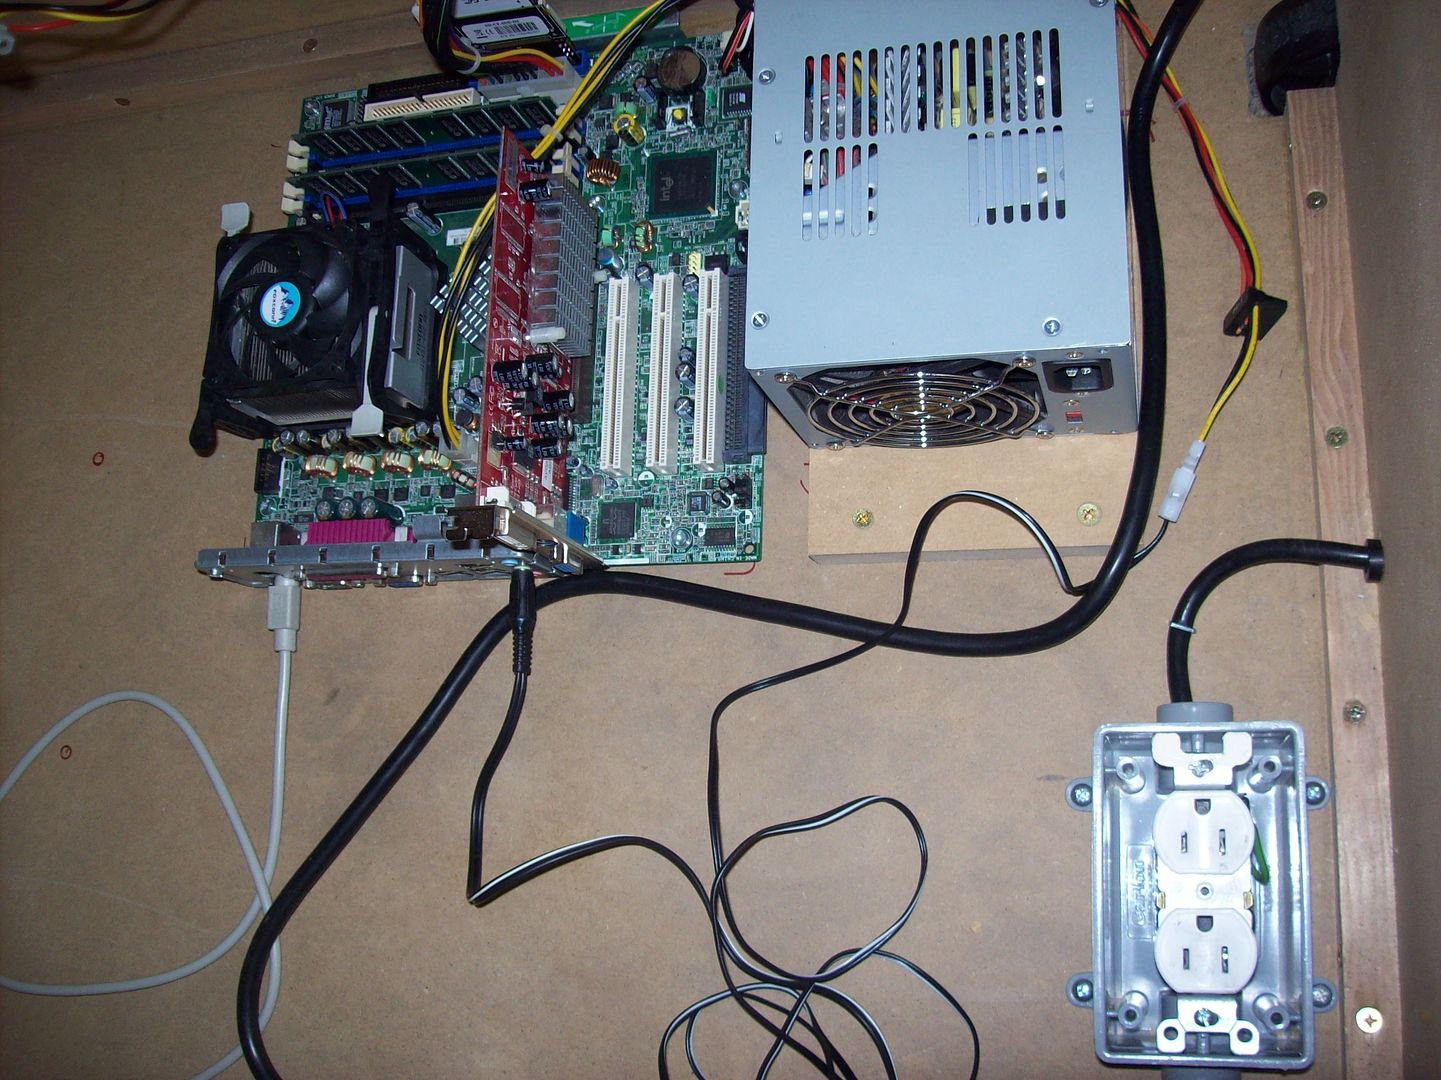
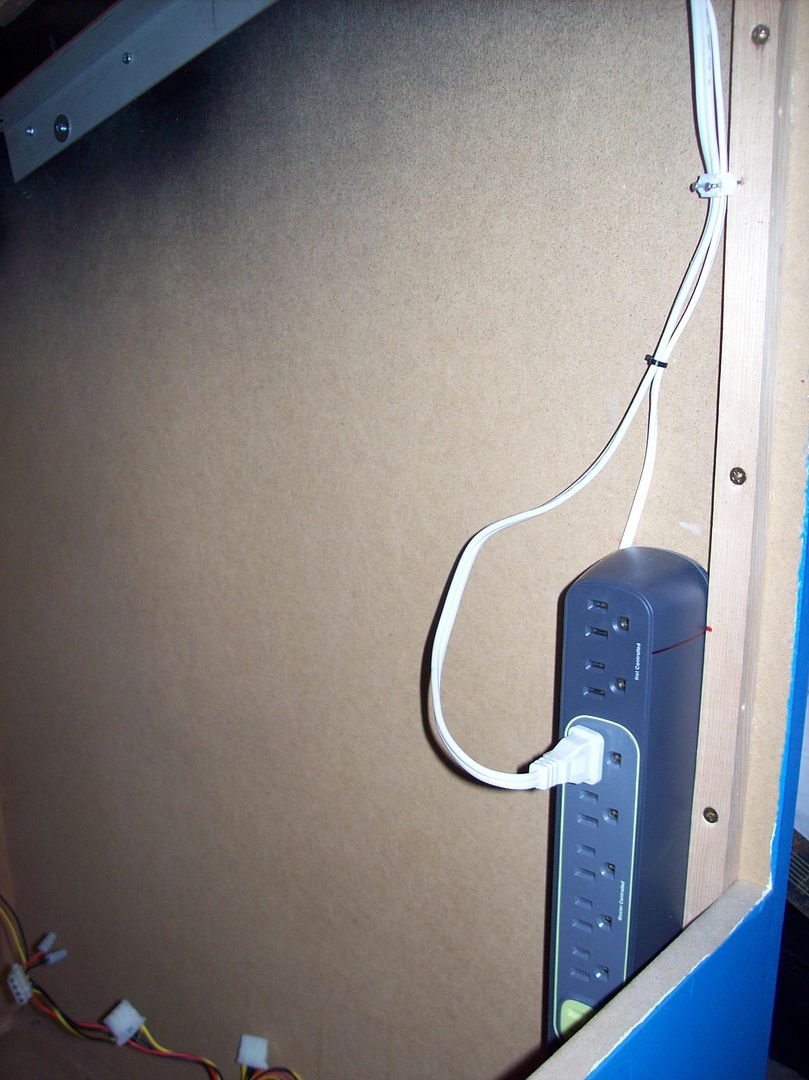
I could have wired everything by hand to make the monitor turn on when the PC does, but I found this powerstrip that does the same thing by Belkin.
Cheap-o audio amplifier from somewhere in Asia. Works great!

A little detail that I was proud of. I found this little rubber gasket thingy in a random bag of parts. Makes the power cord look like the real deal.

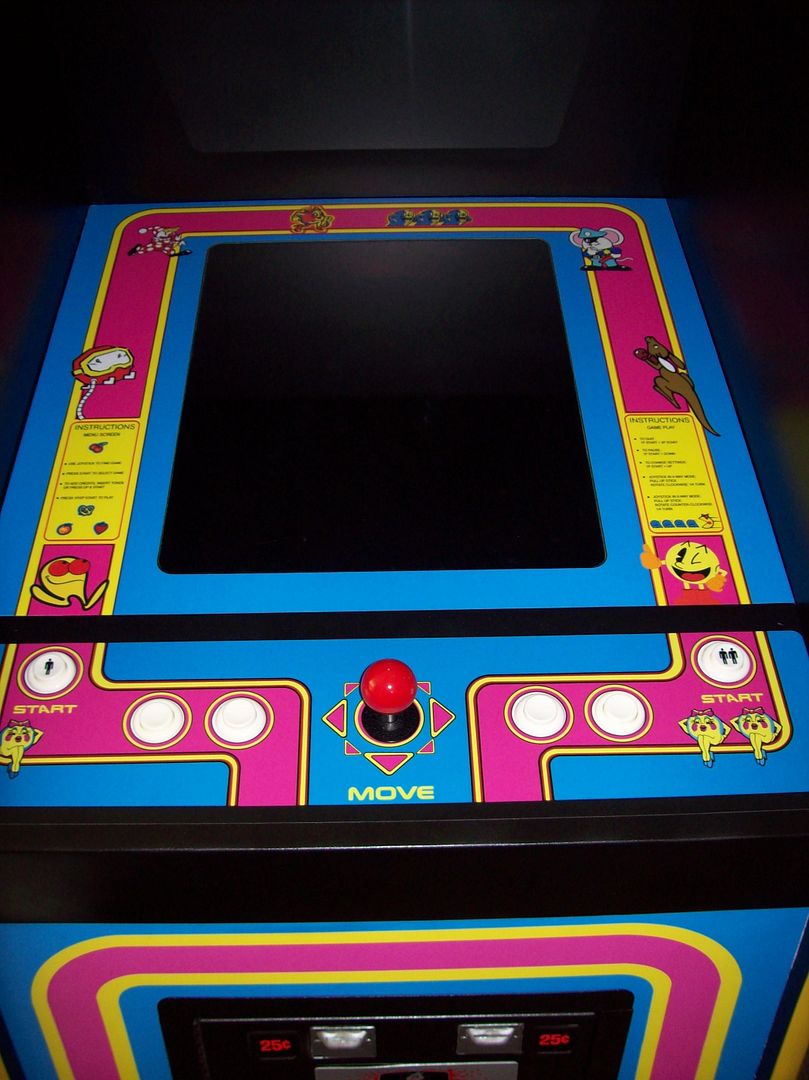
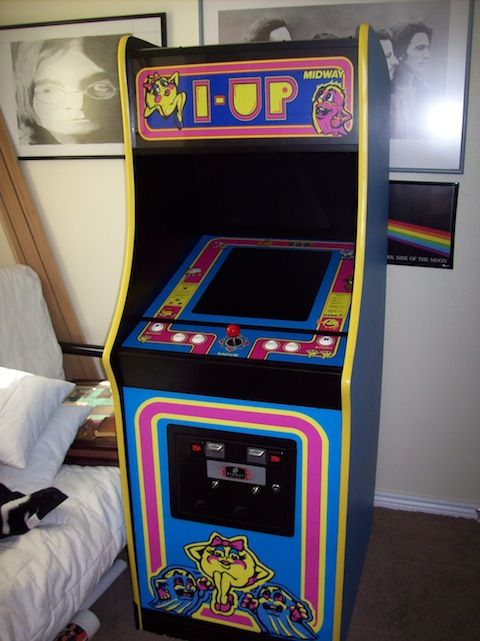
And...here are three pics of the whole thing finished. I used both an original kickplate and corner protectors. Some people don't like them, but I think it looks fine and I really don't want the front/corners ever getting damaged.

Final comments/things I would do differently next time:
Overall, I'm very happy with it. There are some little things that bug me, but no one but me really notices them. I would put the 2 buttons a bit closer together. For most 2-button games, you only use the 2nd button occasionally, but it can be a bit of a stretch for some fingers on some games.
I should have wrapped the entire CP with a vinyl graphic; I left the "front" of it with the painted finish. It looks good, but there is a visible line/edge where the graphic ends.
I placed the power switch on top, in the back left corner. It's a little bit of a stretch to reach it. Future machines will all have the switch located in the front left corner for easy access.
Questions? Comments? Thanks for looking.


 Home
Home Help
Help Search
 Login
Login Register

 Send this topic
 Print
Print Topic: Scratch-built Ms. Pac-Man (nearly finished) (Read 5224 times)


