I thought I'd post the details of my USB joystick hack, in case it could help someone.
I purchased a USB joystick from DealExtreme. It was just $9.19, shipped, and it's easy to hack.
http://www.dealextreme.com/details.dx/sku.618
Remove the small screws on the back side of the joystick to open it. My joystick had one screw hidden under a round sticker. The wires from the USB cable are really small and delicate. I added a few globs of hot glue where they connect to the circuit board to give them some more strength.
I removed a couple smaller boards, removed the rumble motors, and removed the left and right triggers. Remove the arrow buttons. I only needed three buttons for my jukebox, so the arrows buttons were perfect. In this picture, you can see the copper pads under where the arrow buttons used to be, with my wires soldered.
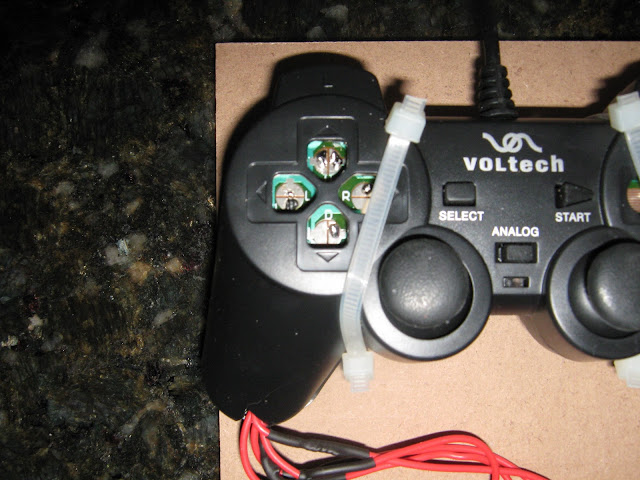
When you press down on a button on the joystick, the button "short circuits" across two halves of a copper pad. To hack the joystick, we need to solder wires to the two halves of the copper pad, and then attach the wires to the terminals of an external button. That way, when you press the external button, it shorts the two halves of the pad and the joystick will record a button push.
One half of the pad is "ground" and is shared among all the buttons. Just look at the traces and see which path connects to half of all the pads. That's the ground (you'll connect this to the common terminal on your external button). The other half of the pad will be connected to the NO terminal of your external button.
The easiest way to solder a wire to a copper pad is to drill a small hole through the pad, poke the wire up through the hole, apply solder, and then cut the extra wire poking out of the solder. Amazon has some cheap drill bits for this...
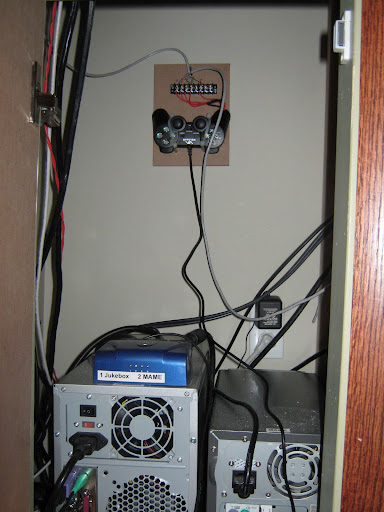
http://www.amazon.com/gp/product/B000FMYG8U/ref=oss_productI nibbled away some of the plastic and ran the wires out of the handle of the joystick. I mounted the joystick to a small board, and ran the wires to a barrier strip. You can get this at Radio Shack for a couple of bucks.
http://www.radioshack.com/product/index.jsp?productId=2103983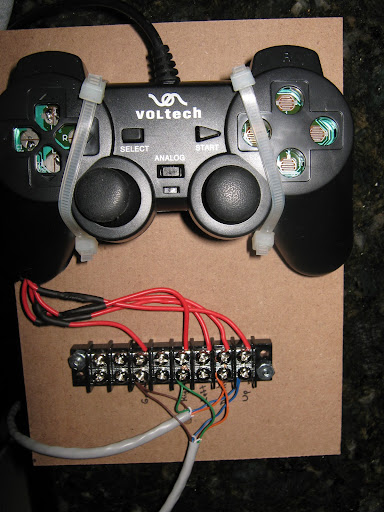
Label each of the wires (Up, Down, Left, Right, Ground).
Next, you need to connect the wires to your external buttons. The common terminal of the buttons are all connected together, and connect to the ground screw on the barrier strip. The Up, Down, and Right external button NO terminal connects to the corresponding connection on the barrier strip.
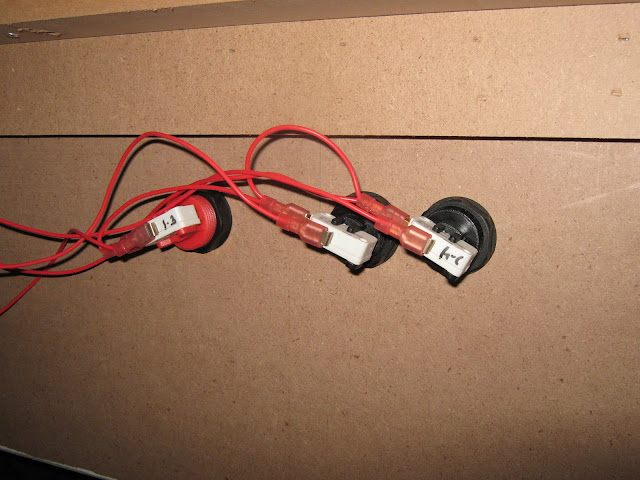
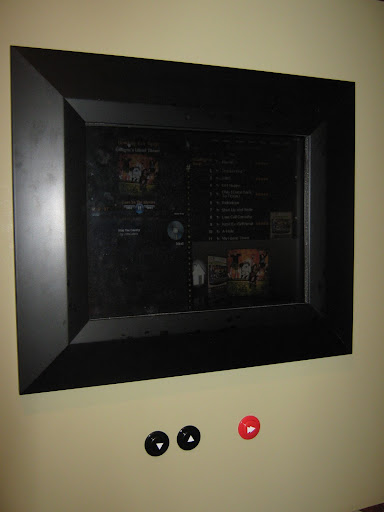
I connected the buttons below the touch screen, and duplicate buttons behind the bar.
For my jukebox, Up=volume up, Down=volume down, and right=skip song.
Once everything is wired up, you need some software to translate the button presses to keys. I used JoyToKey...
http://www.electracode.com/4/joy2key/JoyToKey%20English%20Version.htmI use AudioSoft eJukebox software. There are lots of shortcut keys that can be mapped to physical buttons if you want.
http://www.audiosoft.net/forums/viewthread.php?tid=2361#pid78520Overall, this was a pretty easy hack, with pretty cool results.
--Burke


 Home
Home Help
Help Search
 Login
Login Register

 Send this topic
 Print
Print Topic: Jukebox USB joystick hack - HOWTO (Read 11767 times)


