"Creature from the Black Lagoon"
40 x 67,5cm, backer board 8mm, lagoon 4mm, bottom overlay 4mm, backer board head 4mm, head 4mm
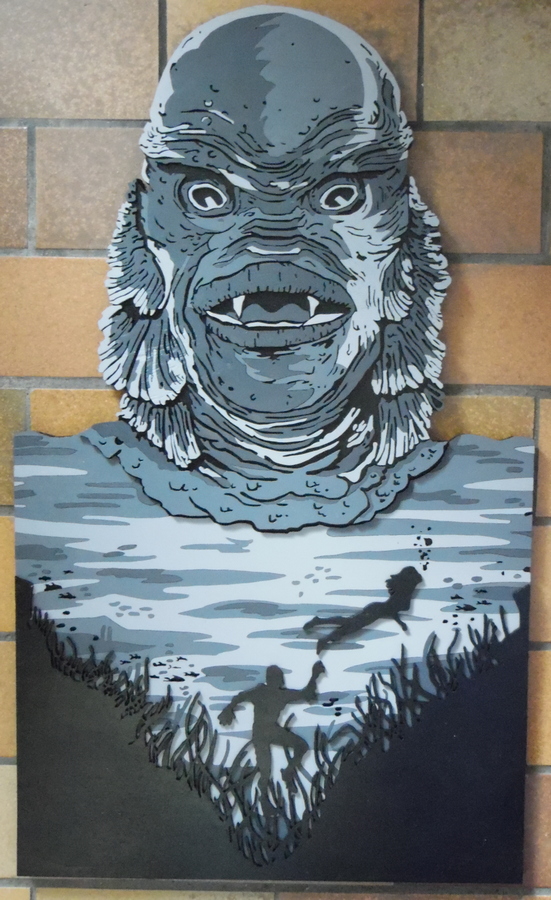
So, to celebrate the 70ieth birthday of the Creature from the Black Lagoon, I made this. Scratch that, I'm just a fan of the Creature, I liked the pic and, crazy nut that I am, I had to do it.
This thing has 3 layers, the backer board, the lagoon and the backer board for the head, and finally the black bottom overlay and the head. The size is about 4 A4 sheets.
To give you an inkling how much work was involved, here is what I did.
1. Creating the patterns.
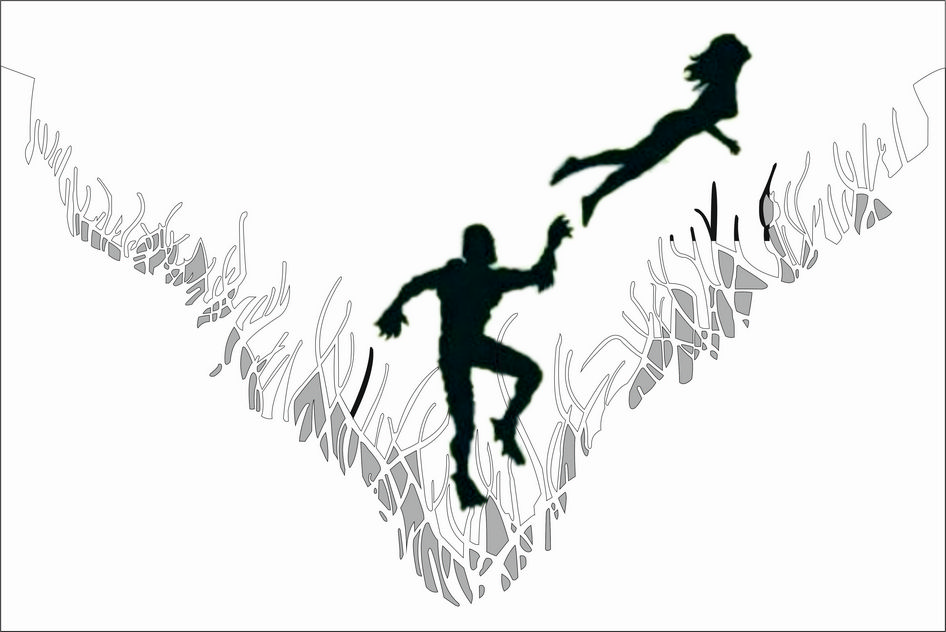
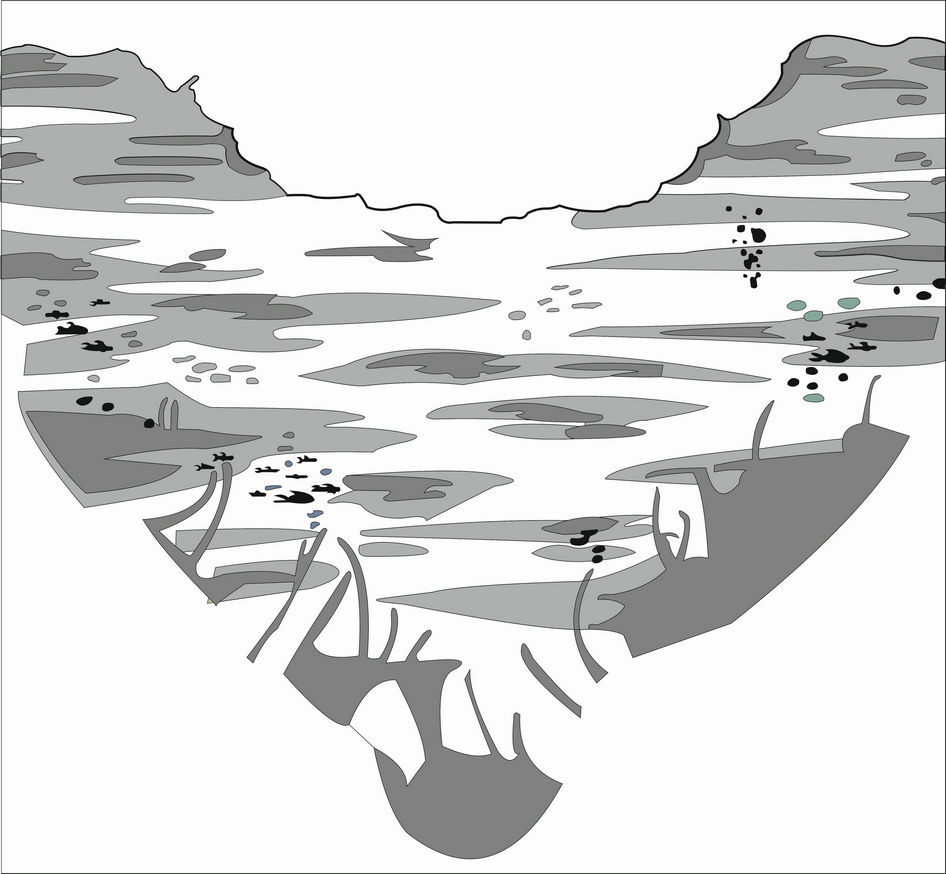
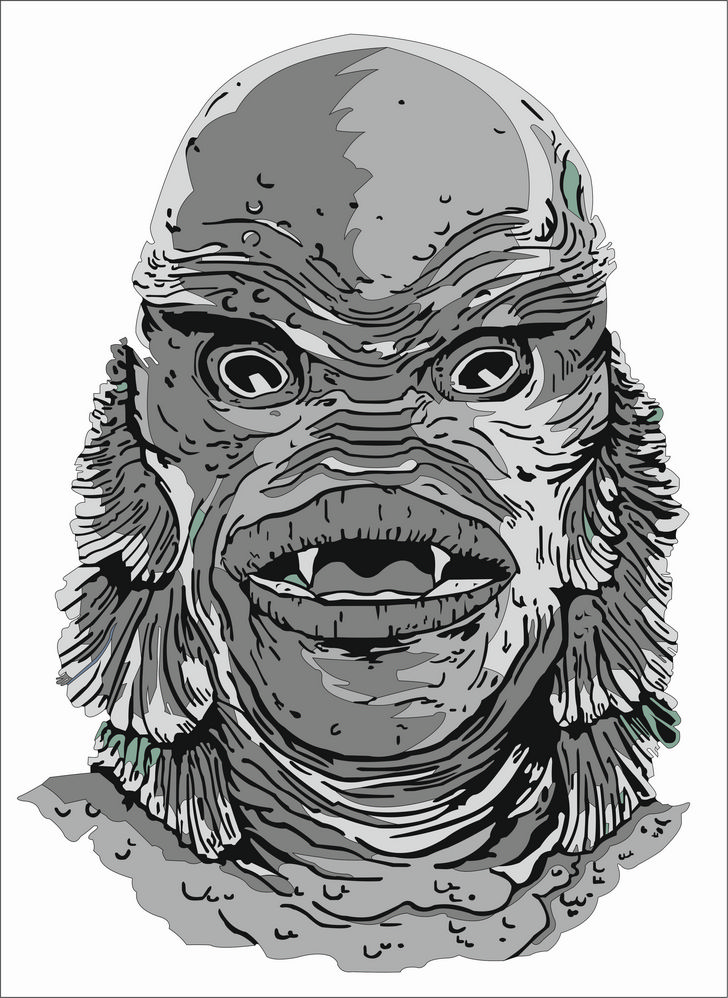
I had to recreate every single line from the original pic, except for the Creature and the swimmer, which I just wasn't able to do right and so just copied the originals.
To do a line requires 3 mouse clicks and moving the mouse around until I get the shape I want. For example, doing an 'S' requires two lines.
Now imagine how much fun it was to do the patterns.
2. Doing the bottom overlay.
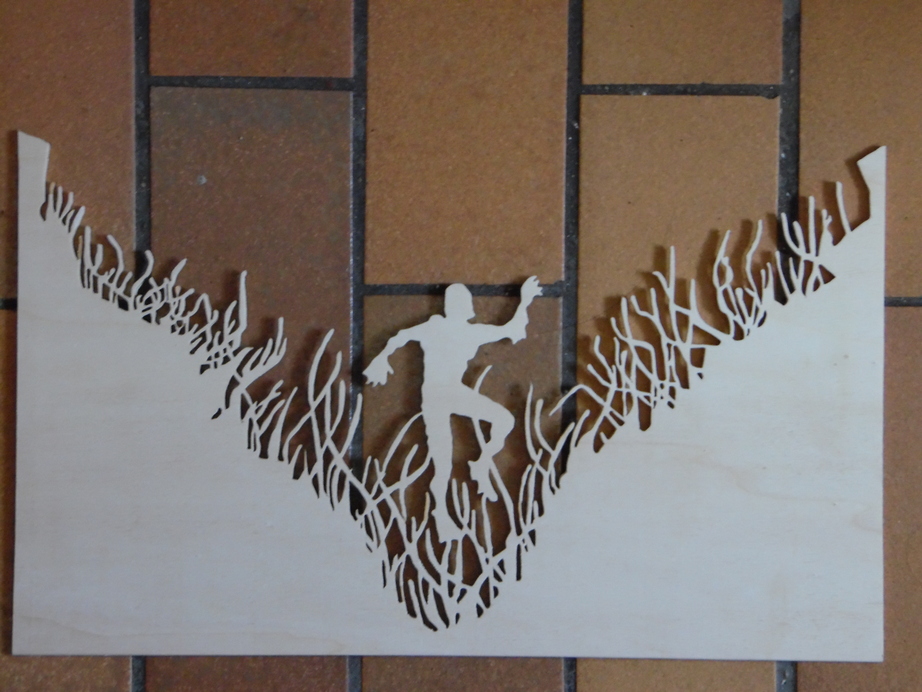
- Cut a board to approx. size (by hand), cover it with painter's tape
- spray glue on the back of the pattern, stick it to the board
- saw out the pattern
- sand every surface
- paint every surface except the bottom
3. Doing the lagoon.
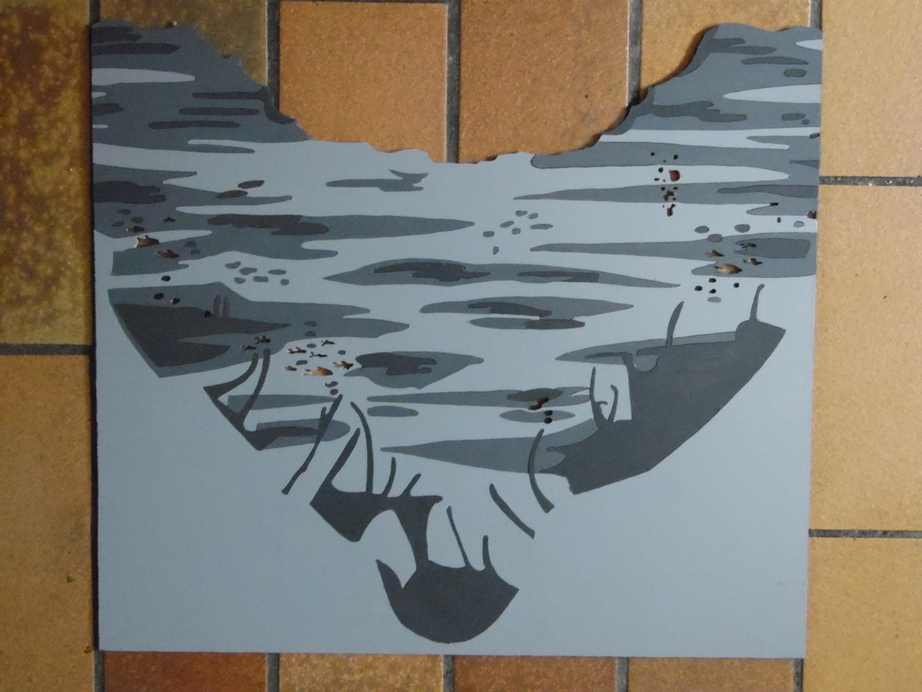
Same as doing the bottom overlay, except we now have a ton of pieces which all have to be cut out, sanded, painted and then puzzled back together.
4. Cutting out the backer for the head.
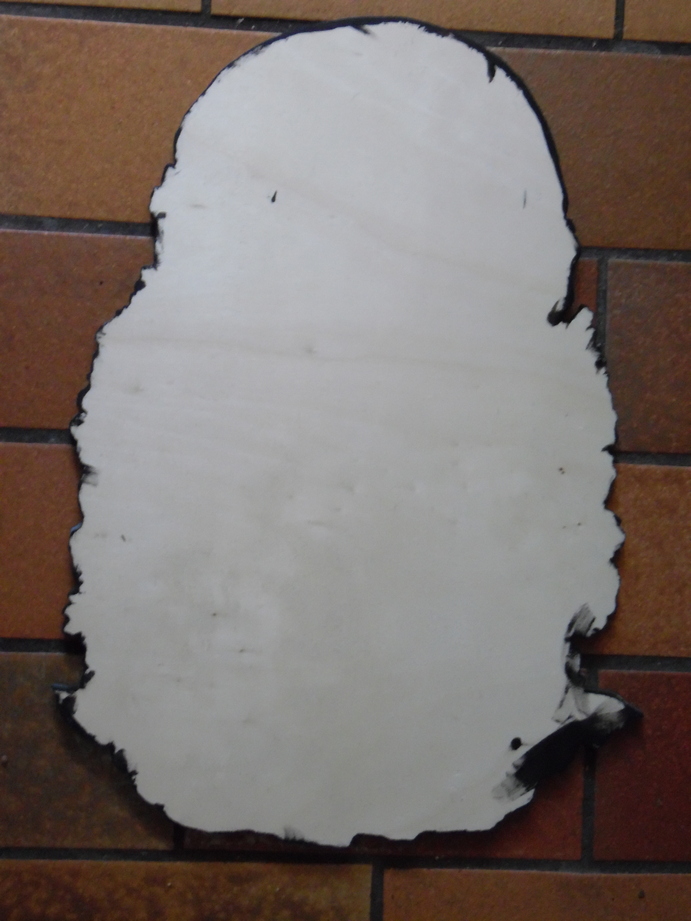
- Cut a board to approx. size (by hand), cover it with painter's tape
- spray glue on the back of the pattern, stick it to the board
- saw out the head's outline
- paint it black
5. Doing the head.
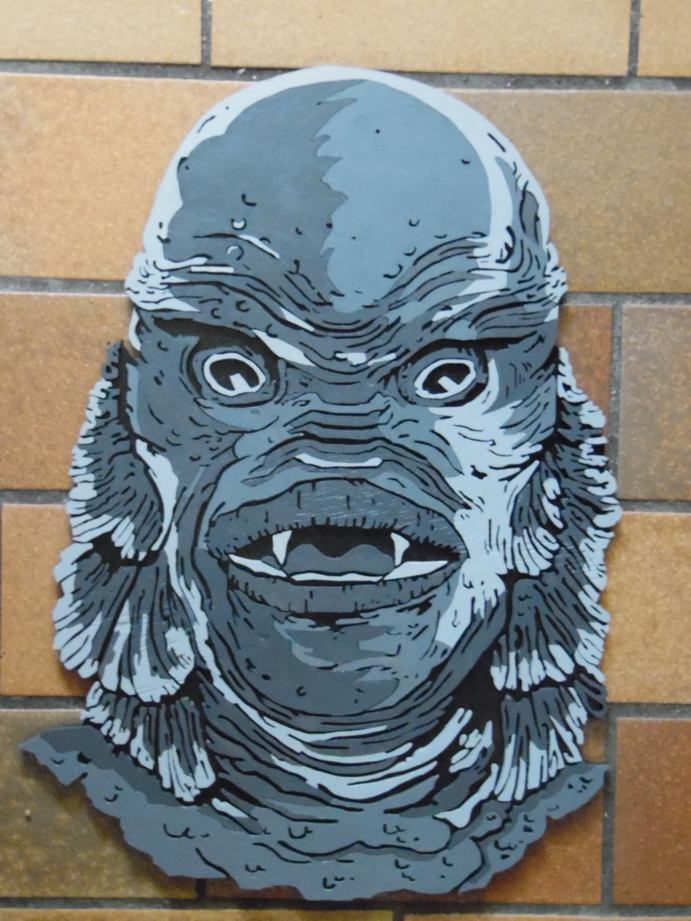
Same as doing the lagoon, a megaton of pieces, some of them very small, a few very big, and puzzling them all back together is no mean feat.
To add some suspense, those highlight pieces at the side of the head are very delicate and mostly attached to the main piece by very thin strands
(think 2mm or less), which makes them hard to cut and hard to glue back together.
Glueing the pieces onto the backer board presents a problem, too, because by sawing them out you obviously remove a small amount of material,
so when putting them back together they don't fit a 100% anymore, which distorts the picture very slightly. It's also impossible to glue every piece
to the exact place it belongs to, yet you have to put them all together so that they fit on the backer board.
6. Doing the backer board.
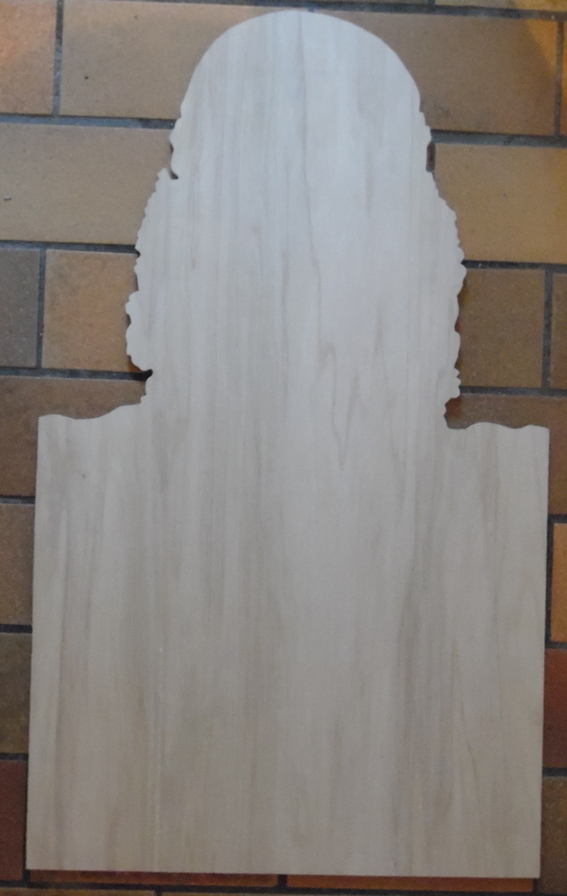
- Cut an 8mm board to approx. size (by hand)
- put the assembled lagoon piece at the bottom, place the head accordingly, trace the outlines with a pencil
- had to use a bigger, heavier and more cumbersome saw to cut it out because of the massive size of the board
- paint it black
7. Finish!
- glue the lagoon piece onto the backer board
- glue the head onto the head's backer board
- glue the head onto the big backer board
- glue the bottom overlay onto the lagoon
- glue the swimmer onto the lagoon
- Yay!


 Home
Home Help
Help Search
 Login
Login Register
 Send this topic
 Print
Print


