I'm not sure how big it is TBH, i just cordened off about 1/3 of my garage using some plastic dust sheets i bought from a local hardware store. I didn't cover the roof, just the sides. Think it was something like 12' x 9'.
Well what can i say..... In the final week, if something could go wrong, it did go wrong. I was right on schedule uptil saturday, and thats when i hit the first of my setbacks....
The painting had gone exactly to plan - the pink colour looked superb and i got it painted in good time. It contrasted well with the purple of the control panel, which matches the purple of the T-Moulding.
I even added a touch of silver glitter spray which loked great on the purple..
Finished Control Panel Close Up of Glitter Effect
The picture looks a little dark, as i had to take the picture without a flash to capture the glitter effect.
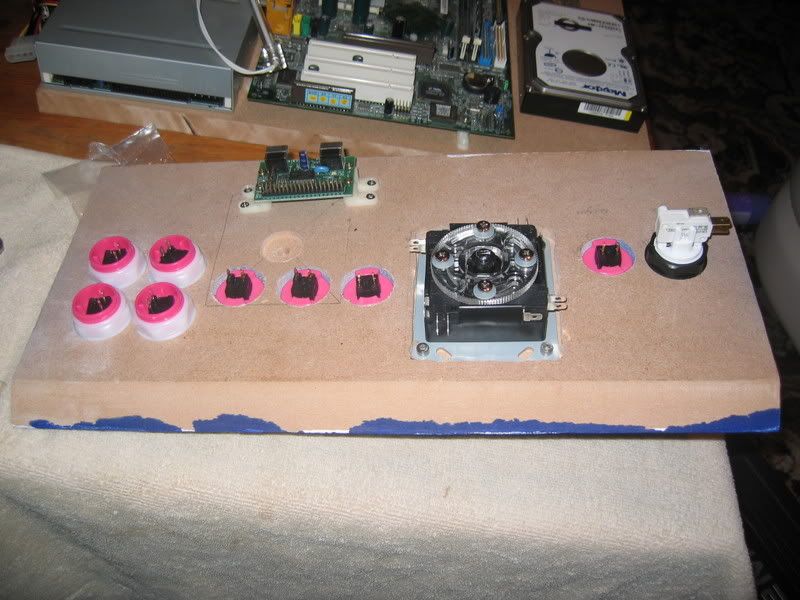
I then had the great job of wiring it all up, so underneath looked like this to begin with.
Then i started wiring the controls. As it's only a small CP i decided that i would actually snip and solder the wires from the minipac as otherwise they were WAY to long.
Start Of The Wiring Procedure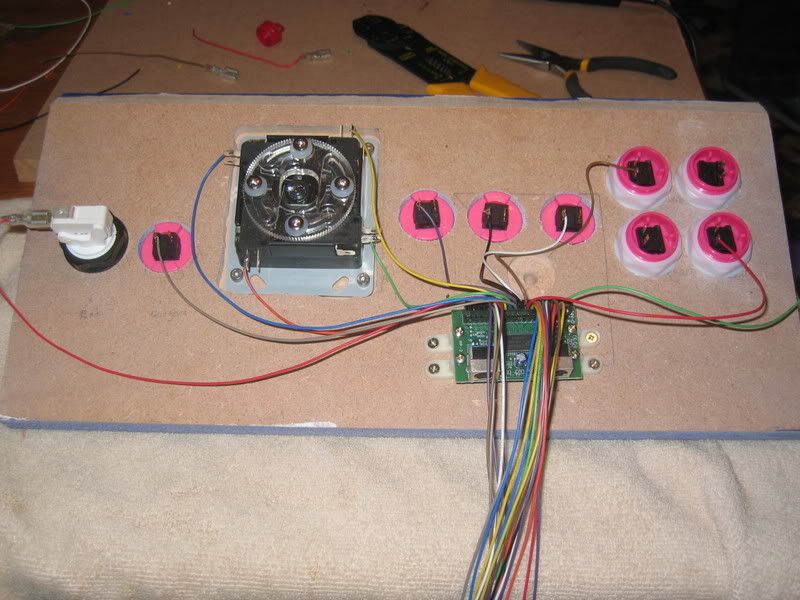
I also sorted out the motherboard components and fixed them onto the drawer that would fit inside the cabinet.
Fully Wired CP & Component Shelf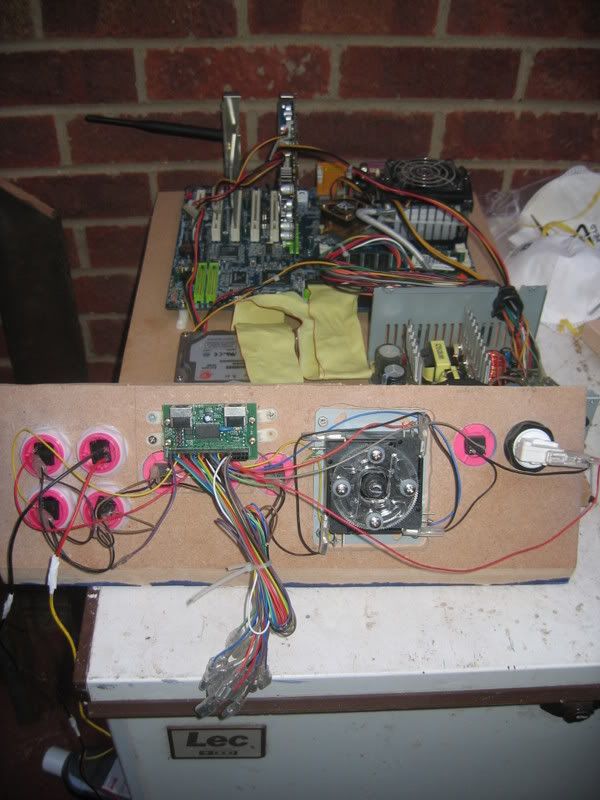
Now this is where i hit my first snag......
I connected the CP up to my laptop to program all the buttons i needed like so

Programmed all the buttons which was easy, started up Mamewah on my laptop, tested the joystick and buttons everything worked great... Turned the laptop off, re-started it, loaded up mamewah and............ Nothing:mad:
Thought it may be my soldering skills that were in question, so i unsoldered everything then proceeded to solder each button and joystick microswitch one by one testing it using the winipac programming utility making sure each one worked. By now a half hour job had taken well over and hour and i was still in the testing phase. The newly soldered CP worked great, until i turned the laptop off then i encountered exactly the same problem. Everytime i re-started the laptop i had to re-program the minipac.
By now i was starting to panic... Was it a faulty board, was i doing something wrong, was my soldering naff.. I'd even tried programming it direct to the EEPROM using CTRL+ALT+P and that didn't work either!!!
"I know, i thought. I'll try it on my desktop PC" so i plugged the CP in and away i went and had exactly the same problem. At this time, I'm not afraid to admit that i was almost close to tears

Thinking my neice wasn't going to have a Christmas present. So i was posting on the mamewah forum, and hoping to get some help to remedy the situation. Anyhow, just on the off chance i unplugged the CP from the front USB port and plugged it into one of the ports on the back directly connected to the motherboard. Low & Behold after programming and re-starting the computerit had kept the settings:D!! By now i had wasted well over 5 hours trying to get this sorted and decided that i needed a break and would finish everything else up on christmas eve..
CHRISTMAS EVEWell i got up early to make a good start on the cabinet. Went to test fit the control panel back in the cab and i hit my first snag of the day. The control panel didn't fit! The minipac interface was catching on the monitor shelf. This was an easy fix, i just routed out a space in the front of the monitor shelf so the minipac would fit...
Once that was done, i fitted the speaker panel and the marquee and lights, so at this stage it was looking something like this
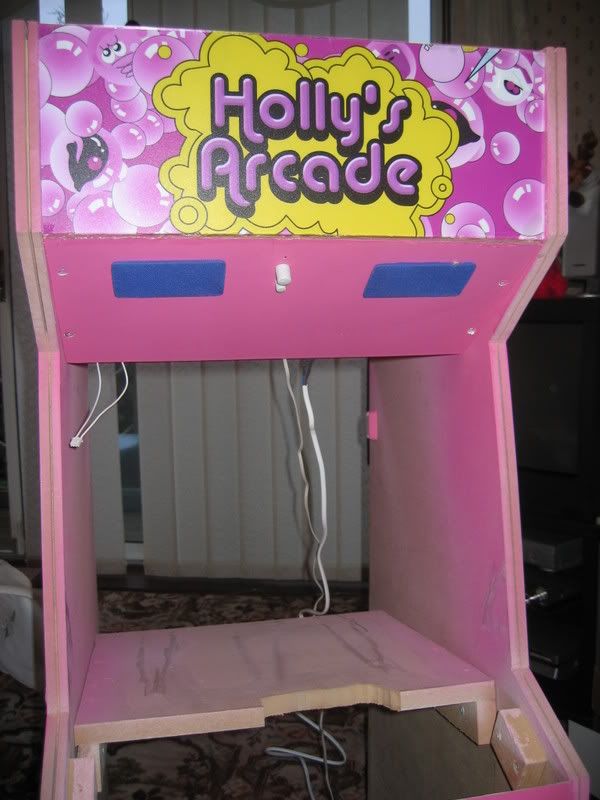
You can also see the space i routed for the minipac.
Anyway to cut a long story short. I think that because the cabinet had been moved about so much that it had twisted slightly so things weren't fitting as they should, but i stuck to my guns and just made small modifications where necessary to get everything to fit but all these took time, and time was now something i didn't have alot of. Eventually i had a fully working cab i jsut needed to fit the T-moulding, which didn't quite fit in a couple of places as the slot was slightly to wide and the barbs weren't gripping properly. Unfortunately i didn't rectilfy this until later on Christmas day (super glue is a wonderful invention).
I just tweaked the cab so it booted straight into mamewah and when pressing the designated on/off button it shut the cab down and the monitor went into stand by mode. Which was good as everything is powered from the computer PSU so when "on" is pressed the monitor, marquee lights and computer all come on together and all turn off together too.
The Fully Finished Cab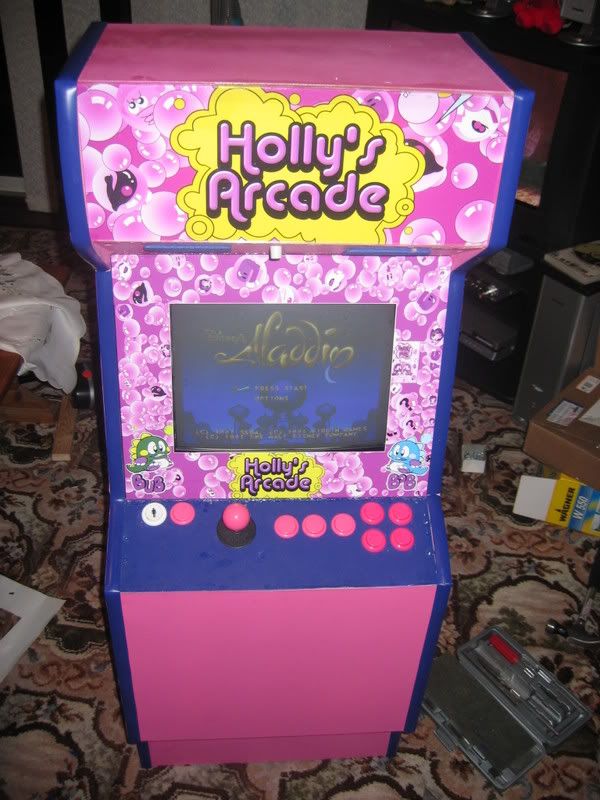
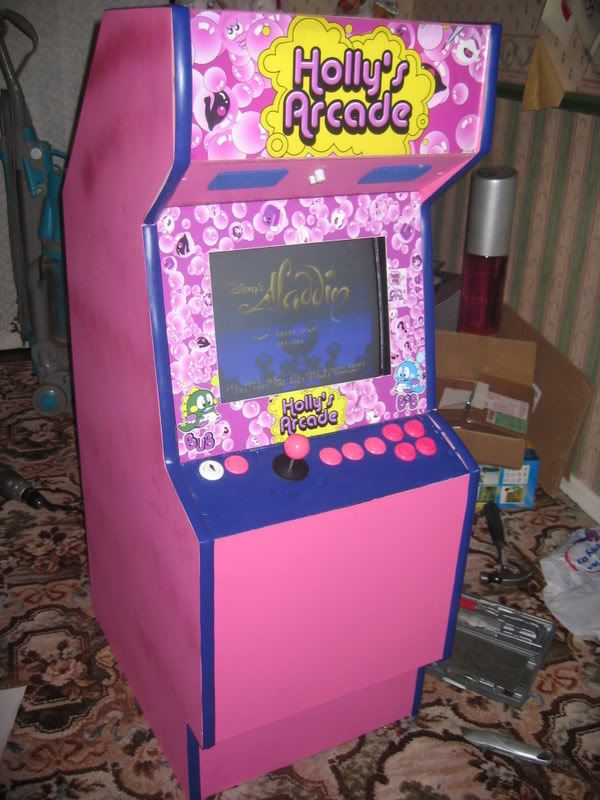
These next pictures are what made the whole process worthwhile.
Holly's Arcade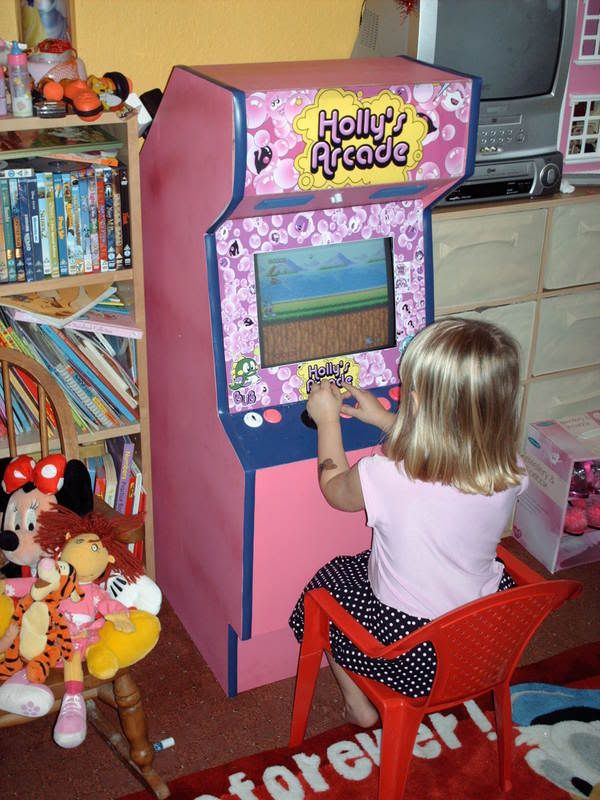
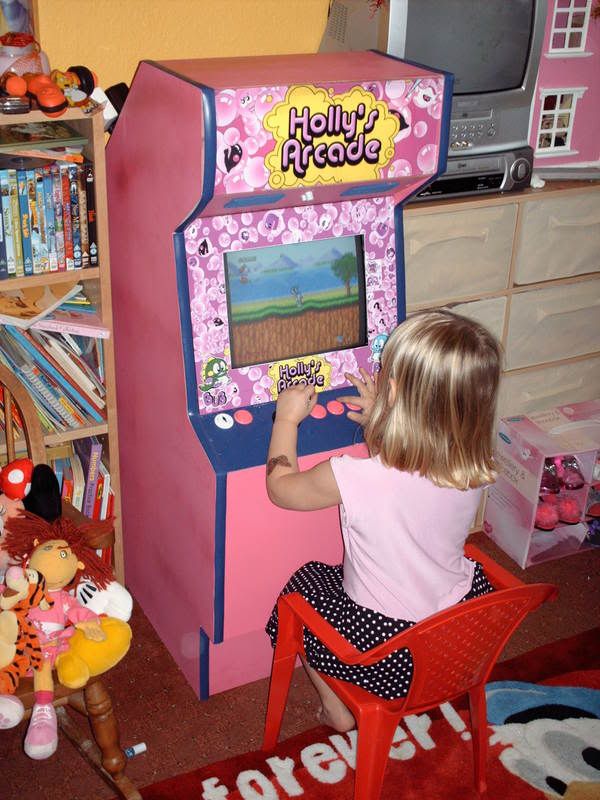
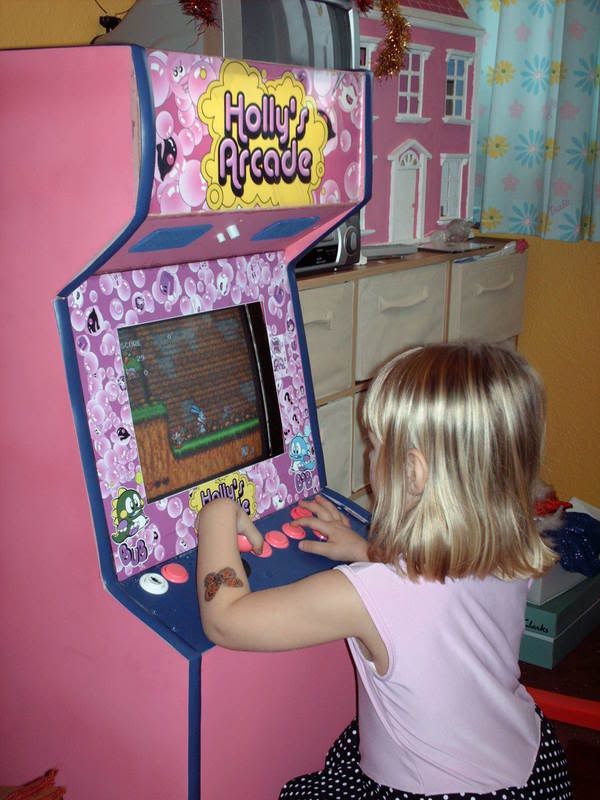
It's not exactly perfect, but i don't think it's too bad for my first attempt, and my neice loves it!!!!!


 Home
Home Help
Help Search
 Login
Login Register

 Send this topic
 Print
Print Topic: The Little Pink One...... (Read 11226 times)


