Thanks for the kind words. The CRT is the heart of this project, I just don't find myself playing my LCD cabinets ever, and a big reason is because of the LCD.
I'm happy to say the initial build is 99% complete at this point, the only thing left is to mount the back service door, hinges are already installed just need to clip on and adjust. Wood filler and sand the front bezel so it looks like one piece, and change up my marquee mounting as I wasn't happy with how aluminum angle looked, I'm going to inset the diffuser and just use t-molding. I'll take some photos once I get to that as I need to disassemble quite a bit before I can work on it.
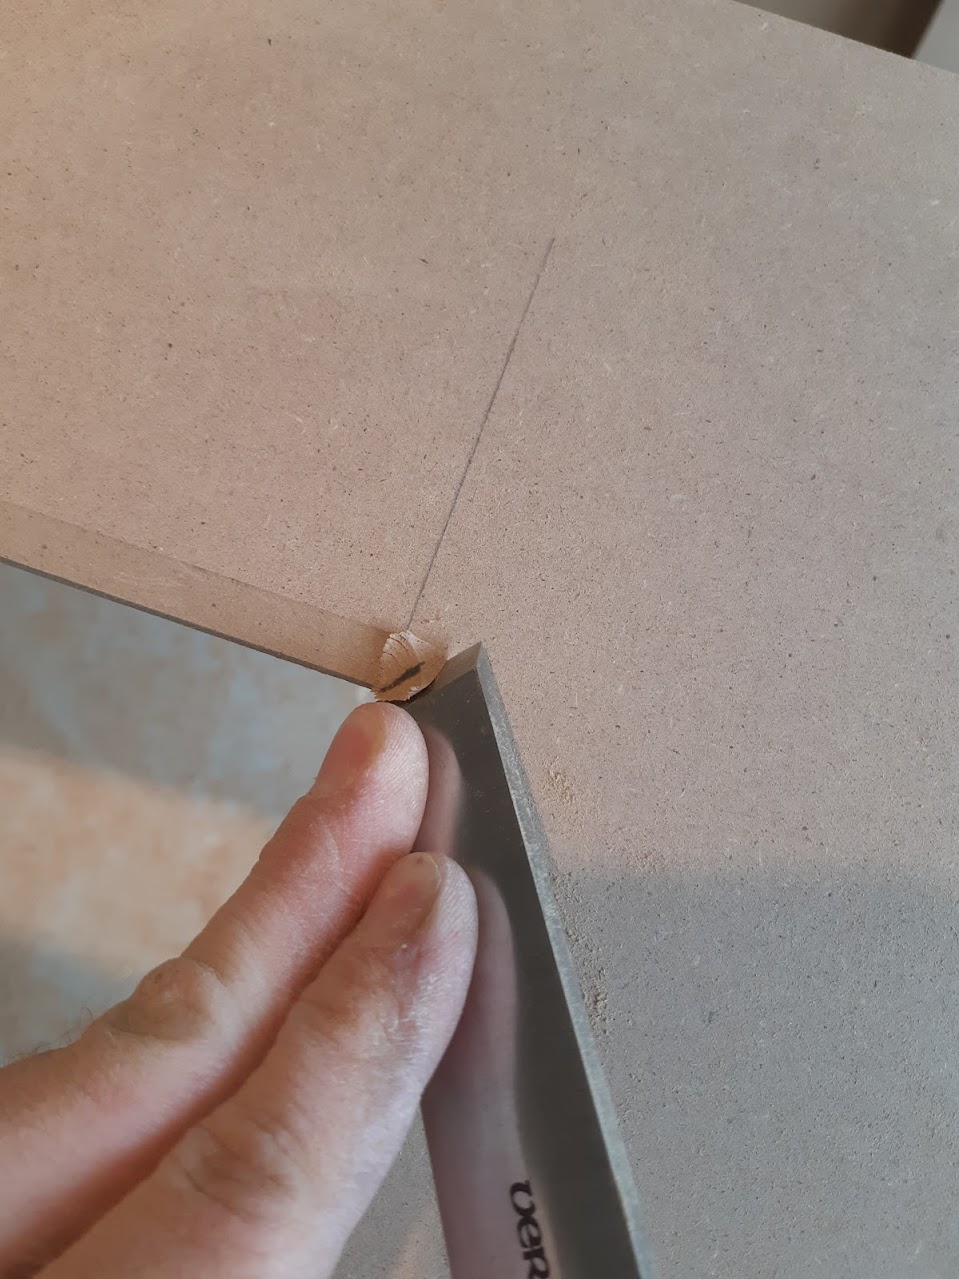
Put my stupidly expensive flushing chisel to use... Glad I spent the money for all the inside corners on this thing, probably the most expensive tool I bought that I didn't already own.


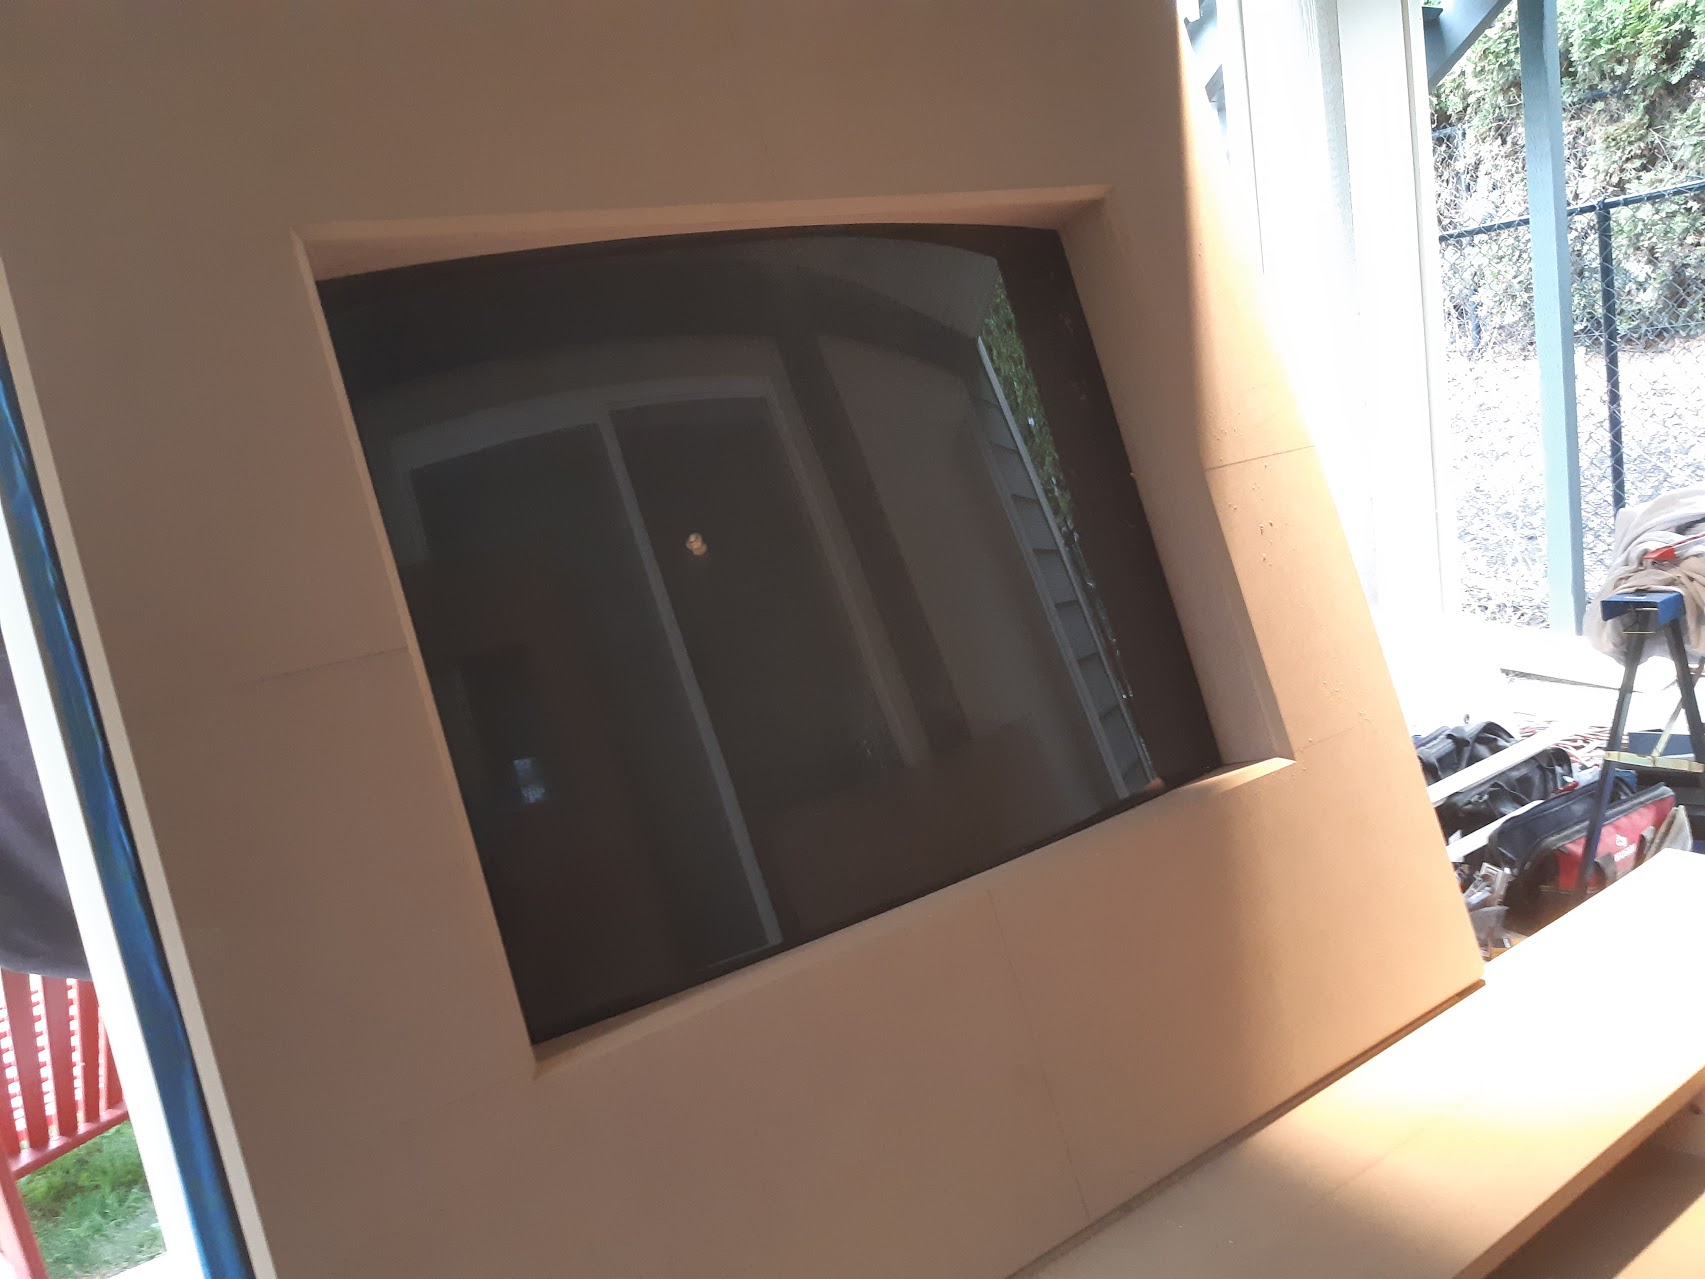
The bezel turned out decent, it's not perfect by any means, getting the radius for the screen was incredibly difficult, and took an entire day just for those 4 pieces. I ended up murdering the original TV shell which made me a bit sad, and used it to draw out the radius, then used a jigsaw and sanded. In hindsight I'd probably have attempted a 3d scan and made a router template, but I have doubts about the accuracy of that without proper scanning equipment.

Spins perfect with 1 finger. Mounted the control panel with dowels so it can easily be removed. Amazingly I managed to get the screen and bezel within 1mm of center, which was the part I was most worried about with this project. I did add too much gap at the back of the control panel, I only ended up needing about 1cm for clearance and did around an inch. I might put weather stripping brushes to fill that hole, or just leave it. If anyone has any other ideas I'd appreciate them, the screen spins into that gap but only a very small amount, so whatever I filled with would have to be flexible, non abrasive, and return to position.

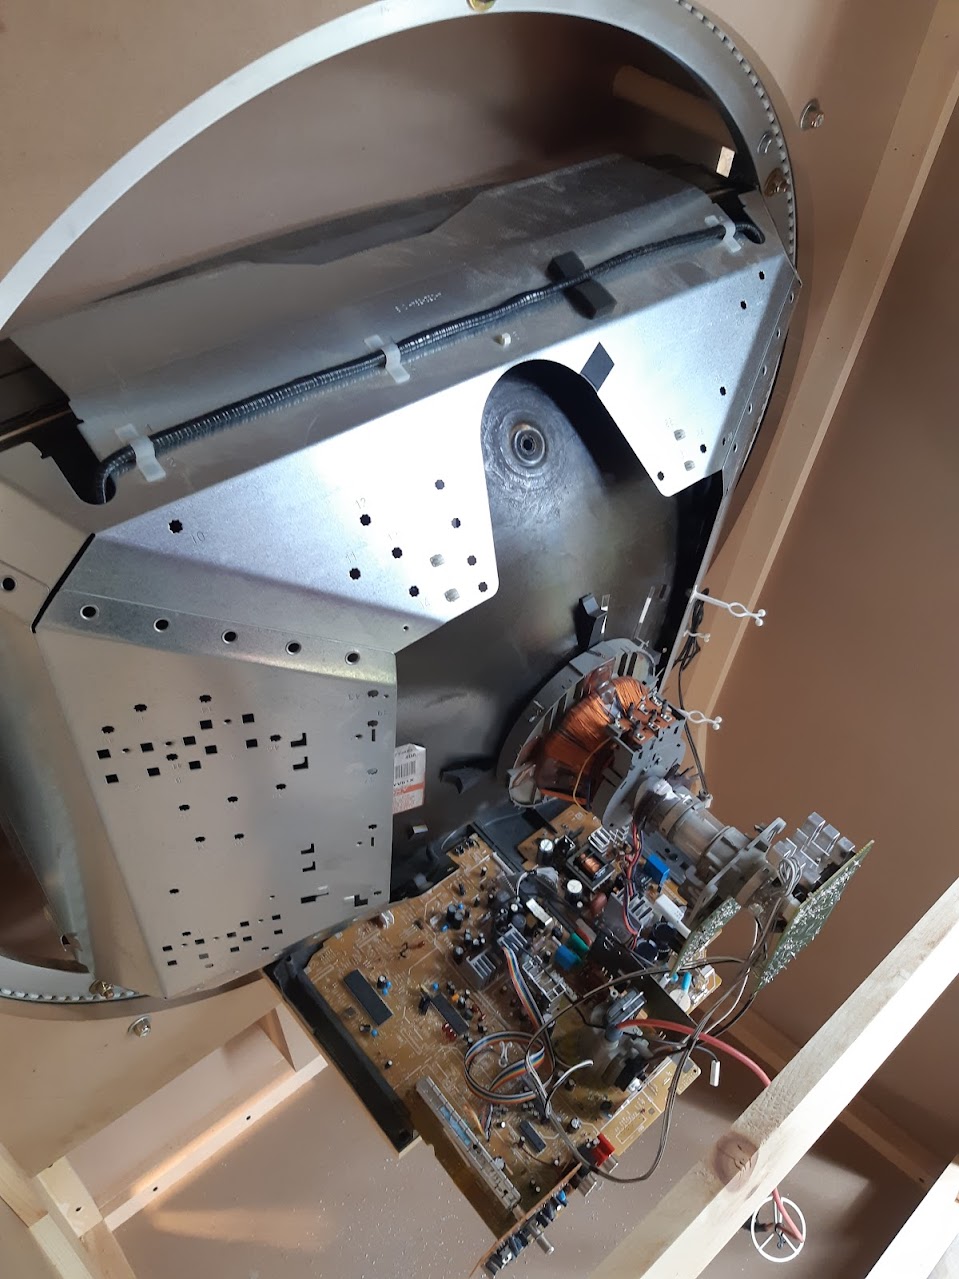
Since I already cut up the original shell I figure I might as well use the original PCB mounts. Makes it easily serviceable and clean. Just enough space for it to spin in any direction. I'll want to block the direction at some point to avoid people spinning and getting the cables tangled and destroying things, but I'll do that after I'm happy with the display calibration. It seems to like spinning left more than right for purity, but this will be much easier to test now than it was just flipping the tube over by hand.

Something I found interesting is that the exact location where I have purity struggles, is where it looks like they tack welded a plate over a seam in the original tube frame at the factory. I'm not sure if this is normal, or why this would have been done over just welding the frame itself. I'm almost thinking this might have been a hacky repair down in the factory for some reason, though it might just be standard. Can't say I've ever noticed on another tube before, and the location made me wonder. Either way I managed to get the purity to an acceptable barely perceptible issue before, I know I'll be able to get it good with enough playing around with magnets. I also ran my degaussing coil over the metal shield while I had it apart, as I suspect it might have gotten magnetized.


 Home
Home Help
Help Search
 Login
Login Register
 Send this topic
 Print
Print


