Looks great. Love the details on the inside that not many will even see!
Cutting rectangles out of a panel is super easy using your method (drill the corners, jigsaw the rest) but instead of using clamps, you can use strips of (straight) wood held down with double sided tape to guide your router and flush bit.
Thanks

I think my wife thinks I'm over-obsessing over the inside of a cabinet...
I've read the tape tip before but for some reason haven't given it a go. It's probably slight fear about getting tape that will actually hold. I must try though, because it really would make things (that I've already done..) easier!
Finally coming together, and its looking real nice. I can relate to the challenge of lining everything up. Dont see too many people taking about that but yeah, getting the blocking just right is a ---smurfette---.
Thanks, but less of the "finally"

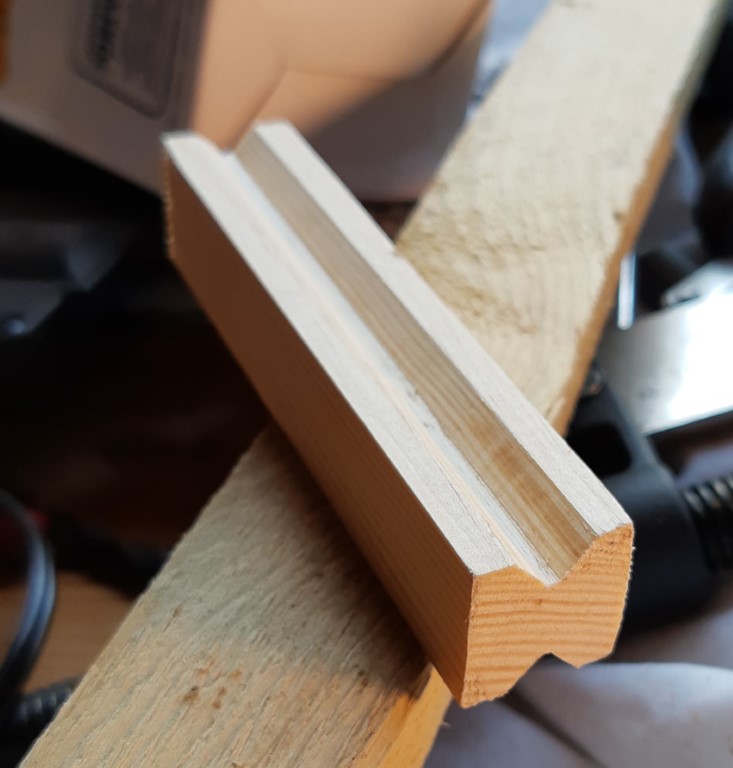
So, the coin box. I'll probably say it many times in this post, but I'm really loving my improvised router table. The front panel of the coin box is made of thicker wood than the other pieces (from memory it's 3/4" vs 1/2", but I've been using 15mm for the thicker piece since it's what I have to hand) and is recessed on the bottom and the two sides to take the bottom and side panels. I COULD have cut those out with the router normally but I'd have to have clamped it several times to get the three separate edges. Instead I just adjusted my under-bench router and was able to do this more easily.

With that done it was a case of cutting the other pieces and assembling, which always takes me an eternity in trying to make sure that pieces are all exactly the right size. As before I used the router to do the last couple of mm on each to get the sizes and straightness right. I just don't trust anything else that I have to make the cuts.
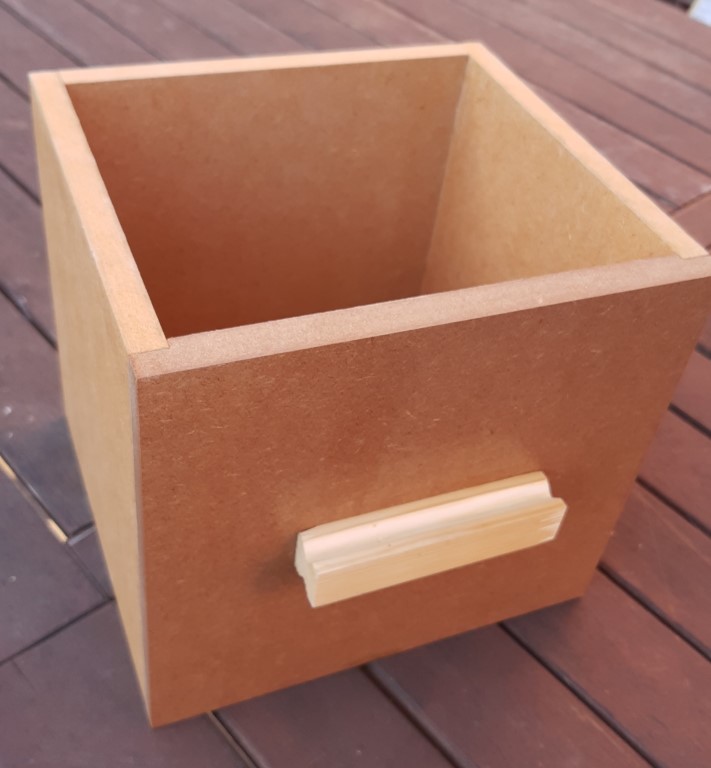
Again, just glue holding this together, and the corner clamps were actually useful for once in holding everything.

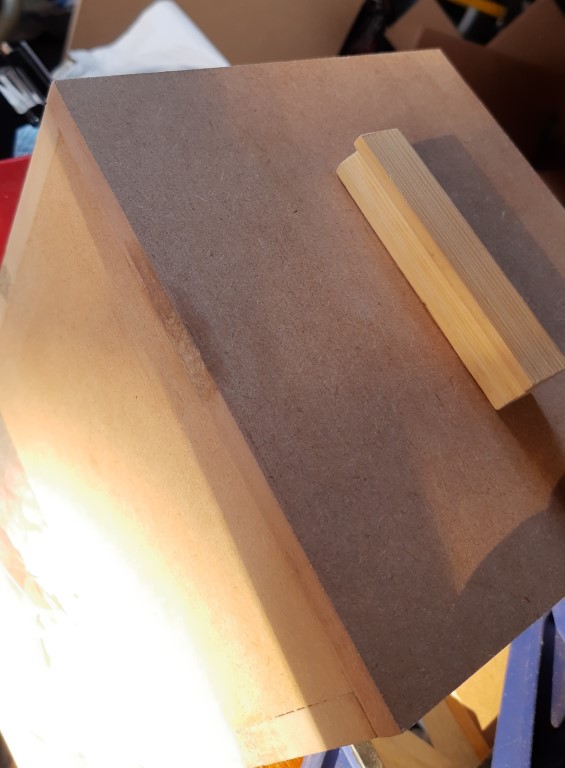
I drilled a couple of holes in the front panel before assembly so that I could attach the handle. I could have just glued it, but it's the one thing that will actually be pulled and so a couple of screws can't hurt.

Again with the router table, I was able to take a piece of blocking to use as the front handle, and add a profile similar to what I see on other Nintendo cabinets. Without the table I'd find this practically impossible, whereas with the table it's just a case of trying to not lose fingers in the process. The hardest bit was adjusting the wood on the right (improvised fence) so that the router bit hit the middle of the blocking.

Came out okay.
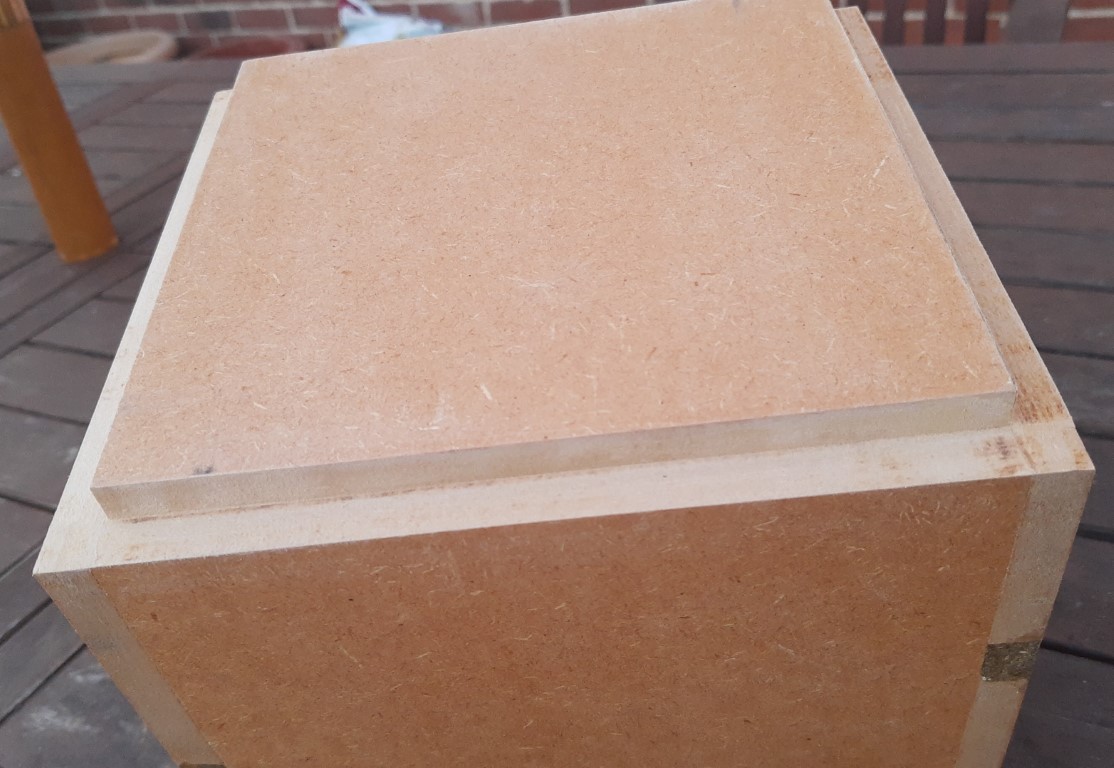
I made a couple of mistakes with the router when cutting out the the panels, one with me tilting the router accidentally and another with a clamp slipping, and then made a third when I used one of the damaged edges as my straight line for the pattern bit to follow.

Since they're all on the underside of the box I was tempted to just leave them alone, since the box isn't painted and so I didn't immediately see an easy way to repair. But I then realised theat the one on the bottom of the front panel was visible. So as a long-shot I thought I'd try mixing some MDF dust with some wood glue to make a paste and then using that to roughly fill the holes.
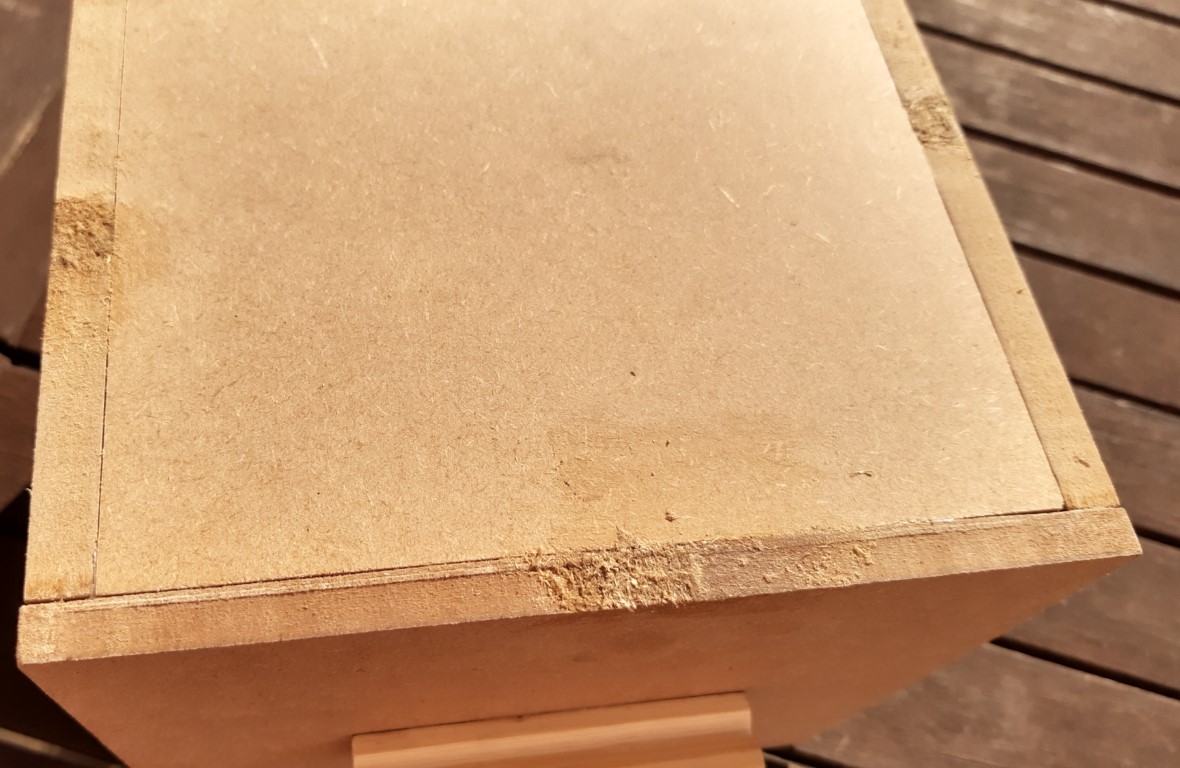
After sanding these are not too bad. A bit darker, but it's far less apparent now when looking from the front.
And after applying a coat of MDF sealant it all looked good.
I had a few brief moments celebrating the success, went to put the box into the cabinet, and then found that the box stuck out of the front of the frame on the coin shelf.

I thought at first that something was catching somewhere or that I had something behind the box that was in the way. But ultimately, in total frustration, I found that the box was just too deep. Having examined the problem it looks like I'd measured the side panel depth correctly but somehow forgotten to subtract the depth of the front panel from those pieces. I think I may even have had them right at some point and then confused the orientation of the side panels (they're close to square) and cut the wrong length. Whatever the reason, my newly assembled box didn't fit, and I was faced with destroying it and starting again.
Router table to the rescue.
I used the router table to carefully shave off the rear of the box on all sides, slowly adjusting both the depth and width of the router cut until there was very little holding the rear panel in place and the remaining sides were the correct depth. This was a nervous time, constantly checking and double-checking that I had the box the right way around when routing each edge.
I could have cut slightly further into the back panel, but if it had come loose whilst in contact with the router bit then I figured it would do far more damage to the panel. So at this stage I just took a knife and cut the final piece of wood/glue that was holding the back panel in place. I was then able to clean up the edges and then re-attach the back panel in its new position.
Job done, crisis averted, only a couple of hours lost, and box now in place in the cabinet.
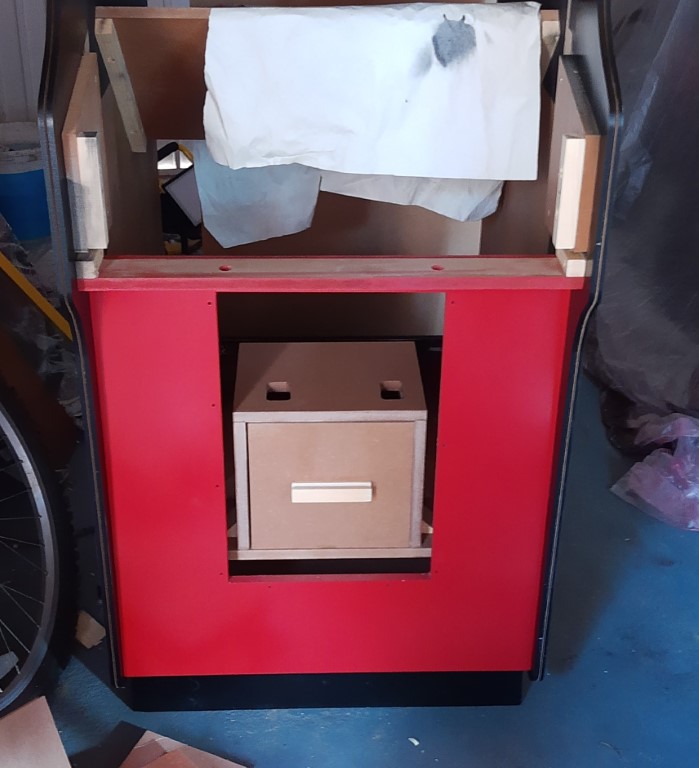
Think I might paint the sides next.


 Home
Home Help
Help Search
 Login
Login Register

 Send this topic
 Print
Print Topic: Nintendo cabinet build - Wreck-It Ralph (Read 70483 times)


