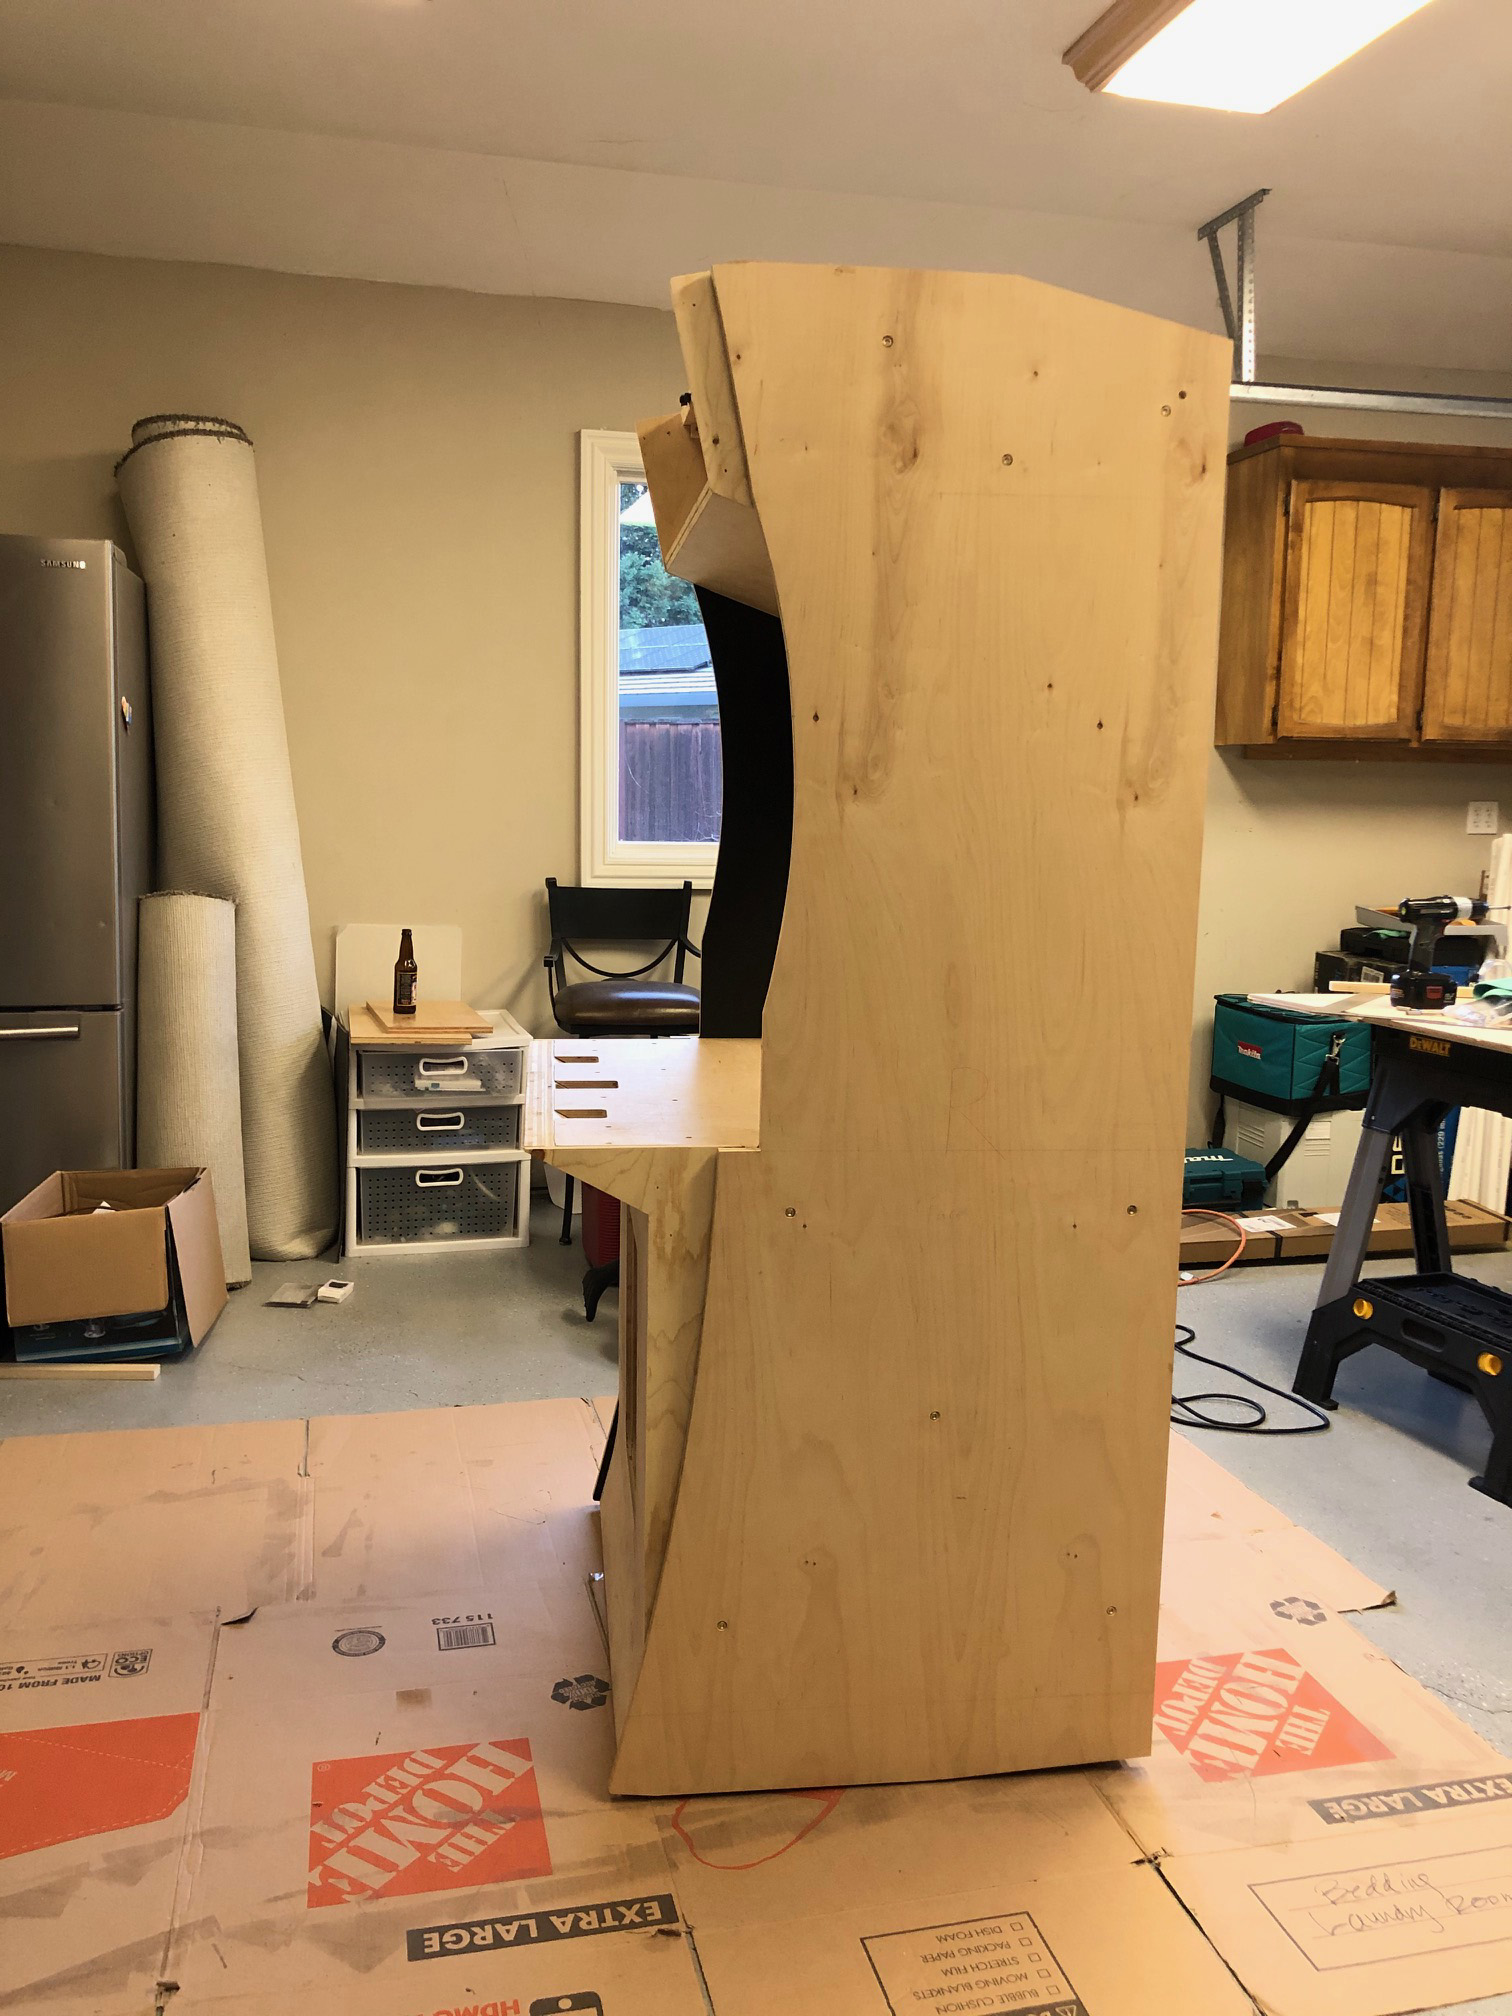
Jesus has it really been a month? Time flys when you are constantly hosting people for 3 weeks straight, but hey thats what its all about, drinking beers and playing games!
The only food for thought I could offer you at this time is the placement of the Tron stick on the CP.
Thanks for chiming in Vertexguy, its a good thought and one I grappled over for many an hour. Ultimately I think it will be fine. I used the Mannequins (Bi-pods?) to give me a sense of the perspective by taking advantage of SketchUps look around feature:

What I do is zoom inside the head of the Mannequin, and once I am at the eyes I hide it and look around from the fixed position to see if I notice any problems. Works well for me, and yeah the Tron stick was a concern but it should be fine. I guess you never truly know until you build it.

:
I managed to take advantage of the time off and get a lot done. Hopefully this isnt too long of a post but I dont want to miss documenting stuff, so here goes
.
I needed to get over my fear of laminating things so I decided on a test piece:

Id been using that board for all kinds of testing and it seemed a perfect fit to try this out.
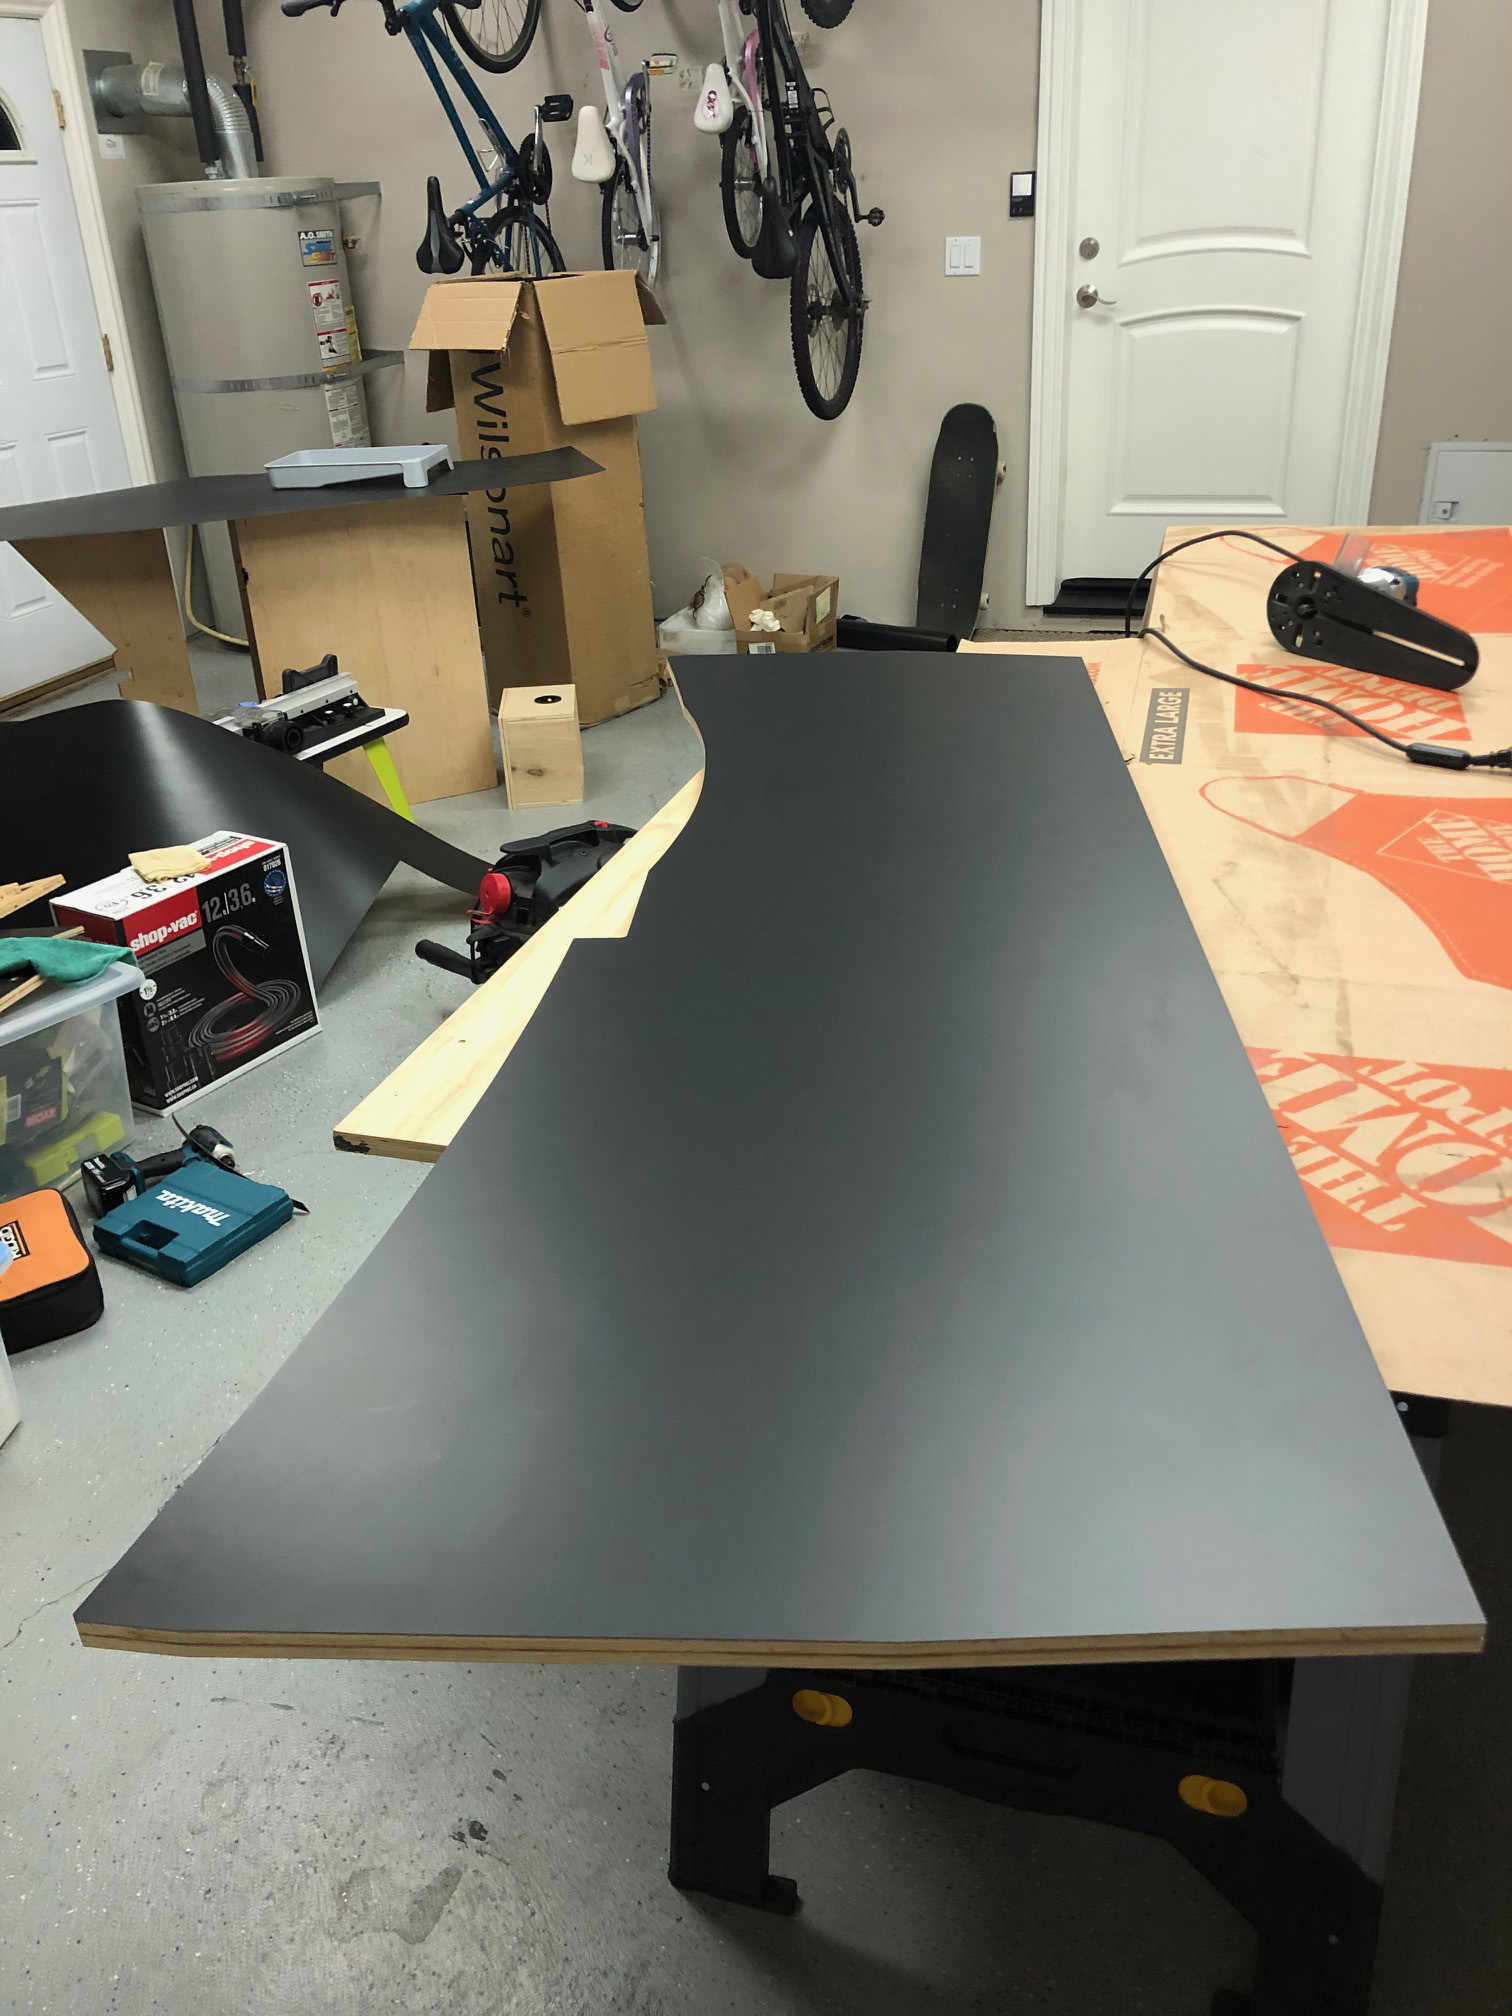
I had order a few rolls of 4x8 Matte black Vertical Grade Wilson Art laminate I bought at Cabinet parts.com. This should be a perfect fit with the 3/4 plywood which is really closer to 0.72. When mated with the laminate on both sides it should make a near perfect 0.75 for the T-Molding.
Anyway:
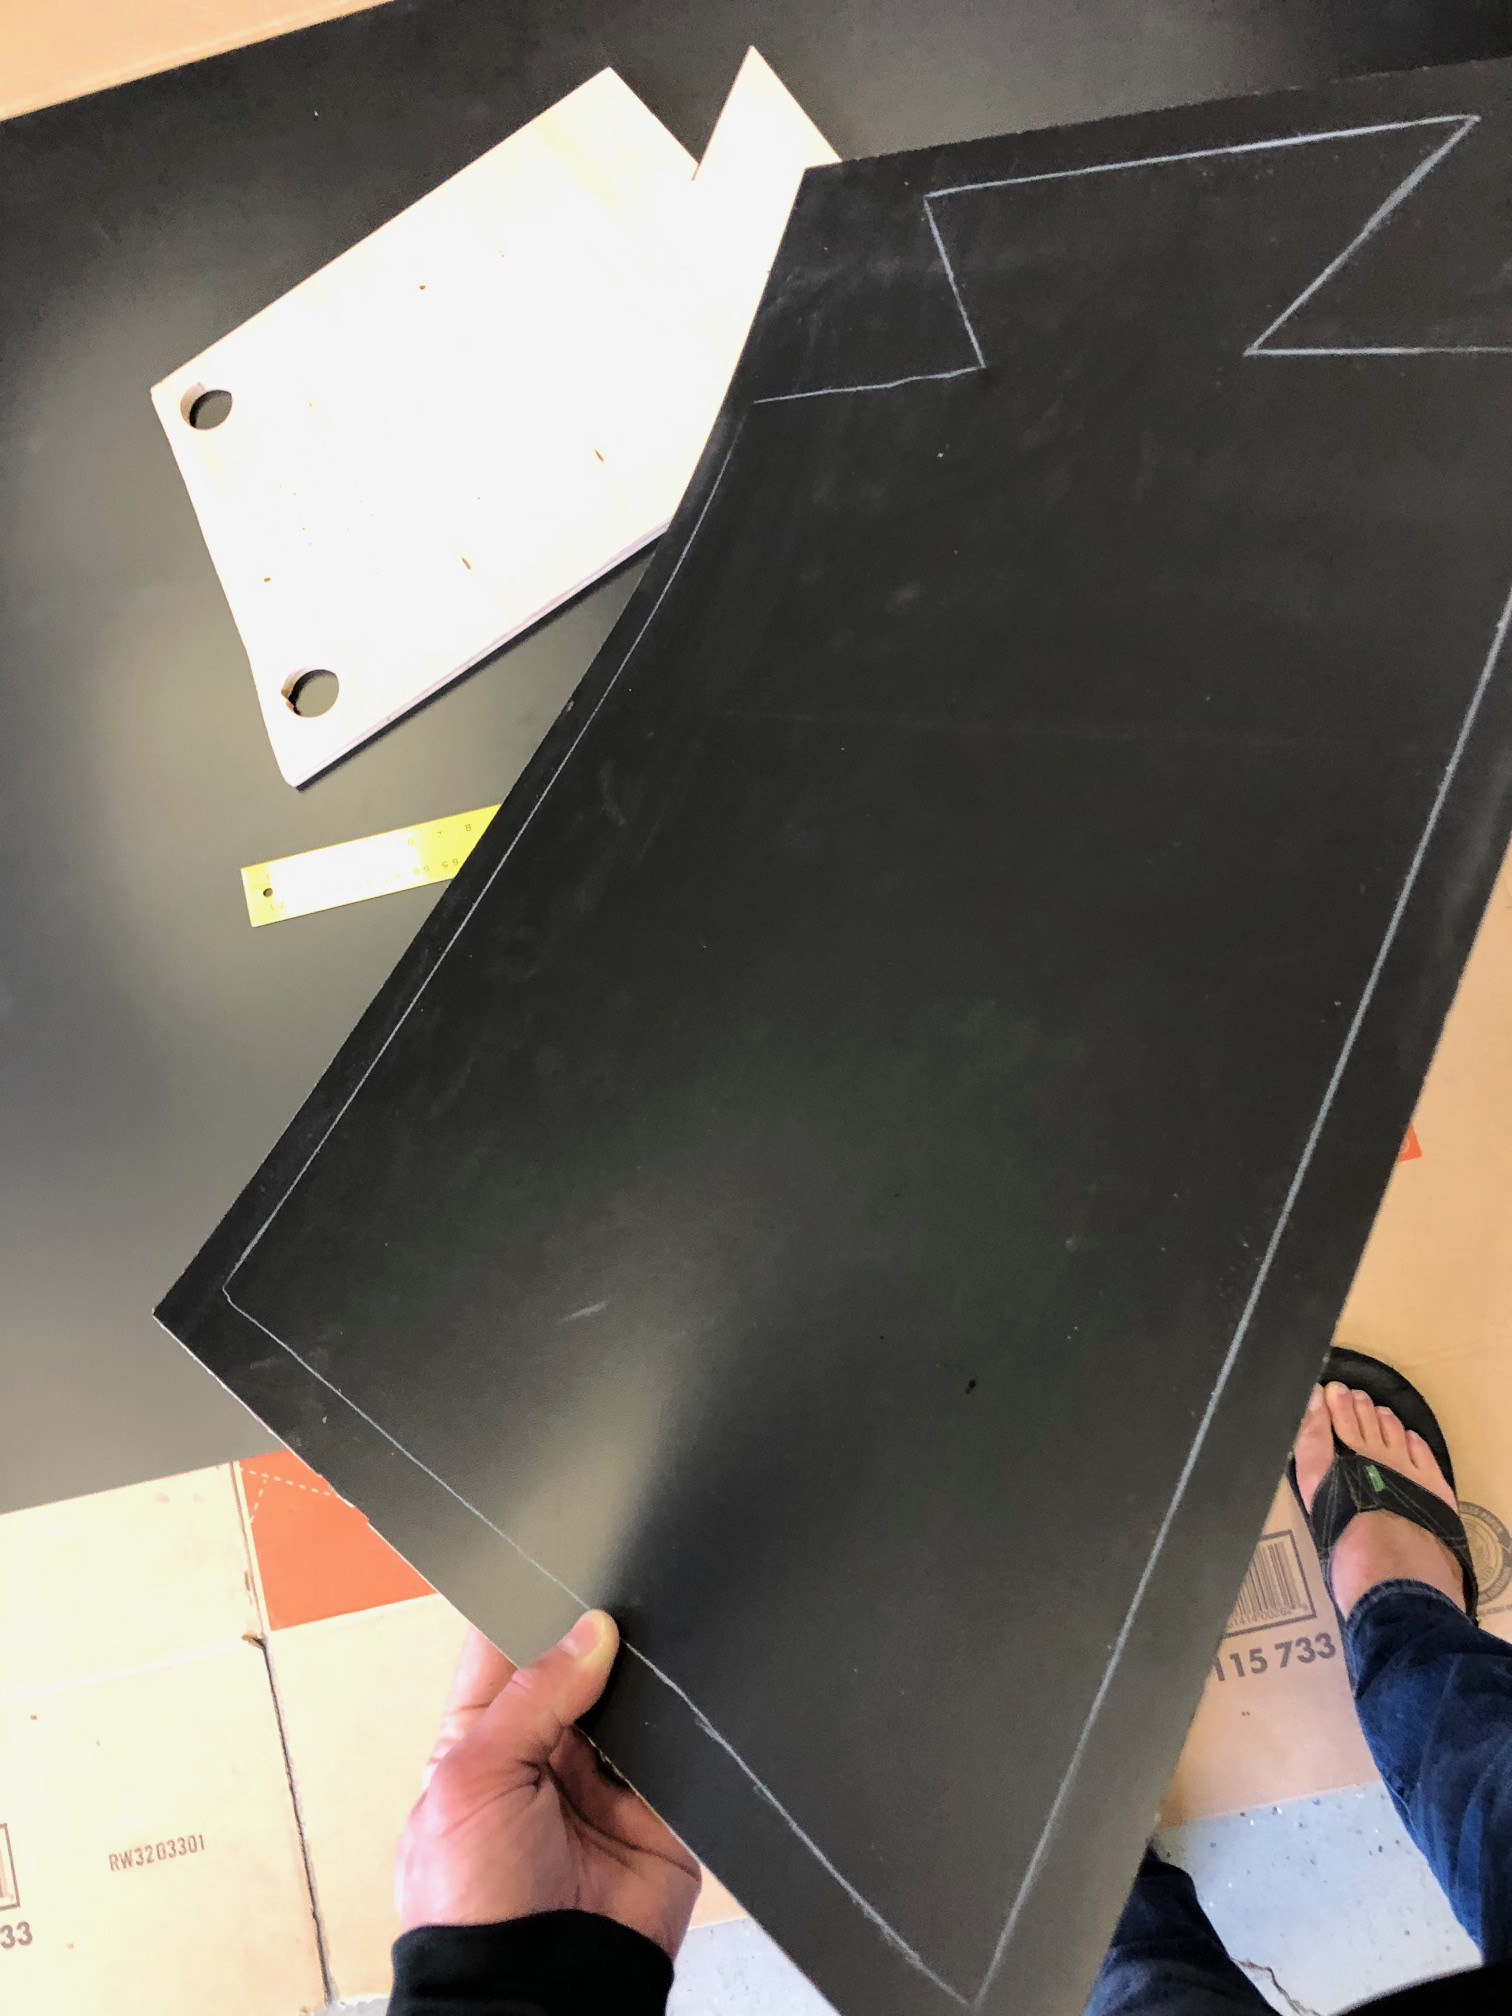
White color pencil outline, and cut out with a straight edge and the laminate cutter that I referenced on post #154. Also on Post #154 is a GREAT tutorial bay Szabos arcades on laminate application, everything you would hope to know.

Bought some 1 PVC pipe like suggested in the video and chopped it up with this hand saw from Home Depot into 4ft pieces.

Bought the contact cement and foam rollers from Amazon.

Applied cement, waited, and followed the application techniques called out in the video. Trimmed with Router an flush trim bit to fit.
I wanted to test this test piece to see how various cutting methods would hold up in the laminate.
First was using the track saw cutting from the top laminate side:

This created some chipping (although mild, but still noticeable):

Tried flipping over the piece and this got better results (which makes sense since the blade would cut the laminate into the wood rather than pulling it up off the wood):

Better results:

Also wanted to test cutting lines with the saw and drilling, overall the laminate held up really well:
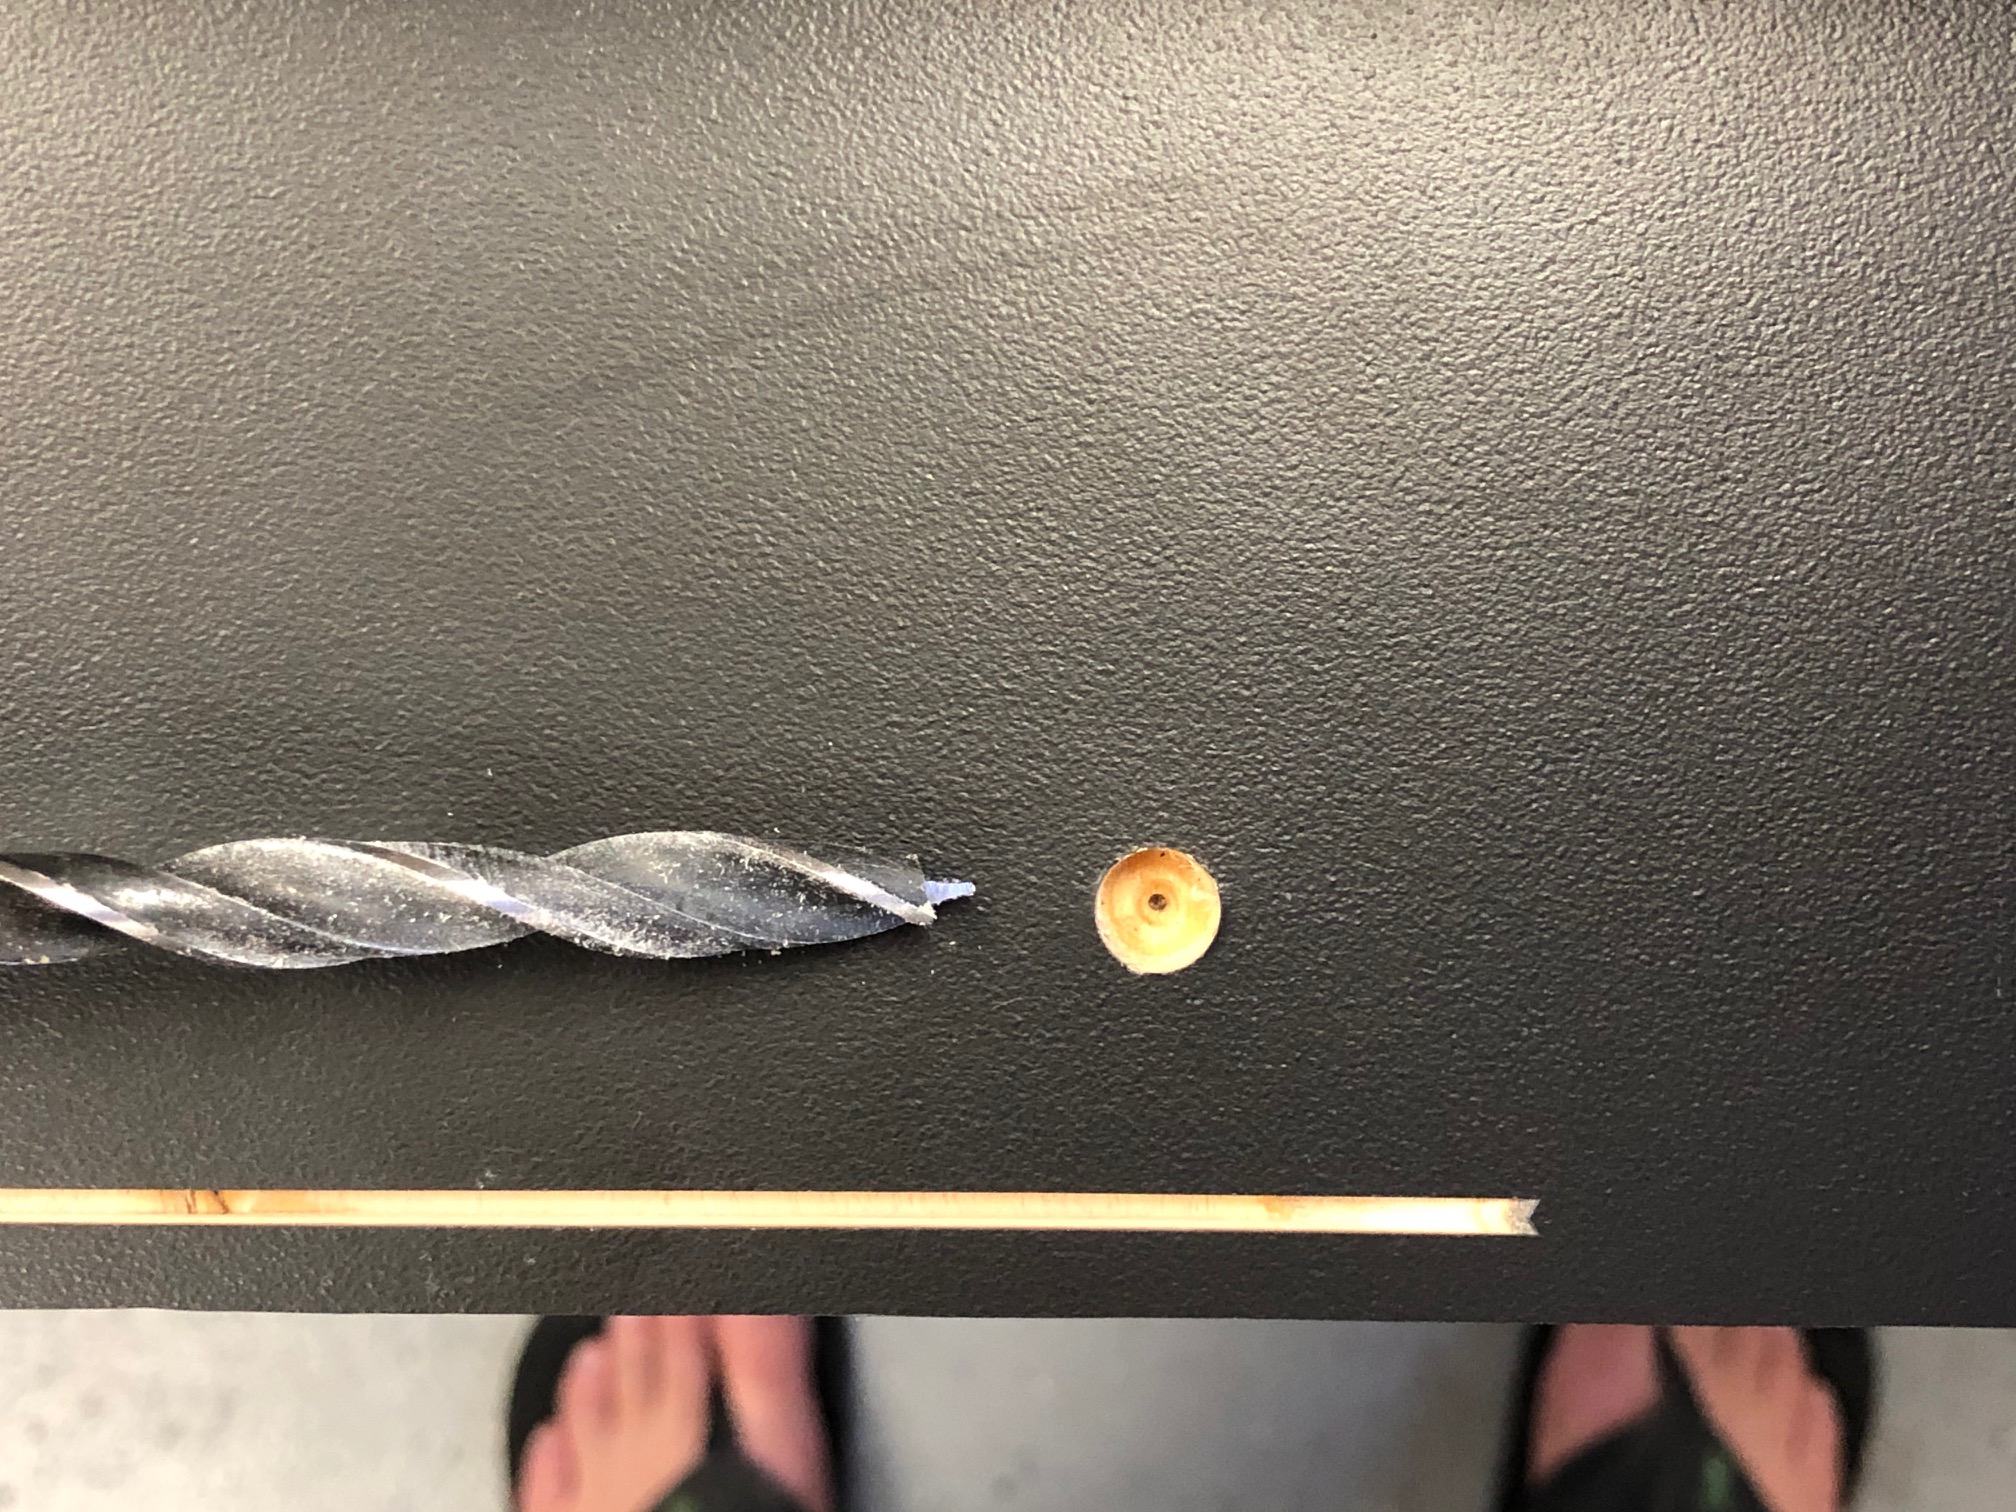
Thats that the track saw at 1/4 depth and a 6mm drill bit (supported by previously drilled 6mm hole in plywood clamped above).
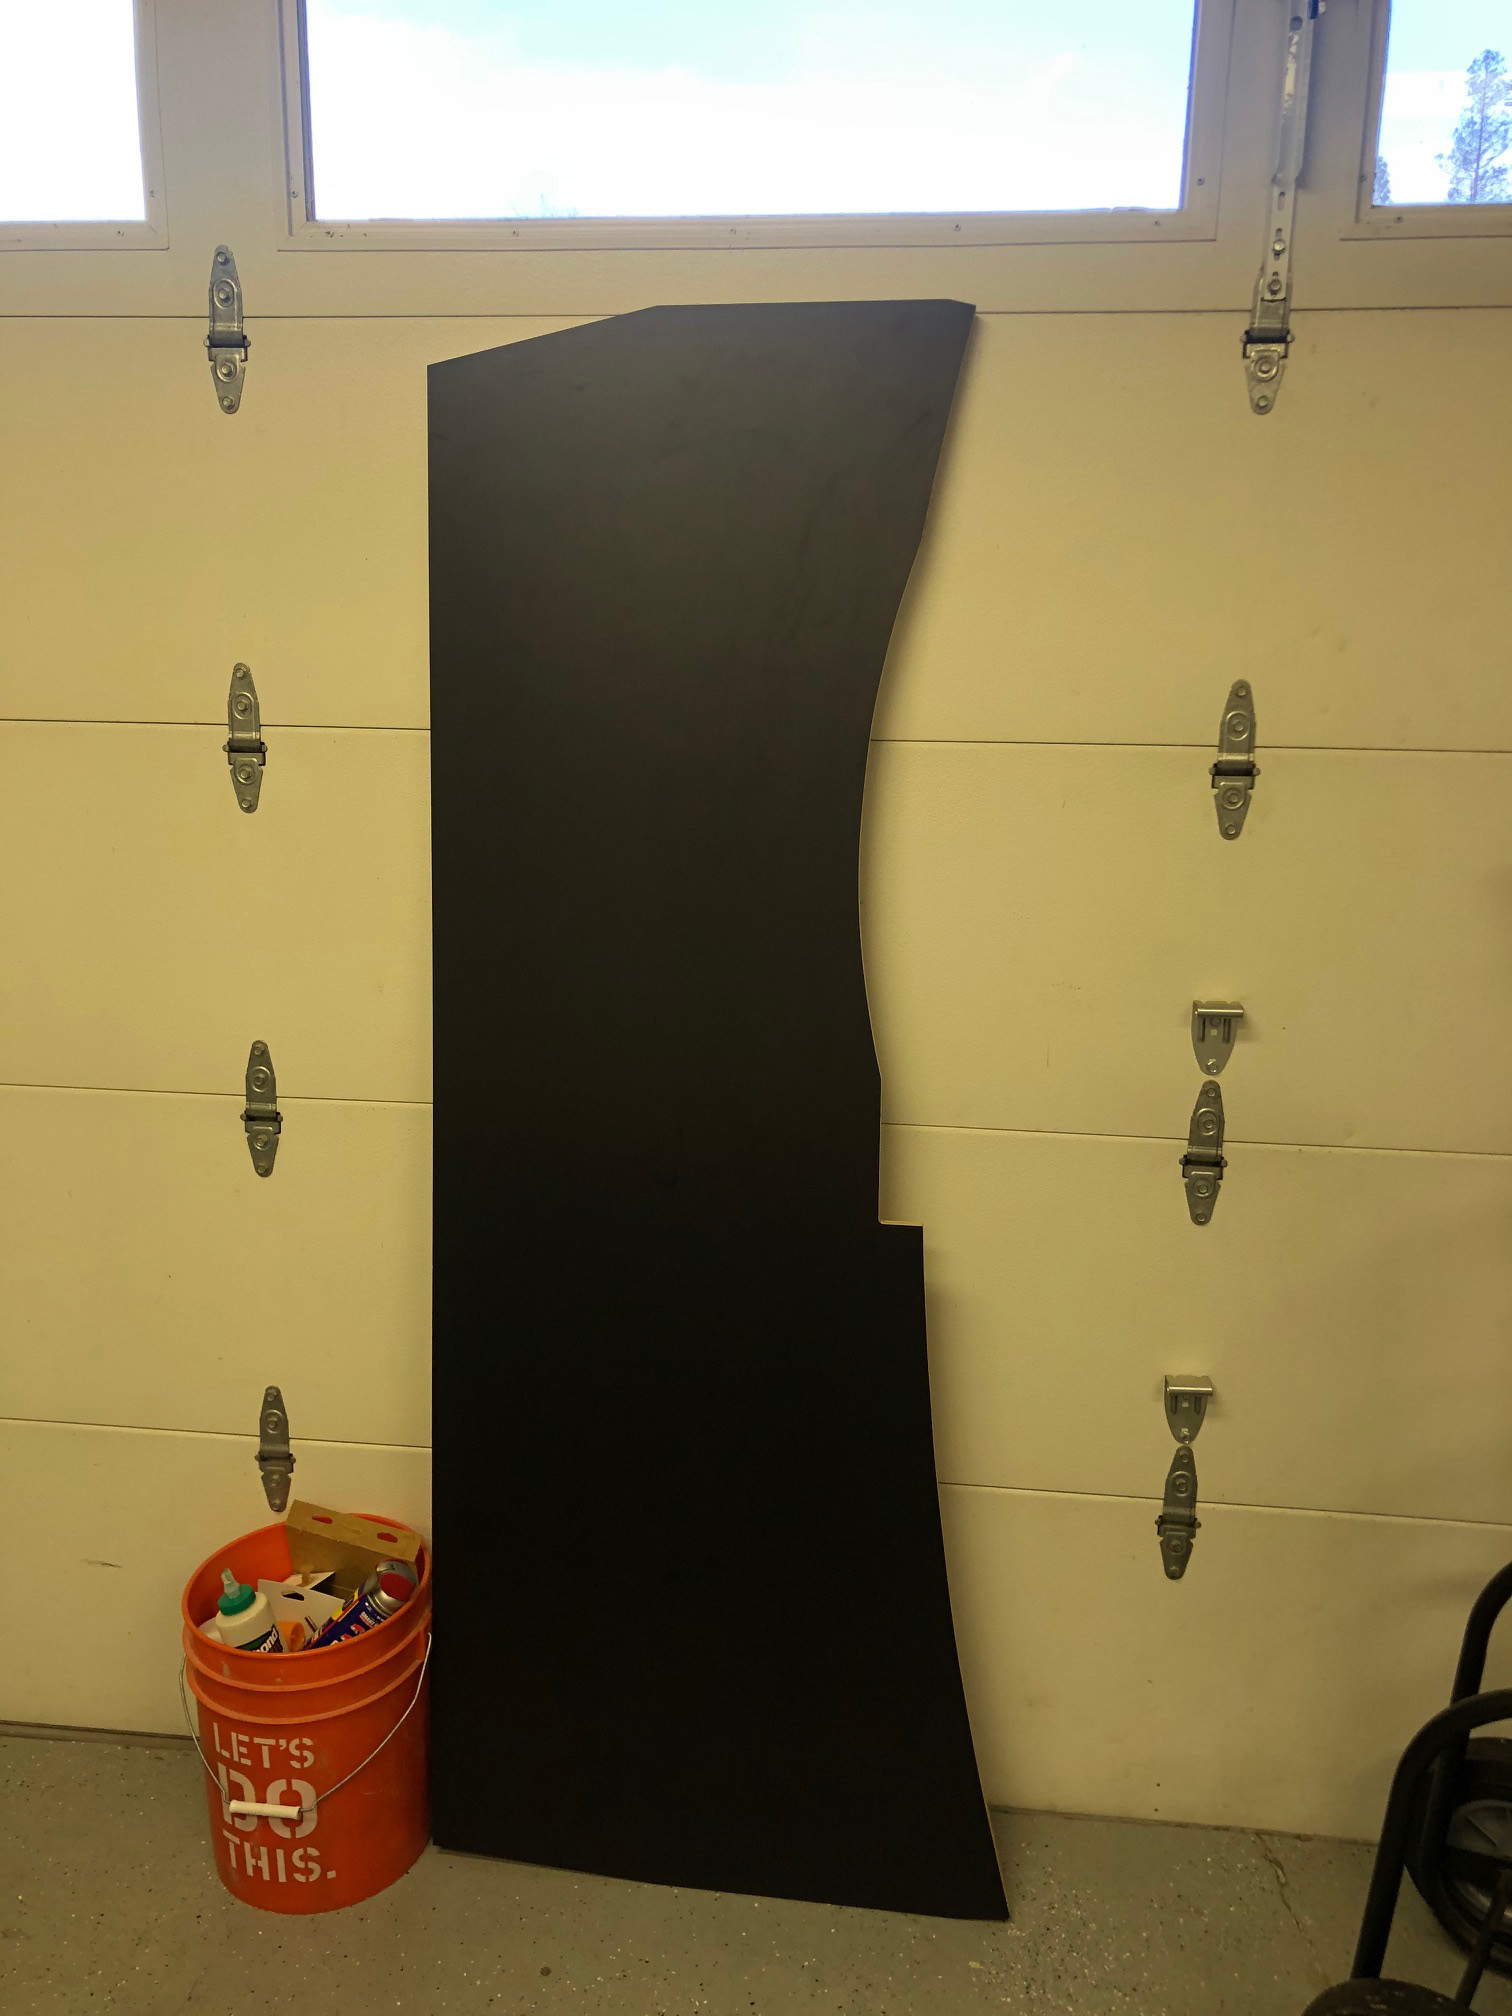
This gave me confidence to try it out on the actual pieces:
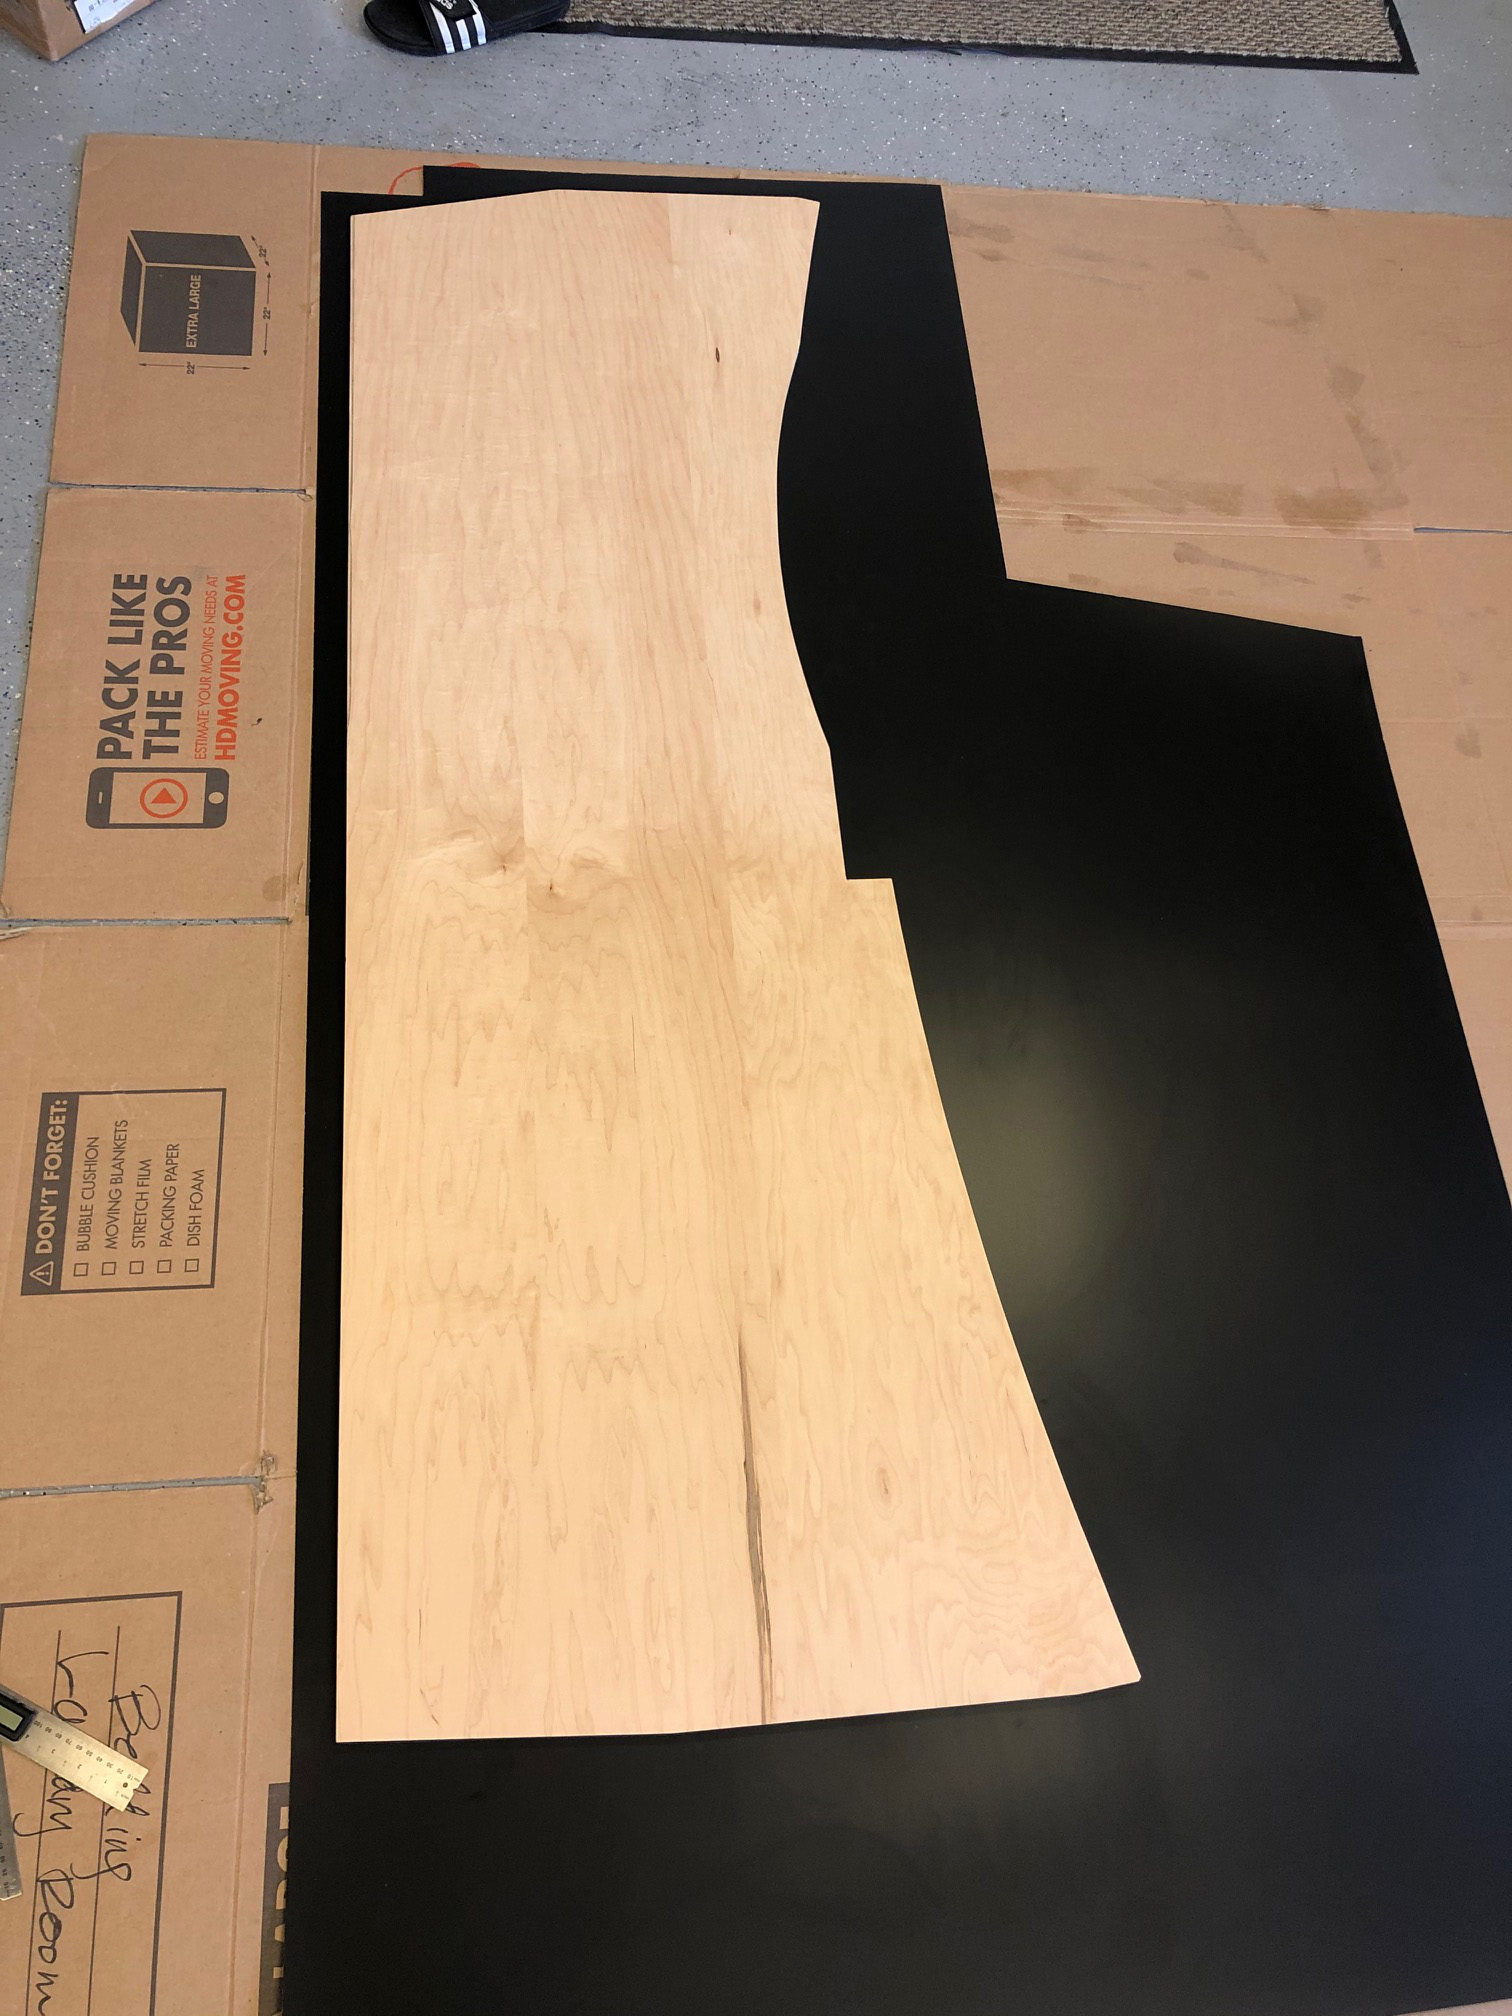
Used the previous router templates as guides for cutting and left a 1.5 fudge factor on the cutout when applying:


Pleased with the results after trimming with flush cut router:

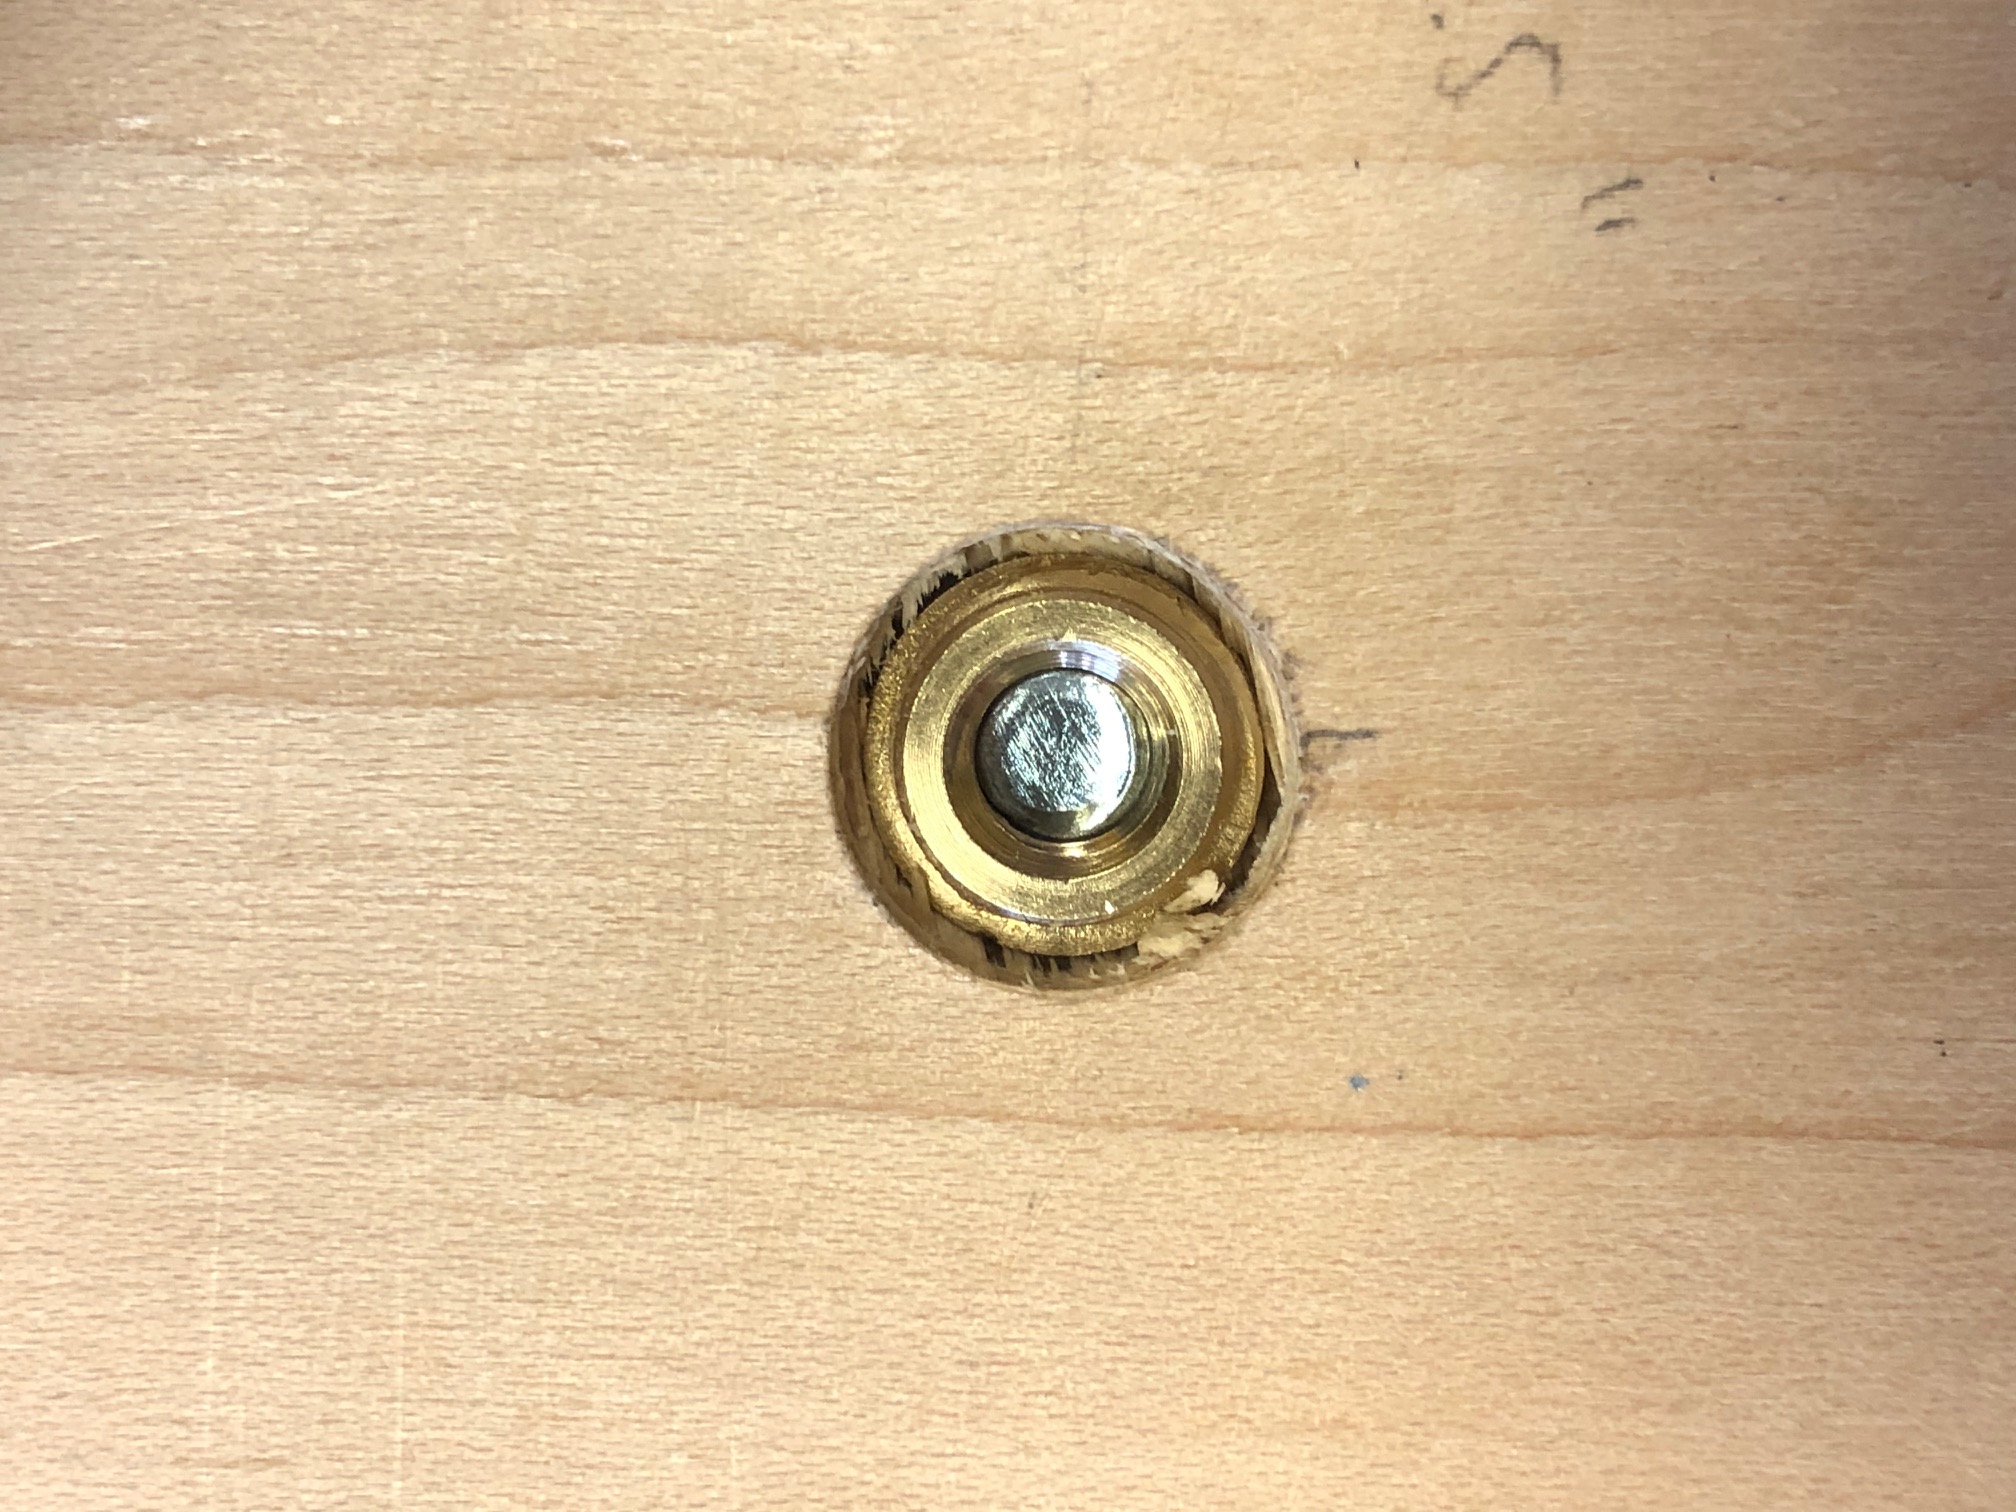
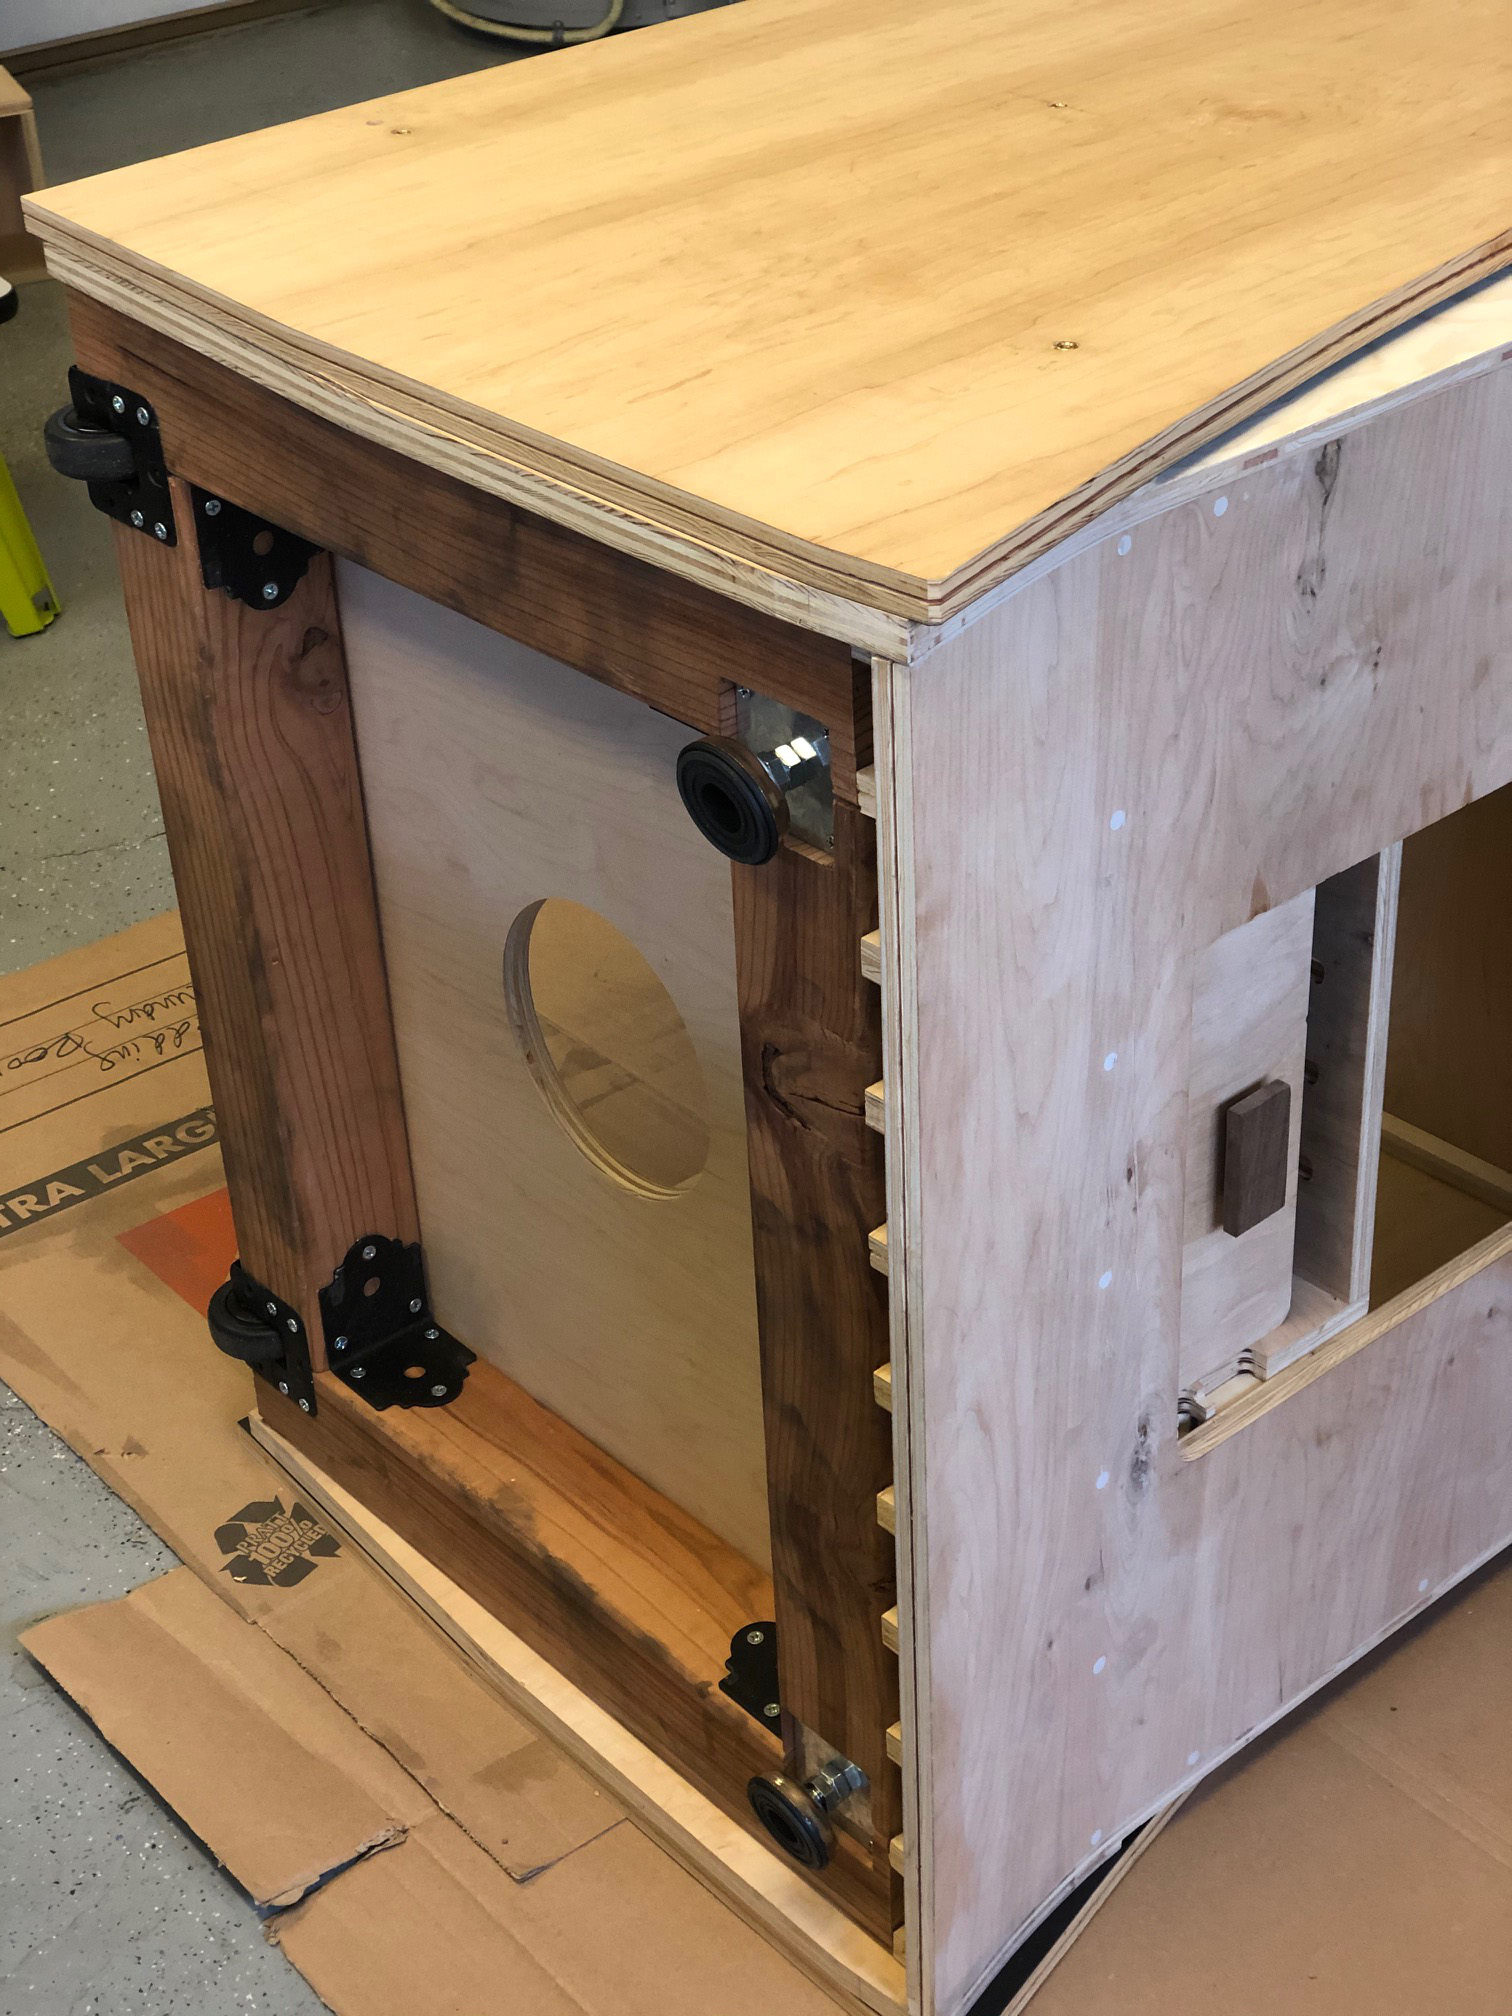
Next was assembly. As usual Bob was a big help pointing me in the right direction. I needed to attach the big panel sides to the small box below. Threaded insert seemed the way to go. So as per his suggestion went with 1/4-20 screws and corresponding 1/4-20 threaded inserts (1/2 length).
These are designed to screw into the front of the panel (closest to the piece it will be attached to). In my usual over engineering, and paranoia, I was concerned about this being strong enough (looking after testing it probably is, but I like to go overkill). So I tried a few different ideas to attach from the back side, one of which was T-Nuts, which would probably work well, however they werent attached all that well to the wood, jus the spikes sticking in, and the screw would push them back out often.
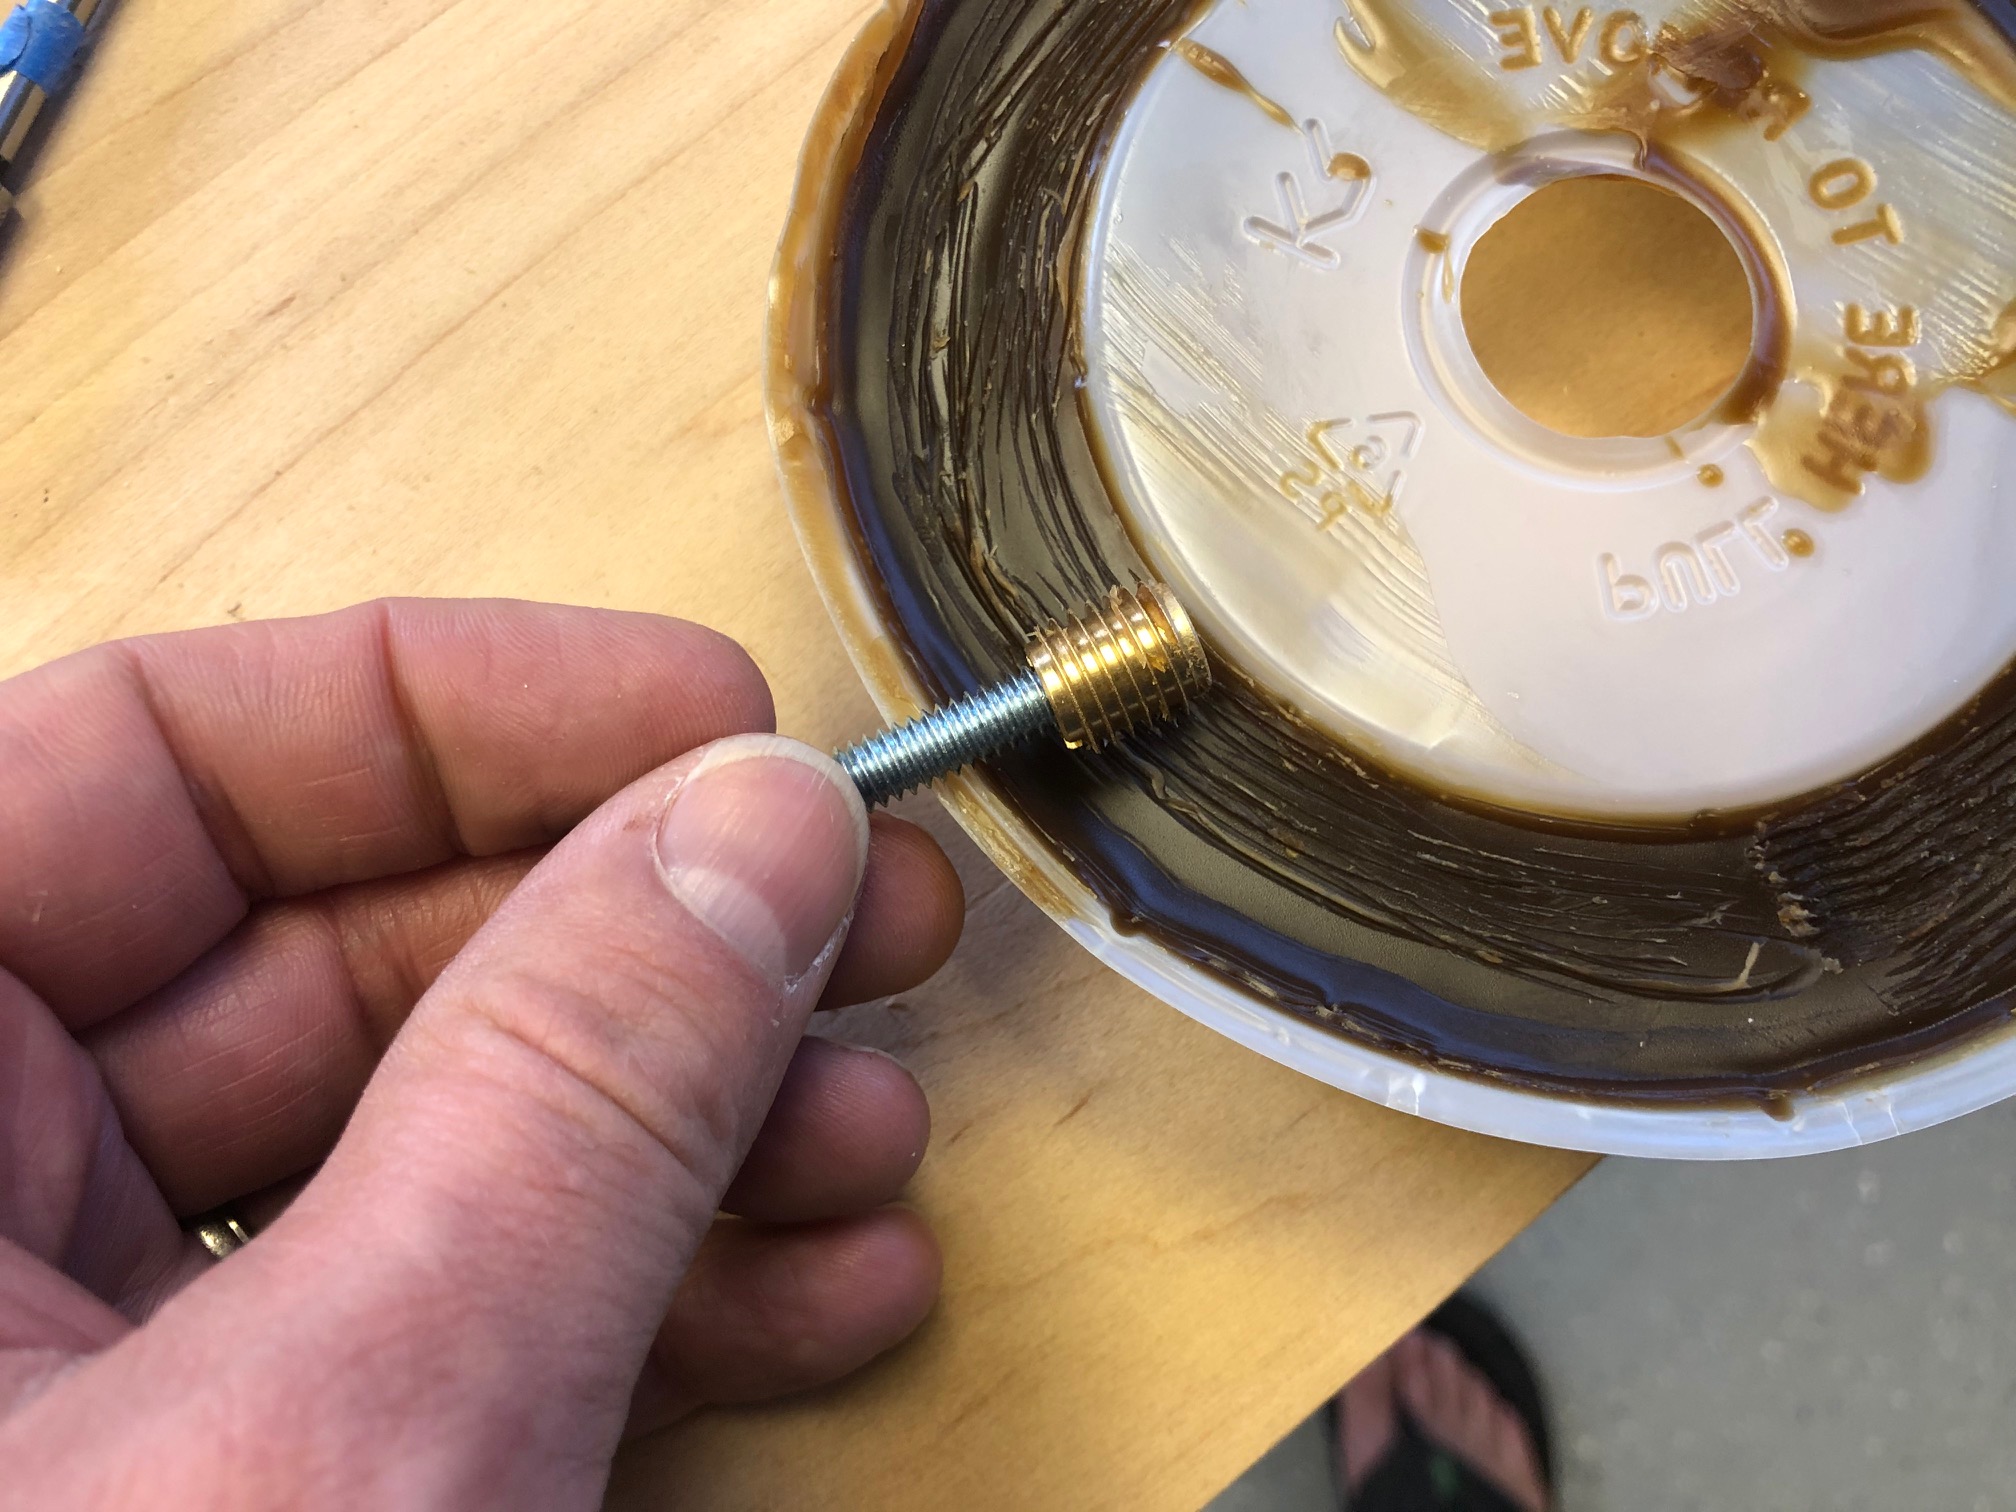
So I came up with the idea to use the screw to pull in the threaded inserts from the back (they arent designed to do this, and if you pick them up you will know what I mean). This way the more it gets screwed in the more it tightens into the wood (as they were designed to do from the other side). Hard to explain but hopefully the vide helps:
I drilled a 3/8 forstner, then a 1/4 forstner, and then added a 1/2 forester on top to prevent the screw in from bending the wood in when it got sucked down. Heres the result:

Bob gave me the tip of using a wax toilet bowl ring to lubricate the inserts before screwing them in, and it definitely helped:
Applied this technique to the lower and upper half:
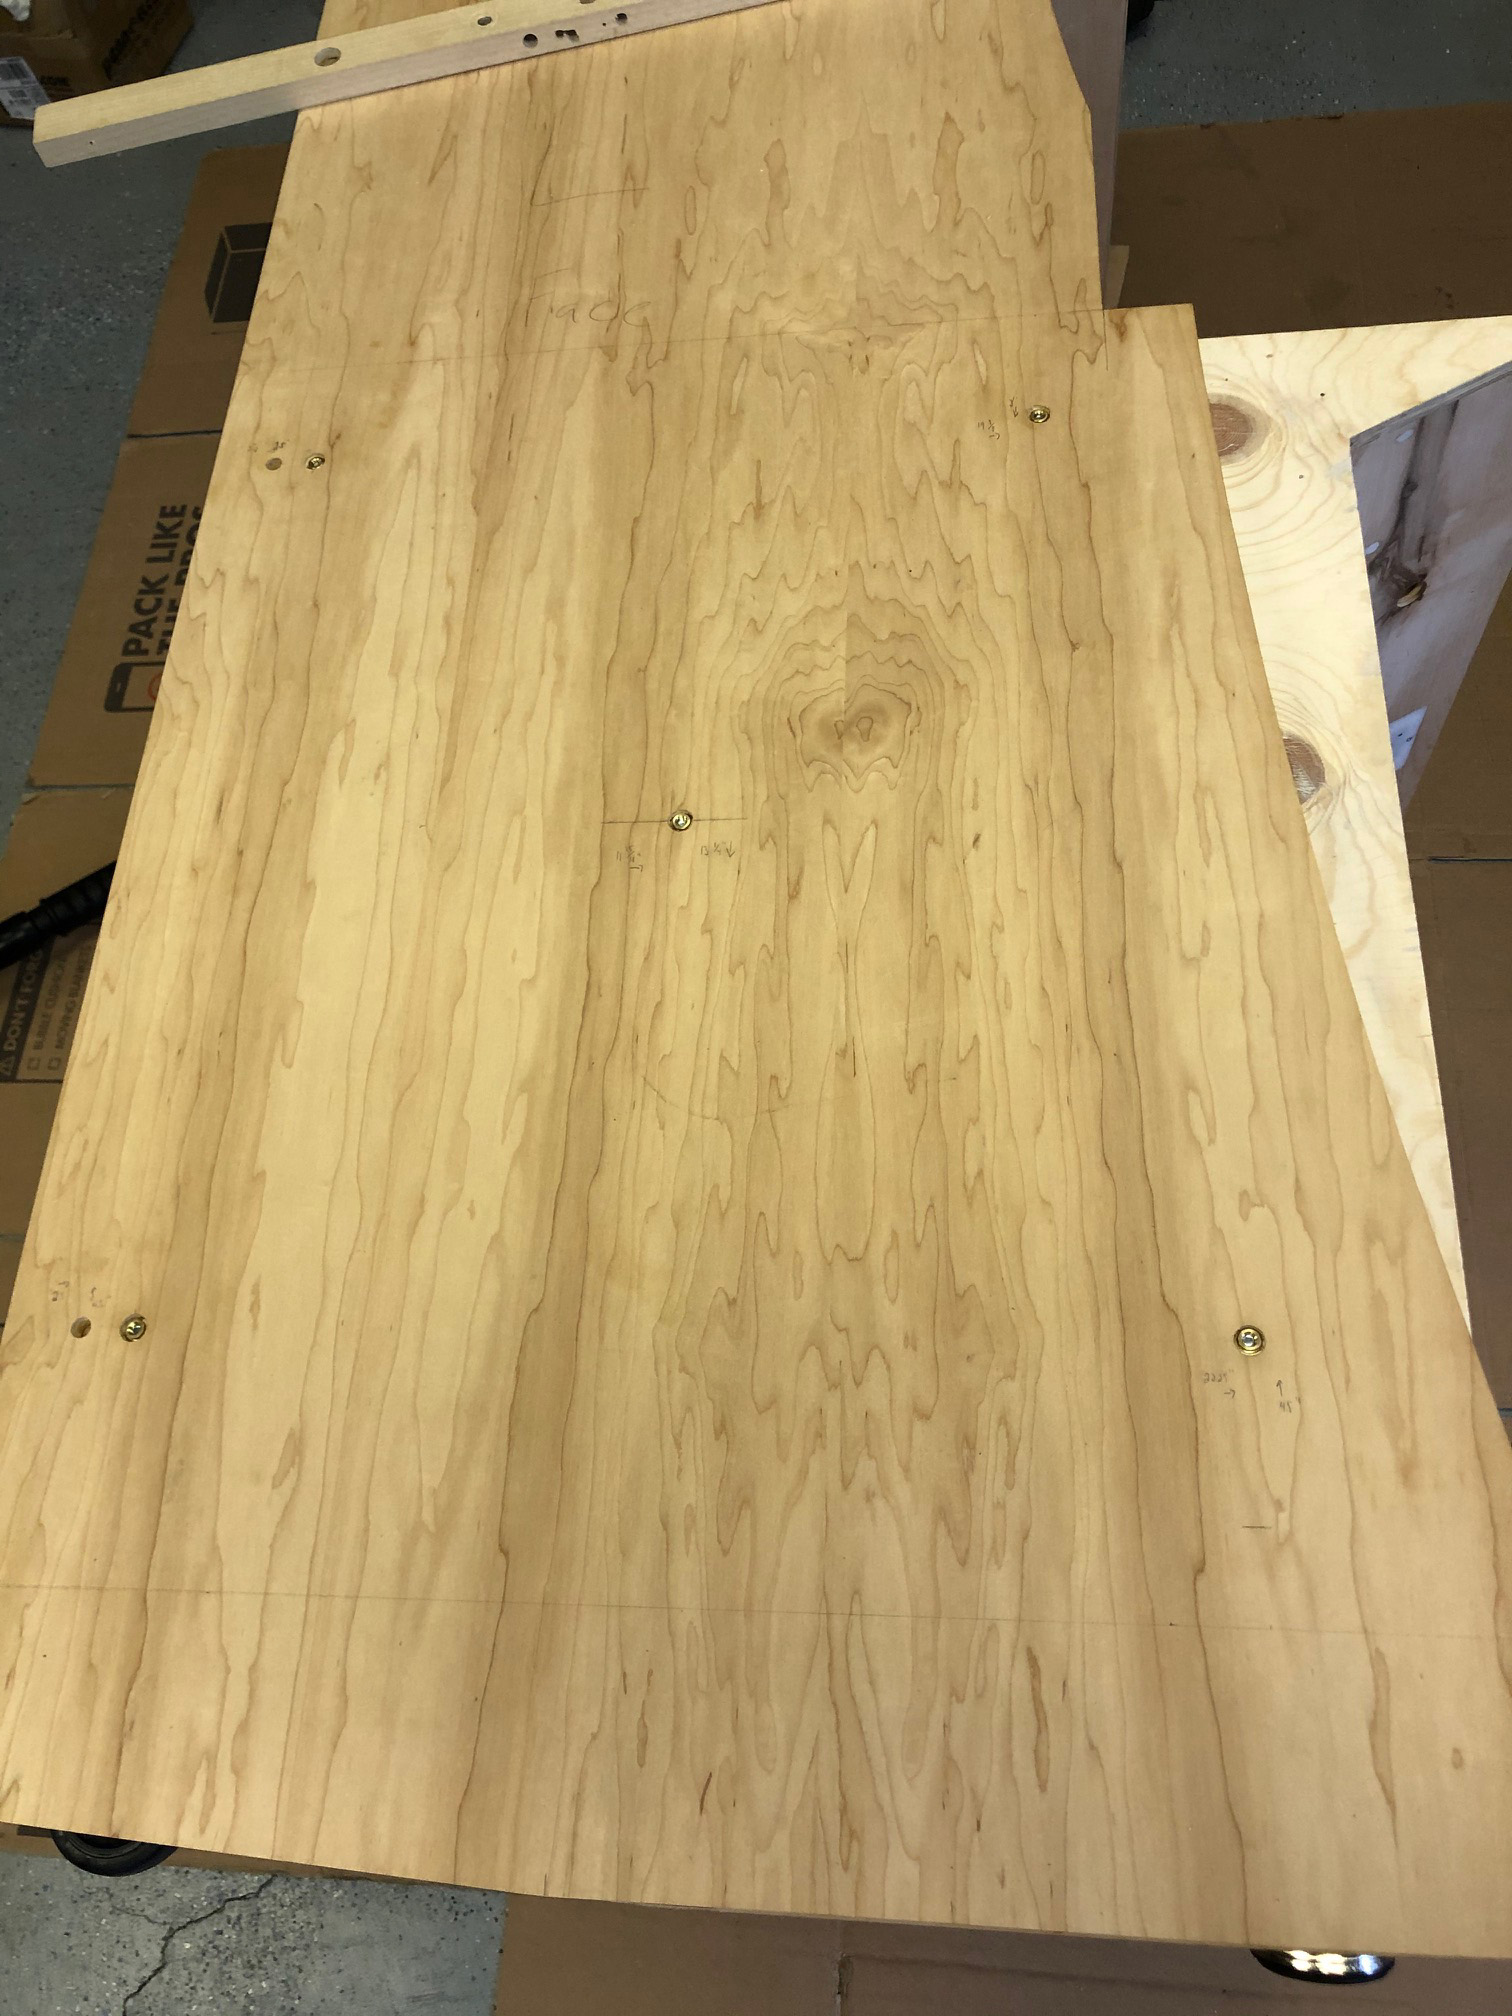


The washers around the screws above are called finish washers and they are awesome!


And in case there was any concern the Quality Control Crew is all over this build:


 Home
Home Help
Help Search
 Login
Login Register

 Send this topic
 Print
Print Topic: The Grid.... (Read 190062 times)


