Back with the final major update for this build! So shortly after finishing the marquee I started with what was one of the most satisfying steps: installing the side art. Part of the reason why it took so long to get to this is that I made a crucial error in inputting my measurements when creating the artwork dimensions. One of the corners was 1 off, which affected the slant of the border that lined the monitor opening. Consequently I had to reorder both sides from Brad. It was painful, and
well, my wife wasnt happy ($$$). But Im dedicated to publish the reality of this process so I didnt want to hide anything; hopefully others can learn from mistakes like this lol. Now if youll kindly gloss over that small detail lets get to the meat and potatoes of this post

. Im sad to say that I was too nervous to take pictures during installation of the side art. My only willing helper is 5 years old, so with it being a one man install and learning during my first attempt at this I was too worried I would mess something up. I know, it would have added to the entertainment factor of this thread, so Im sorry for that

. The material that Brad (known as Lucian045 around here) uses for his prints is very user friendly. There were a few times I had a bubble that I thought would cause a problem, but they smoothed out perfectly with just a few passes with the squeegee.
Once the side art was on I installed the t-molding. I ordered samples from t-molding.com and settled on gray. I started with the bottom of the cabinet and worked my way around with a rubber mallet covered with a cotton towel (not shown in the picture below) so that I didnt mar the plastic. The stuff is pretty soft and scratches even with a rubber mallet. Heres a picture of getting that started:

The thickness of the sides with the side art and laminate doesnt quite add up to ¾ like the t-molding, so when I cut the t-molding slot last year I made sure that I positioned the cut so that the extra width of the t-molding would hang over the outside face of the panel. This would make it easy for me to trim just one side rather than two. To trim it flush I needed a blade that wasnt beveled on one side, like a chisel. I didnt have a sharpened chisel handy, so I removed the blade from a 3 block plane to lay flat on the face of the side panel while I slid it along the edge to cut the t-molding. I used painters tape to protect the artwork. Heres a couple pictures of that process:


The painters tape worked great and I was able to use and reuse the same strips just moving them as I went.
After trimming was done, the cabinet was pretty much finished!

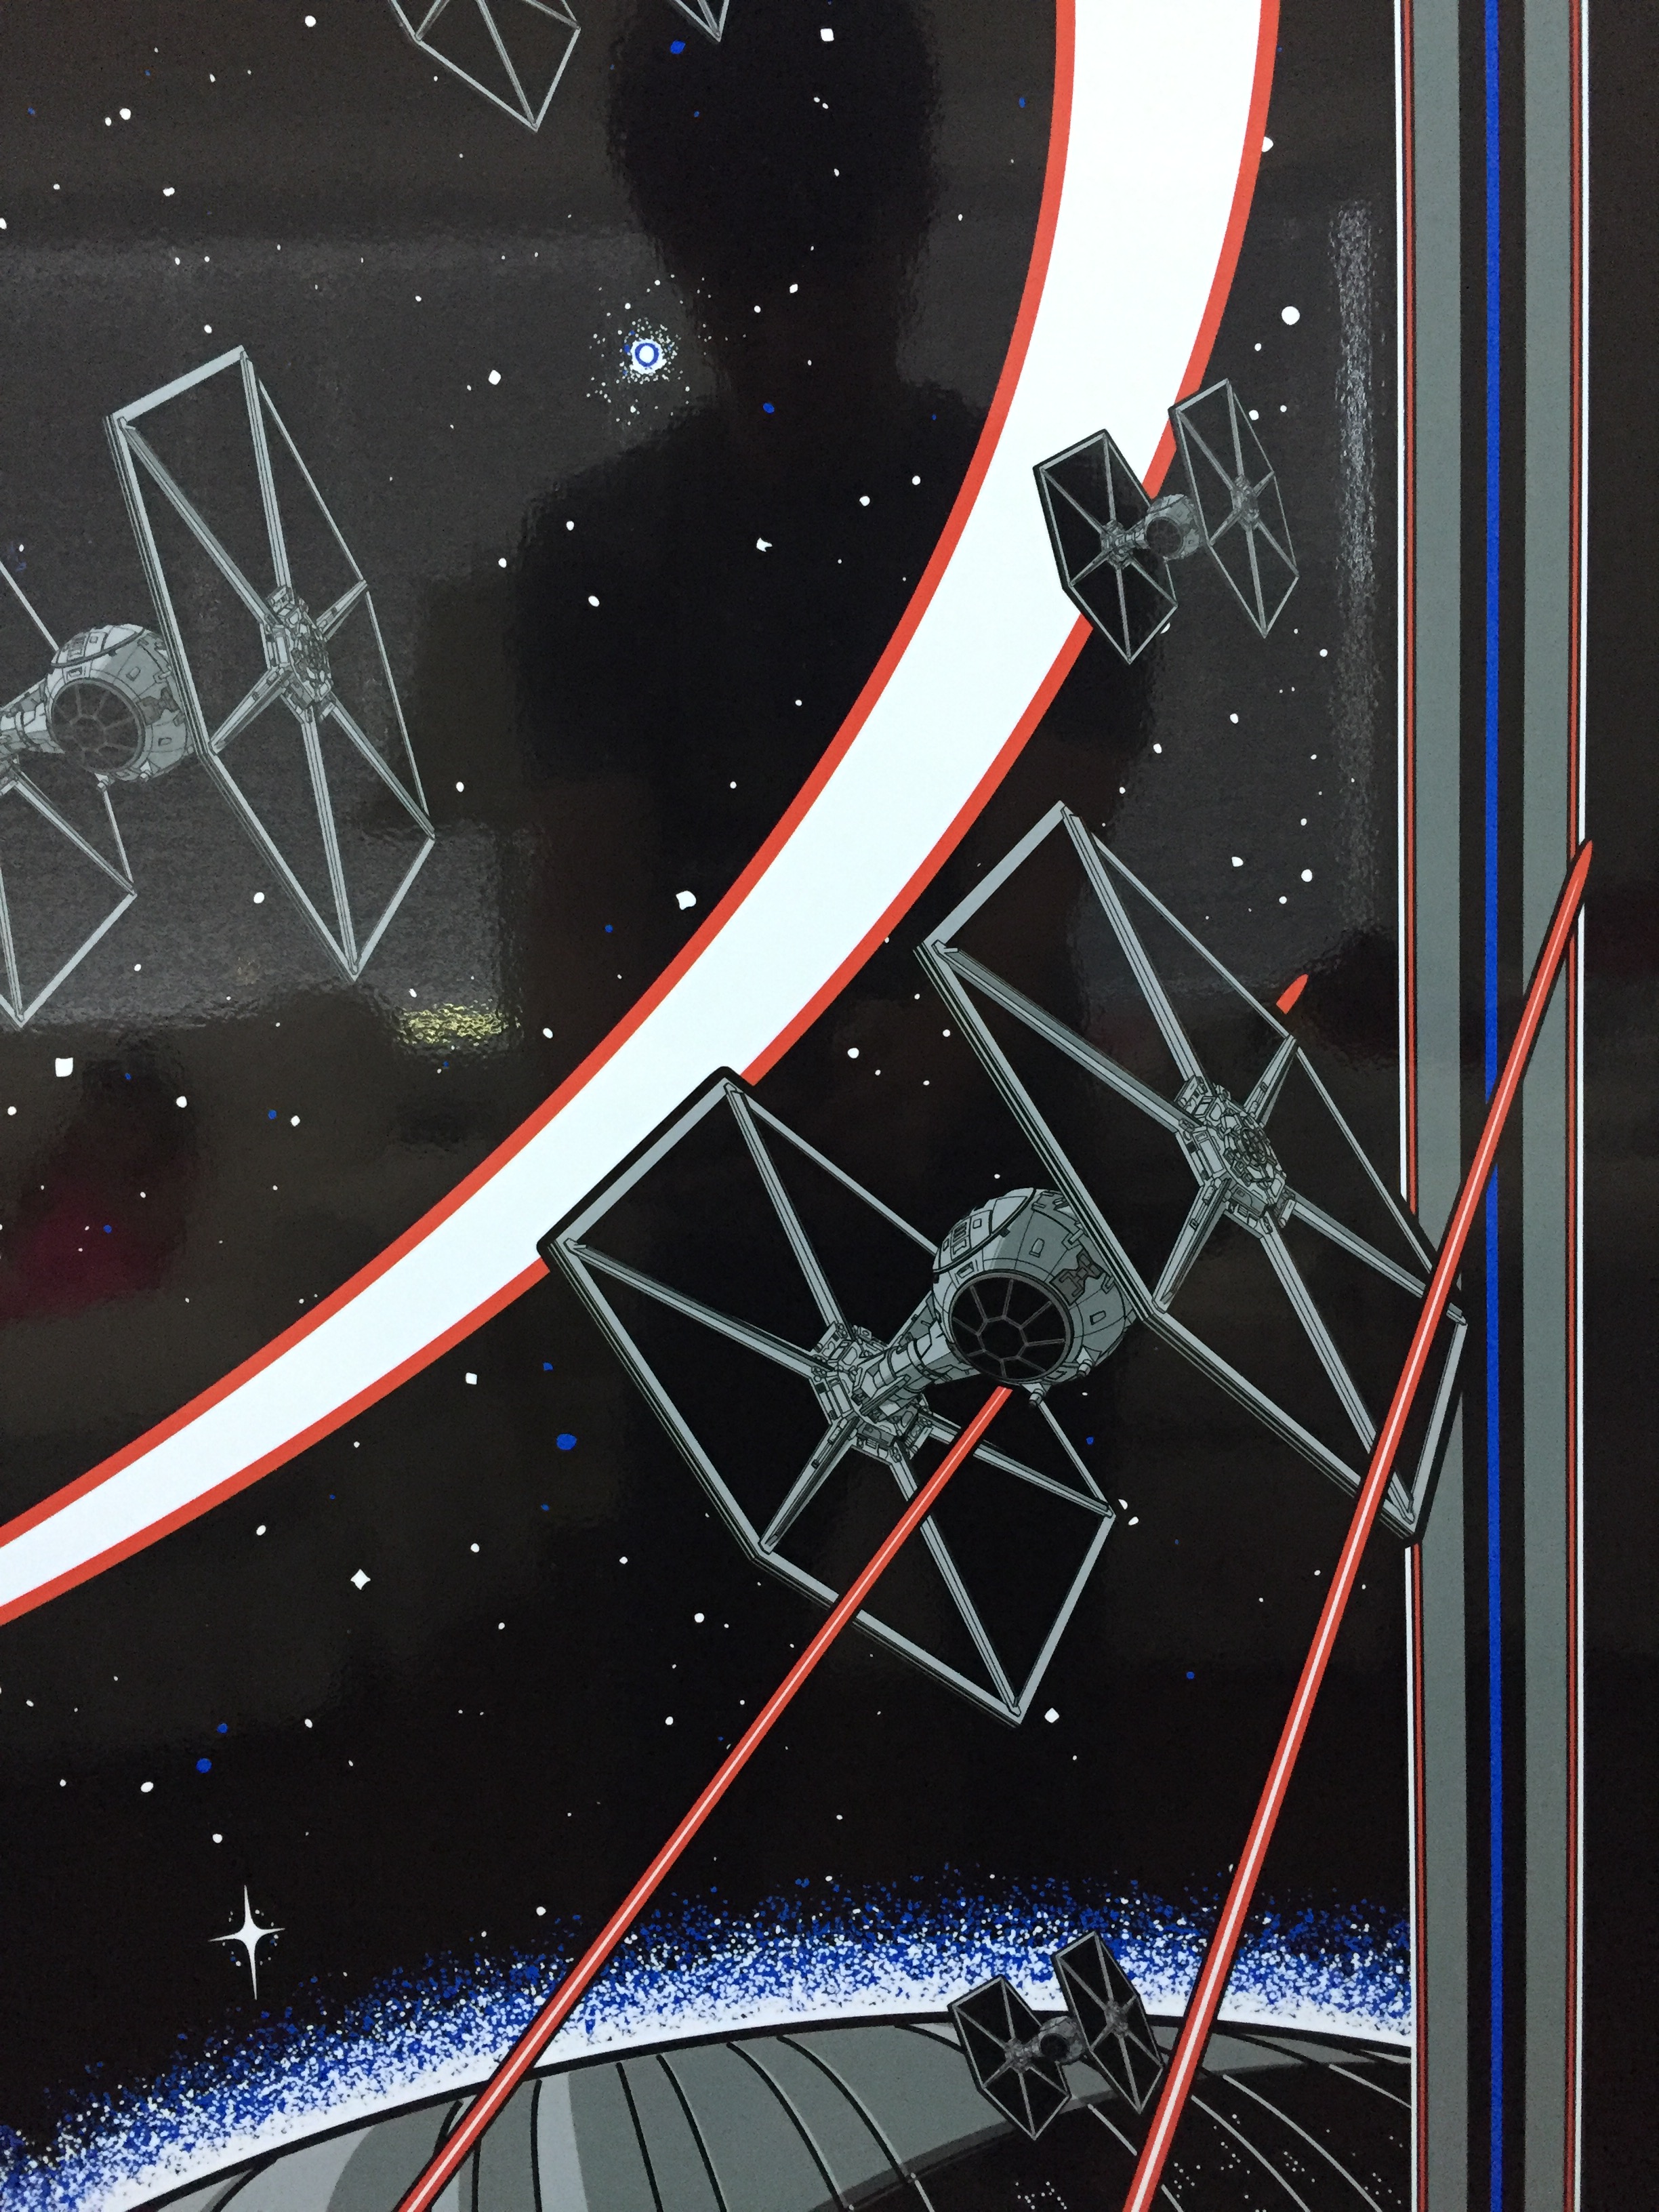
Here are some pictures of the Star Wars cabinet in all its glory

:

CP:

Coin door panel:

Side

Side art:


Some close-ups:


Rear:


 Home
Home Help
Help Search
 Login
Login Register

 Send this topic
 Print
Print Topic: Star Wars Themed Upright Cabinet (Read 46544 times)


