Product can be found here:
http://shop.harumancustoms.com/index.php?route=product/product&path=59&product_id=50The great thing about this bartop, is all you really need to put it together, is about 24 hours worth of waiting and some wood glue... I used GORILLA GLUE wood glue. No nailing, no screwdriver needed... clamps recommended IMHO.
Very easy to put together, but there are some considerations to be had before you just "GO FOR IT". First of all, you'll probably want to pre-mount the speakers/amp before gluing everything together. Otherwise, that's a pretty tight space to try working with.
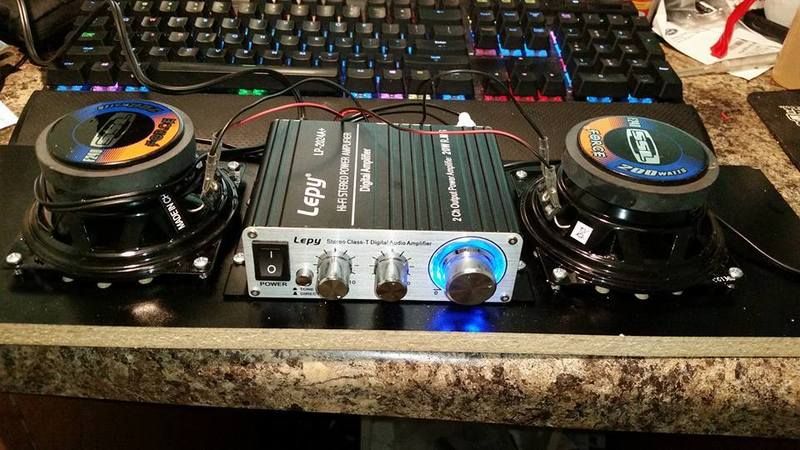
I was able to mount 2 4" speakers and a LEPY AMP. It was a close fit, but very do-able. The position of the amp as shown here, gives me an optional volume control to play around with to set the arcade's sound to the desired level just by swinging my hand up around the back of the cabinet and adjusting.
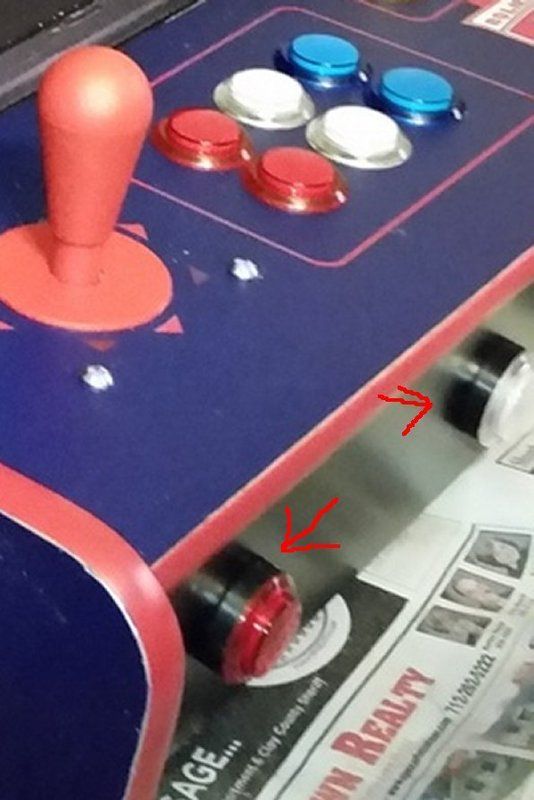
Also, note the bottom button ADMIN CP layout depth. If using something like HAPP buttons, you are probably going to have them banging into each other and will more than likely need to use spacers. PLAN AHEAD for this!! I used spacers as shown in this image, but even with the spacers, it was still a bit of a tight squeeze and needed to be manipulated a bit, but it worked..
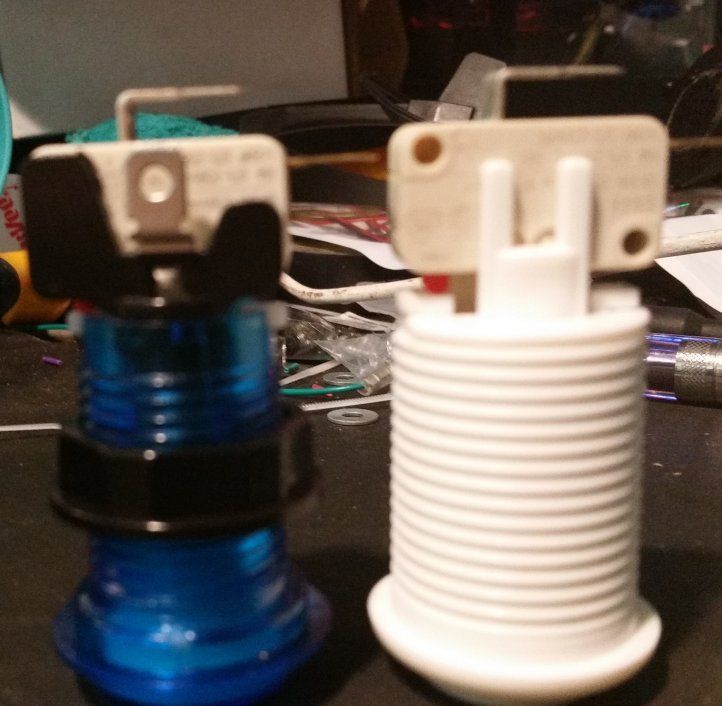
But then, keep in mind, on MY build, I was also using LED buttons, and NOT Happ. In my case, the LED button was actually shorter then a Happ, but then not by much... here is a comparison:
My personal recommendation and what I will be doing when I build another one, is to buy one WITHOUT the 3 extra holes drilled at the bottom and just use the "SHIFT" function of an iPac 2 and just program your admin buttons into the regular buttons. This will enable you to put the CP on using HAPP type buttons and joystick without bumping into anything up front.
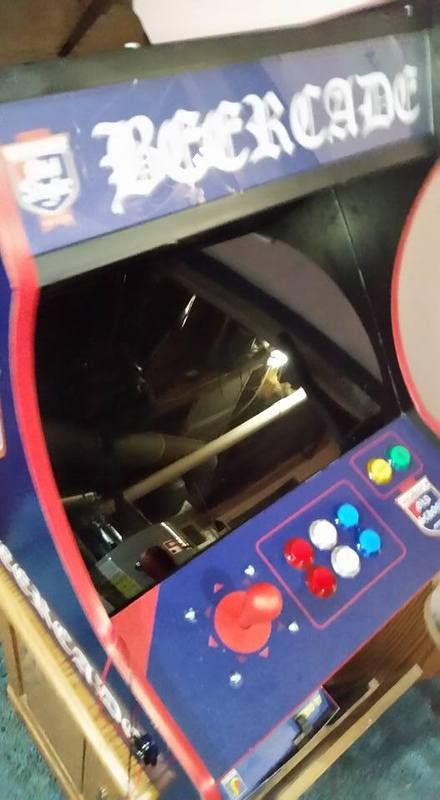
I was also able to squeeze a 19.1" monitor in this cabinet with no problem at all. I used an ASUS VW199T-P. It is also noted that this kit it totally worth getting the extra T-molding and plexi glass bezel/marquee to go with it. I went a step further with the bezel plexi and tinted the glass using a 20% darkening tint (Wal-Mart®). Using black duct tape around the monitor's bezel, then installing the tinted Plexiglas bezel gives this cabinet a sweet looking appearance and hides the monitor buttons, lights and branding.
Overall, this was a super fun bartop to build and I look forward to doing more of them. I already have 3 other people who want me to build them one.
Nags, complaints and wishes:
I'd like to see maybe a little more depth to the admin CP so that installing Happ type buttons is not an issue, but for sure you could always go Sanwa or something like that as well. I'd also like to see a better system in place for attaching the control panel. The batons are nice for leveling it all out and for securing the bezel, but you can't really glue it together unless you want to strip the black melamine down to the wood to adhere. You could put hinges on as well, but again, those dang admin buttons kinda mess with you a bit. The monitor mount fit fantastic, holes lined right up although I did have to use a couple washers with the screws... yours will vary I suppose, depending on monitor brand used. I guess one thing I personally would have liked, is maybe an extended panel for the monitor that goes maybe an inch or 2 lower from the bottom. The reason being, is one could very easily use that space to mount the motherboard and hard drive onto. I almost went this route. I was able to get the ITX motherboard with standoffs positioned so that I could screw the standoffs onto the back plate of the monitor mount and the SSD drive right next to it. The only issue I had was the ram stick was just a bit too tall and protruded just a bit to much to get the back panel on. If I could have went down just a smidge more, it would have worked perfect. This would have left PLENTY of open space on the bottom to install a second console system... bummer... but oh well... I'm still very happy with this cabinet and would certainly recommend buying one if you wanna try your hand at building your very own bartop game.


 Home
Home Help
Help Search
 Login
Login Register

 Send this topic
 Print
Print Topic: The Degenatron bartop from Haruman's Customs. (Read 17215 times)


