Hi Guys,
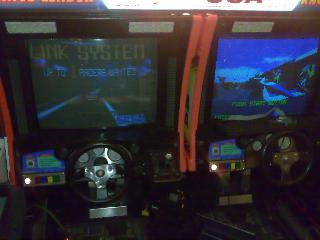
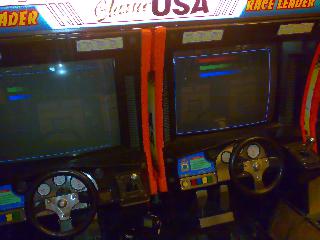
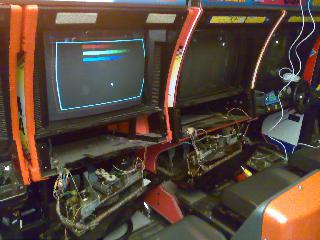
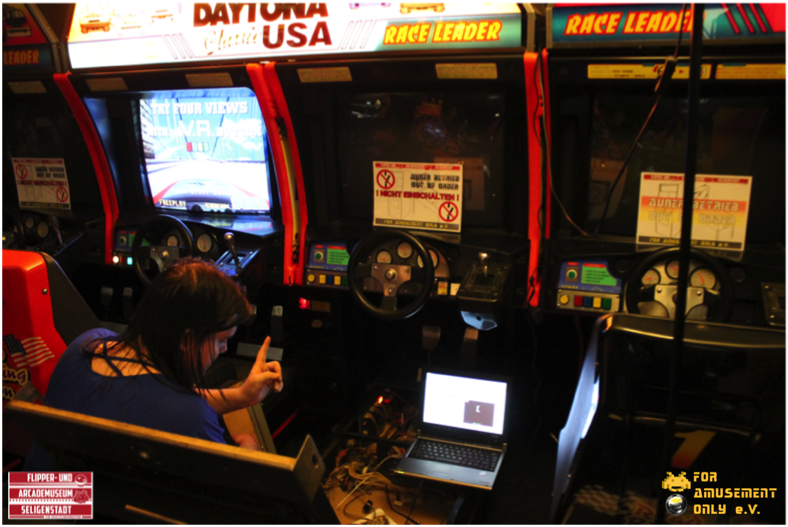
I've started to convert my Daytona USA Twins (actually got 3 of em right now, 4th on the way) to PCs without modifying the original wiring.
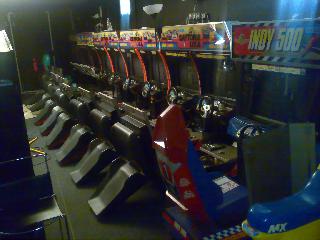
I got bored of my Daytona Boardsets dying over and over again, so I swaped them with PCs.
I used an Arduino (MEGA 2560) to interface the PC to the cabinet. - None of the original wiring was cut/modified, so I can put a real Boardset back in there at any time.
Big ThankYou goes to BigPanik for the initial idea and "proof of concept" of using an Arduino in the first place

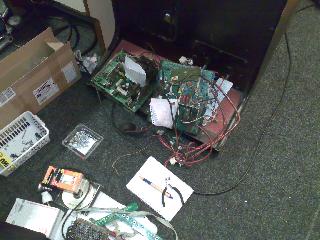
1. - I removed the CPU Board cage by unpluging all the connectors and removing two screws that hold the cage in place. Then I "moved" the cables going to the back of the base to the center.
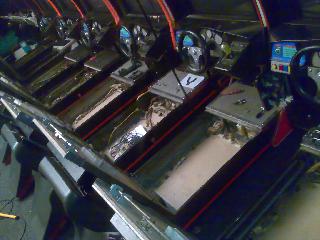
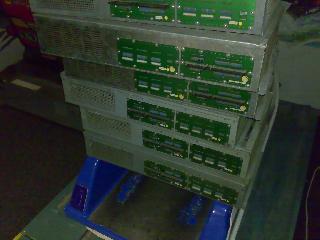
2. - As the PC will generate the sounds, I disconnected the power cables going to the sound board (1 connector) and audio cables (2 pairs of connectors) from the amp board and pluged in a standard pc audio cable in there.
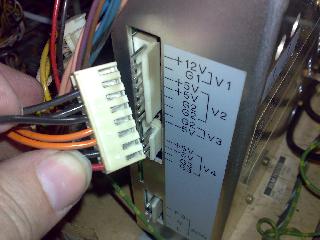
3. - I disconnected all cables on the sega power supply (1x AC, 1x Main Power, 1x Aux Power) and pluged in a handmade power cord for the PC instead.
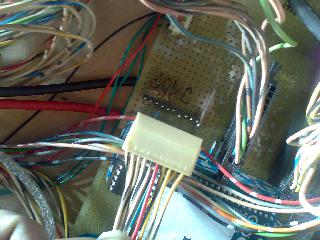
4. - I built an adapter board which provides several connectors for the original cabling:
- 10p (1x10) for AUX power. This line usually powers the I/O board inside the cage, but I will use it to provide power to the drive board instead.
- 5p (1x5) for video.
- 50p (2x25) for buttons, lamps, shifter.
- 26p (2x13) for the pedals and wheel pot.
- 11p (1x11) for sending commands to the drive board.
- Pin-Header for the Arduino Mega2560
- VGA for video
- 5V and GND for power
5. - I put a standard PC in the place the original board cage was located at.
- The VGA is connected to the adapter board.
- Audio runs from a 3.5mm connector to the RCA jacks on the sega amp board.
- One USB line feeds the Arduino Mega2560
- 5V and GND line to the adapter board.
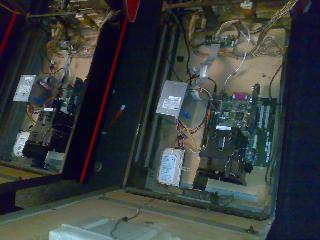
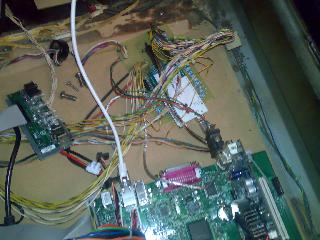
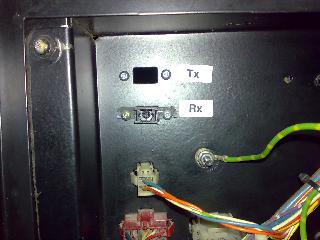
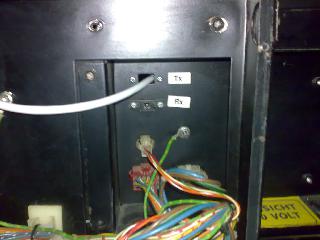
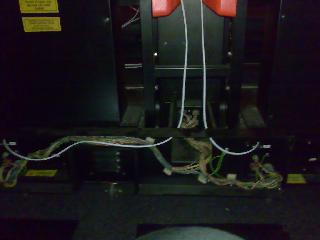
6. - I unscrewed one of the TOSLINK jacks on the back of the cabinet and used that hole to get a standard RJ45 network cable in there.
7. - The firmware on the Arduino Mega2560 does two things:
* read pots, read buttons, read and decode the shifter (3 wires, 5 states)
* write commands to the drive board, drive the "lamp driver" IC to switch on and off the lamps etc.
8. - I currently use vJoy to create a virtual Joystick device, which gets updated with the data supplied by the Arduino. A small tool (for the moment) checks which game is currently running, reads the commands and lamp data from memory and feeds them to the Arduino. It also filters out "bad commands" and translates various command types (for example OutRun deluxe movements).
9. - software wise I run XP64 on Core2Duo (2,1GHz), 1GB RAM, ATI HD4650. I use Soft-15kHz to feed the monitors with 25kHz video signal at native resolution of 496x384.
The software was "developed", using slightly modified hardware approach, on my Indy500 deluxe cabinet.
Intersting note: the m2emulator is running too fast! If I run daytona on real hardware and the emulation side by side, the emulator is slightly faster. I suspect that is a 58Hz (original) vs. 60Hz (emulation) thing. Even the music plays slightly faster.
There is also a new version of vJoy in development that does support force feeback on the windows side. So in theory I could translate the windows force feedback commands to the sega drive board and play pc games with force feeback too.
Another interesting fact...
4 units are "Daytona USA classic", the 3rd generation released. They are made of steel/plastic and have red seats.
2 units are "Daytona USA", the 1st generation released. They are made of wood and have black seats.
As far as I know there is another version - I'll call it 2nd generation - which is made of steel/plastic already but still features the "Daytona USA" topper and black seats.
I noticed the wood cabinet and the steel cabinets have a different setup of boards and wiring.
At first my adapter seemed to fit both setups perfectly. But I soon discovered some differences.
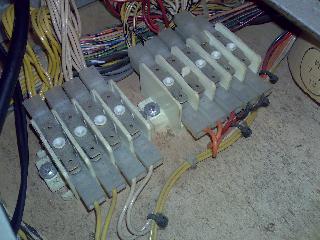
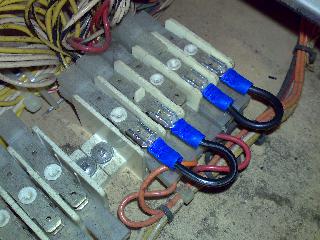
The wood cabinet for some reason has 4 "split" +5V rails, where the steel cabinet has only 2 rails.
This becomes even more strange as the Power Supply only has 2 rails for +5V.
V2 = +5V Aux (Sound Board, Drive Board, I/O Board), V4 = +5V CPU (CPU Board, Video Board)
Sadly, the I/O Board and the Drive Board are on different rails - I "hacked" the wiring by connecting both +5V Aux rails.
The other strange difference is the power for the CPU Board FAN.
On the wood cabinets the FANs are actually 12V wired (RED @ Pin 5). On the (later) steel cabinets, there are 5V wired (YELLOW @ Pin 5).
To "fix" that, I had to remove Pin 5 from my adapter board - otherwise I would have fed +5V on the +12V rail.
In conclusion it is NOT possible to swap board cages from one cabinet to another without paying attention to the FAN voltage... You might fry your 5V FANs.
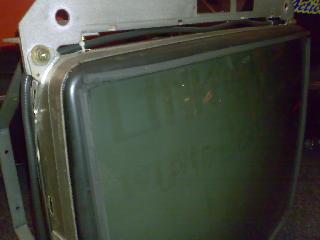
Most of the screen (Nanao MS9-29U) worked out of the box - although they were quite dark.


 Home
Home Help
Help Search
 Login
Login Register
 Send this topic
 Print
Print


