Had another session last night and Ed and I finally managed to get the panels assembled! She rotates!

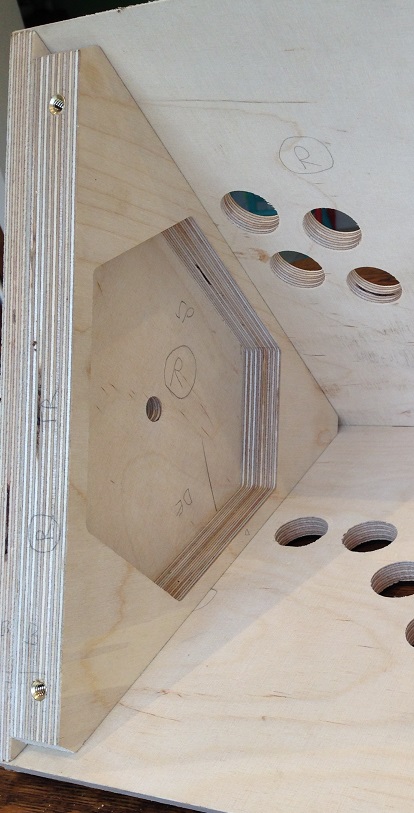
Firstly, the triangle end panels needed to be glued to their mounting pieces. I used some extra strong PVA adhesive and clamped with 3 screws, one in each corner.
As I'm going to be installing/uninstalling panels a lot during construction, I went for a bolt and insert setup.
The insert is an M6 nickel plated brass one: -

The bolts I used are M6 A2 Stainless Steel Flanged Button Head Bolts (Hex Socket Allen Screws). These are 25mm in length, which works nicely as it has 12mm ply to go through for the panel, and the brass insert is about 13mm deep.
I went for the flanged ones because I thought they looked nice - but having second thoughts now, perhaps a plain domed one would look nicer.

Installing the inserts was a bit scary... it's one of those "you only get one chance" type things. Luckily they all went in fine and flush no problems...

So now we have all the bits ready to assemble!


First panel in...
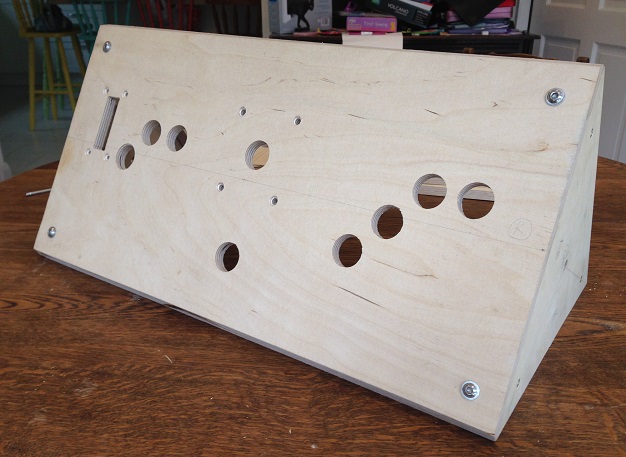
Second panel in...
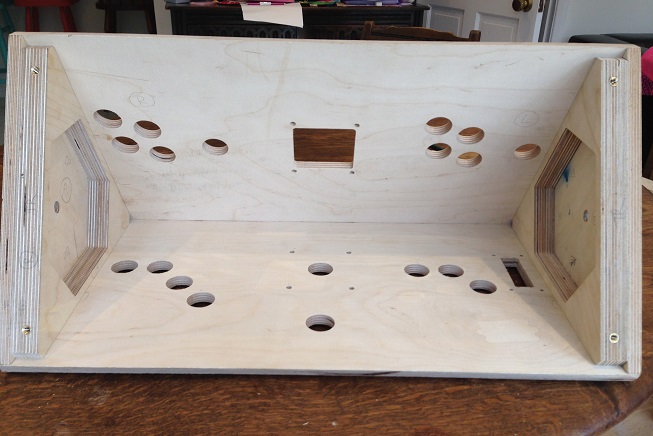
I'm really chuffed with how it's turned out. It's quite heavy, and very sturdy, and it's lovely and uniformly proportional (thanks mainly to the CNC machine!). A single panel only takes seconds to take off
.The stainless steel shaft fits beautifully and the free-rotation is great to finally see.
I have a bit of tweaking to the end-plate mounting pieces as some of the controls won't fit as they currently are, but it's minor changes so that's the next job. Looking forward to wiring up (once artwork installed), doing some welding for the steel frame, and putting some pulleys and a motor on it.


 Home
Home Help
Help Search
 Login
Login Register

 Send this topic
 Print
Print Topic: JIMBOVISION: Rotating CP [spinner led trauma] (Read 69996 times)


