Welp I must be on a mission to sabotage my cp. I went to install the wires for the speaker I got yesterday and almost bent the usb head off of my second encoder. I caught myself before I did it but maaaaaaaan. Nothing too exciting for the speaker and mini amp. I'll get pictures up as soon as I get my speaker grill in and I have everything installed. Until that time - We're sending you back to the future!....Uh, sorry. I mean...Back to the build!
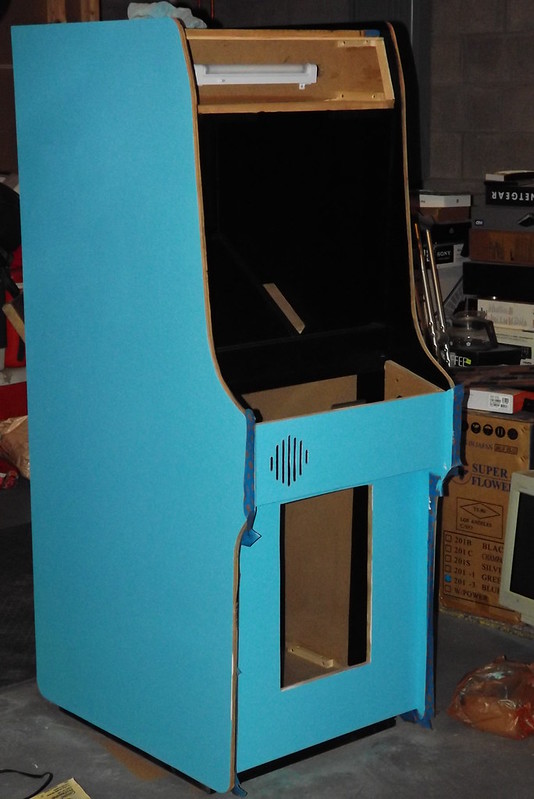
Here, as Malenko has requested, is a fully painted front. At this stage I still had a little clean up to do around the edges and my primer was still showing around the speaker holes. Easy enough fix with a small hobby brush.
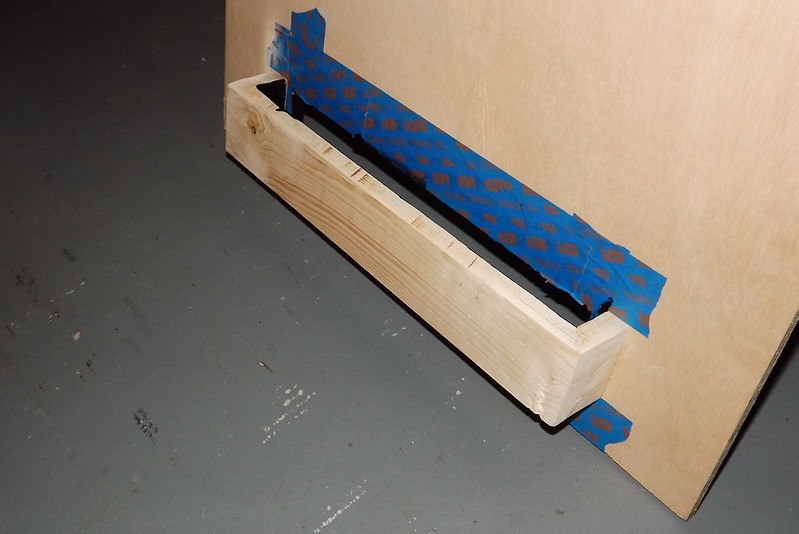
I didn't get much accomplished this day. I was able to finish my back door. I had some trouble finding out how the bottom hole was covered. When I did some research on the internet I stumbled across a youtube video of a Popeye restoration. I came to find the hole was just slightly covered with some angled pieces of wood as seen below.
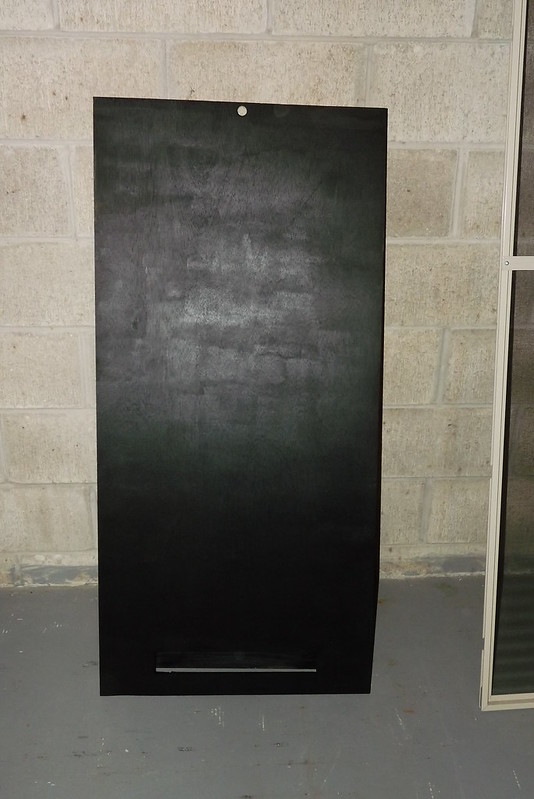
After that was completed I just flipped it over for a one quick coat of paint and set it aside to dry.
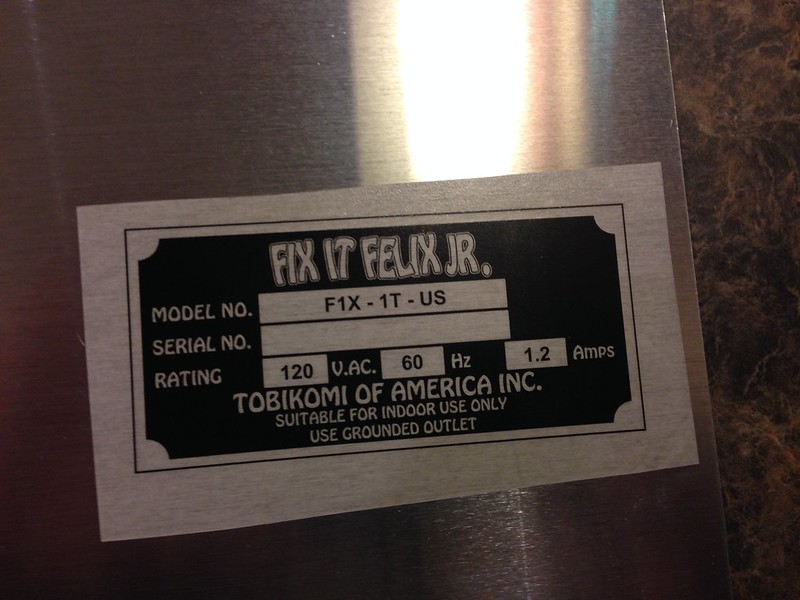
The final project I took care of that day was creating a custom serial plate. Member CoryBee started making them over a year ago. The post can be found
here. You can make them yourselves from either my directions or Cory's. From my understandiing CoryBee is willing to sell them for One Schrute Buck.

Pretty good deal if you ask me.
To create the serial plate you need
Avery Easy Peel Clear Inkjet Labels,
Rustoleum Triple Thick Glaze, and an
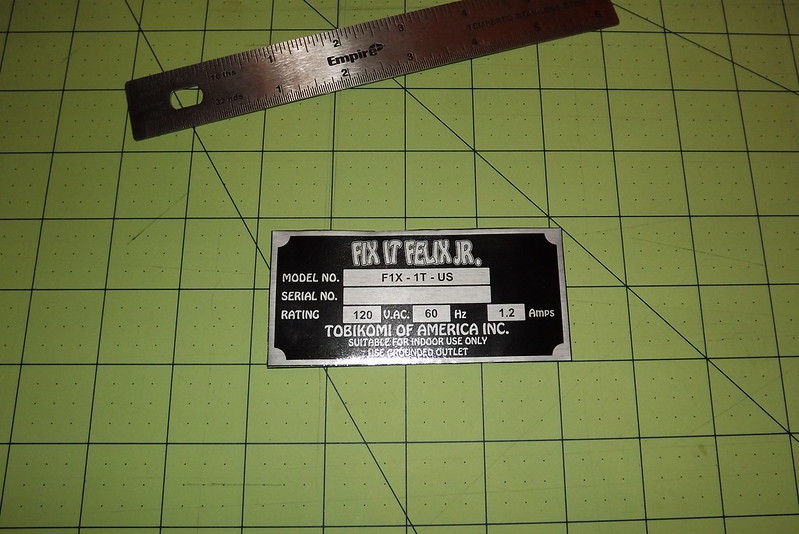
Aluminum Sheet or like CoryBee be smart enough to just use a pop can. I used the aluminum sheet because it was a little more sturdier.
Now you can either get a media file from CoryBee or if you are artistically inclined you can create one yourself in your favorite media editing program. When you have it your specifications just print it out. NOTE: Don't be like me and accidentally touch the ink after it is printed.

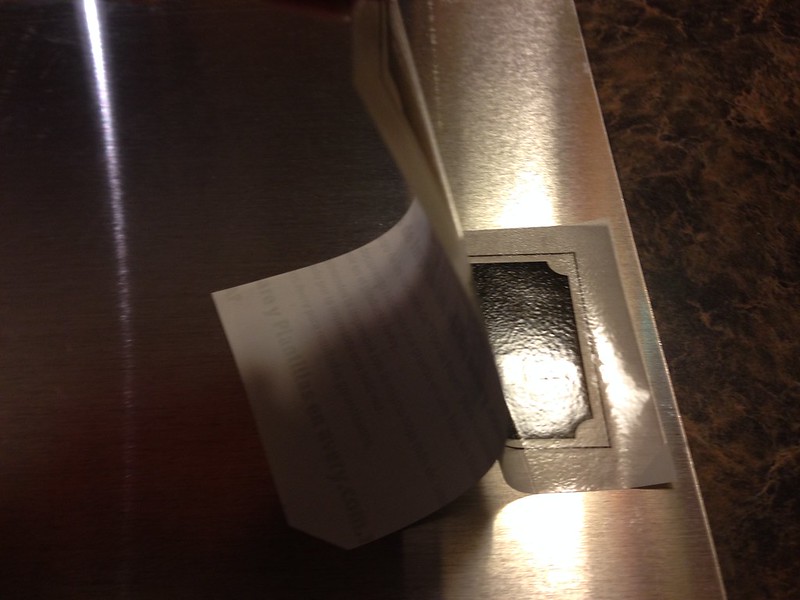
After you have your serial plate printed immediately spray on your Triple glaze.
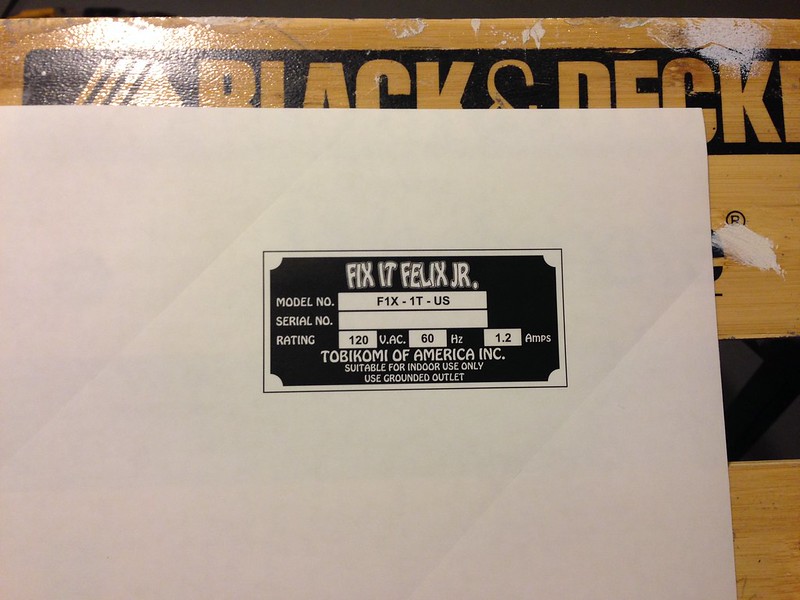
I did three very light coats. When doing this don't go heavy. Just hold the can about three inches above your paper and lightly spray back and forth covering the whole paper.
Once it was dry I cut about an inch border around the serial plate and affixed it to my aluminum sheet. Cutting it out of the aluminum sheet was a little bit of a bear. This is where I think the aluminum can would come in handy. But a small file fixed my problem.
Outside of painting my coin door there are no real major projects in site. I can see the light at the end of the tunnel. Hope it's not a train.


 Home
Home Help
Help Search
 Login
Login Register

 Send this topic
 Print
Print Topic: An Original Fix It Felix Build --- 100% Complete! (Read 83929 times)


