Hello all!
Sorry it's been a while since my last update, but I've been quite busy (both with the project and some other things). I think I have amassed enough new stuff to make an update worth it.
I will start with the boring stuff. I have added casters to the bottom of the cabinet (far better for moving it away from the wall, especially on my landlord's floor) and I have the back door installed. I think I might add another support between the walls because there is an almost imperceptible wiggle if pushed at the top. I'm convinced now that the reason there was a panel back there was to prevent the wobbling.
My second project was the monitor. I took the advice of plenty of people and opted for an LCD. It was easier to fit in given the space that I had to work with and I frankly didn't want to spend the money on an authentic arcade monitor. I bought a Vizio 1080P 26" TV from a local pawn shop. I didn't do my research in terms of the width I had available to me with the cabinet. When I got the TV home, I pulled the TV out and realized it was just about 1" too wide for the cabinet. Darn

. Keep in mind, this is a pretty ugly TV. The bezel extended about two inches from the sides of the screen on each side and it was about 2.5" thick. This called for some surgery. I removed the bezel and the speakers from the TV and gave it one more try. I put it in through the back of the cabinet and it fit with only about a centimeter on each side to spare. The screen is absolutely perfect for the cabinet.
The next step was actually mounting the monitor. Because the case was off of the TV, there was no more VESA mount for an easy install. I had to get creative. The screen was attached to the case of the TV using four screws that came through the corners of it. Because of the main board and the VGA connections protruding so far out of the back of the screen, I had to jerry rig this using a piece of 1x2. I cut three inch pieces and screwed them into the monitor. These were tick enough that I could mount them to my faux wall without the monitor resting on any of the electronics behind it. After it was mounted to the wood, I slid the entire contraption into the cabinet. Unfortunately, it was ever so slightly too thick to work with the existing brackets in the cabinet. These brackets were bolted on to the cabinet to the point that they were visible from the walls of the cabinet. Removing these would mean moving these bolts to a different location and filling the holes in. This was far too much work for me, so I simply took the monitor and mount out and shaved a couple of centimeters off of the four blocks of wood. The monitor still attached to the wood, but the electronics are pressed up against it to the point that it almost bent the monitor. I proceeded anyway and slid the monitor in for a second attempt. Perfect. The metal casing for the screen is actually touching the rest for the glass
at least on the bottom.
My next dilemma was finding out that the braces on the top of the cabinet were not parallel with the glass. This was fixed by sliding the remainders of the 1x2 between the bracket and the wood that the monitor was mounted on. That brought the screen about ½ of an inch from the glass after it is put on.
My biggest dilemma was the control panel. When it comes to woodworking, I have no experience (unless you count the third grade woodworking projects I did at camp). I recreated the control panel that I got with the cabinet originally. I figure that since it was already made to match up perfectly with the bottom of the monitor glass, it'd be the best bet. This was originally made with plywood, but numerous people suggested MDF for this project. I blindly followed their lead. I was also under the impression that I would use a table saw to cut the basic shapes of the wood and the only need for a jigsaw to cut holes for the wires to pass through. My father-in-law told me otherwise. We used a jigsaw for the entire thing. We methodically ripped apart the old CP box traced each piece. My lack of experience drew this out into a 5 hour long woodworking project. For a freaking BOX!! I assembled the four sides and then had to throw some serious elbow grease into sanding the bottom piece down so it would fit in, but after waaaay too long, it finally paid off. Its all assembled and the only remaining piece is the top (which I have cut to size, I just need to paint it and round the corners)
My final project since my last update lies in the monitor glass. I taped off the glass as best as I could over the visible area of the monitor and simply sprayed the back of the glass with the flat black spray paint that I used for the rest of the cabinet. My only issue is the small sliver of monitor bezel still visible in the top right.
My question now lies in the mounting of the trackball. I just need to know how to flush mount it without using the super high mount system sold on GGG. I ordered the Electric Ice-T system V2.5, which is not supported by the high mount system. Any suggestions? I am also wondering where I can get a monitor surround to black out the bezel perfectly.
Btw, Flickr doesn't want to accept my uploads right now and I'm at work. I'll edit this and post the pictures right away when I get home.
*EDIT*
Here are the promised pictures...
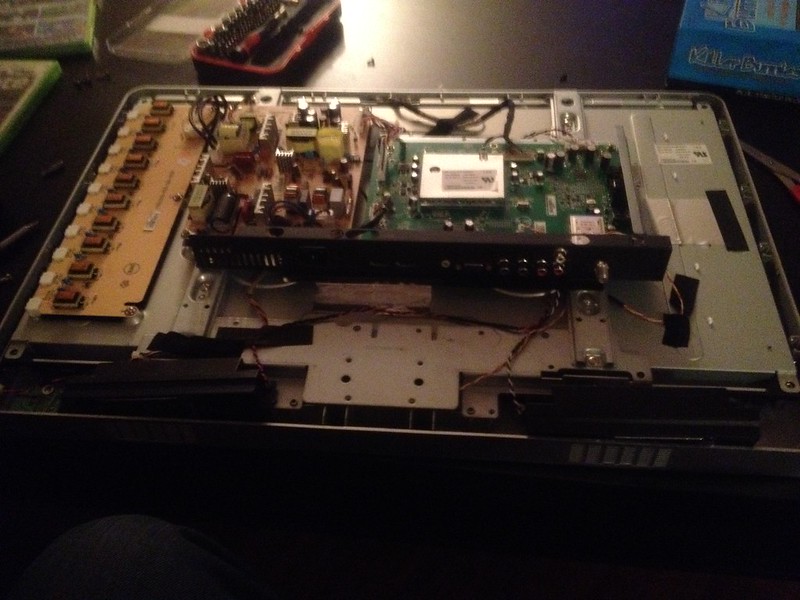
The gutted monitor from the back. It doesn't show the bezel very well, but trust me, the thing was fugly
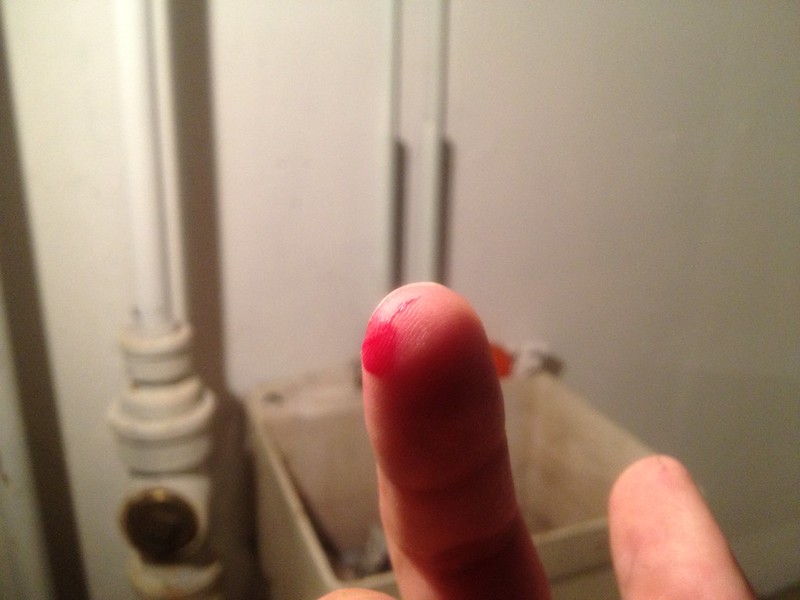
The result of a horrific accident involving a drill bit.
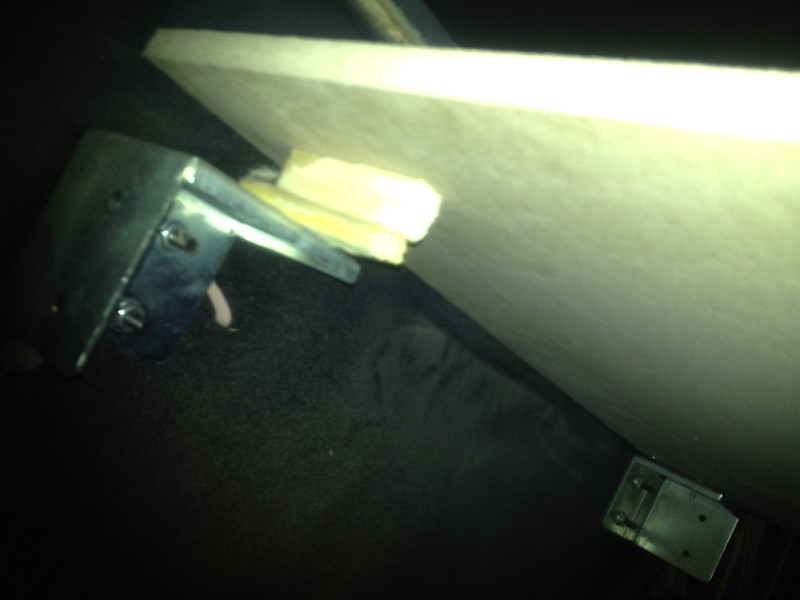
A bad photo of my rudimentary and temporary fix for the monitor leaning back on the top brackets.

A picture of the monitor mounted. The control panel is still the old one at this point (obviously)

Showing the sliver of monitor bezel still visible after painting.
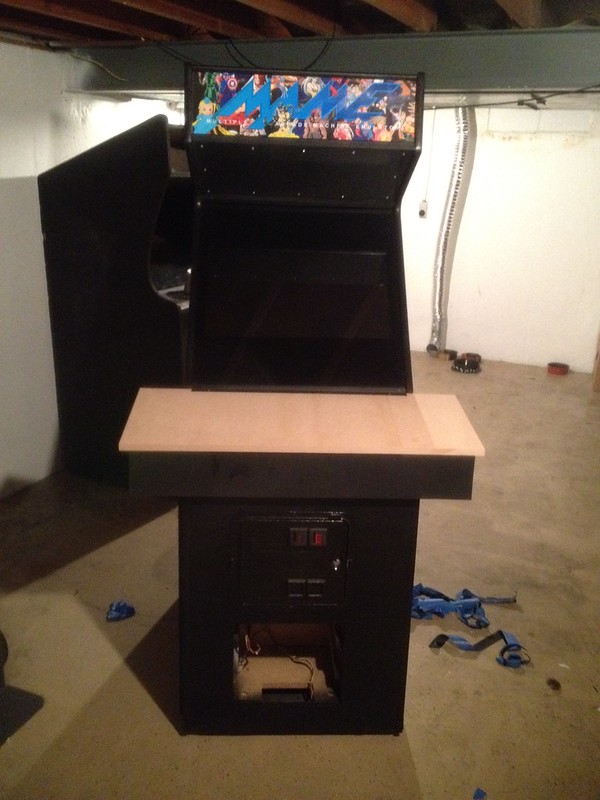
And finally, the arcade cabinet as of 7/23/2012. It's finally starting to look like a cabinet I want to play!


 Home
Home Help
Help Search
 Login
Login Register

 Send this topic
 Print
Print Topic: A New Beginning: The story of my first MAME cabinet (Read 8426 times)


