Hey all. I've been lurking the forums off and on for a few years now and I decided to go ahead and dive into the fray with my first project. I have a Pac-Man plus cabinet I picked up (coincidentally) a few years ago, and I have been picking away at it ever since. Over the past few weeks, I have really been digging into the forum and picking up a lot of inspiration. My intention is to flesh out a solid build plan, and work on my craftsmanship (measuring, fabricating, woodworking, etc.) throughout the build process.
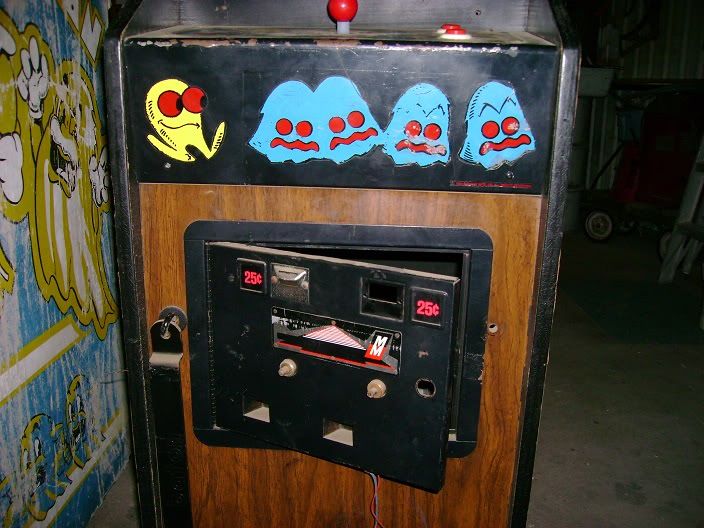
I snapped the following pics when I first picked up the cabinet.
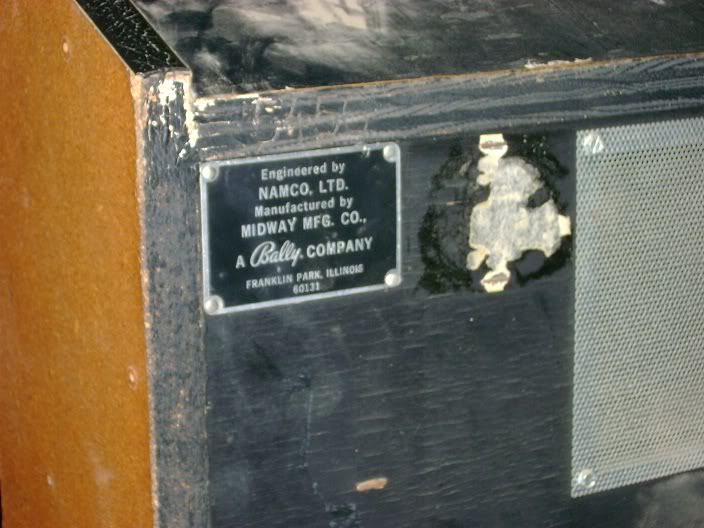
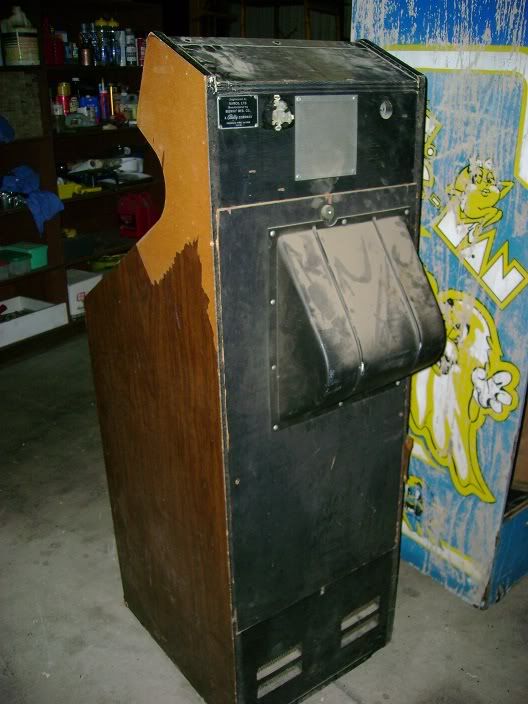
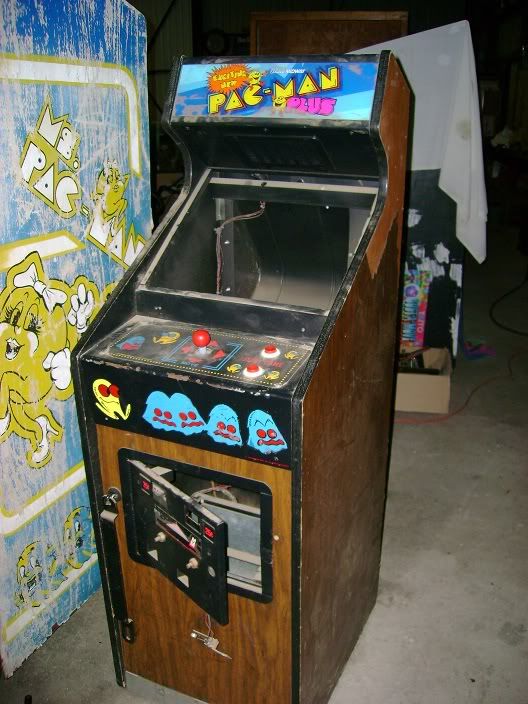
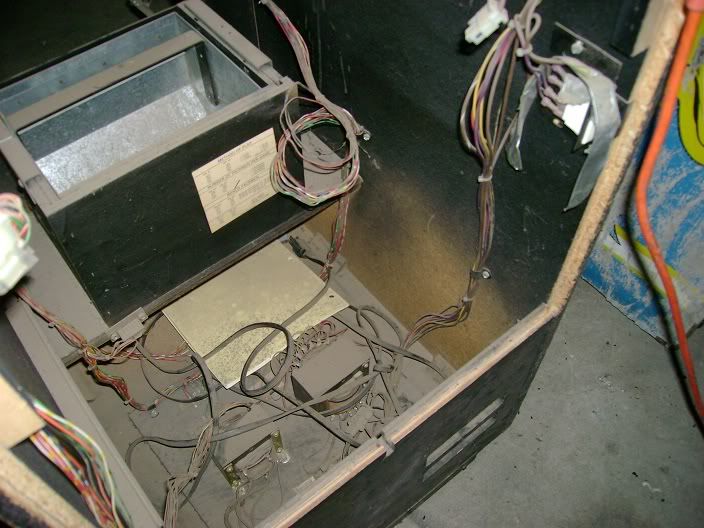
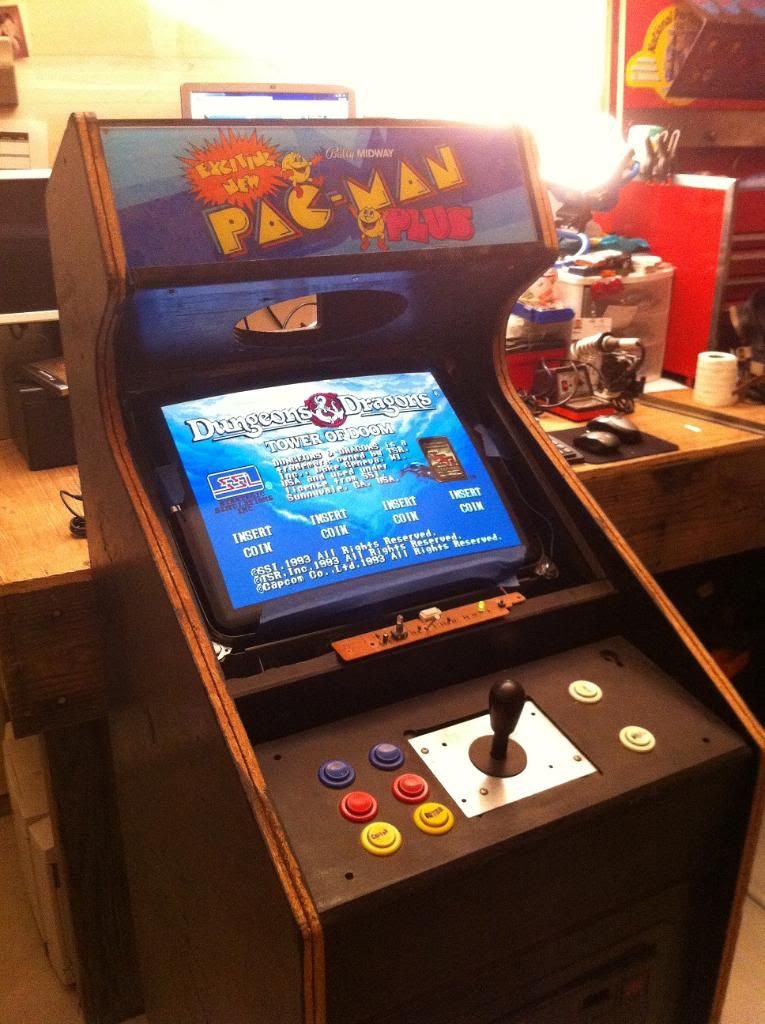
Overall I felt it was in fair condition, aside from the fact that it was sans monitor and PCB, and the size of the cabinet immediately appealed to me (although I would soon find it was a pain in the neck to work inside of).
Initially, I was torn between restoring or converting; I finally decided that because the originial monitor and PCB were missing, and because I really wanted a MAME machine, I would go ahead and pursue conversion.
Without much of a game plan to go on, I decided to go ahead and replace some of the ailing/missing components, and just try and have some fun with the process. I ordered some hardware from HAPP and started refurbing the base of the cabinet (after all, it would actually be nice to be able to move the thing, despite its diminuative size) with rollers and leg levelers.

The laminate was missing entire sections, so off it went down to bare wood.
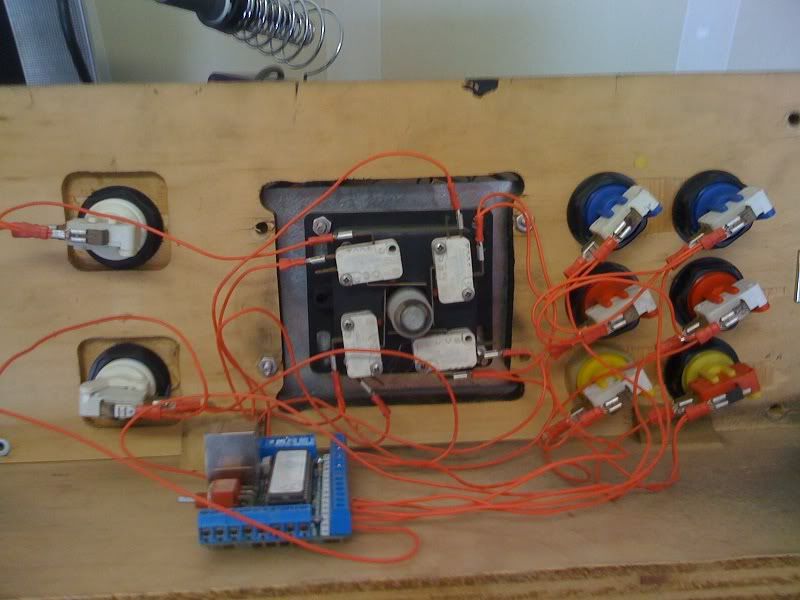
The stock CP with one stick and two buttons would also not do, and because I was so eager to throw together a working build, I took the quick-and-dirty route (as well as my spade bit) and made a few extra holes. I took a handful of oldie-but-goodie buttons & stick from the spare pile, and did a quick CP build with my Keywiz keyboard encoder. Also, I did take the original metal overlay off of the CP, all in the spirit of preserving Americana.
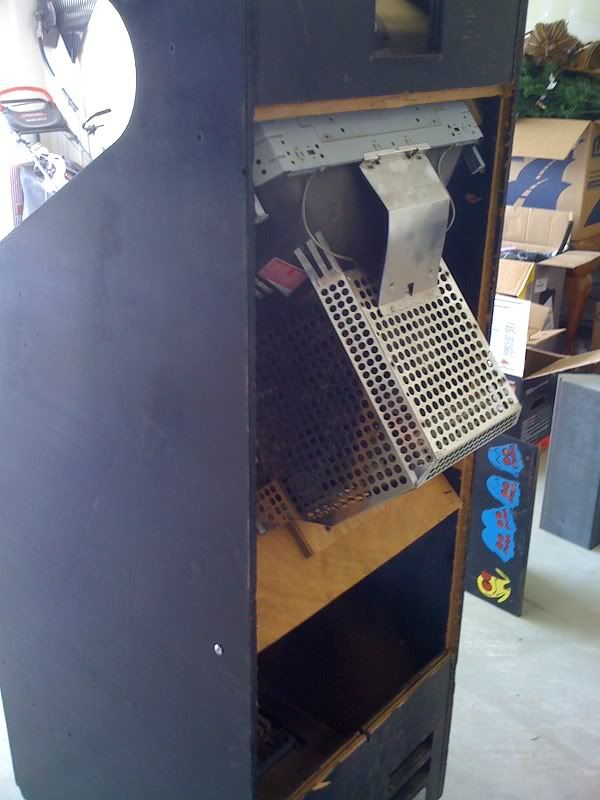
I had a tried-and-true 19" Gateway CRT laying around, and after stripping off the casing found that it was a perfect fit (although, if I were to split hairs, I would prefer that it ended up an inch or so lower. The cabinet came sans any apparent mounting hardware; To add to the debacle, I held neither the patience nor the geometry background (I was better at Algebra) to plan out the correct placement. I also didn't want to just "guess", so I took the middle road and devised a different plan. I attached two bronze hinges to the center brace just in front of the CP. I then sized and cut a piece of plywood to use as a platform for the CRT. After bolting the CRT to the platform, I then attached the platform to the two hinges. With the help of another set of hands (kudos to Dad) I swiveled the platform until I achieved just the right angle. While still holding the platform steady, I popped in two quick "L" brackets to keep everything in place. Most definitely I will need to adjust the depth of the monitor so that the bezel and plexi overlay will fit. Also, the original back piece will need to be modified.
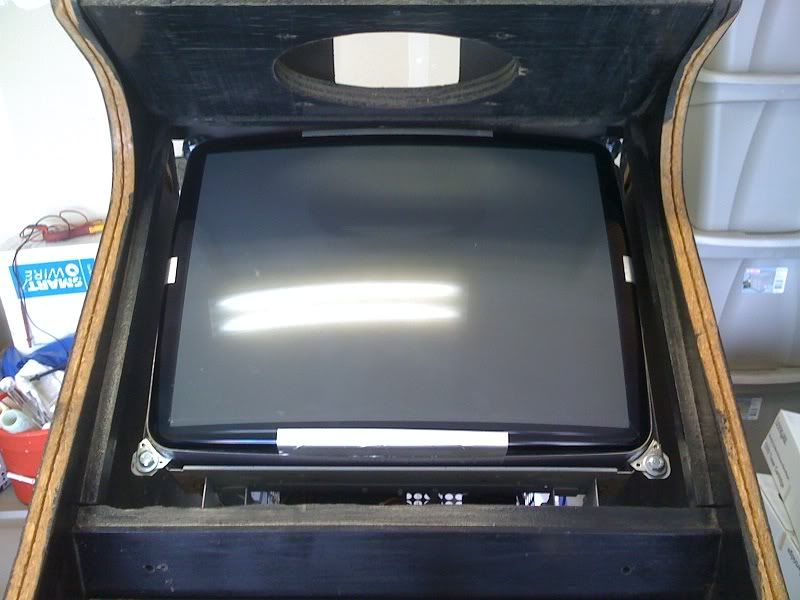
And then it was left dormant, overlooked for months on end until mysteriously, one fateful evening...
... it flickered back to life, beckoning my return and refusing to follow the path of obsolescence.
This little guy still needs a lot of work, and deserves a solid plan of action. I'm leaning towards the laminate route; Much of the cabinet is chewed up along the edges and corners, and it seems that using laminate would cover the imperfections.
I'm going to go with a black and neon-blue theme, black panels with blue molding and accents. I'd also like to upgrade the CP with a custom box and wire it for two players. I'm also planning on performing some surgery on the interior, with an emphasis on creating more space, permanently mounting components, etc.
Hopefully more plans to follow...


 Home
Home Help
Help Search
 Login
Login Register

 Send this topic
 Print
Print Topic: "Exciting New" Pac-Man Plus Conversion (Read 2582 times)


