I have tried a few different lamination techniques and seen some complicated ways of doing it. Here is the way that works best for me and may help you. The side of a cab can be laminated in about 45 minutes and you don't need to do any complicated measurements or pre-cutting and then trying to fit the piece on the side perfectly.
What you need are the following:
Tools/Materials- Cheap Paint Brush
- Contact Cement

- Laminate
- Router with Flush Trim Bit
- Thin strips/offcuts of wood that are longer than the width of the cab. Have 4 to 6 ready.
- Piece of paper
- 5/8" spade bit
- Scrap sheets of MDF
- Clamps (the more the better!)
Side of CabStep 1
Trace the side of the cab on to the back side of the laminate. Place the laminate face down on the floor or on a large table. Put the laminate face down onto cloth or cardboard to prevent any deep scratches.
Step 2
Apply the glue in painting motions to the inside of the area you have traced out on the laminate. Don't worry about going over the lines...this is a good thing. Don't apply too much, you need just enough to wet the laminate (no dry spots) but not too much that its a thick layer. You can sand off any spillage on the leftover usable laminate.
Step 3
Apply the glue to the side of the cab that was face down when you were tracing so the glue surfaces touch once dried. Don't worry about the glue drying while you are painting...you don't want them touching when they are still wet anyways. Applying the glue should take you 10 to 15 minutes total time.
Step 4
Wait for the glue to dry. This usually take an additional 15 minutes...to test for readiness apply a corner of the piece of paper and see if the glue transfers. If it does not transfer the glue is ready.
Step 5
Place the strips of offcuts at equal distances, horizontally along the length of the laminate. I used three pieces as I didn't need a lot of matching precision... the more intricate the joining...the more pieces you should use.
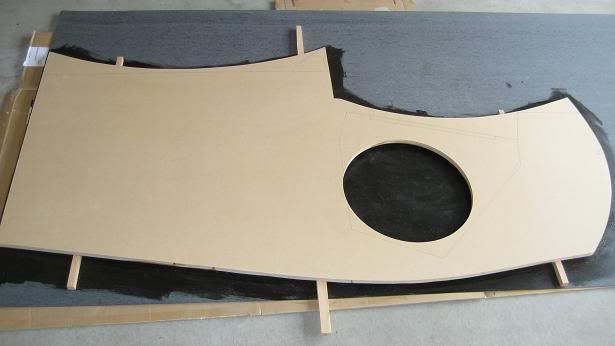
Step 6
Apply the side of the cab over top of the traced/glued area and on to the strips of offcuts. You can now adjust the side of the cab precisely over the laminate. Should look like this:
Step 7
Remove an end piece of offcut and press down on the side so it joins the laminate...work your way towards the other end of the cab, continuing this process until both pieces are joined. Use your hands or a roller and roll over the enter side of the cab.
Step 8
You can let it sit for a few minutes but the bond is near instant if the glue is properly dry and you can already route it.
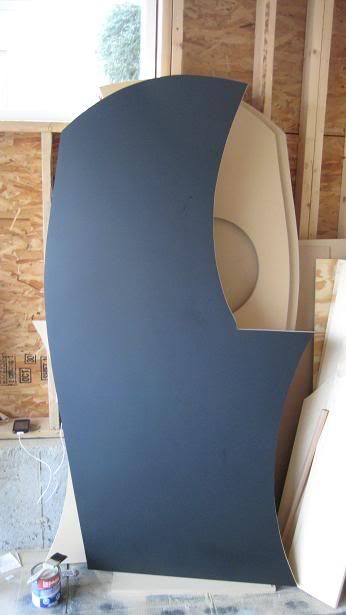
Step 9
Route the piece. For this example I would be using a top bearing flush trim bit. The bearing would run along the side of the cab and the blade cuts through the laminate making a perfect flush trim.
NOTE: A Control Panel or any other piece is done exactly the same way. There is no need to precut to try and get it to fit...let the router do all the work. The only time pre-cutting is sometimes necessary is if you are trying to fit the laminate into interiors *after* the fact...so apply the laminate first before joining the interior.
*IMPORTANT* Clean and check your router bit from time to time. The dry glue has a tendency to clog up on the bearing and bit.
Control Panel/Speaker Shelves/Circle on side of cabSteps are exactly as outlined above with these additions:
Step 10
Lay down a scrap sheet of MDF roughly the side of the piece you are working with. On top of this lay down your working piece face down so the laminate is sandwiched in the middle. Apply clamps around the perimetre.
Step 11
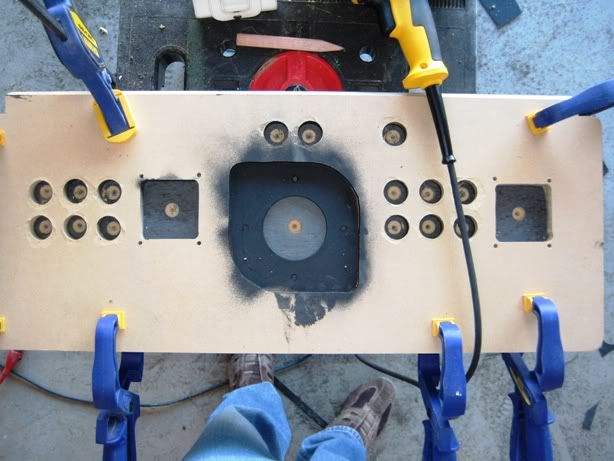
From the underside of the piece you are working on you will drill pilot holes into the buttons or trackball or other opening. To do this I use a 5/8" spade bit. It doesn't matter if you have some slight splinters or cracking as you will be trimming the holes after. Clamping and sandwiching the piece will limit/decrease this in any event. In the following picture you can see the pilot holes using this technique and the scrap piece of MDF underneath:
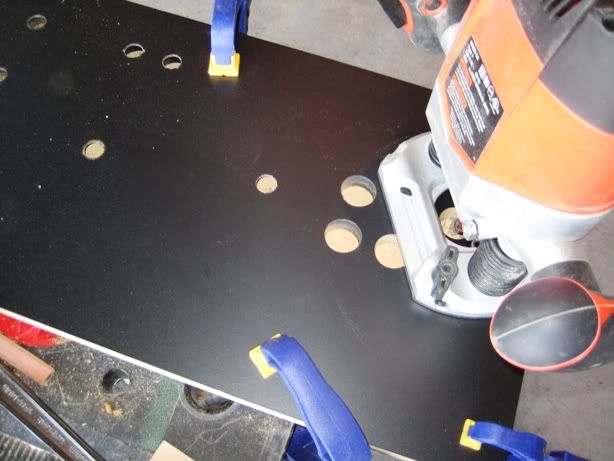
Step 11
Place your flush trim bit (1/2" diameter is what I typically use) through the pilot hole and trim. Here I am using a bottom bearing bit and routing from the top. If you do this make sure the router bottom is clean or place a cloth underneath to avoid scratching the laminate:
NOTE: Again, this is my method and you may have one that works better, in which case ignore this! However, this is for those people who are trying to cut it to size first and then apply and experiencing unnecessary frustration. Hope it helps those individuals...msg me if you have any questions and I will be happy to help you.


 Home
Home Help
Help Search
 Login
Login Register

 Send this topic
 Print
Print Topic: Lamination Tutorial for Sides/Control Panels/Speaker Shelves etc (Read 22082 times)


