OK, So I've been building for about a week now and thought I best join up and get my build thread started!
Always wanted a bartop machine, so I did what I guess most people do - buy a pile of MDF and hide it from the wife.
I went for Dragon's Lair "theme" it's nothing like the original cabinet as it's the game I have fondest memories of - it was like nothing else that had come before and the artwork to this day is amazing.
I'm UK based so I got some 12mm MDF from one of our large DIY stores who also offer a cutting service (free of charge). This got the bulk of wood cut quicker and more accurately than I could do with my less than primitive tool set.
The only thing left for me to do was to cut the curve down each edge, which I did one at a time as I didn't think my jigsaw would cope at all well doing 2 sheets together. With a bit of patience it turned out quite well.
The cost of the MDF was £16.50 and as I say, that included the cutting.
I'd seen some plans with the whole cabinet held together with "brown or white blocks" but this looked a bit flimsy to me, so I braced the cabinet out with spare wood.
 IMG_4559
Shows the internal of the cabinet.
 IMG_4550
Above are the bracings on the side panel.
In case anyone is wondering why I decal'd up the inside too, there are certain points on the cabinet where you see the "inside" of the outer panels so rather than paint, I thought it neater to decal them (and I'm bad at painting).
I had an old 17" monitor so for now I chose to use this, keeping the costs down.
This gave me:
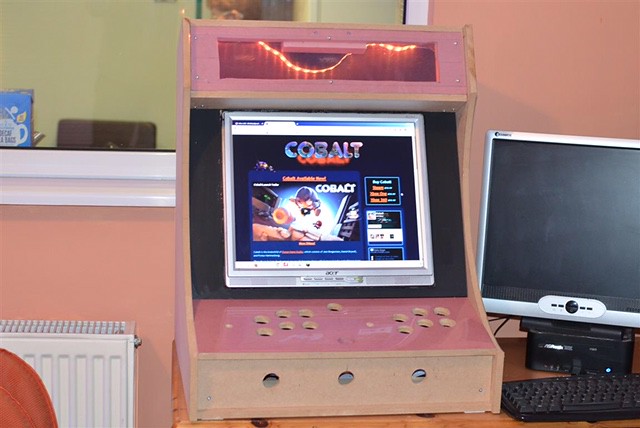 IMG_4538
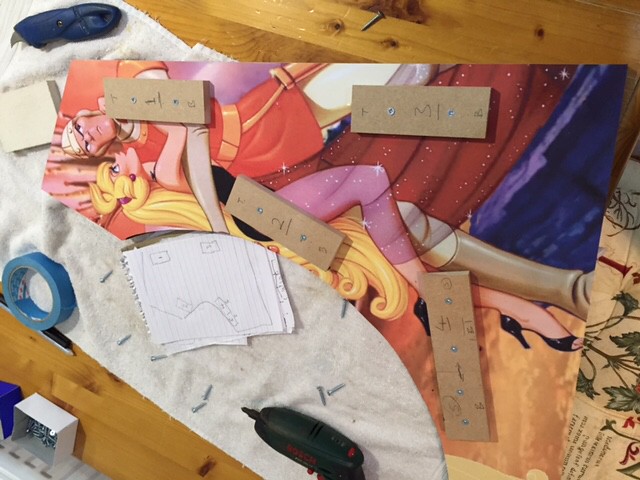
I then printed off my decals, which I composited myself in Photoshop and then created a cutting path in Illustrator for the machine to cut along :
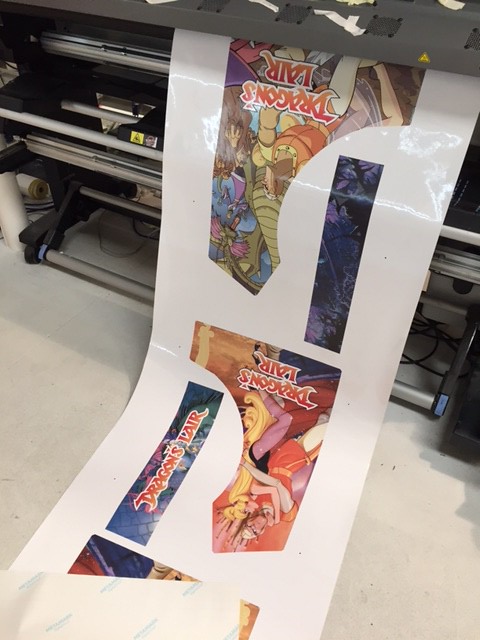 IMG_4539
 and then applied them to both sides:
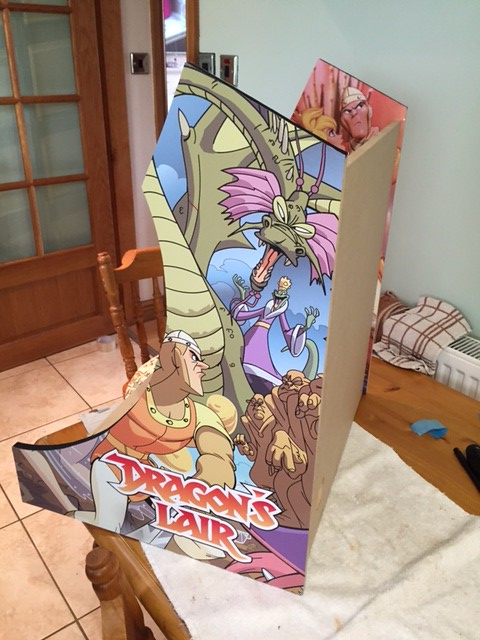 IMG_4556
 IMG_4551
I also applied the control panel and the marquee - this was just stuck to a sheet of perspex.
 IMG_4561
Being an amateur, things seemed to be going OK so I was please to get here:
 Untitled
I don't have a router so couldn't cut the groove in the edge for the T-mould so I got some "sticky back" chrome trim from Amazon.
 Untitled
With the chrome fitted.
---- So that's where I am today. My joysticks and buttons have arrived (Including my Ipac-2). And I hope to get them wired up in the next few days. I've also got some perspex to cut for the front and control panel.
The chrome trim isn't perfect and needs something more substantial to keep it from coming off - so more glue it is.
Internally, the system will run off a Rasbperry Pi (2B) and will run the latest build of Retropie.
I need to look at the monitor bezel now, as I've not left myself enough room for it to cover the monitor. I'll be using a piece of perspex with a decal applied to hide the monitor, although I'm already considering getting a 19" instead.
I'll update the pics when I get the joysticks and buttons fitted and running.


 Home
Home Help
Help Search
 Login
Login Register

 Send this topic
 Print
Print Topic: Dragon's Lair Bartop Arcade Build (Read 5211 times)


