Build Info and thinking behind buildSo Ive kinda dabbled in cabinet building in the past (the
brocade is just one of them) and while i've own cabinets but never actually made a full cabinet, i've made arcade gaming systems. This is my first attempt at a full cabinet from scratch.
I've always wanted a cool looking cabinet that was stylish and a strong presence in my living room without being too cheesy. For me, it would need to look like a slice of arcade at home (lights and sounds).
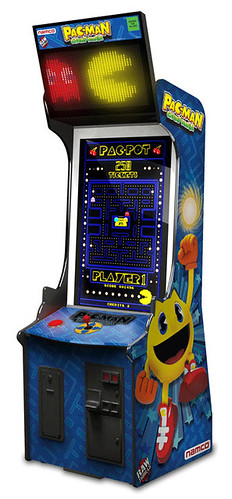
Pedestal CabinetI've always like the X-arcade Arcade2Tv Showcase Cabinet. I liked how clean and slick it looked especially how nice it was when the lights came on. So decided i would make something like this. But I didnt want to spend $2.5k on a cabinet (little did I realise that making one would cost way more!). I also wanted 4 players and light up controls.
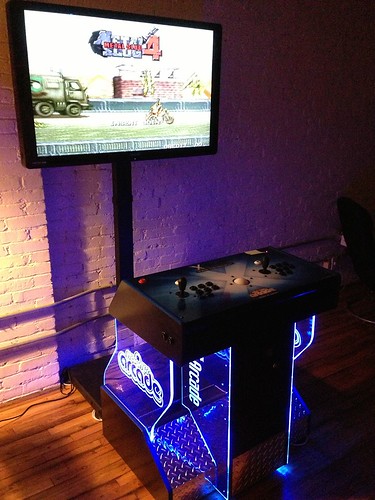
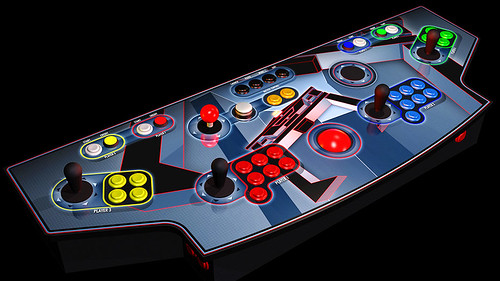
All aboard the aircraft carrier. To me this is the best 4 player layout as the main 2 players have the best seats in the house, caters for pinball nicely and has an appealing shape. There are so many monstrous and fat 4 player control panels and cabinets out there, I really didn't want that for this build. Full credit to Jarrett Heather
 Screen
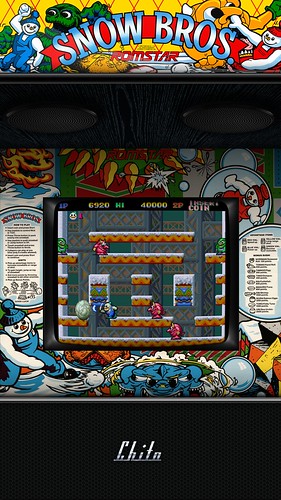
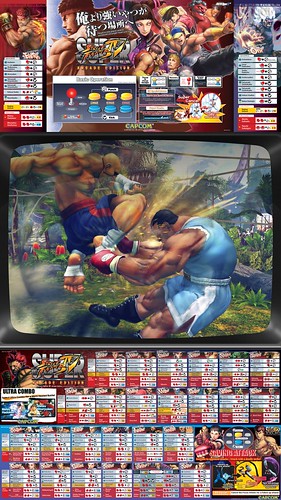
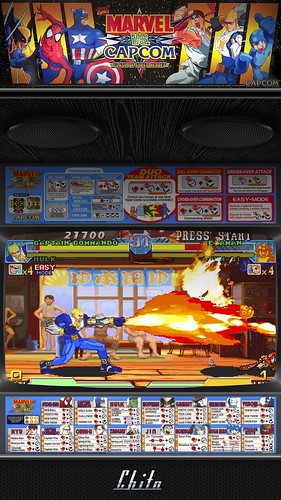
One thing that has always annoyed me about arcade gaming is how when you switch from game to game, there's wasted space and worst of all no instructions cards, which sucks when your playing fighting games! I want to see not just the marquee but all the cards that a game would have in real life. Most people solve this with a 2nd screen. but for me thats a crap solution, so complicated when you can achieve a better result by thinking differently. Rotate the screen into portrait mode!! that way you can fit everything in one screen using a bezel!! Some games will use the screen differently depending on how much needs to go on the screen. For example Snow brows is simple and has plenty of room while SF4 has a lot of artwork and instruction cards using up a large part of the screen.
I have a nice 55inch TV for my living room and i sit about 1.4 meters (5 feet) from it. Its way to big for something that is going to be right up in your face. its sooo uncomfortable having move your head to see everything that going on, its like sitting in the front rows of a cinema. But a 55 inch screen is perfect for games played across the width of portrait orientation. In a portrait orientation the screen will be equivalent the a 33inch screen and the user will be aprrox 90cm (3 feet away)
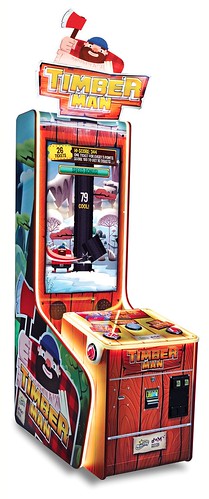
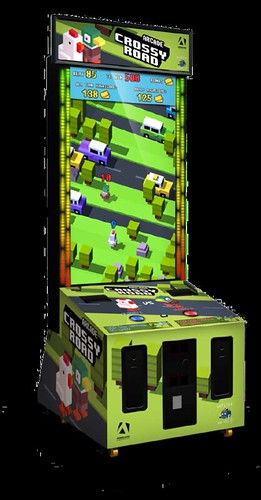
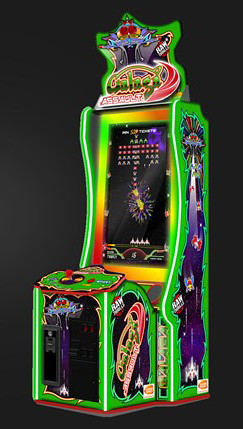
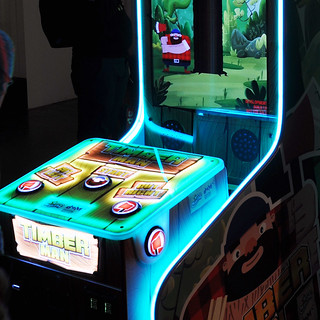
Screen cabinetSo how was i going to create the housing for the Screen? luckily a whole bunch of new mobile to arcade redemption and retro classic remake redemption arcade games have been coming out which use a vertical screen. Out of the ones that i found, it was timberman arcade by MagicPlay that appealed to me. It was nice and simple and used the RGB T-moulding I wanted for my cabinet.
 Why is it so tall?
The design currently stands at 2.3 meters (7.5 foot) and one of the main reasons its so tall is because im using a 55inch screen. The middle of the screen sits at my eye level (and im on the shorter side). In comparison, the redemption ticket machines are around the same height and some are taller, especially with the marquee sign on top, they also dont use screens as large as my build. For example, the Timberman Arcade machine uses a 42inch screen and is 294cm (9.6 foot) tall, I think this includes the marquee. but any smaller i wouldnt havet been happy with because at a portrait orientation i get the equivalent of a 33inch tv to play games.
Why a box and not a stand or wall mountedthe tv i bought for this had issues as well, which is another reason i went for a box and not a stand. When i bought the tv i should've looked at the back. while it had mounts so it could be wall mounted. it had them at the base of unit. And they are horizontally centered but not vertically. which meant that when i rotated the TV it was lob sided with most of the weight on one side. I found this out after i bought a tv stand to test game artowrk and set up the software... it looked like it could fall to one side at any moment. I so i needed something that was more stable. on the plus side, i have somewhere for all that lovely side art
Illuminated T-mouldingSo to stay in line with the goals for this project, in particular:
- strong presence in my living room
- a slice of arcade at home (lights and sounds)
This build will have illuminated t-moulding. I think lights are a defining feature of arcades and is part of their personality. Arcades are designed to standout and the illuminated t-moulding along with an illuminated control panel will all contribute to achieving this goal. I think it also adds to the more modern look this cabinet will have. You can refer to the inspiration cabinets listed in the post before this one for examples.

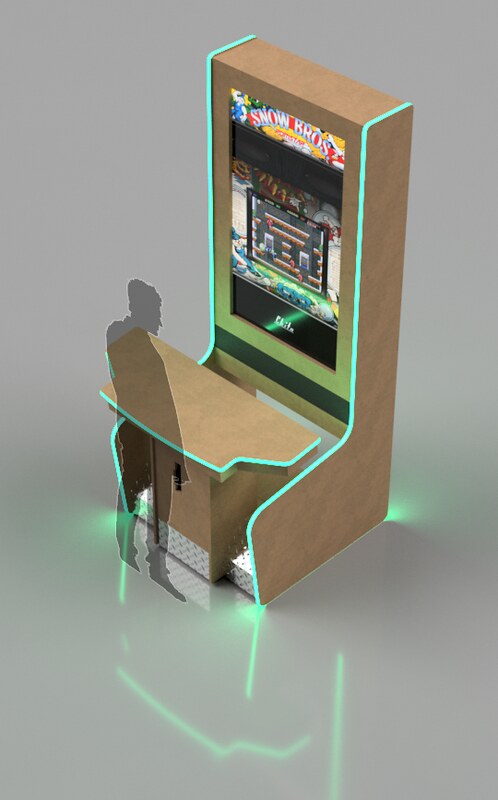
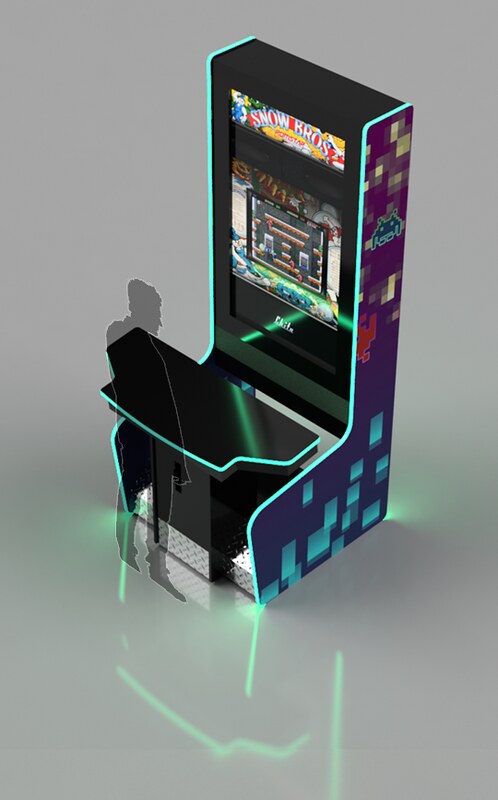
 Concept preview
After months of planning, sketches, research, measuring and field trips to arcades

I've finally been able to whip something up in Fusion 360 (which I've also been learning for this project). This is my concept and while it looks very similar to the inspiration cabs on the outside. there was a lot of planning and revisions for the inside of the cabinet sections. There are still some problems i don't know how i will resolve yet. Theme and artwork is also still in undefined as i can't pick a damned name or theme for this build!!


 Home
Home Help
Help Search
 Login
Login Register

 Send this topic
 Print
Print Topic: Monolith - 55inch vertical screen - project name "go for broke" (Read 132613 times)


