Main Restorations Software Audio/Jukebox/MP3 Everything Else Buy/Sell/Trade
Project Announcements Monitor/Video GroovyMAME Merit/JVL Touchscreen Meet Up Retail Vendors
Driving & Racing Woodworking Software Support Forums Consoles Project Arcade Reviews
Automated Projects Artwork Frontend Support Forums Pinball Forum Discussion Old Boards
Raspberry Pi & Dev Board controls.dat Linux Miscellaneous Arcade Wiki Discussion Old Archives
Lightguns Arcade1Up Try the site in https mode Site News

Unread posts | New Replies | Recent posts | Rules | Chatroom | Wiki | File Repository | RSS | Submit news

Recent Posts

Pages: [1] 2 3 ... 10

Started by graeflicher - Last post by graeflicher

Thanks for your help! Over the weekend I had some time, started from scratch and now it is working!  :cheers:

2   Project Announcements / Re: Custom Lightgun Cabon Today at 02:15:52 pm

Started by TapeWormInYourGut - Last post by TapeWormInYourGut

Now, I've been using this for a while and have a few callouts to anyone who is thinking about designing a similar one.

1. If you're going to build a 4-player cab like mine, then 1 big mistake I made is with how the display is inset. This is more of a 3-player build now even though it supports 4 players. If you look closely, the display is about 4 inches into the cabinet. The IR LEDs then surround the screen. Well, the lightguns can only see all 4 IR LEDS if relatively in front of the screen. The ~4-inch inset of the display causes the sides to act like flaps that block the IR. So if you are too far off to the side, then only 3 sensors will be visible. Only 3 people can visibly stand in front of the screen and see all 4 sensors.

I should have cut the sides in more so that they're flush with the edge of the screen.

2. soldering the gx16 was pretty tight since it needed to accommodate wire that was thick enough to handle 24v at ~3amps. Between the sockets, cables, and lightgun, it means that you're going to be soldering 16 tiny ends that barely fit into the casings, and then make sure that there are no shorts. I'd still do it again because I think it's worth it, but it's probably the most tedious part of the build.

3. I got the Steamdeck partially because I thought that I could use it for keyboard events as well. I.e., have all of the Dreamcast buttons available to navigate game menus and whatnot. Unfortunately, the thing does not support raw keyboard events. It sends system events. This means that emulators which rely on raw input (such as Flycast) cannot use the Streamdeck to send keys because it either support SDL or raw input, but not both. Emulators that support SDL are ok though.

Not too much, but I mostly wanted to call out #1 since it's a pretty important defect.
 

Started by abispac - Last post by abispac

Well, i just need to install a new lock and we can call it a day. Thanks Lilshawn for all the help, could not have done this without you.

4   Project Announcements / Re: Custom Lightgun Cabon Today at 11:28:02 am

Started by TapeWormInYourGut - Last post by TapeWormInYourGut

So, whats the damage? Here are the various costs. I want to be clear that I set out to make something similar to those "commercial" cabs that people are making. I also want to play newer lightgun games at 1440p and higher.

The reason I am putting the costs here is because I know a lot of people are probably seeing these on Youtube and also see how much is being charged. Well, here is what it costs me in parts. I had all the tools already so no pricing on things like that. Keep in mind that I also use a lot nicer hardware that those cabinet builders, especially the display. The structure itself is of better materials as well. You can look at components that I used and determine where costs can be saved.

For example, you can get an TV display for half the price. I did not want to cut a hole for a remote IR sensor, and also I wanted free-sync at 4k. So I chose a screen that uses wireless tech for the remote and also supports a 120hz refresh rate without screen tearing. It's a gaming display and I have zero regrets on it.

You also don't need an acrylic bezel. I personally love the sheen and look. You can just use hardboard and cut a hole it it, which runs for like $20 for an 4x8' sheet.

Finally, the GUN4IR lightgun costs are not included either. I hacked up arcade guns which cost me about 300$ each total. But you can mod toy guns for like $40 if you want basic guns.


Total cost: $3565

== CABINET ==
$ 310 - Wood (plywood, framing, base)
$ 150 - 1/4 (48"x48") acrylic for Bezels + Control panel
$ 120 - Materials (screws, bondo, paint, sand paper, rollers+brushes, felt, etc...)
$  35 - T-Molding (T-molding.com)
$ 320 - Full Artwork prints
------------------------------
$ 935


== CABINET COMPONENTS ==
$ 580 - 43" Main Display (Samsung NEO G7)
$ 400 - 28" Active Marquee Screen (VSDISPLAY 28 Inch 1920x360 IPS Stretched)
$ 210 - Sony SS-CS5 speakers + AIYIMA A07 Pro TPA3255 Amp
$  40 - i-Pac2 (T-molding.com)
$ 130 - Stream Deck (ebay)
$ 120 - odd & ends (USB cables, gx16 connectors, brackets, power socket/switches, wire, led strips, etc...)
$  25 - 6 LED PushButtons (Ulitimarc).
------------------------------
$1505


== COMPUTER ==
$ 190 - Motherboard - MSI Pro Z760 WiFi
$ 190 - CPU - 12600kf or 12600k
$  30 - CPU Fan - SE-224-XTS
$ 400 - Graphics - 3070 ti (ebay)
$ 100 - Power Supply - Corsair RM750e 750 Watt 80 Plus Gold
$  90 - Memory - TeamGroup T-Create Expert 32GB Kit CTCED532G6000HC30DC01
$  70 - Harddrive - 1TB Western Digital Blue SSD
$  30 - Windows 10 Pro (International OEM License)
$  25 - ATX Test mount frame (aka the "case")
------------------------------
$1125

5   Project Announcements / Re: Custom Lightgun Cabon Today at 11:00:07 am

Started by TapeWormInYourGut - Last post by TapeWormInYourGut

I also want to take a minute to talk about the guns. I use 8-pin GX16 sockets for the lightgun ports.  Again, not too much detail since there is a lightgun forum, but I just wanted to show how the cabinet is connected.

It has 4 ports total, supporting up to 4 players. Then, there are dual power buttons to disable the recoil if desired. Each power button affects 2 ports. So the left side as 2 sockets + 1 power button, and the same for the right side.

My cabinet software will do a bunch of calculations to determine which lightgun should be used for each player. For example, if there is just 1 gun plugged in and it's on ports 3 or 4, then I assign it to player 2 because it's plugged into the right side of the cabinet. If the game happens to only support 1 player, then I assign it to player 1. If the game is a 4-player game and a gun is plugged into port 3, then it is assigned to player #3.

I configure the gun per game and handle outputs (i.e. replacing mamehook).


The GX16 sockets are a combined USB2.0, and then 12+24v pins added. This will allow me to create lightguns that have a 12v or 24v recoil, without the need to plug them in separately. So the 12v guns will use the 12v points, and the 24v gun will use the 24v pins. Just plug an play.


6   Project Announcements / Re: Custom Lightgun Cabon Today at 10:47:20 am

Started by TapeWormInYourGut - Last post by TapeWormInYourGut

After the cab was together with everything installed, I then started adding the hardware.

Here is the top with some of the Marquee boards mounted.


Here are the speakers and amp mounted in the center section. I just used wood around their perimeter and across the top to keep things in place. Please note that the speakers are moved out of place so that you can better see what I mean. The wood surrounds the bottom of the speakers so that they can't move.


And then the computer and power strip is mounted at the bottom. The power strip is one of those "smart" strips that disables a few sockets depending if power is being drawn from one of the main sockets. The computer and 43" display are always powered on. The marquee, speakers, and lightgun power supplies are only powered if the computer is turned on.


ORIGINALLY, I was going to use 1/2" plywood for the backing. But the cabinet is really sturdy and I also wanted it breathable. So, I used hardboard. I added some boards with slots that the hardboard can slide into. I also mounted fans to the hardboard which are wired into my computer.


I also use a Streamdeck to kick off some games. I'll be adding more shortcuts later.


And I also added USB ports to the bottom since the computer isn't easily accessible.


Started by saint - Last post by TapeWormInYourGut

 :P

8   Project Announcements / Re: Custom Lightgun Cabon Today at 10:29:05 am

Started by TapeWormInYourGut - Last post by TapeWormInYourGut

Next, I popped on the plexiglass bezel and added a frame around it to hide my poor measurements. Let's just say that the cab isn't 100% square and the plexiglass was far from a perfect fit:


I then started mounting the Marquee LCD and 43" Display.

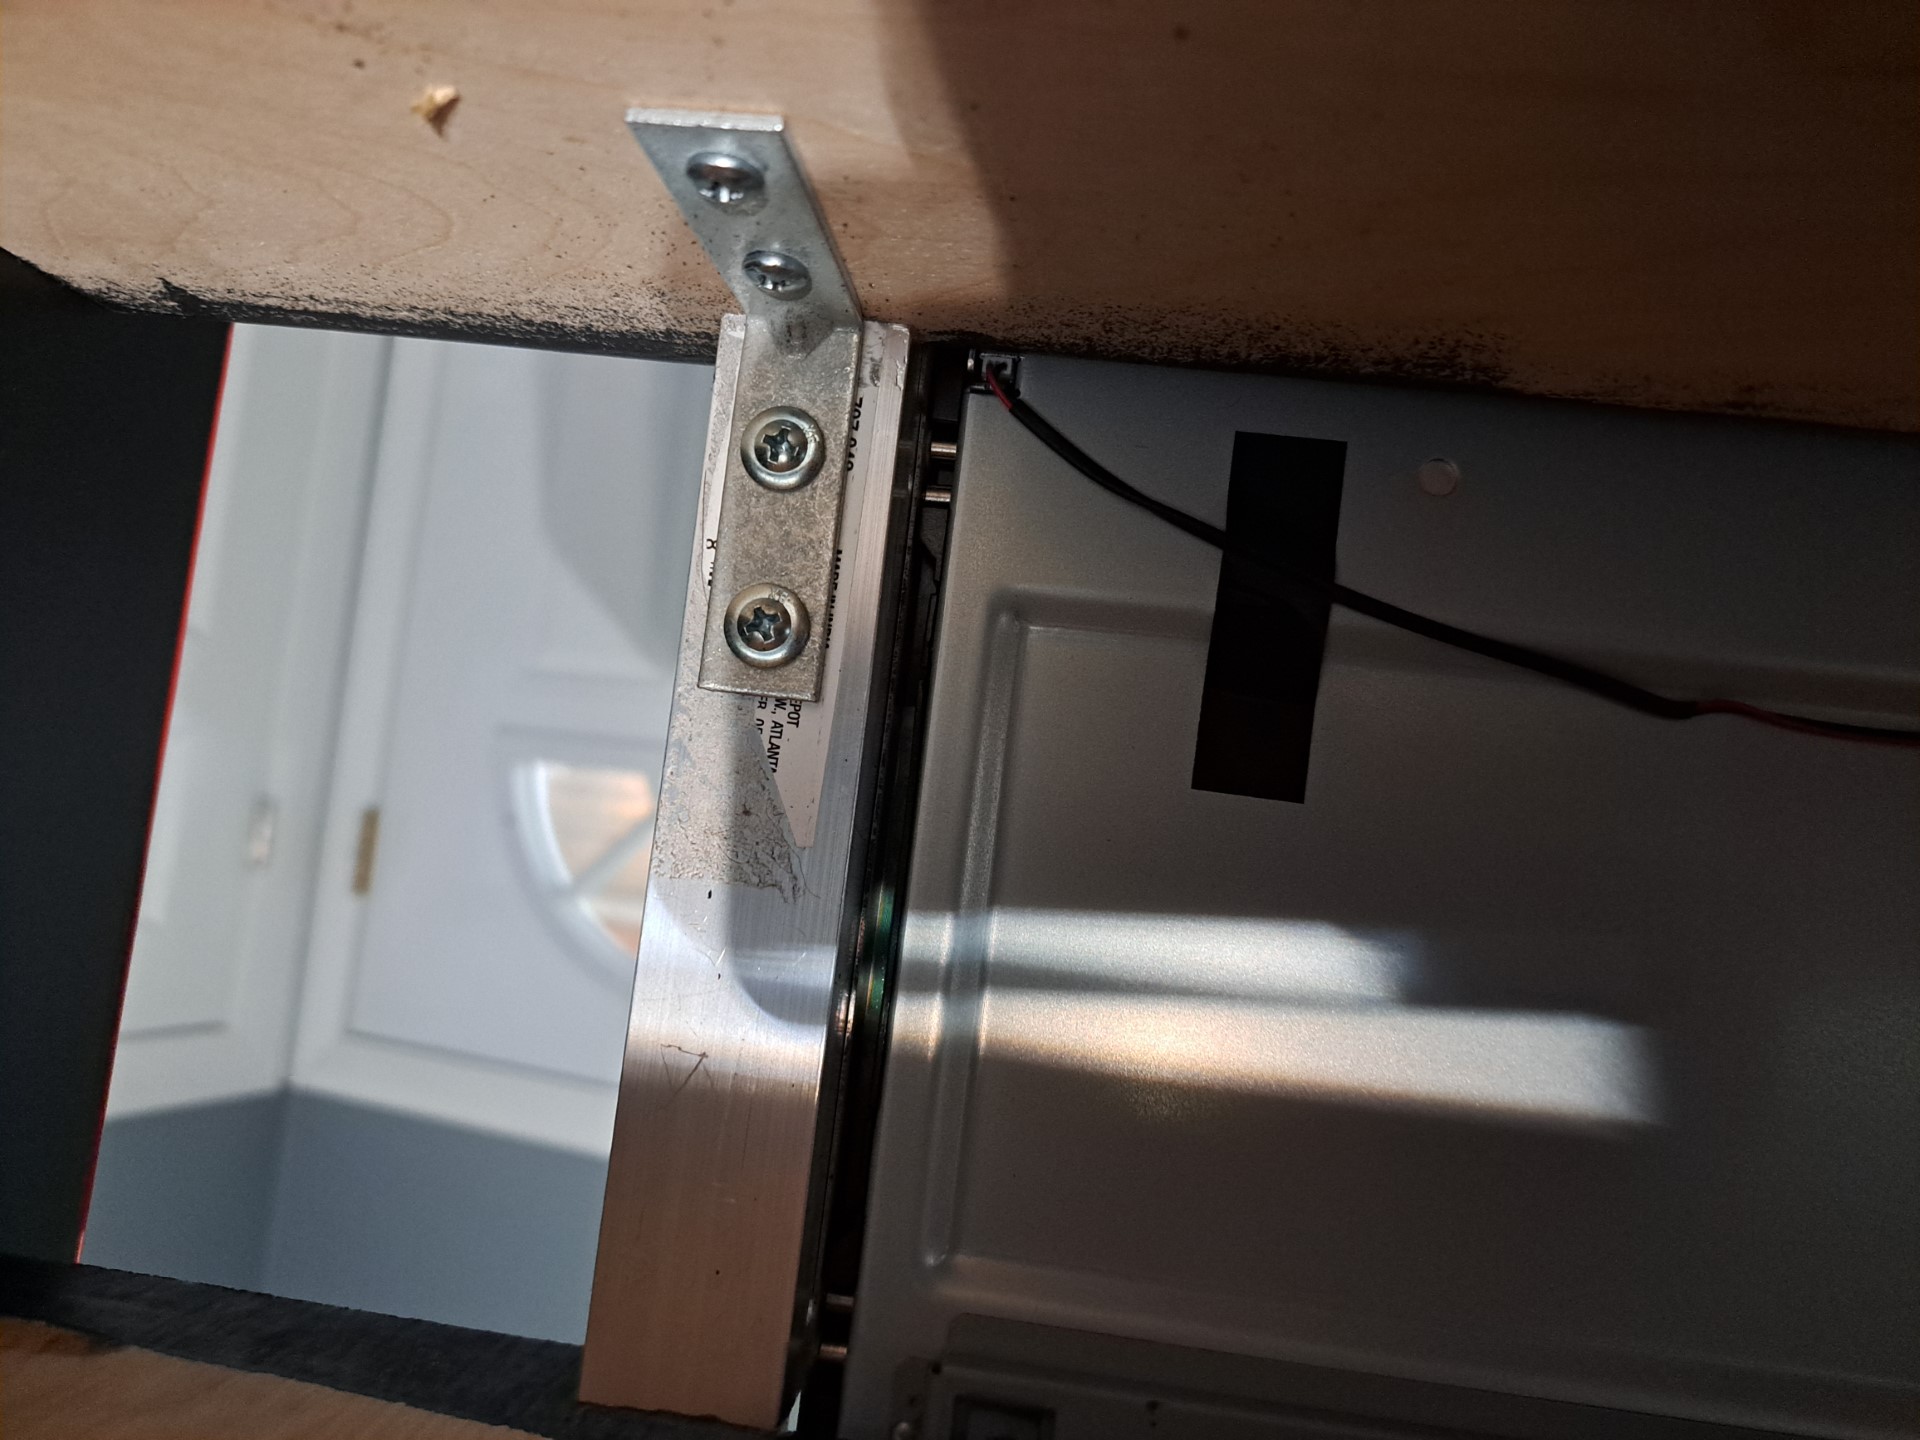
I used a few L brackets for the Marquee:


And then I just used some VESA hardware and a 2x7 board to keep the display in place.


The IR LEDs for the lightguns needed holes in the plexiglass bezel, so I created a jig. I used tape to mark off where the holes needed to be placed after the screen was mounted. I then used the jog to align and drill the holes.


Afterwards, I painted the backside of both the Marquee and Display bezels. This was a DISASTER. The Marquee's bezel came out beautiful, but the primary bezel bubbled up. I waited the correct amount of time before spray painting, and I cleaned the plexi first. I'm not sure what cause the bubbling.


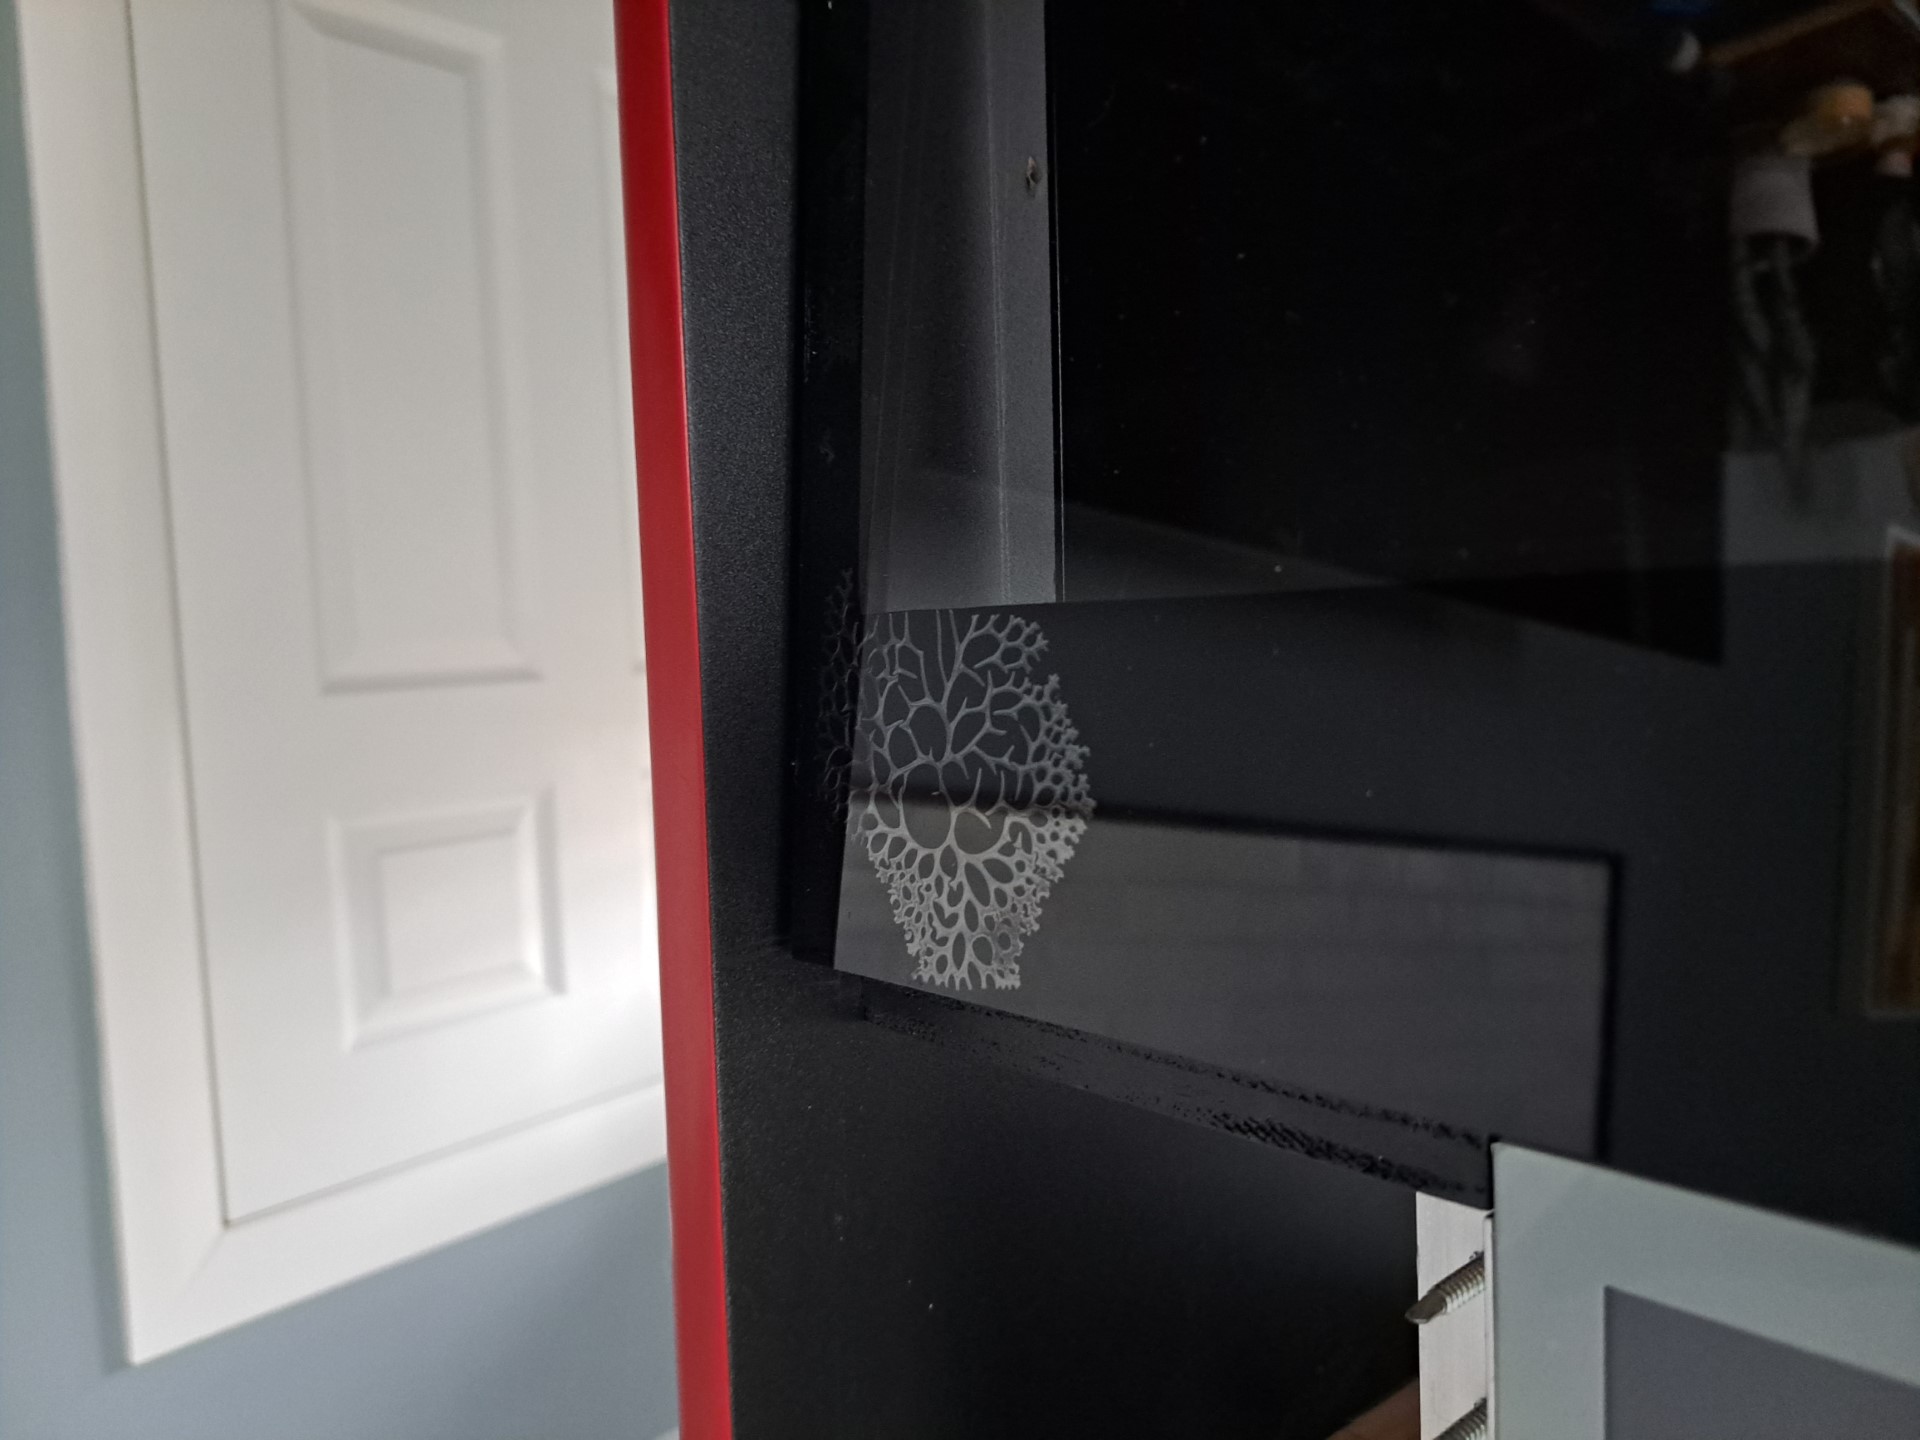
It was an expensive mistake, but, I fixed it by buying "mirror black" vinyl wrap off of Amazon. They had 10" car-wrap samples that were fairly cheap. It actually came out really nice. Not as nice as the paint would have came out, but I'm still happy with it. The only downside are a few seems that are not really noticeable.


And here is everything light up.

9   Project Announcements / Re: Custom Lightgun Cabon Today at 10:10:40 am

Started by TapeWormInYourGut - Last post by TapeWormInYourGut

After the core cabinet was put together, I then took it all apart, painted, and applied artwork. Painting took a while because I wanted a very nice finish. I ended up rolling on a black base coat, sanding, and then spray painted. I spent a lot of time painting and the final result looks almost like it was vinyl wrapped. I'm very happy with how the paint turned out.

To give some context on how things are held together, I used a pocket-hole jig to create pocket-holes in strategic locations that wouldn't interfere adjacent pieces or other hardware. Here are various panels with them drilled around the perimeter.


And here is the base:


And here are the various pieces being put back together as I apply the artwork. I also want to say that I don't regret getting the "luster" artwork finish over the gloss. With everything together, I really like the finish and I could not be happier. Gameongrafix did a really great job with the prints.


And here's the cabinet back together:

10   GroovyMAME / Re: emu4crt Mednafen mod - update 1.26.1on Today at 09:56:55 am

Started by silmalik - Last post by psakhis

Pages: [1] 2 3 ... 10