
 Home
Home Help
Help Search
 Login
Login Register
I think most of this looks on point. Not sure about the rocker switch. On my mini PC, I just tied a arcade button to the PC power on wire which plugs into the master like yours. The slaves control the monitor, speakers and a wall wart that runs the marquee lights /accessories.

July 03, 2025, 10:59:17 pm
News:
Support this site
Shop Amazon through our link. Thank you!

Forum notices to gmail.com addresses are working. Microsoft addresses are still not.
Shop Amazon through our link. Thank you!
Forum notices to gmail.com addresses are working. Microsoft addresses are still not.
 Recent Posts
Started by SpaceParanoid - Last post by MartyKong
Started by Rebel Oz 69 - Last post by Rebel Oz 69
It's my brother's birthday today, so to celebrate, I'm releasing an update! 
This version has a few more bugs squished, so Next/Previous Alpha buttons work properly, along with improvements to sorting algorithms and better font handling for legacy skins.
The 'Popular' display is also much better (behaving more like you'd expect), so now, all the buttons on the 'Default' skin work properly.
The most exciting change, though: skin-swapping now works MUCH better, with transparency on the strip grid, strip cards and icons changing properly, and a notification popup displaying the skin info (which can be disabled in the jukebox.ini if you prefer).
Download it here:
https://drive.google.com/file/d/1G9LlpljCa0_PFu3acWk0PpZ2qXVmYInw/view?usp=sharing
Started by geecab - Last post by geecab
Hi GPForverer2024!
Good news, I've got the revcounter working! I just need to tidy the code up, then I'll create a new package for you with instructions how to do it yourself (circuit design, parts list etc..). Hopefully have this ready by next weekend. I'll try and upload a youtube clip of it working at some point too. Almost there, thanks for you patience!
Good news, I've got the revcounter working! I just need to tidy the code up, then I'll create a new package for you with instructions how to do it yourself (circuit design, parts list etc..). Hopefully have this ready by next weekend. I'll try and upload a youtube clip of it working at some point too. Almost there, thanks for you patience!
Started by jthompson - Last post by pbj
Id get some kind of black vinyl decal to slap over that damage on the back. Otherwise, another man might see it and it would reflect poorly on your craftsmanship.
Otherwise, beautiful.
Otherwise, beautiful.
Started by LenniePaz - Last post by DarthMarino
Players 3 and 4 are the second team so map the second controller to one of those.
Started by jthompson - Last post by jthompson
With the exception of the marquee area (still very undecided on this), this one is pretty much done. For now I have a one way mirror type tint on there. Thinking of an infinity mirror something or other.
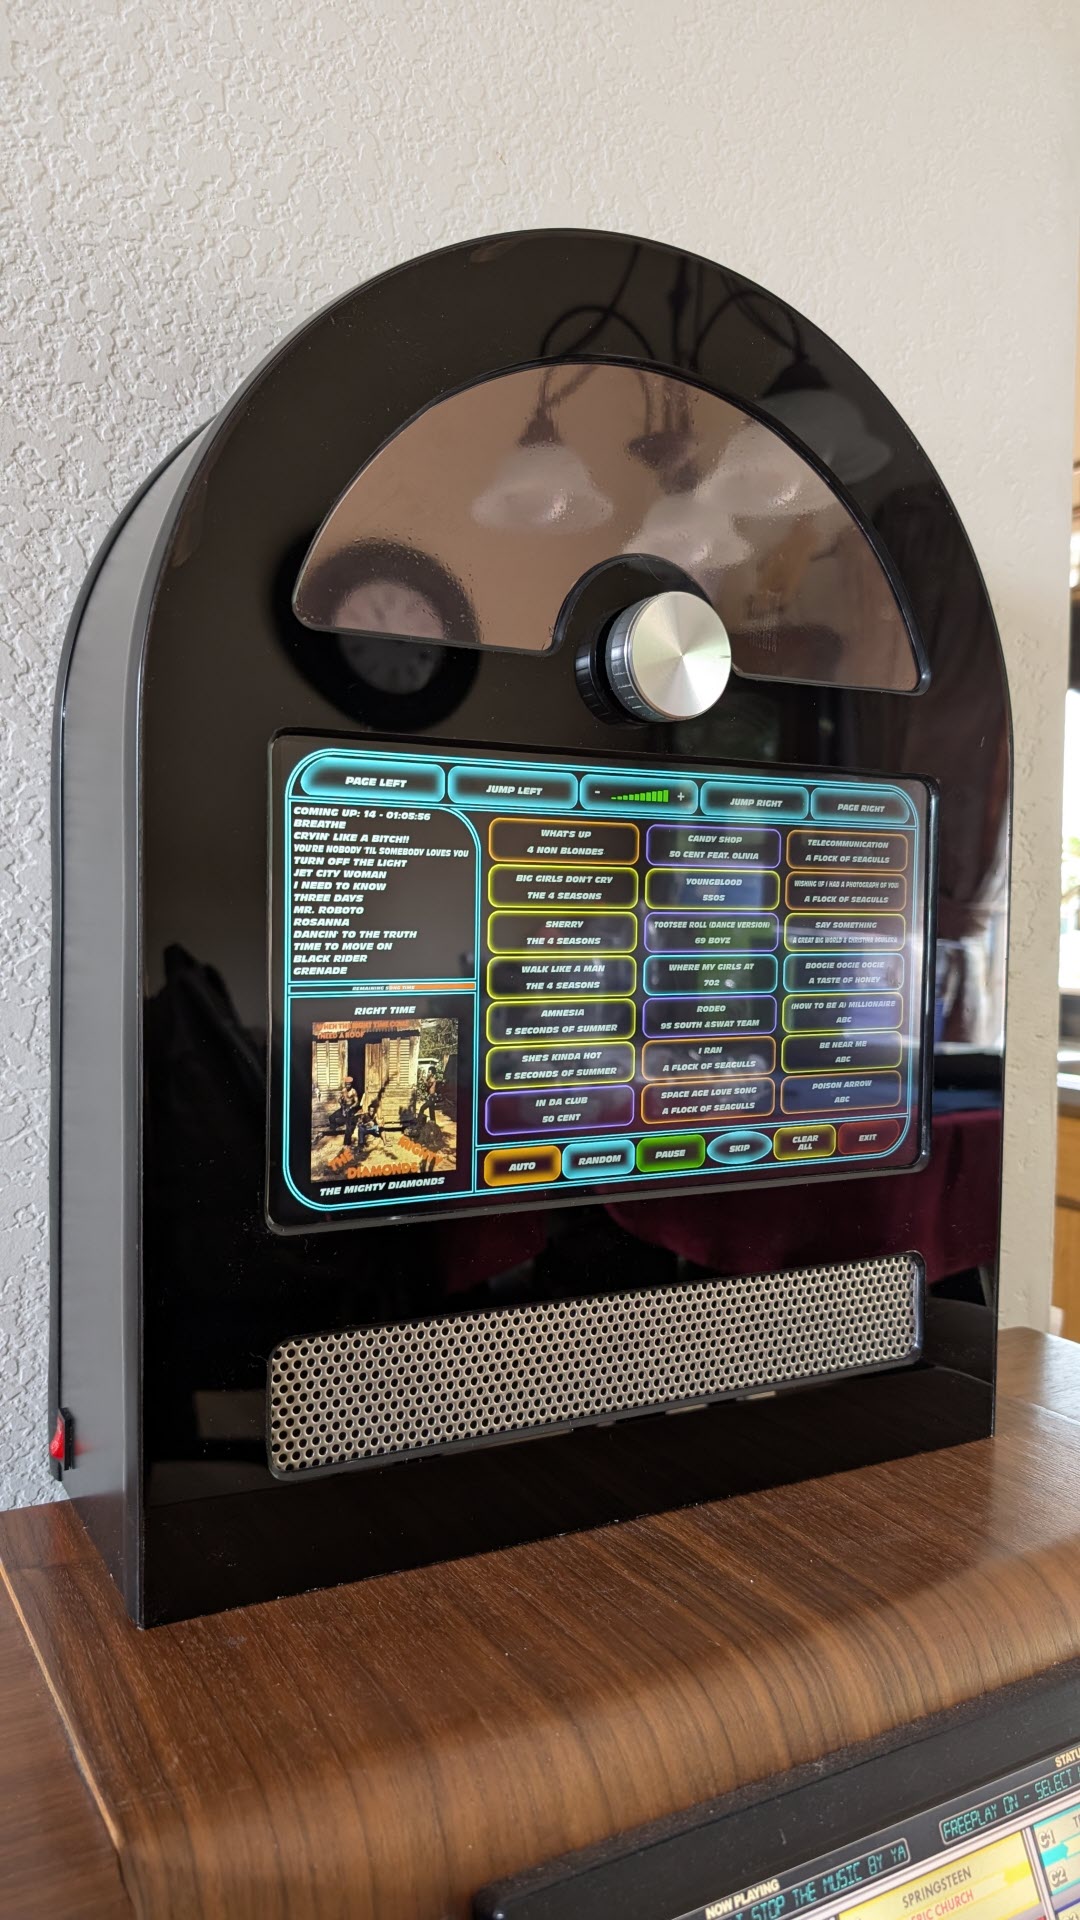
A couple oops I made - I drilled a hole in the back and I cracked the laminate there. Not super concerned because who is ever going to look at the back? Still irritating though. I drilled the hole for the power cord at an angle so it would be happy sitting on either a surface or mounted to the wall. I used some CA glue to "fix" the cracked laminate and to add reinforcement to the underlying MDF in that area.


I also had a big mess on my workbench and my hot glue gun melted a big hole in the front t-molding. I'm lucky it was just the t-molding. I had some more on hand and was able to burn that with my soldering iron! More t-molding on the way.
When I routed the back for the t-molding last weekend, I decided it would be a good idea to route the inside of the back for t-molding as well. When I pounded the t-molding in, it seemed really loose. Duh, the pressure of the t-molding coming into the same area on both the inside and the outside caused the MDF to spit apart. Fixed it with some gorilla glue and decided for the inside t-molding to cut the t part off and just glue it directly to the MDF instead of pounding it into the slot hoping the MDF wouldn't come apart again. Seemed to work fine and the back seems solid now so lesson learned with that.


A couple oops I made - I drilled a hole in the back and I cracked the laminate there. Not super concerned because who is ever going to look at the back? Still irritating though. I drilled the hole for the power cord at an angle so it would be happy sitting on either a surface or mounted to the wall. I used some CA glue to "fix" the cracked laminate and to add reinforcement to the underlying MDF in that area.
I also had a big mess on my workbench and my hot glue gun melted a big hole in the front t-molding. I'm lucky it was just the t-molding. I had some more on hand and was able to burn that with my soldering iron!
More t-molding on the way.When I routed the back for the t-molding last weekend, I decided it would be a good idea to route the inside of the back for t-molding as well. When I pounded the t-molding in, it seemed really loose.
Duh, the pressure of the t-molding coming into the same area on both the inside and the outside caused the MDF to spit apart. Fixed it with some gorilla glue and decided for the inside t-molding to cut the t part off and just glue it directly to the MDF instead of pounding it into the slot hoping the MDF wouldn't come apart again. Seemed to work fine and the back seems solid now so lesson learned with that.Started by saint - Last post by jthompson
Started by saint - Last post by jthompson
Started by Nitro0602 - Last post by slickam
Something you might want to consider instead of buying the game cartridge is getting a NetDIMM. That's a special cartridge that Sega created for the NAOMI that could be loaded with a game over the network. The communication has been reverse engineered, and it's possible to use a Raspberry Pi to load games. That also allows playing games that were only released on GD-ROM, and games for the Atomiswave. (First result from an eBay search to show what it looks like. It also needs a Zero PIC and replacement BIOS.)
You'll also need to figure out how to interface the controls. The NAOMI uses JVS through the "USB" port. Physically it's a USB port, but electrically it isn't, so never connect an actual USB device to it. It also has Maple bus connectors (the protocol that Dreamcast controllers use, but a different connector), but from what I've read not all games support that. I don't know if World Series 99 does or if you'll need to find a different way to connect. There's also OpenJVS that you can use to hook up various controllers (again using a Raspberry Pi), but it needs the controls hooked up to the Pi over USB so you would need some way to connect it.
You'll also need to figure out how to interface the controls. The NAOMI uses JVS through the "USB" port. Physically it's a USB port, but electrically it isn't, so never connect an actual USB device to it. It also has Maple bus connectors (the protocol that Dreamcast controllers use, but a different connector), but from what I've read not all games support that. I don't know if World Series 99 does or if you'll need to find a different way to connect. There's also OpenJVS that you can use to hook up various controllers (again using a Raspberry Pi), but it needs the controls hooked up to the Pi over USB so you would need some way to connect it.
Started by SNAAKE - Last post by SNAAKE
model number G-500-SKR-B


-
SMF 2.0.15 |
SMF © 2017, Simple Machines
Simple Audio Video Embedder - Yabb SE Classic 2.0, by Akyhne
- |
- XHTML
- RSS
- WAP2
Page created in 0.1 seconds with 15 queries.